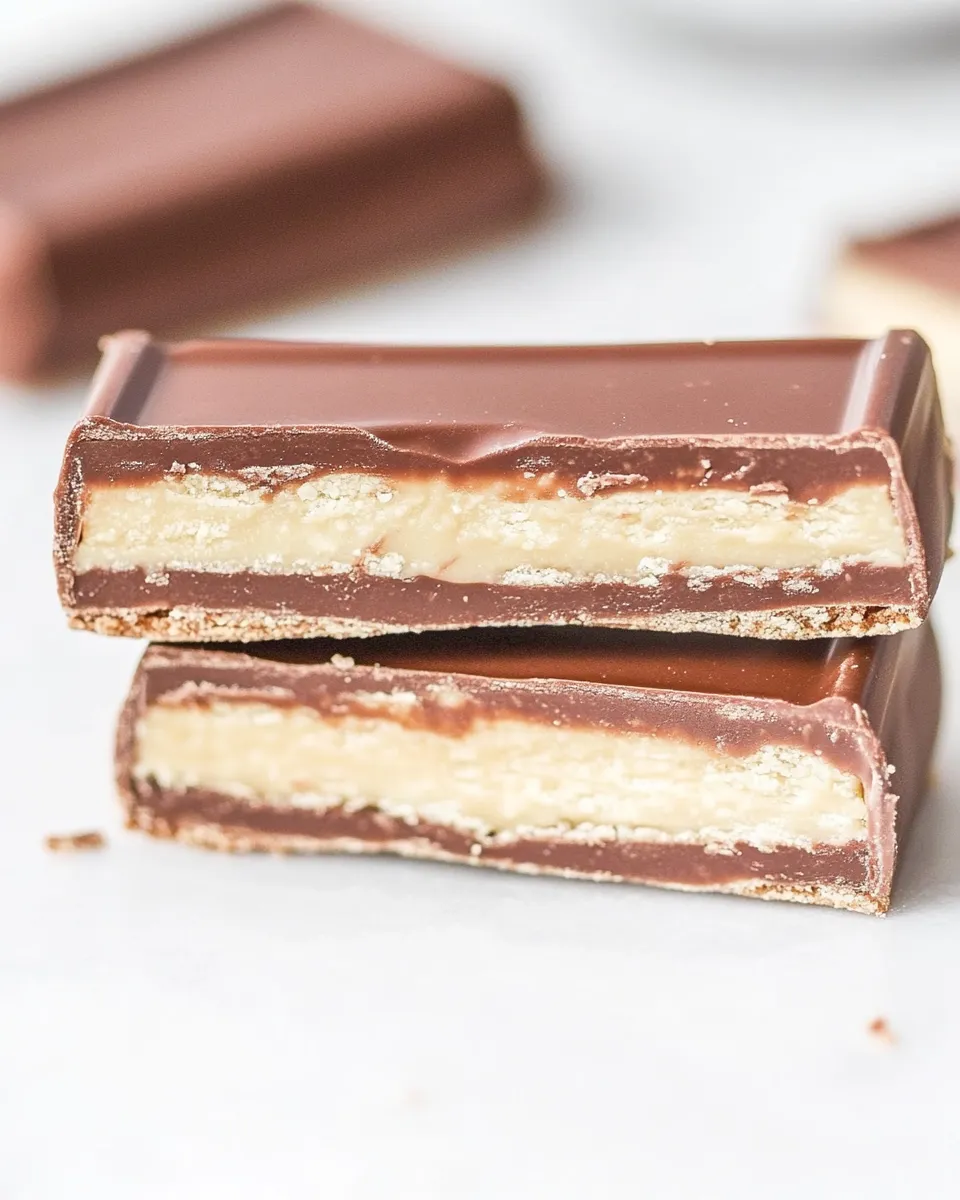
Homemade Kit Kat Bars Recipe
These Homemade Kit Kat Bars are a nostalgic, crunchy chocolate treat you can easily make at home with just a few simple ingredients!
Equipment
- Microwave-safe Bowl
- Spatula
- 9x5 inch loaf pan
- Parchment Paper
Ingredients
- 15 vanilla sugar wafers to create the crispy layers
- 2 cups semi-sweet chocolate chips divided use to coat the wafers and for drizzling or dipping
- 1 tablespoon vegetable oil helps the chocolate melt smoothly and gives it a nice sheen
Instructions
Stepwise Method
- Start by lining your 9x5 inch loaf pan with parchment paper, leaving some overhang on the sides. This will make it easier to lift the bars out later.
- In a microwave-safe bowl, combine 1 cup of semi-sweet chocolate chips and 1 tablespoon of vegetable oil. Microwave in 30-second intervals, stirring after each, until the chocolate is completely melted and smooth.
- Pour half of the melted chocolate into the prepared loaf pan, spreading it evenly across the bottom. This will be the first layer of your Kit Kat bars.
- Place 7 vanilla sugar wafers on top of the chocolate layer, side by side. Press them gently into the chocolate to help them stick.
- Pour another layer of melted chocolate over the wafers, ensuring they are completely covered. Use the spatula to smooth it out.
- Add another 7 wafers on top of the chocolate layer, pressing them down slightly. Pour the remaining melted chocolate over the top, ensuring that all the wafers are covered. Smooth the top with your spatula.
- Refrigerate the loaf pan for about 1-2 hours or until the chocolate is completely set.
- Once the chocolate has hardened, lift the bars out of the pan using the parchment paper overhang. Cut into rectangles to resemble Kit Kat bars. Enjoy your Homemade Kit Kat Bars!
Notes
- Use dairy-free chocolate chips and gluten-free wafers for dietary-friendly variations.
- Stir chocolate frequently while melting to avoid burning and achieve smooth texture.
- Chill bars thoroughly before cutting for clean edges and better shape retention.
- Store bars in an airtight container in the refrigerator for up to a week or freeze for longer storage.