There are recipes that show up once a year and there are pantry staples that I reach for every week. This sugar cookie syrup lives in the second category for me. It captures that warm, buttery-sweet aroma of sugar cookies in liquid form — perfect for coffee, cocktails, and anything that needs a nostalgic nudge.
I developed this version to be quick, stable, and forgiving. The method is straightforward: sugar and water become a simple syrup, then you fold in three extracts for that cookie-like flavor. No caramelizing, no tempering, and no special sugars.
Read through once, gather your few ingredients, and you can have a jar ready in under an hour including cooling time. I’ll walk you through the exact steps, explain what each ingredient does, and share practical tips so the syrup turns out reliably every time.
Ingredient Breakdown
The base is a classic 1:1 simple syrup — equal parts water and sugar. From there, three extracts layer in the sugar-cookie profile: almond for the nutty sweetness, butter extract for that bakery-like richness, and vanilla to round everything out. Each one matters in small amounts; the balance keeps the syrup bright without becoming cloying.
Ingredients
- 1 cup Water — the solvent that dissolves the sugar and creates the syrup base.
- 1 cup Sugar — provides sweetness and body; using plain granulated sugar keeps the syrup clear and neutral.
- ¼ teaspoon Almond Extract — adds a faint, nutty cookie note; a little goes a long way.
- ½ teaspoon Butter Extract — supplies the baked, buttery character typical of sugar cookies.
- 1 teaspoon Vanilla Extract — rounds and balances the other extracts, giving familiar warmth.
Sugar Cookie Syrup — Do This Next
- Combine 1 cup water and 1 cup sugar in a medium saucepan.
- Place the saucepan over medium heat and stir until the sugar is completely dissolved.
- Once dissolved, bring the mixture to a gentle simmer, reduce the heat to maintain a gentle simmer, and cook for 20 minutes, stirring occasionally.
- Remove the saucepan from the heat and stir in ¼ teaspoon almond extract, ½ teaspoon butter extract, and 1 teaspoon vanilla extract.
- Let the syrup cool to room temperature.
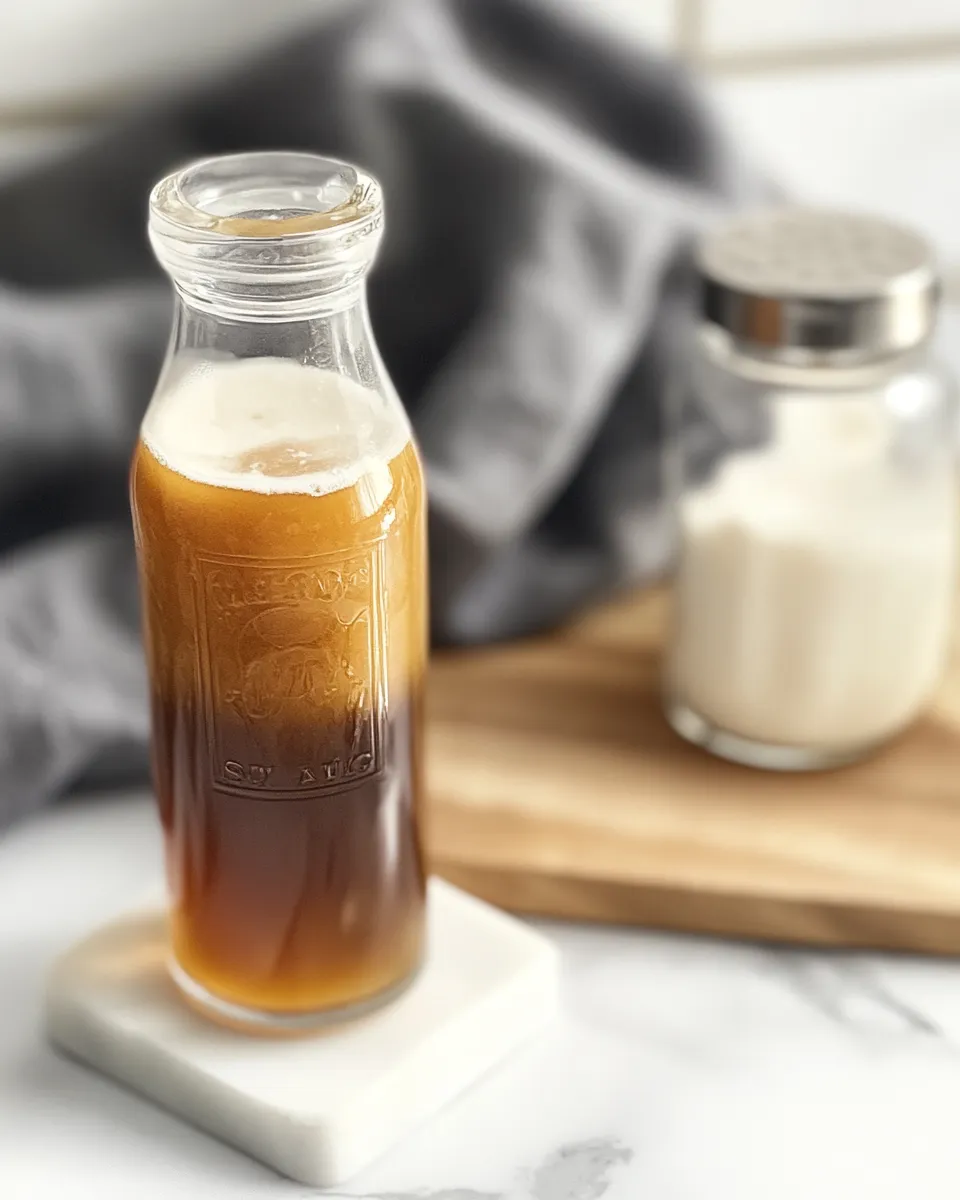
- Transfer the cooled syrup to an airtight container and refrigerate; store up to two weeks.
The Upside of Sugar Cookie Syrup
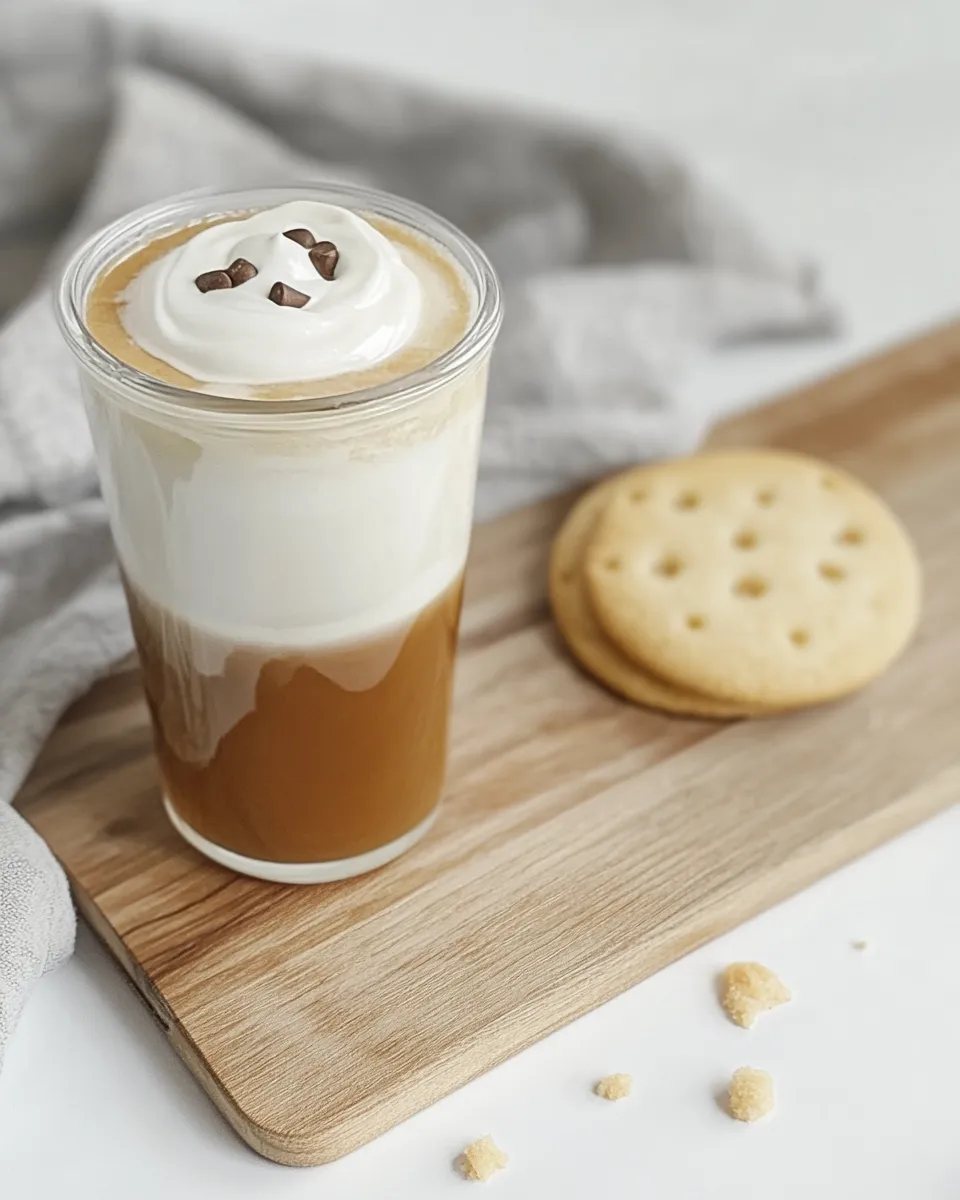
This syrup is one of those small kitchen multipliers: a spoonful transforms ordinary drinks and desserts. Add it to lattes for an instant seasonal coffee, drizzle it over pancakes, or stir it into plain yogurt for a quick treat. It gives you the essence of a bakery without making and shaping dough.
Another big plus is control. Because the recipe uses extracts rather than butter or browned sugar, you avoid extra fat and the risk of separation when cooling. The texture stays smooth and pourable right from the fridge. And it keeps well for the two-week window noted in the directions — enough time to use it across multiple meals without waste.
Flavor-Forward Alternatives

If you want to shift the profile, small swaps or additions make a big difference. Here are practical options that keep the syrup simple while pushing it in a new direction.
- Warm spice: stir in a pinch of ground cinnamon or nutmeg during the simmer for holiday warmth.
- Nutty depth: replace up to half of the almond extract with hazelnut extract for a toasty note.
- Citrus lift: add a teaspoon of finely grated lemon or orange zest into the saucepan while simmering, then strain before cooling for a bright finish.
- Brown-butter vibe: brown a tablespoon of butter in the pan first, remove the solids, then add water and sugar to make the syrup — the butter extract can be reduced if you do this.
Hardware & Gadgets
You don’t need anything fancy. A few reliable tools make the process easier and more consistent:
- A medium saucepan — wide enough to stir comfortably and maintain an even simmer.
- A wooden spoon or heatproof spatula — for stirring without scratching your pan.
- A small measuring set — especially for the quarter- and half-teaspoon extracts.
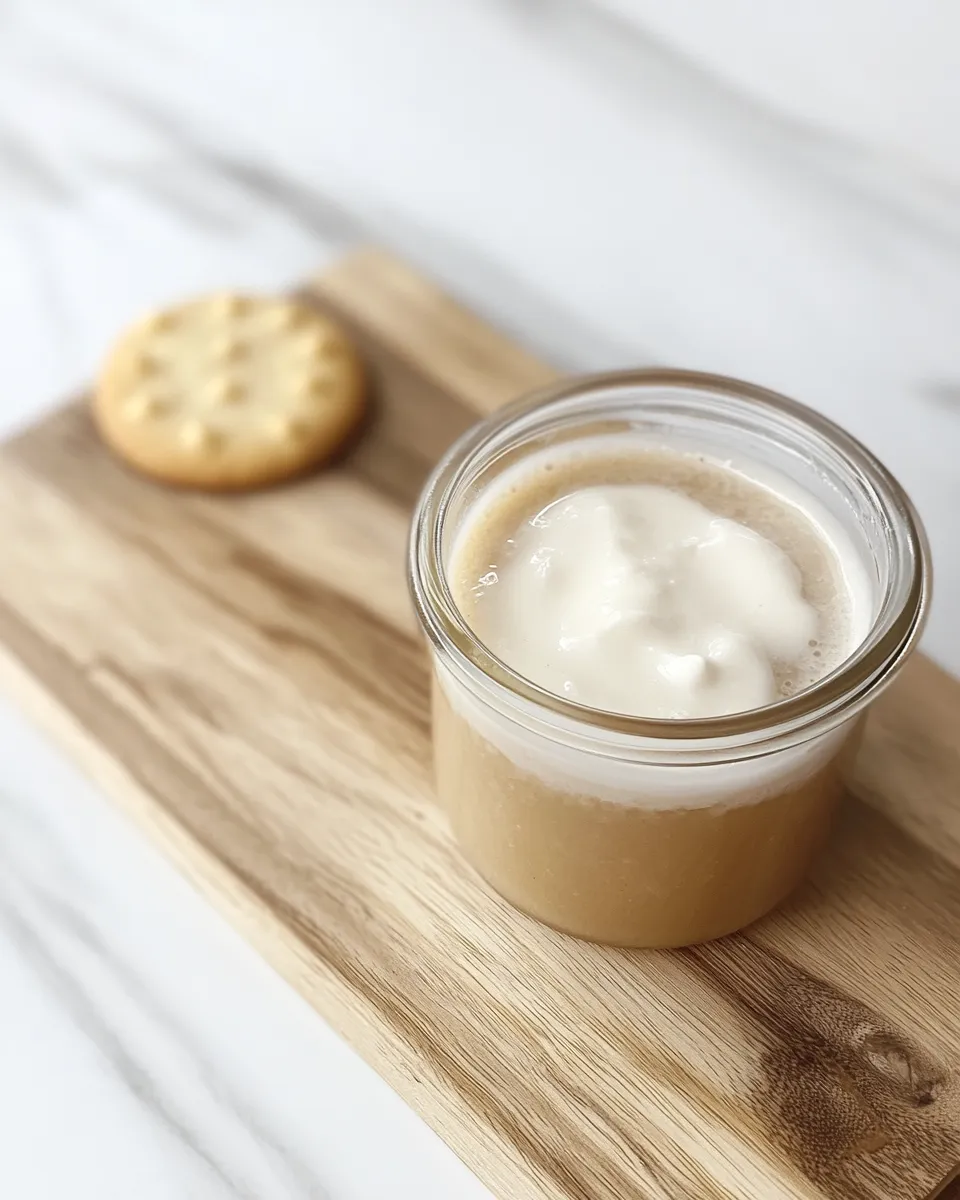
- An airtight jar or bottle for storage — a clean glass jar with a tight lid keeps the syrup fresh and easy to pour.
- Optional: a fine-mesh strainer if you add citrus zest or spices and want a perfectly clear syrup.
Frequent Missteps to Avoid
Handy habits prevent disappointment. Here are the missteps I see most:
- Walking away during the simmer. Maintain a gentle simmer for the full 20 minutes. If the heat is too high, the syrup can reduce too quickly or take on a slightly toasted flavor you might not want.
- Adding extracts while the syrup is boiling. Add them off the heat. High heat dissipates volatile flavor compounds and reduces their impact.
- Overusing extracts. A little extract goes a long way. Follow the amounts given and taste on a small spoon before adding more.
- Storing in a warm place. Keep the syrup refrigerated. Room temperature speeds degradation and can shorten its useful life.
Year-Round Variations
This syrup adapts well to the seasons. Keep the base the same and tweak the additives to match what’s fresh or in season.
- Spring: fold a teaspoon of floral syrup (like lavender) after cooling for a delicate twist, or stir in citrus zest for brightness.
- Summer: use the syrup to sweeten iced drinks and lemonades; dilute to taste for flavored iced tea or spritzers.
- Fall: add a cinnamon stick to the pot while simmering; remove it before cooling for a cozy spice note.
- Winter: boost the butter extract slightly and use the syrup in hot toddies or holiday lattes.
Cook’s Commentary
I make a batch every couple of weeks during the colder months and keep a small jar in the fridge. It’s my shortcut for when I want a cookie-like flavor without baking. The extracts are the trick — each one has a job. Almond gives an almond-cookie undertone, butter extract simulates that baked, rich mouthfeel, and vanilla smooths the edges.
When I test variations, I taste at room temperature. Cold syrup can mute flavors, so if you sample straight from the fridge you might think it’s weaker than it will be when used in a warm drink. Warm it slightly in a spoon if you want the true aromatic profile.
Store, Freeze & Reheat
Store the syrup in an airtight container in the refrigerator; the directions indicate it keeps up to two weeks. I label the jar with the date so I always know when I made it. If you make larger batches and want to extend the life, freezing in ice cube trays or small containers works well. Freeze for up to three months; thaw in the refrigerator overnight and give it a good stir before using.
To reheat, gently warm the amount you need in a small saucepan or microwave-safe cup — heat just until pourable. Do not boil the syrup after it has been refrigerated; quick, gentle warming preserves the flavor balance. If separation occurs after thawing (rare), a short stir or gentle reheat will bring it back together.
Questions People Ask
Q: Can I use this syrup for cocktails? A: Absolutely. It works well in spirit-forward drinks that benefit from a sweet, buttery note. Start with ½ to 1 tablespoon per cocktail and adjust to taste.
Q: Is this syrup the same as simple syrup? A: It starts as a classic 1:1 simple syrup, but extracts transform it into a flavored syrup meant to mimic sugar-cookie elements. It’s sweeter and more aromatic than plain simple syrup.
Q: Can I substitute extracts for real ingredients? A: Extracts are concentrated flavor compounds and are used here for convenience and clarity of flavor. If you prefer whole ingredients (like real butter), you can experiment, but results will differ and may alter shelf life and texture.
Q: Will the syrup thicken when chilled? A: It will thicken slightly but should remain pourable straight from the fridge. If it becomes too viscous for your use, warm a small amount to loosen it.
Make It Tonight
Gather the five ingredients, a medium saucepan, and a jar. Follow the six steps exactly: dissolve sugar into water, simmer gently for 20 minutes, remove from heat, stir in the extracts, cool, and refrigerate. Use the syrup within two weeks, and remember the practical tips: add extracts off heat, simmer gently, and store cold.
There’s no special technique hidden here — just consistent heat and measured flavor. Make a jar tonight and keep one in the fridge for coffee tomorrow morning, pancakes on the weekend, or a quick drizzle over vanilla ice cream. Little steps like this are how simple, dependable recipes become part of your routine.
Homemade Sugar Cookie Syrup Recipe
Equipment
- Medium Saucepan
- Spoon
- Airtight container
Ingredients
Ingredients
- 1 cupWater
- 1 cupSugar
- 1/4 teaspoonAlmond Extract
- 1/2 teaspoonButter Extract
- 1 teaspoonVanilla Extract
Instructions
Instructions
- Combine 1 cup water and 1 cup sugar in a medium saucepan.
- Place the saucepan over medium heat and stir until the sugar is completely dissolved.
- Once dissolved, bring the mixture to a gentle simmer, reduce the heat to maintain a gentle simmer, and cook for 20 minutes, stirring occasionally.
- Remove the saucepan from the heat and stir in ¼ teaspoon almond extract, ½ teaspoon butter extract, and 1 teaspoon vanilla extract.
- Let the syrup cool to room temperature.
- Transfer the cooled syrup to an airtight container and refrigerate; store up to two weeks.
Notes
Almond extract is very strong, so be careful when adding it
Play around with different extracts to make different kinds of "cookie" syrups!