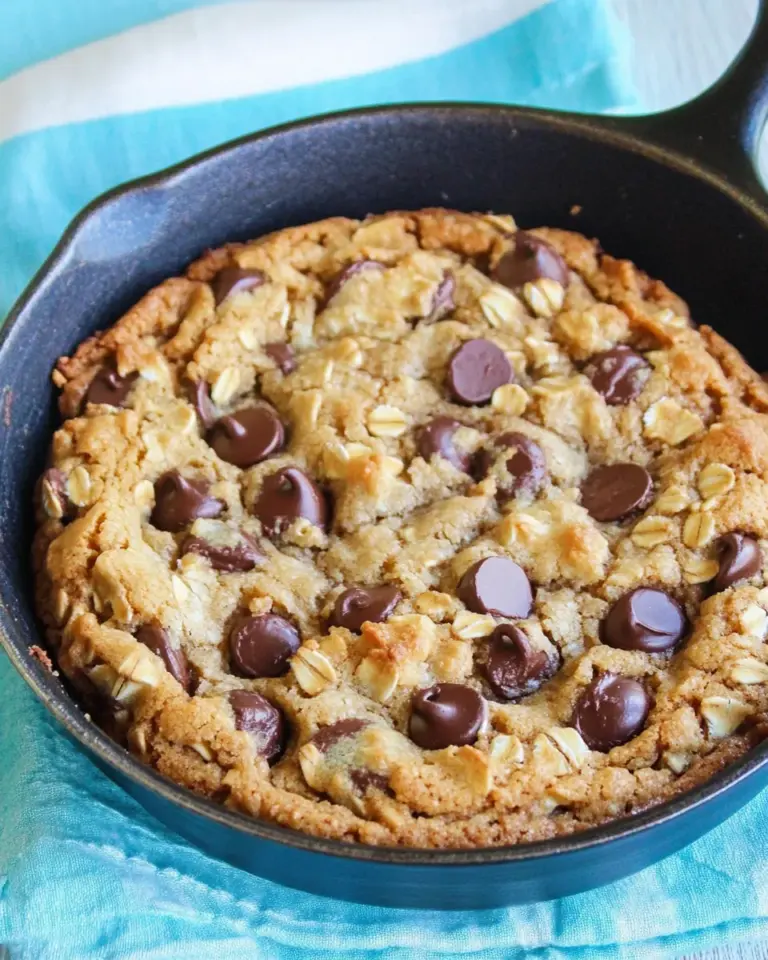
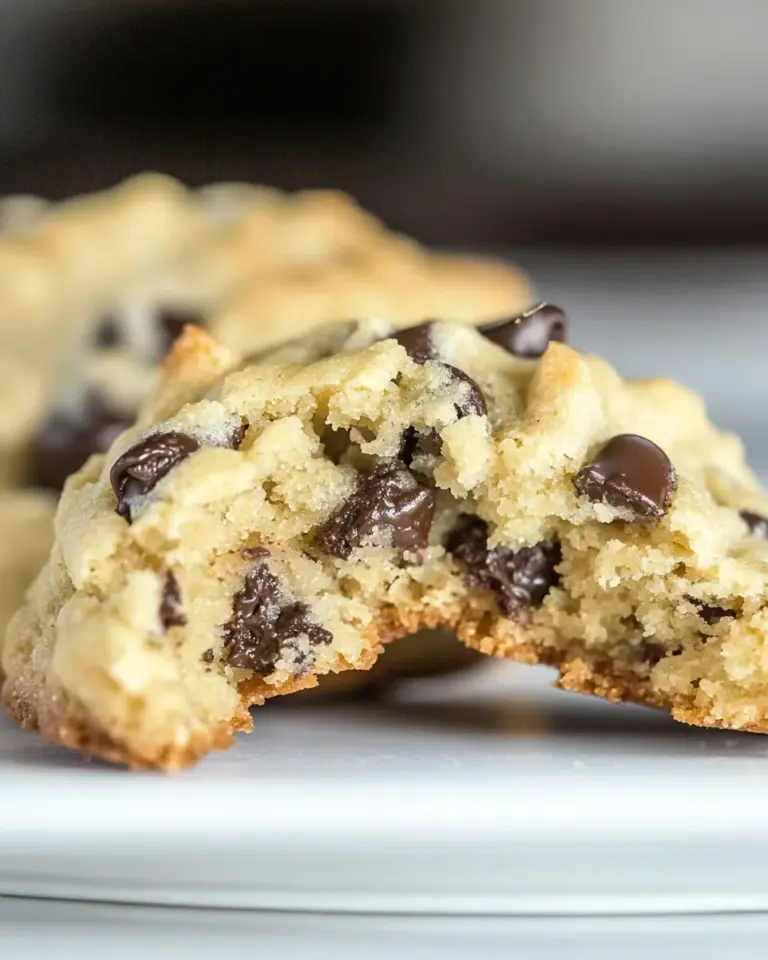
These cookie bars are the kind of dessert I make when I want something reliably better-than-cookie but without the fuss of scooping dozens of rounds. They bake in a single 9×13 pan, which means one browned butter aroma filling the kitchen and one pan to wash. The brown butter gives a deep nutty flavor; the two kinds of chocolate make every bite both sweet and rounded, and the Maldon on top keeps them savory and addictive.
You’ll find the method straightforward and forgiving: brown the butter carefully, mix, press the batter into the pan, and bake. There are a few small moves that make a big difference, and I’ll point them out as we go. If you like approachable desserts that reward a little attention, these bars will become a favorite.
What to Buy
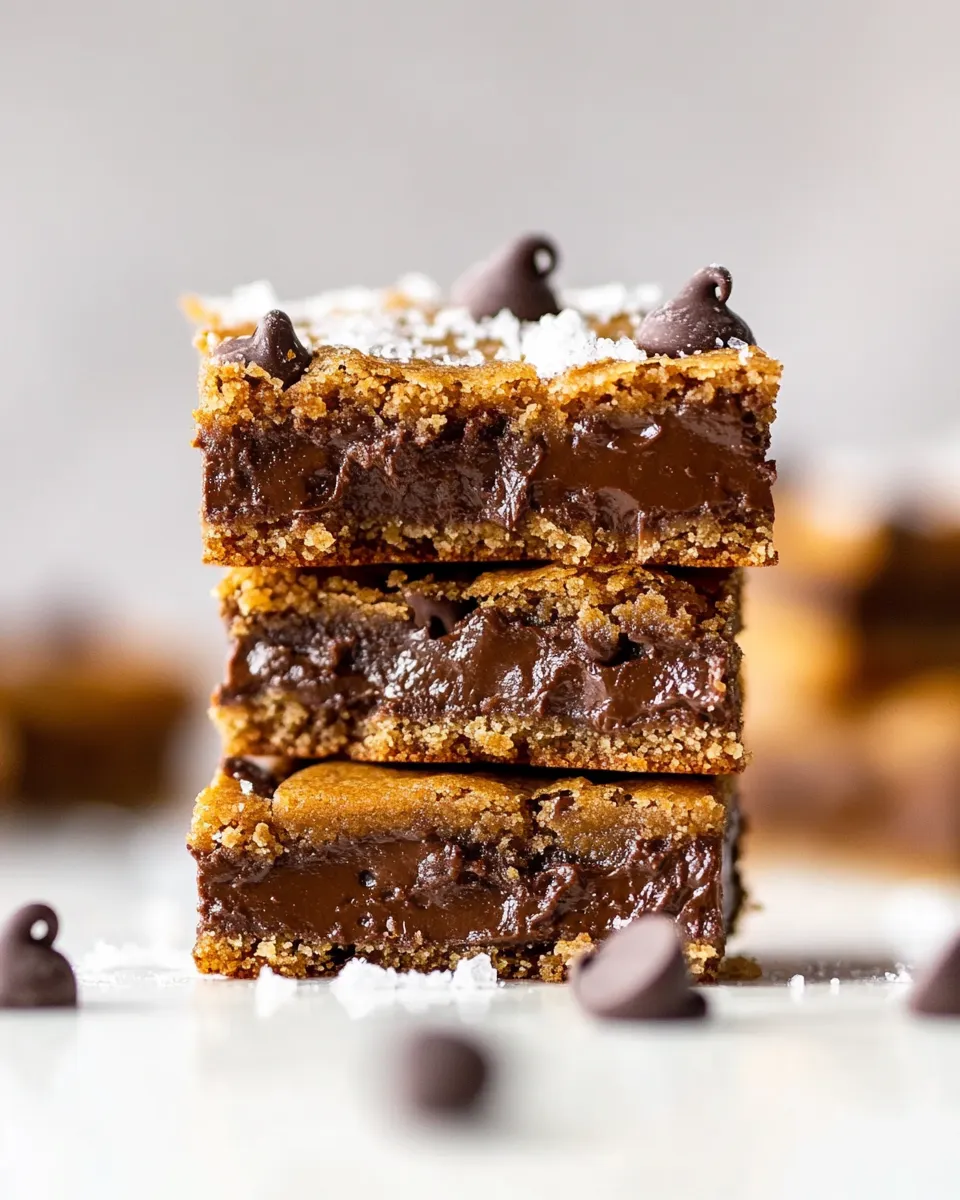
Buy good butter and two types of chocolate if you can — the difference is noticeable. Light brown sugar adds moisture and a mild molasses note; the milk and dark chips play off one another so the bars aren’t cloying. The Maldon flaked salt is optional but highly recommended for the final contrast.
Ingredients
- 1 cup unsalted butter — browning this develops the recipe’s nutty backbone; start with unsalted so you control final salt.
- 1 1/2 cups light brown sugar, loosely packed — adds moisture and caramel undertones; loosen the pack to measure accurately.
- 2 eggs, lightly beaten — bind the bars and give them a tender crumb; beat lightly so they incorporate easily.
- 1 tablespoon vanilla extract — rounds and brightens the chocolate flavor; use pure vanilla if possible.
- 2 cups all-purpose flour — structure for the bars; spoon and level the flour when measuring for consistency.
- ½ teaspoon baking soda — a touch of lift so the center sets but stays chewy.
- ½ teaspoon salt — balances sweetness; measured dry salt is in the dough, additional Maldon is for topping.
- 1 cup milk chocolate chips — adds creamy sweetness and soft melting pockets.
- 1 cup dark chocolate chips — provides depth and slight bitterness to balance the milk chips.
- Maldon flaked salt, for topping — finish with flakes to enhance flavor and add a crunch contrast.
Salted Brown Butter Chocolate Chip Cookie Bars: Step-by-Step Guide
- Preheat the oven to 350°F (175°C). Have a 9×13-inch baking dish ready.
- In a small bowl, whisk together the 2 cups all-purpose flour, ½ teaspoon baking soda, and ½ teaspoon salt; set aside.
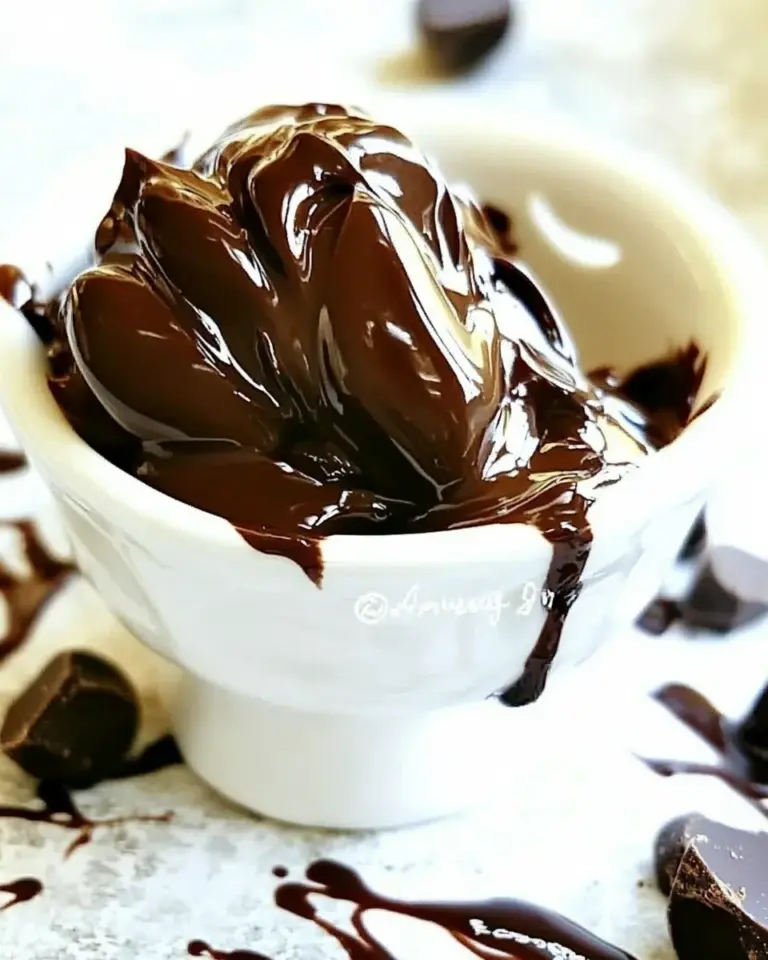
- Place the 1 cup unsalted butter in a skillet over medium heat. Stir or swirl occasionally as it melts. Cook until the butter foams and the milk solids turn golden brown and small brown bits appear on the bottom of the pan, stirring as needed.
- As soon as brown bits appear, remove the skillet from the heat and continue stirring for about 30 seconds to finish browning. Allow the browned butter to cool slightly so it is warm but not scalding.
- Using a pastry brush, brush some of the browned butter over the bottom and sides of the 9×13-inch dish to grease it.
- Place the 1 1/2 cups light brown sugar (loosely packed) in a large bowl. Pour the warm browned butter into the sugar and mix with a spatula or wooden spoon until combined and smooth; the sugar will soften.
- Add the 2 lightly beaten eggs to the sugar-butter mixture one at a time, stirring after each addition so the eggs incorporate and do not cook from the remaining heat. Stir in the 1 tablespoon vanilla extract.
- Add the reserved dry ingredients to the wet ingredients and stir with a wooden spoon or spatula until the flour is almost fully incorporated; avoid overmixing.
- Stir in the 1 cup milk chocolate chips and 1 cup dark chocolate chips until they are evenly distributed through the batter.
- Press the batter evenly into the prepared 9×13-inch dish.
- Bake in the preheated oven for 25–30 minutes, or until the top is golden brown and the center is set.
- Remove the pan from the oven and immediately sprinkle the top with Maldon flaked salt.
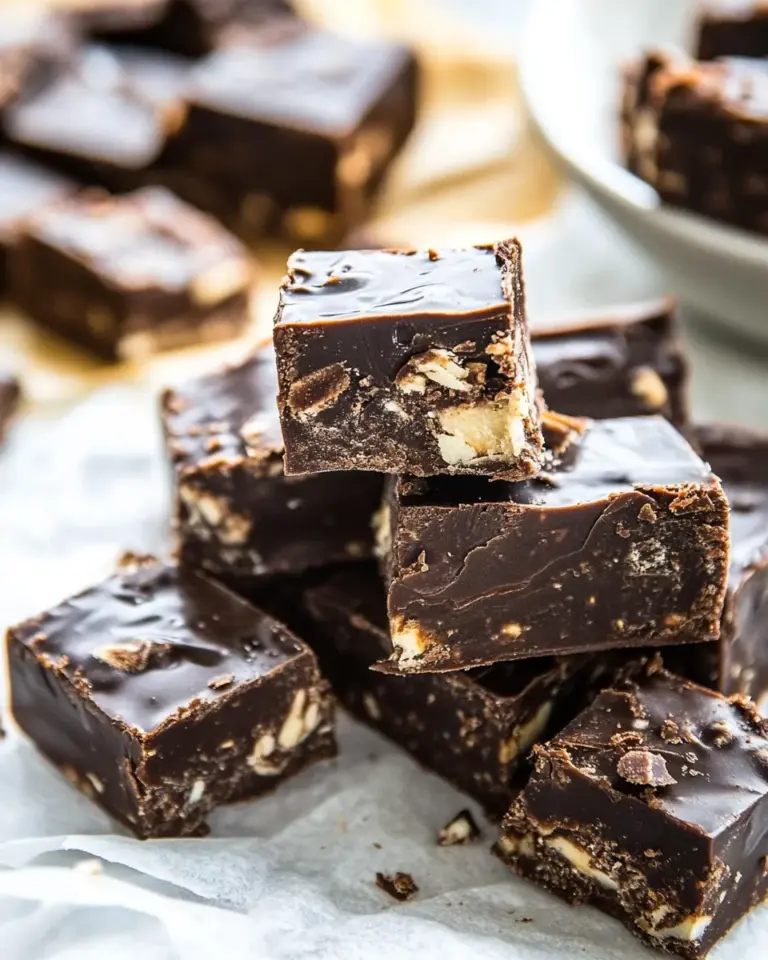
- Let the bars cool completely in the pan on a wire rack before slicing into squares.
Why This Recipe Belongs in Your Rotation
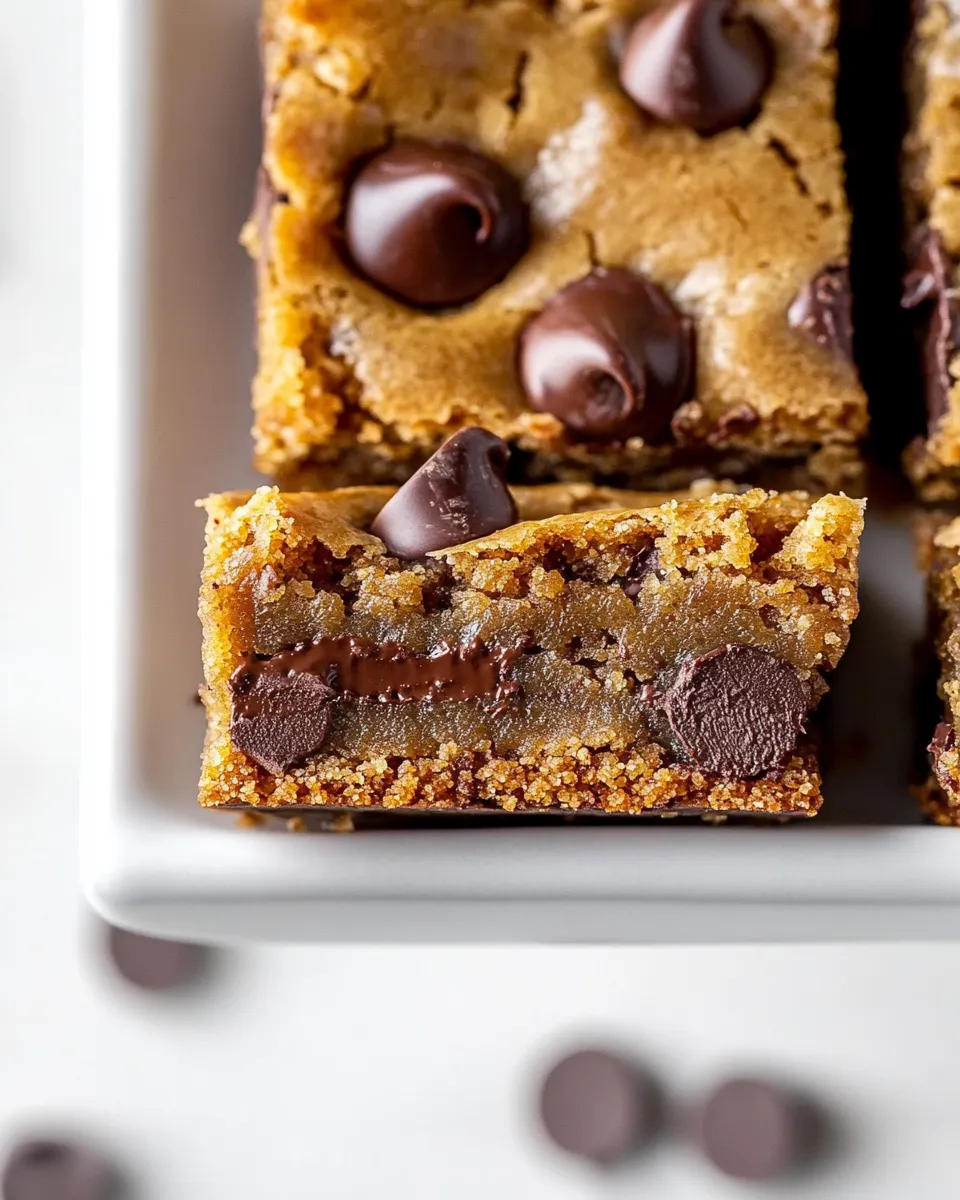
One pan, a short hands-on time, and a result that looks and tastes like you spent twice as long. These bars are a reliable option for potlucks, school lunches, or an after-dinner treat. The combination of brown butter and two chocolates gives complexity without extra effort. They slice neatly once cooled, travel well, and keep their chew — so they’re practical as well as delicious.
Also: the formula is forgiving. The batter tolerates minor measurement slips and still produces a great texture. If you want a dessert that wins compliments with minimal stress, these bars should be in your toolkit.
What to Use Instead
If you don’t have the exact components on hand, here are safe swaps that won’t break the recipe:
- Unsalted butter — if you only have salted, reduce the added ½ teaspoon salt in the dry mix to 1/4 teaspoon to avoid over-salting.
- Light brown sugar — dark brown sugar will give a more pronounced molasses flavor and deeper color; it’s an easy swap if you like that note.
- Milk or dark chocolate chips — you can use all one type if you prefer a uniform chocolate profile. Chopped chocolate bars work fine too; they create larger pockets of melted chocolate.
- Maldon flaked salt — any flaky finishing salt or a quick pinch of coarse sea salt will still provide contrast, though flakes are best for texture.
Cook’s Kit
Essentials
- 9×13-inch baking dish — size matters here for correct thickness and baking time.
- Skillet for browning butter — stainless or light-colored pans make it easier to see the brown bits forming.
- Wooden spoon or spatula — for mixing without overworking.
- Wire rack — for cooling so the bars set properly and don’t steam in the pan.
Nice-to-Have
- Pastry brush — for greasing the pan with browned butter.
- Instant-read thermometer — not necessary, but it helps verify the butter has stopped sizzling and is cooling.
Slip-Ups to Skip
Brown butter can go from perfect to burned in seconds. Watch closely, stir frequently, and remove from heat as soon as you see amber brown solids forming. Continuing to cook in the pan off-heat for about 30 seconds helps carryover browning without burning.
Don’t add eggs while the butter is too hot. If you pour piping-hot fat onto eggs, they can scramble. The instructions account for this: let the browned butter cool slightly, and add eggs one at a time, stirring to incorporate.
Avoid overmixing once you add flour. Stir until the flour is almost fully incorporated; small streaks are okay. Overworked dough leads to tougher bars.
Season-by-Season Upgrades
Spring: Fold in a cup of toasted nuts (pecans or walnuts) for a fresh crunch. Add a teaspoon of lemon zest if you want a subtle lift against the chocolate.
Summer: Mix in ½ cup dried cherries or raspberries for brightness. Serve slightly warm with a scoop of vanilla ice cream for a picnic-friendly dessert.
Fall: Swap half the milk chips for butterscotch chips and add 1 teaspoon ground cinnamon to the dry mix for cozy, spiced undertones.
Winter: Stir in 1–2 teaspoons espresso powder with the brown butter to intensify the chocolate, or add a sprinkle of crushed candy cane on top for the holidays.
Behind the Recipe
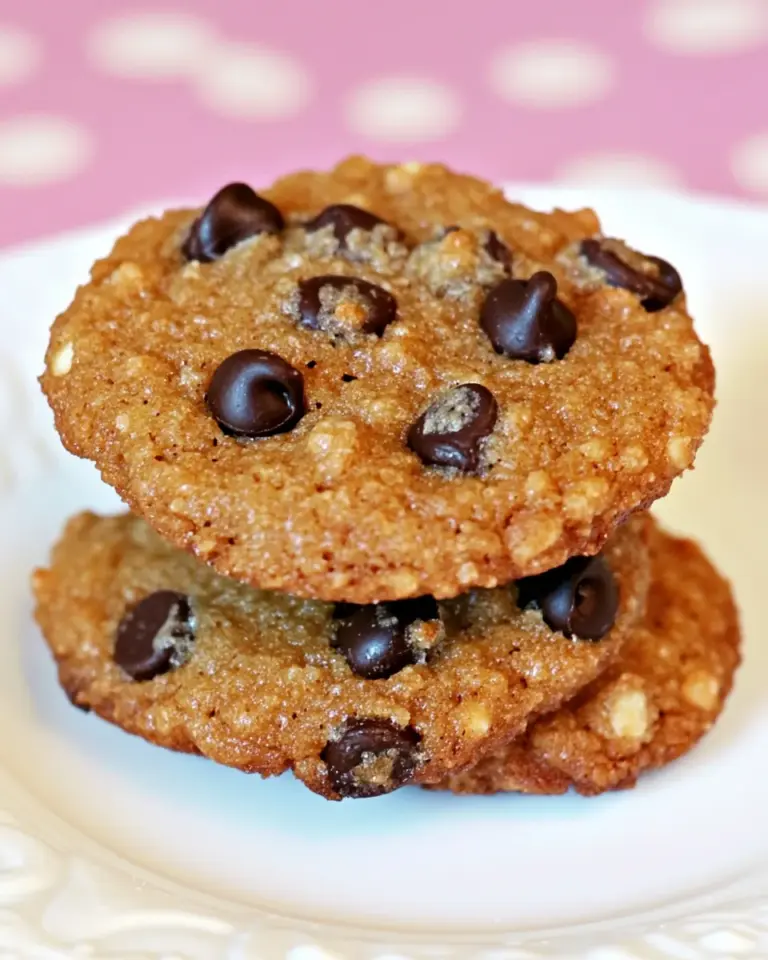
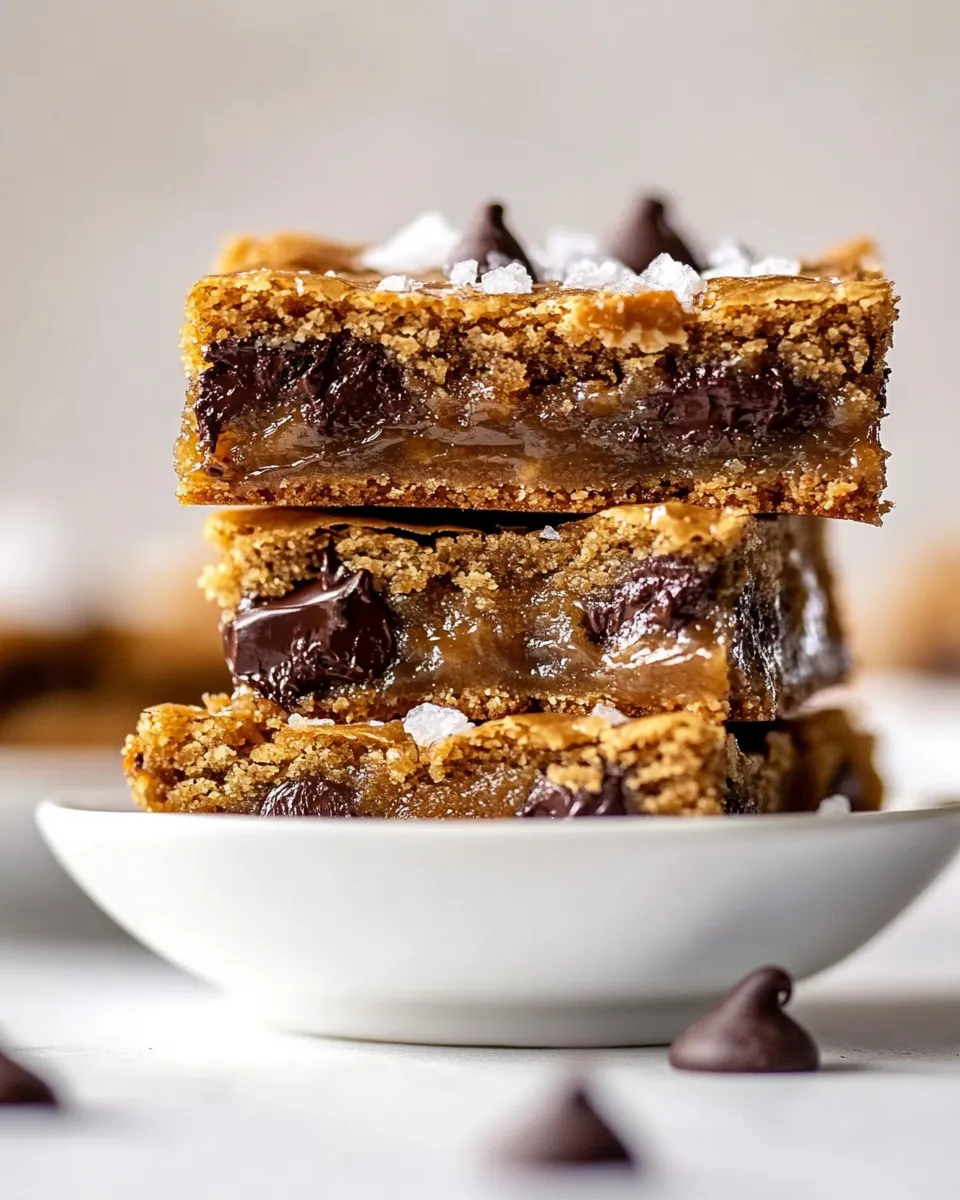
Brown butter is the star here. When butter melts and the milk solids begin to caramelize, they produce those nutty, toffee-like flavors that elevate simple cookies and bars. Using both milk and dark chocolate chips creates a layered chocolate experience: milk chips bring softness and sweetness, dark chips contribute depth and balance.
Pressing the batter into a pan rather than piping or scooping yields a consistent thickness and a chewy edge-to-center texture. The Maldon flaked salt finish is used immediately after baking so the flakes adhere and their crisp texture remains.
Shelf Life & Storage
Room temperature: Store bars in an airtight container at room temperature for up to 3 days. They stay soft and chewy.
Refrigerator: For longer storage, refrigerate up to 7 days. Bring to room temperature before serving to soften the chocolate and refresh the texture.
Freezer: Freeze slices individually wrapped in plastic wrap and placed in a freezer bag for up to 3 months. Thaw at room temperature; reheat briefly in a low oven or microwave for a few seconds to revive that just-baked feel.
Frequently Asked Questions
Q: Can I skip browning the butter and just melt it?
A: You can, but you’ll miss the nutty, toffee-like depth that browning provides. If you’re short on time, melted butter still works but the bars won’t taste quite the same.
Q: My top browned before the center was set. What happened?
A: Oven hotspots or a slightly thinner batter can cause this. Rotate the pan halfway through baking if your oven runs uneven. If the top is browning too quickly, tent loosely with foil for the last 5–10 minutes.
Q: Can I make this vegan?
A: The recipe relies on eggs and butter for structure and flavor, so converting requires more than a simple swap. There are vegan bar recipes built on different binders and fats that will give better results than attempting a direct substitution.
Bring It Home
These Salted Brown Butter Chocolate Chip Cookie Bars are honest baking: not fussy, but purposeful. Brown the butter with patience, mix just enough to bring everything together, and finish with a scattering of flaky salt. The result is bars that travel well, please the crowd, and deliver the kind of depth you usually find in an artisan bakery.
Make them when you want a dessert that shows you care without stealing your evening. Slice, serve, and save a few for yourself — they hold up well to being revisited with a coffee or a glass of milk.
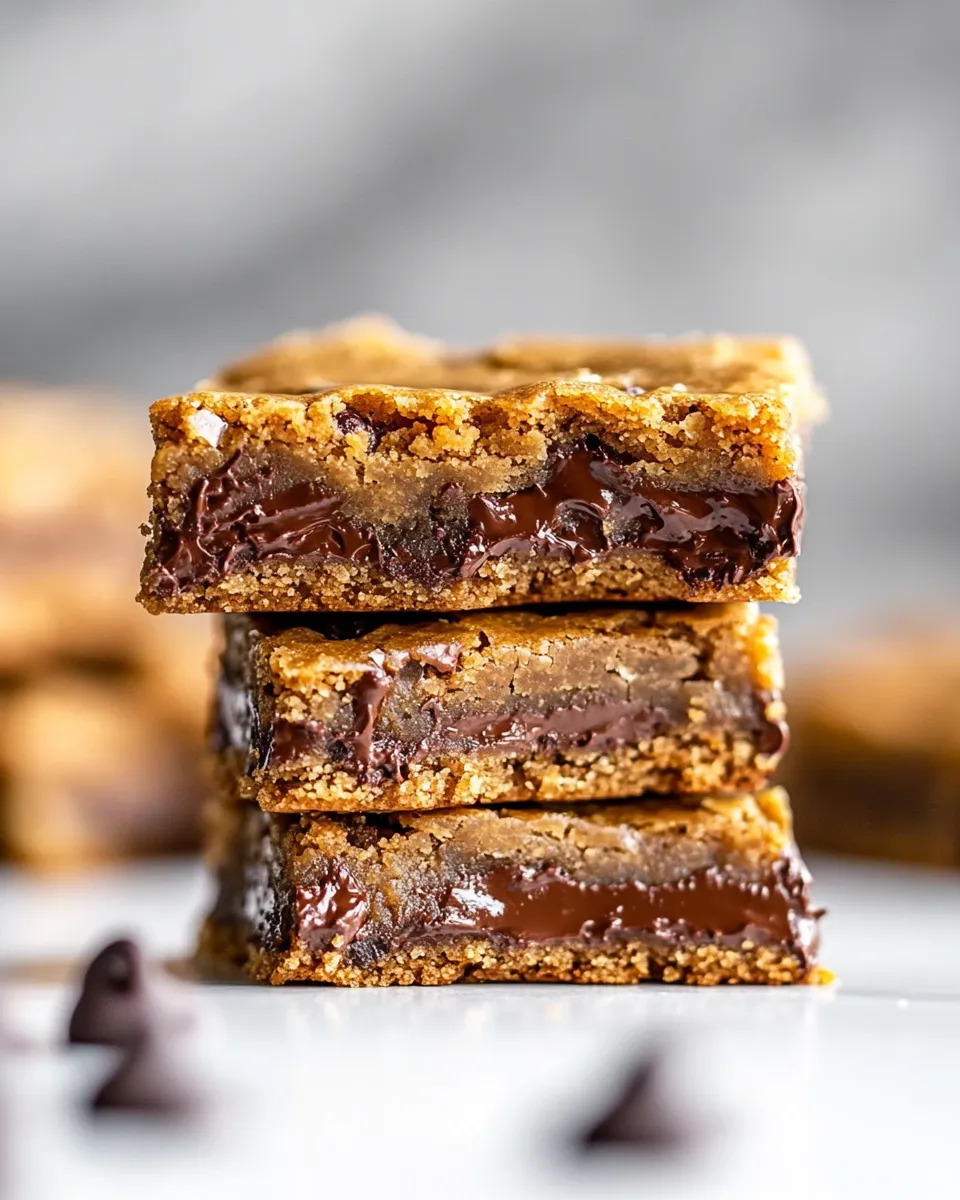
Salted Brown Butter Chocolate Chip Cookie Bars.
Equipment
- 9x13 inch Baking Dish
- Skillet
- Small Bowl
- Large Bowl
- Wooden Spoon
- Spatula
- Pastry Brush
- Wire Rack
- Oven
Ingredients
Ingredients
- 1 cupunsalted butter
- 1 1/2 cupslight brown sugar loosely packed
- 2 eggs lightly beaten
- 1 tablespoonvanilla extract
- 2 cupsall-purpose flour
- 1/2 teaspoonbaking soda
- 1/2 teaspoonsalt
- 1 cupmilk chocolate chips
- 1 cupdark chocolate chips
- maldon flaked salt for topping
Instructions
Instructions
- Preheat the oven to 350°F (175°C). Have a 9x13-inch baking dish ready.
- In a small bowl, whisk together the 2 cups all-purpose flour, ½ teaspoon baking soda, and ½ teaspoon salt; set aside.
- Place the 1 cup unsalted butter in a skillet over medium heat. Stir or swirl occasionally as it melts. Cook until the butter foams and the milk solids turn golden brown and small brown bits appear on the bottom of the pan, stirring as needed.
- As soon as brown bits appear, remove the skillet from the heat and continue stirring for about 30 seconds to finish browning. Allow the browned butter to cool slightly so it is warm but not scalding.
- Using a pastry brush, brush some of the browned butter over the bottom and sides of the 9x13-inch dish to grease it.
- Place the 1 1/2 cups light brown sugar (loosely packed) in a large bowl. Pour the warm browned butter into the sugar and mix with a spatula or wooden spoon until combined and smooth; the sugar will soften.
- Add the 2 lightly beaten eggs to the sugar-butter mixture one at a time, stirring after each addition so the eggs incorporate and do not cook from the remaining heat. Stir in the 1 tablespoon vanilla extract.
- Add the reserved dry ingredients to the wet ingredients and stir with a wooden spoon or spatula until the flour is almost fully incorporated; avoid overmixing.
- Stir in the 1 cup milk chocolate chips and 1 cup dark chocolate chips until they are evenly distributed through the batter.
- Press the batter evenly into the prepared 9x13-inch dish.
- Bake in the preheated oven for 25–30 minutes, or until the top is golden brown and the center is set.
- Remove the pan from the oven and immediately sprinkle the top with Maldon flaked salt.
- Let the bars cool completely in the pan on a wire rack before slicing into squares.
Notes
slightly adapted from
food network