I make these peanut butter cups whenever I need a small, confident dessert that feels like a treat but doesn’t require a whole afternoon. They’re straightforward, forgiving, and perfect for sharing. The process is mostly about melting chocolate, mixing a quick peanut-butter filling, and letting the fridge do the heavy lifting.
There’s something honest about a recipe with four ingredients that still tastes like indulgence. You don’t need fancy tools. A mini muffin pan or silicone candy mold, a bowl, and a microwave are all that stand between you and a batch of glossy, sealed cups. I’ll walk you through exact steps and common pitfalls so your first batch is also your best batch.
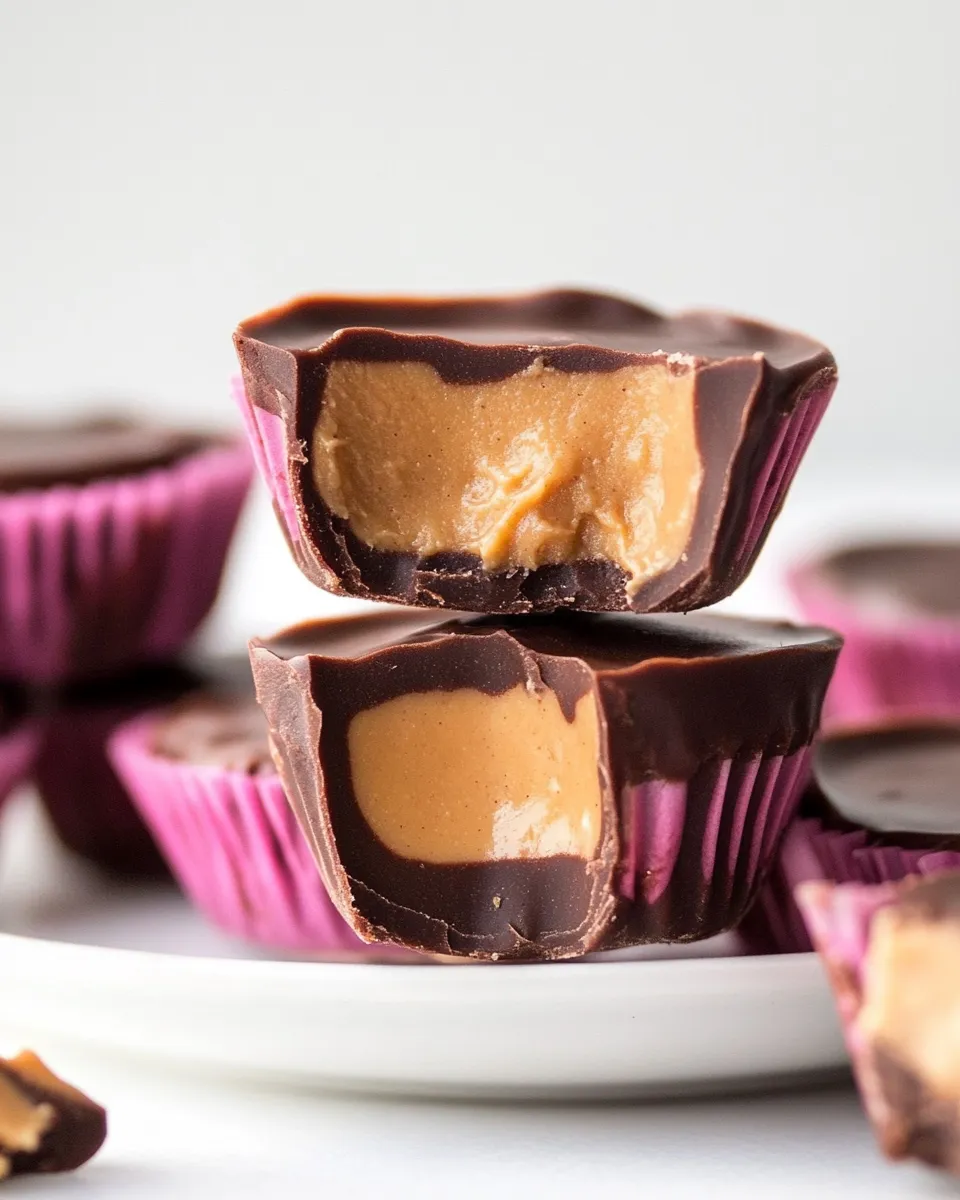
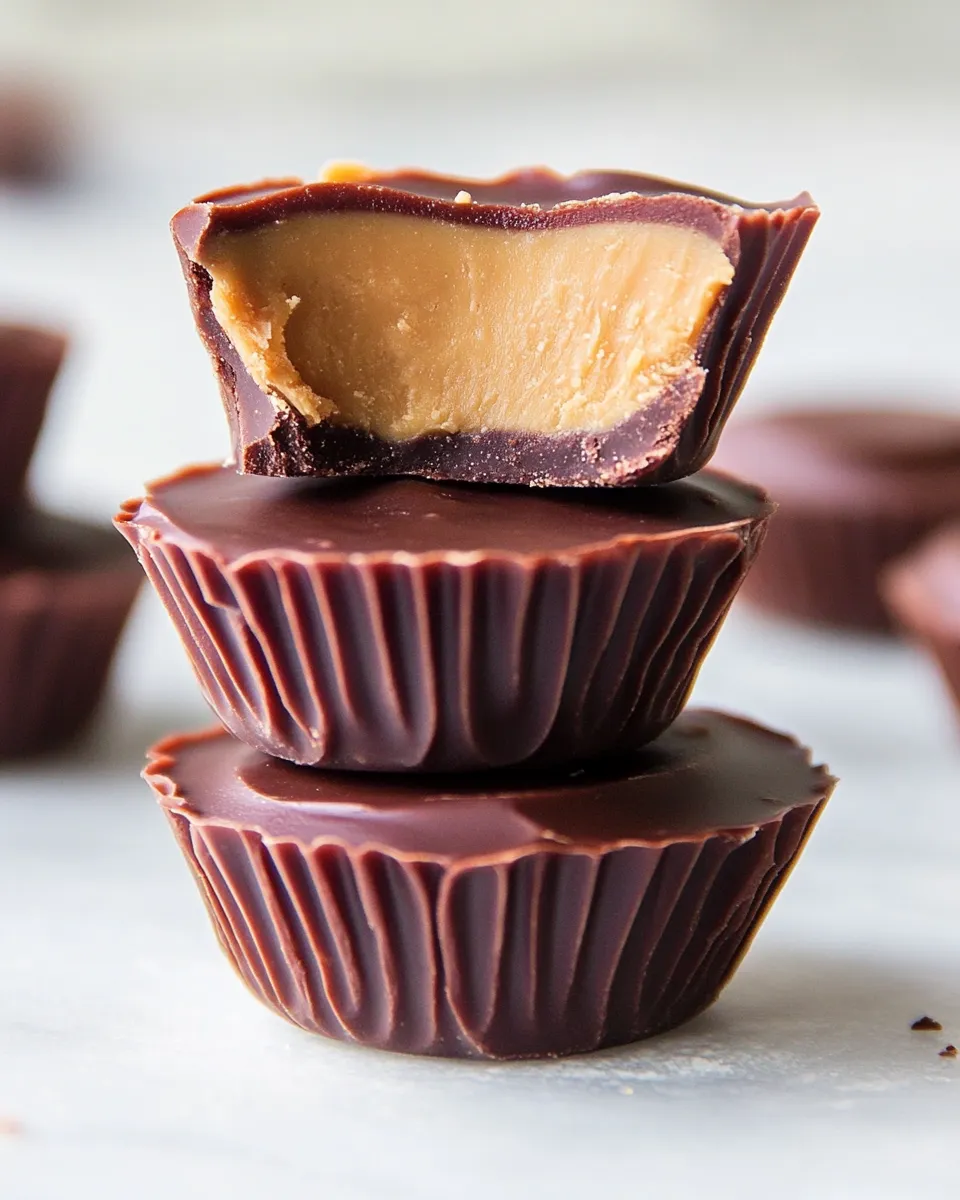
These are great to make with kids, give as gifts, or keep in the fridge for quick bites. The texture contrast—firm chocolate exterior and soft, slightly sweet peanut filling—hits every comfort note. Read on for the ingredient checklist, precise step-by-step directions, helpful tips, and my favorite ways to adapt them.
Ingredient Checklist
- 1 cup peanut butter, melted — forms the filling; melt briefly to loosen the peanut butter for easy stirring and smooth spooning.
- 4 sheets graham crackers, finely crushed — adds body and a subtle crunch to the filling; crush finely so the texture stays even.
- 3 tablespoons maple syrup — sweetens and slightly loosens the filling; maple adds a rounded sweetness that pairs with chocolate.
- 1 pound chocolate bar, chopped — the shell and top coat; chop evenly so it melts uniformly in the microwave.
Step-by-Step: Homemade Peanut Butter Cups
- Line a mini muffin pan with paper liners or use a silicone candy mold; set aside.
- Place 1 cup peanut butter in a medium microwave-safe bowl. Microwave for 15–20 seconds to soften, then stir until smooth.
- Add the finely crushed crumbs from 4 sheets of graham crackers and 3 tablespoons maple syrup to the softened peanut butter. Stir until the mixture is evenly combined; set aside.
- Chop 1 pound chocolate bar and put the pieces in a microwave-safe bowl.
- Microwave the chopped chocolate in 30-second intervals, stirring between each interval, until the chocolate is mostly melted and smooth. When only a few small pieces remain, remove from the microwave and continue stirring until fully melted. Do not overheat.
- Spoon a small amount of melted chocolate (just enough to cover the bottom) into each liner or mold to form a chocolate base. Tap the pan gently on the counter to level the chocolate.
- Place about one teaspoon of the peanut butter mixture into the center of each chocolate-lined cup, leaving a small border at the edge so the top chocolate can seal.
- Spoon melted chocolate over each peanut butter mound to fully cover and seal the filling. Tap the pan gently to remove air bubbles and level the tops.
- Refrigerate the peanut butter cups for 20–30 minutes, or until the chocolate is firm and set.
- If desired, rewarm any leftover chopped chocolate until melted and drizzle over the set cups for decoration.
Why It’s My Go-To
These peanut butter cups are fast and reliable. There’s little finesse required and the results reward basic kitchen skills. Few desserts deliver that snap of tempered chocolate and a soft, sweet center without a lot of fuss.
I appreciate recipes that let me control sweetness and texture. The maple syrup in the filling gives a gentle, natural sweetness that balances the chocolate. The graham cracker crumbs stabilize the peanut butter so the filling isn’t runny, which keeps the cups neat and easy to eat.
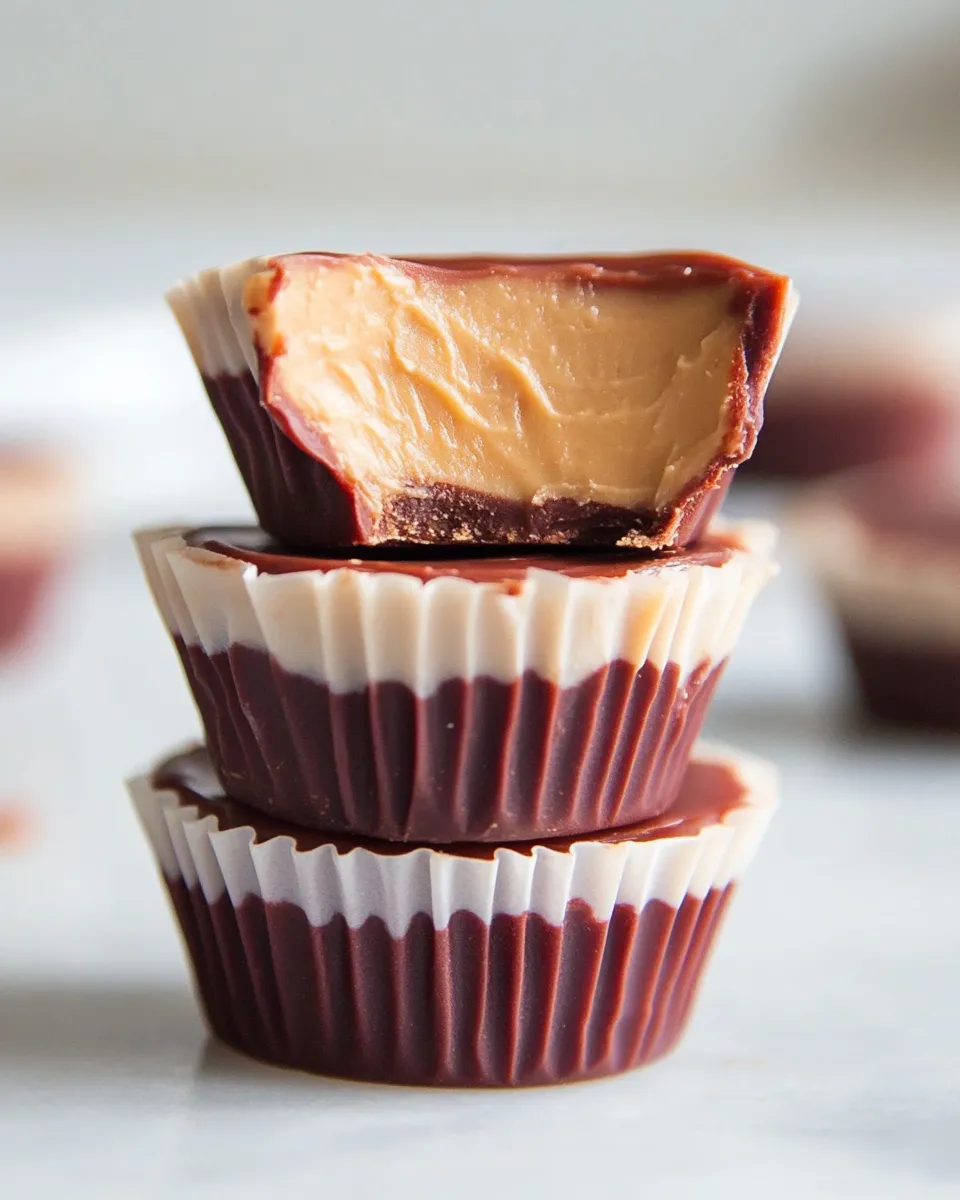
Finally, they’re versatile. Make them mini for bite-sized treats or double the filling for a chunkier center. I keep a batch in the fridge for post-dinner cravings, and they never last long.
Budget & Availability Swaps

Chocolate and peanut butter are pantry staples for most people, but you can tweak based on what’s on hand. If a pound of a specific chocolate bar isn’t available, buy chocolate chips or a different bar and adjust chopping as needed. The quality of chocolate affects flavor, but a mid-range semisweet or milk chocolate will make excellent cups.
If graham crackers are hard to find, simple plain cookies or sweet crackers can work as a substitute for texture—crush them finely. For liquid sweetener alternatives, honey or a mild corn syrup can stand in for maple syrup in a pinch; the honey flavor will be more pronounced.
Cook’s Kit
Keep this simple kit ready:
- Mini muffin pan or silicone candy mold — shapes the cups and makes removal easy.
- Paper liners — optional with silicone; they make serving and storing cleaner.
- Microwave-safe bowls — one for peanut butter, one for chocolate.
- Spoons and a small cookie scoop or teaspoon — for portioning chocolate and filling evenly.
- Plastic wrap or airtight container — for chilling and storing finished cups.
Frequent Missteps to Avoid
There are a few small things that can derail an otherwise easy batch. Pay attention to temperature and portioning; those are the common trouble spots.
- Overheating the chocolate — abide by the 30-second interval rule and stir between bursts. Overheated chocolate can seize or become grainy.
- Filling too close to the edge — leave a small chocolate border so the top coat seals. If the peanut butter touches the pan edge, the top chocolate won’t adhere well.
- Skipping the gentle taps — tapping removes air bubbles and levels the chocolate so surfaces set smooth.
- Rushing the set time — give the 20–30 minutes in the fridge; cutting into partially set cups can smear the filling.
Holiday-Friendly Variations
These cups are a blank canvas for seasons and celebrations. Small additions or finishing touches can make them feel festive without altering the core recipe.
- Drizzled toppers — a contrasting drizzle of leftover melted chocolate adds a polished look.
- Sprinkles or crushed candy — press a few decorative sprinkles onto the top chocolate before it sets for a holiday pop.
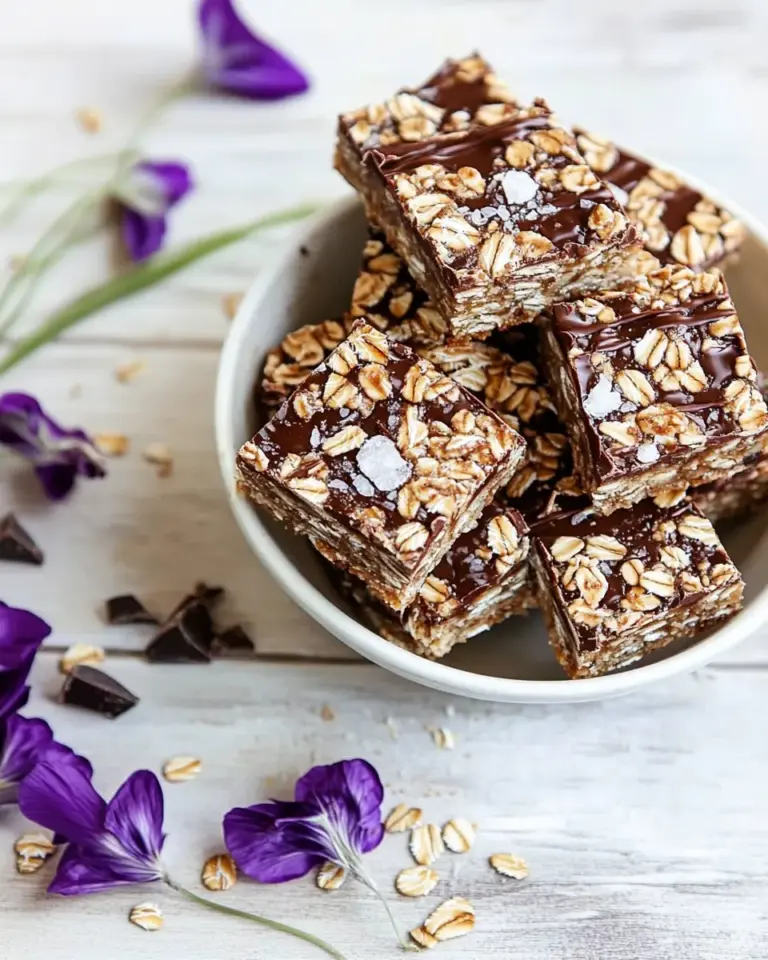
- Salt finish — a tiny flake of sea salt on each cup magnifies chocolate-peanut flavor for an adult-friendly edition.
- Gift presentation — place cooled cups in mini paper liners inside a small box with parchment for a homemade gift.
What Could Go Wrong
Expect a few hiccups the first time. Most problems trace back to temperature or texture balance. If the chocolate looks dull or streaky, it may have overheated or come into contact with moisture. If the filling is too loose, the cups will spread and not hold their shape.
If chocolate is stubbornly thick, brief reheats and thorough stirring will bring it back. If the filling seems dry after adding cracker crumbs, a very small splash of maple syrup or a second teaspoon of peanut butter will balance it; add sparingly so you don’t create a runny center.
Prep Ahead & Store
These peanut butter cups store well. Chill them fully, then transfer to an airtight container.
Keep them in the refrigerator for up to two weeks. If you want to freeze extras, layer parchment between and freeze for up to two months; thaw in the fridge before serving so they don’t sweat.
For gifting, pack chilled cups in a box with ice packs if they’ll be in transit, because chocolate softens quickly in warm conditions.
Common Qs About Homemade Peanut Butter Cups
Q: Can I use crunchy peanut butter?
A: Yes. Crunchy will change the texture inside—more chew and bits—but the recipe works the same.
Q: Do I have to microwave the chocolate? Can I use a double boiler?
A: A double boiler works fine and gives you more control against overheating. The microwave method is faster and perfectly acceptable when you use short intervals and stir frequently.
Q: Will the cups hold at room temperature?
A: They’re best chilled. In cool conditions they’ll hold for a few hours, but if it’s warm, the chocolate will soften. Keep them refrigerated for longer shelf life and firmer bite.
Q: Can I make larger cups?
A: Yes. Use a standard muffin pan or larger molds and increase filling proportionally. Be aware larger cups take longer to set.
That’s a Wrap
These Homemade Peanut Butter Cups are one of my favorite quick projects: doable, adaptable, and reliably delicious. Follow the steps, respect the chocolate, and you’ll have shiny, sealed cups in less than an hour from start to finish. Keep the basic recipe in your back pocket—when you need something small to give, share, or stash away, these do the job beautifully.
Make a tray, taste one warm from the fridge, and then hide the rest if you must. They’re that good.
Homemade Peanut Butter Cups
Equipment
- Equipment
- 1
- Silicone Mold
Ingredients
Ingredients
- 1 cuppeanut buttermelted
- 4 sheetsgraham crackersfinely crushed
- 3 tablespoonsmaple syrup
- 1 poundchocolate barchopped
Instructions
Instructions
- Line a mini muffin pan with paper liners or use a silicone candy mold; set aside.
- Place 1 cup peanut butter in a medium microwave-safe bowl. Microwave for 15–20 seconds to soften, then stir until smooth.
- Add the finely crushed crumbs from 4 sheets of graham crackers and 3 tablespoons maple syrup to the softened peanut butter. Stir until the mixture is evenly combined; set aside.
- Chop 1 pound chocolate bar and put the pieces in a microwave-safe bowl.
- Microwave the chopped chocolate in 30-second intervals, stirring between each interval, until the chocolate is mostly melted and smooth. When only a few small pieces remain, remove from the microwave and continue stirring until fully melted. Do not overheat.
- Spoon a small amount of melted chocolate (just enough to cover the bottom) into each liner or mold to form a chocolate base. Tap the pan gently on the counter to level the chocolate.
- Place about one teaspoon of the peanut butter mixture into the center of each chocolate-lined cup, leaving a small border at the edge so the top chocolate can seal.
- Spoon melted chocolate over each peanut butter mound to fully cover and seal the filling. Tap the pan gently to remove air bubbles and level the tops.
- Refrigerate the peanut butter cups for 20–30 minutes, or until the chocolate is firm and set.
- If desired, rewarm any leftover chopped chocolate until melted and drizzle over the set cups for decoration.