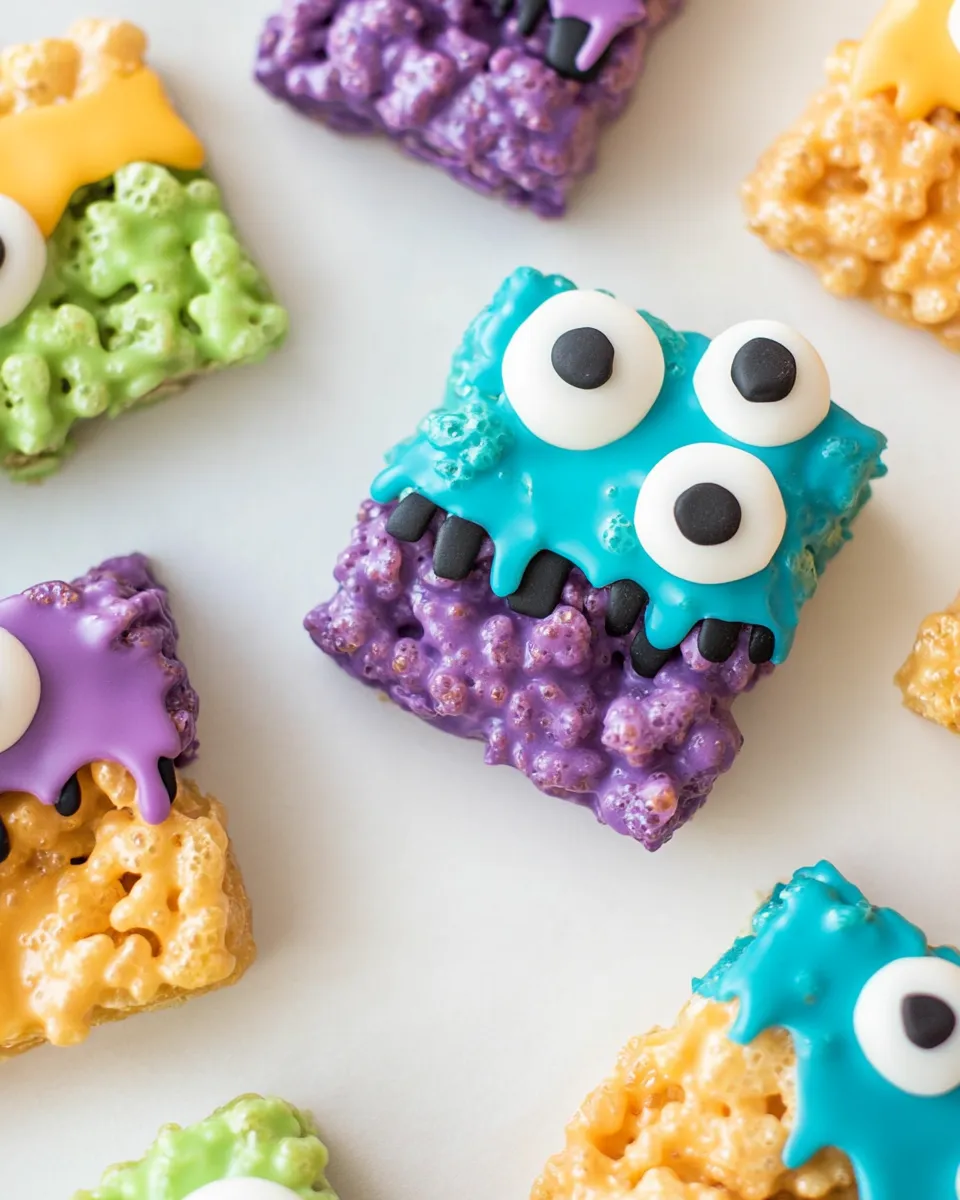
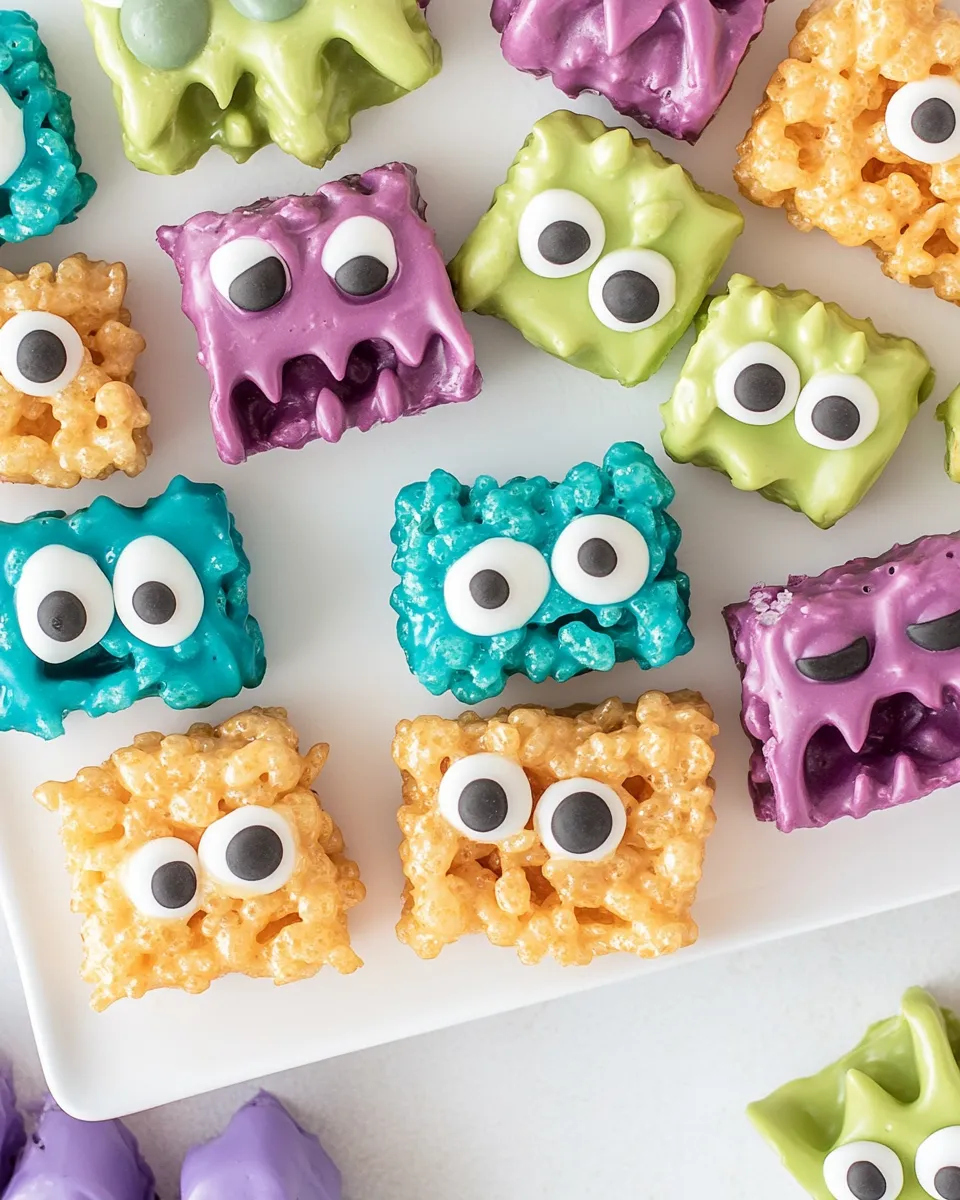
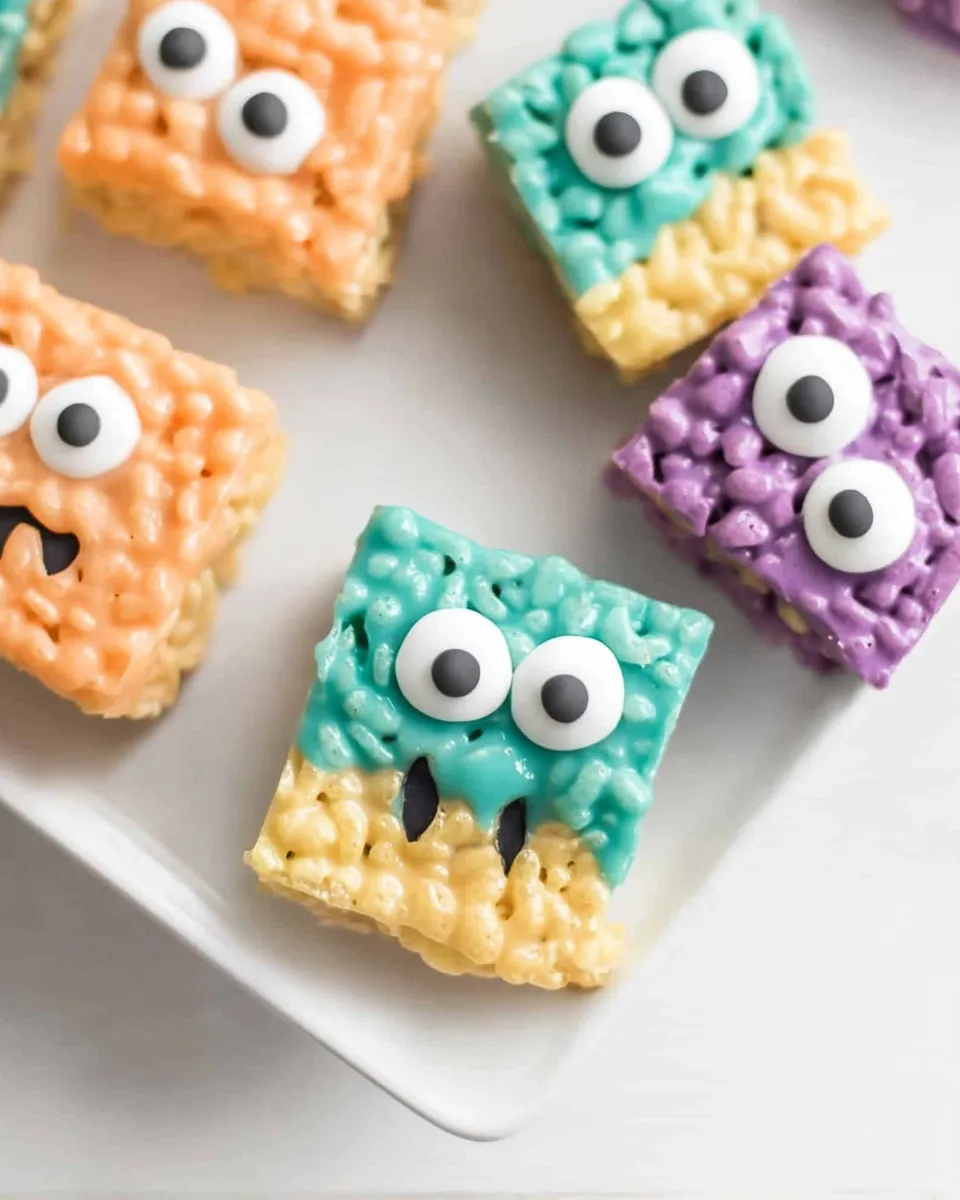
These Monster Rice Krispie Treats are the kind of easy, playful dessert I reach for when I want something that will thrill kids and adults without a lot of fuss. They’re quick to assemble, don’t require baking, and deliver that nostalgic snap-and-chew of a classic Rice Krispie treat with a fun, decorated twist. If you’ve got pre-made bars and a bowl of candy melts, you’re closer to party-ready than you think.
I like making a full tray of these when I know little hands will be around—Halloween parties, classroom events, or just a rainy afternoon. The candy coating gives you a tidy canvas for faces, while the lollipop stick turns each bar into an easy-to-hold pop. They look special, but the technique is straightforward.
No gimmicks: a few minutes melting coating, a steady hand, and a couple of eyes per monster are all you need. Below I walk through the ingredients, the exact step-by-step directions, common mistakes, storage tips, and thoughtful swaps so you can adapt to what’s on your shelf. Let’s get to it.
Ingredients at a Glance
- 12 Rice Krispies Treats — the ready-made base; saves time and ensures consistent shape for dipping.
- 105-140 candy melts (we used Wilton melts) — the coating and color; quantity range lets you adjust for thicker coverage or color changes.
- 48 candy eyes — decorative detail; four eyes per treat makes the “monster” look playful and simple.
- lollipop sticks — handle for dipping and serving; insert securely so treats don’t wobble.
- parchment paper — nonstick resting surface so dipped treats set without sticking.
Mastering Monster Rice Krispie Treats: How-To
- Unwrap all 12 Rice Krispies Treats and set them on a clean work surface.
- Insert one lollipop stick into the bottom center of each treat so each has a handle and can be held securely.
- Line a baking sheet or countertop with parchment paper and set it nearby for the dipped treats.
- Melt 105–140 candy melts according to the package directions, stirring until the coating is smooth and pourable.
- Hold a treat by the stick and dip the top into the melted candy, turning as needed to coat evenly. Allow excess coating to drip back into the bowl, then place the dipped treat on the prepared parchment paper. Repeat for all 12 treats.
- While the coating is still wet, attach the 48 candy eyes to the treats, placing four candy eyes on each treat in the arrangement you like.
- Let the coated treats sit on the parchment paper until the candy coating is completely set and firm before serving or packaging.
Why You’ll Keep Making It
These treats are quick in a way that matters: minimal hands-on time, zero baking, and a dramatic payoff. They look festive and fun, so they’re perfect when you need something that reads “special” without a long ingredient list or complicated skill.
They’re also forgiving. Pre-made Rice Krispies treats mean uniform size and shape; candy melts are forgiving in terms of finish (they don’t need perfect tempering); and the candy eyes hide a lot of minor coating imperfections. If you like simple party food that travels well and pleases a crowd, keep these in your rotation.
Budget & Availability Swaps
- Buy candy melts in bulk or on sale—color variety is usually inexpensive and a little goes a long way.
- If candy eyes are hard to find, check seasonal candy aisles or craft stores; many supermarkets stock them at holidays.
- Pre-made Rice Krispies Treats are fastest; if your local store runs out, you can make one pan of homemade bars and cut them into 12 bars to match the method.
- Lollipop sticks come in different materials—plastic or wooden. Use what’s available; if you only have skewers, trim and blunt the tip before inserting.
Must-Have Equipment
- Microwave-safe or double-boiler-friendly bowl for melting candy melts.
- Spoon or small spatula for stirring and helping with the dip.
- Baking sheet or large flat surface lined with parchment paper for setting.
- Rimmed bowl or wide cup (optional) if you prefer dipping in a deeper container for more even coverage.
- Kitchen timer or phone timer to keep track while melts set—don’t forget to move on to the next step while coating is still wet.
Mistakes That Ruin Monster Rice Krispie Treats
There are a few missteps that turn a quick, charming treat into a sticky or sloppy one. Avoid these common errors:
- Not inserting the stick firmly. If the stick is loose, the treat will wobble during dipping and can break off. Push it in until it feels secure but avoid forcing through to the top.
- Overheating the candy melts. If you scorch or overheat, they’ll thicken or seize. Melt gently following package directions and stir until smooth and pourable.
- Dipping when coating is too hot or too thick. If it’s too hot, it could melt the Rice Krispies surface and make the coating slide off. If it’s too thick, the coating will be globby and heavy. Aim for a smooth, pourable consistency.
- Waiting too long to add the candy eyes. Press them on while the coating is still wet—if you wait, they won’t adhere well and may fall off during packaging or transport.
- Placing treats on a warm or damp surface to set. A cool, dry parchment-lined tray is best to keep the finish even and matte.
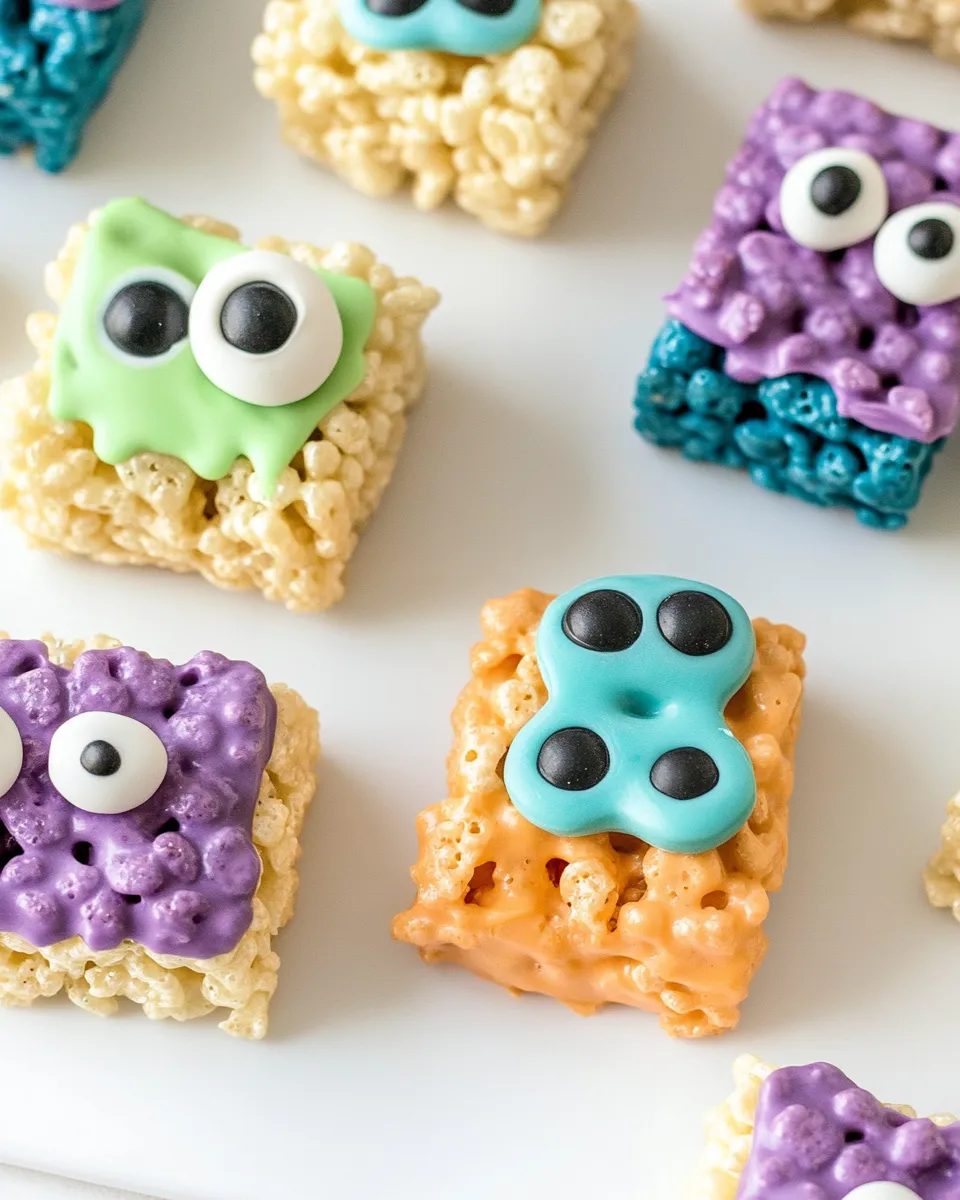
Seasonal Twists
These treats are naturally seasonal simply by switching candy melt colors and eye arrangements. For Halloween, use bright green or purple melts with asymmetrical eye placements for creepers. For winter holidays, pastel or metallic melts make whimsical giftable treats—just change the eye arrangement or add a festive sprinkle border.
If you’re making them for a kids’ birthday, match the melt color to the party theme. The technique stays the same; the seasonal feel comes from color and small extras you already have on hand.
Notes on Ingredients
Quick reference on what each ingredient does and why the listed quantities matter:
- 12 Rice Krispies Treats — Using 12 uniform bars ensures the stated count of candy melts and eyes will be roughly correct for coverage and decoration.
- 105-140 candy melts — The range accounts for how thickly you coat each treat and how much you lose to the bowl. Start with the lower end and have extra on hand if you want fuller coverage or double-dipping for color effects.
- 48 candy eyes — Four per treat makes a playful look without crowding the surface; adjust arrangements but keep the total if you want consistency across all 12.
- Lollipop sticks — These are the handle; choose sturdier sticks if you anticipate heavier coatings or if kids will be holding them for a while.
- Parchment paper — Prevents sticking and keeps the bottom of the treats neat while the coating sets.
Make Ahead Like a Pro
You can prepare these a few hours in advance, or make them the day before with careful storage. Once the coating is fully set, place the treats in a single layer in an airtight container. If stacking is necessary, use parchment sheets between layers to prevent sticking and avoid crushing the decorated faces.
For best texture, keep them at room temperature in a cool, dry place. Refrigeration can cause the coating to bloom or sweat when returned to room temperature, so avoid the fridge unless your kitchen is uncomfortably warm.
Your Questions, Answered
How many eyes per treat? The recipe uses 48 candy eyes for 12 treats—four eyes per treat. That gives a fun, monster-like look without overloading the surface.
Can I use homemade Rice Krispies treats? Yes. If you make your own bars, cut them into 12 bars of similar size so the dipping works the same and the amount of candy melts remains appropriate.
What if my candy melts thicken? Reheat gently in short bursts and stir, or add a tiny bit of vegetable shortening per package instructions if needed. Follow the candy melts’ package directions first to avoid seizing.
How long do they keep? When stored in an airtight container at room temperature, they stay good for 2–4 days. After that, the crispness of the cereal can soften.
Ready, Set, Cook
Checklist before you start: unwrap 12 bars, have 105–140 candy melts ready, line a sheet of parchment, and set out 48 candy eyes and 12 lollipop sticks. Work in batches if you prefer; dip, press on eyes while coating is wet, and let everything set before packaging.
These Monster Rice Krispie Treats are cheerful, dependable, and easy to scale. They’re perfect for last-minute parties, classroom treats, or a creative afternoon with kids. Keep the extras on hand—colored candy melts and a stash of candy eyes—and you’ll be able to turn simple bars into something memorable in no time.
Monster Rice Krispie Treats
Equipment
- Baking Sheet
- Parchment Paper
- Bowl
Ingredients
Ingredients
- 12 Rice Krispies Treats
- 105-140 candy melts we used Wilton melts
- 48 candy eyes
- lollipop sticks
- parchment paper
Instructions
Instructions
- Unwrap all 12 Rice Krispies Treats and set them on a clean work surface.
- Insert one lollipop stick into the bottom center of each treat so each has a handle and can be held securely.
- Line a baking sheet or countertop with parchment paper and set it nearby for the dipped treats.
- Melt 105–140 candy melts according to the package directions, stirring until the coating is smooth and pourable.
- Hold a treat by the stick and dip the top into the melted candy, turning as needed to coat evenly. Allow excess coating to drip back into the bowl, then place the dipped treat on the prepared parchment paper. Repeat for all 12 treats.
- While the coating is still wet, attach the 48 candy eyes to the treats, placing four candy eyes on each treat in the arrangement you like.
- Let the coated treats sit on the parchment paper until the candy coating is completely set and firm before serving or packaging.
Notes
You can place the monsters in the fridge if you want them to set quicker – be sure to put the parchment paper on a cookie sheet in this case.