I’ve made chicken cutlets a hundred different ways, and I still reach for this simple method on weeknights and when I want something that feeds a crowd without fuss. The technique is straightforward: split, pound, dredge, and pan-fry. It gives you even, golden cutlets with crisp edges and tender interior every time.
This post walks you through the exact steps and the handful of ingredients you need. I’ll also cover quick swaps, tools that make the job easier, common problems and fixes, and how to store and rewarm leftovers so they don’t lose their crisp.
If you’re new to pounding and breading chicken or just want reliable results, these notes are practical and to the point. No gimmicks—just a dependable recipe you can build on.
Ingredient Notes
Chicken cutlets depend on a few simple elements doing their job: even thickness for quick, even cooking; a light flour layer so the egg sticks; egg as the glue; and panko breadcrumbs for crunch. Italian seasoning adds a baseline of flavor so you don’t need a complicated spice mix. Salt and pepper are essential and should be applied thoughtfully to the breadcrumb mix so every bite is seasoned.
You don’t need fancy oils—just one with a high smoke point so the crumbs brown without burning. Work in batches to avoid crowding. Crowding drops the oil temperature and yields soggy cutlets instead of crisp ones.
Ingredients
- 2 boneless skinless chicken breasts — split and pounded to even thickness for fast, even cooking.
- ¼ cup all-purpose flour — a light coat helps the egg adhere to the meat.
- 2 eggs — beaten, they bind the breadcrumbs to the chicken.
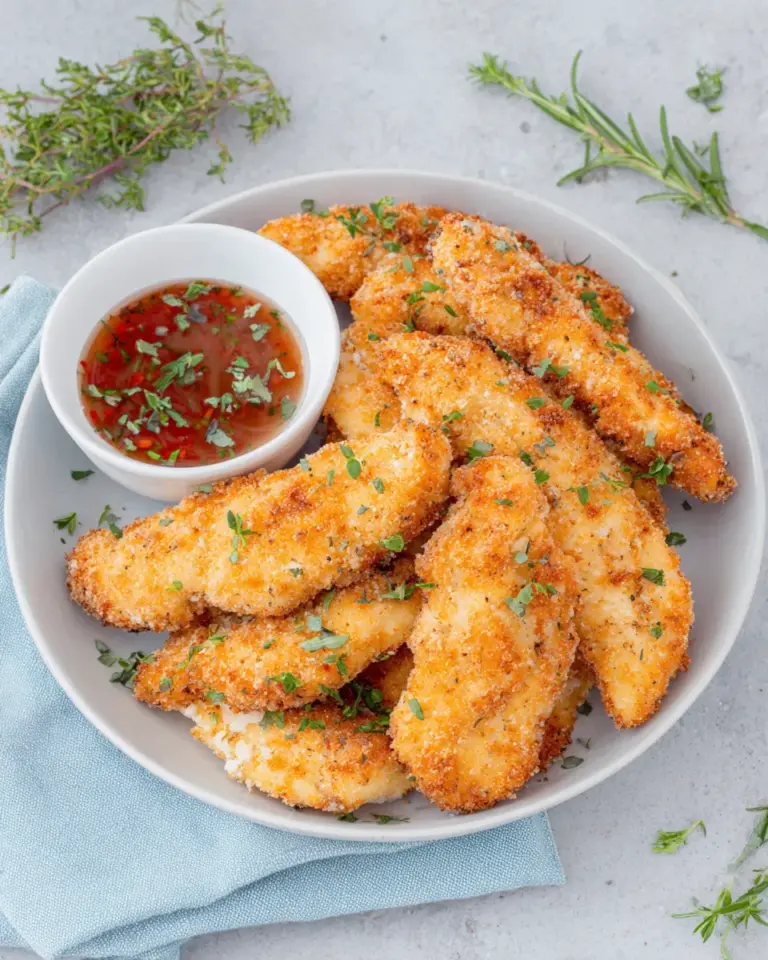
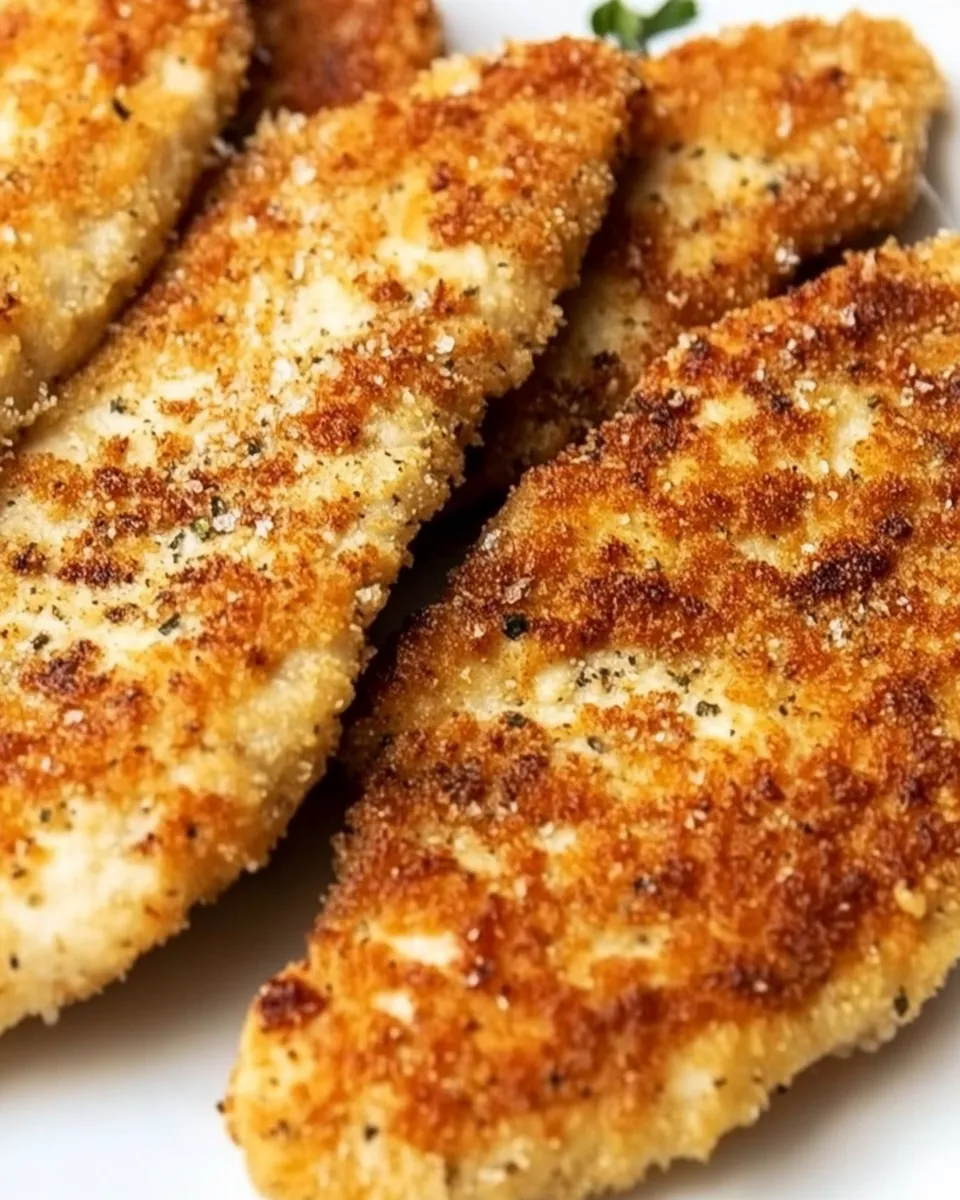
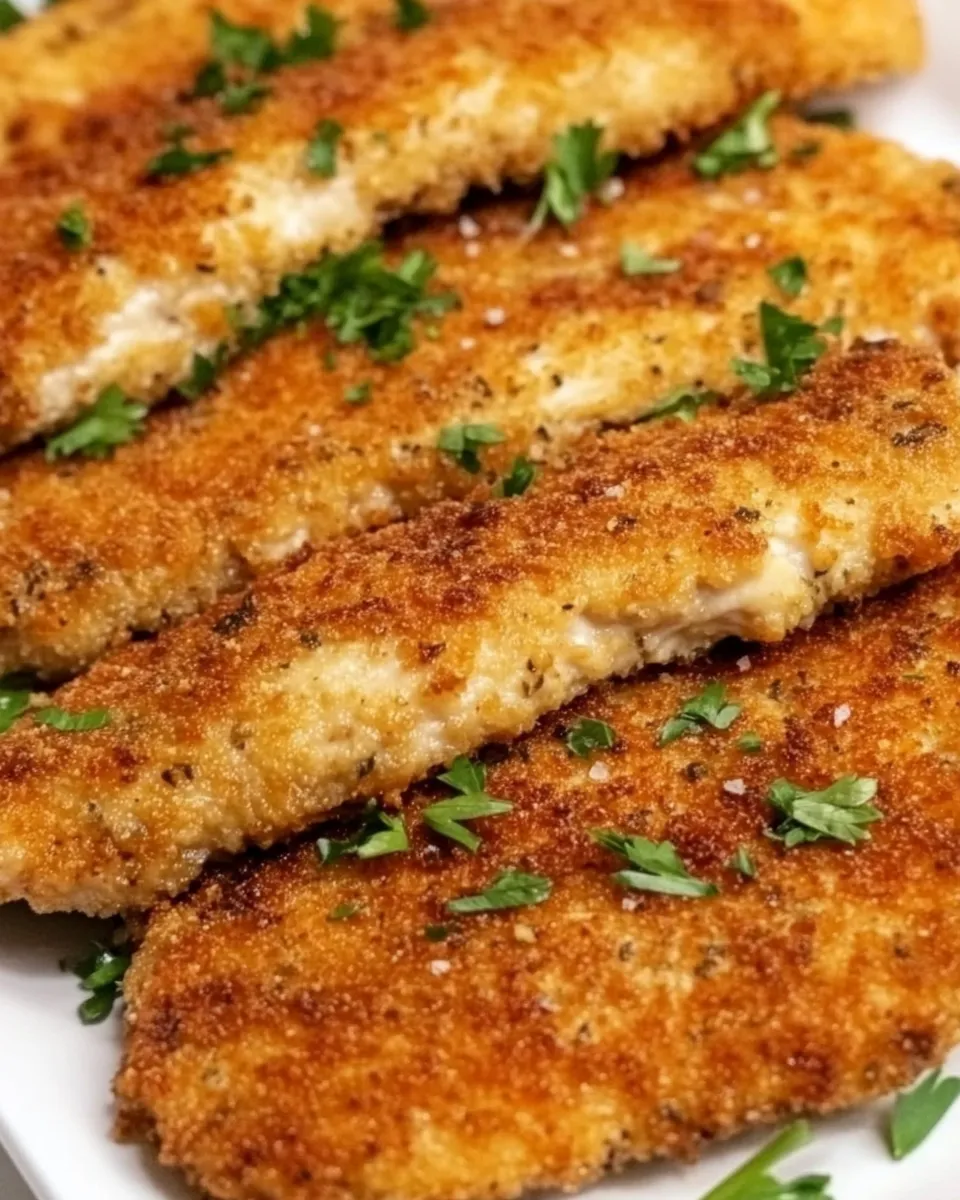
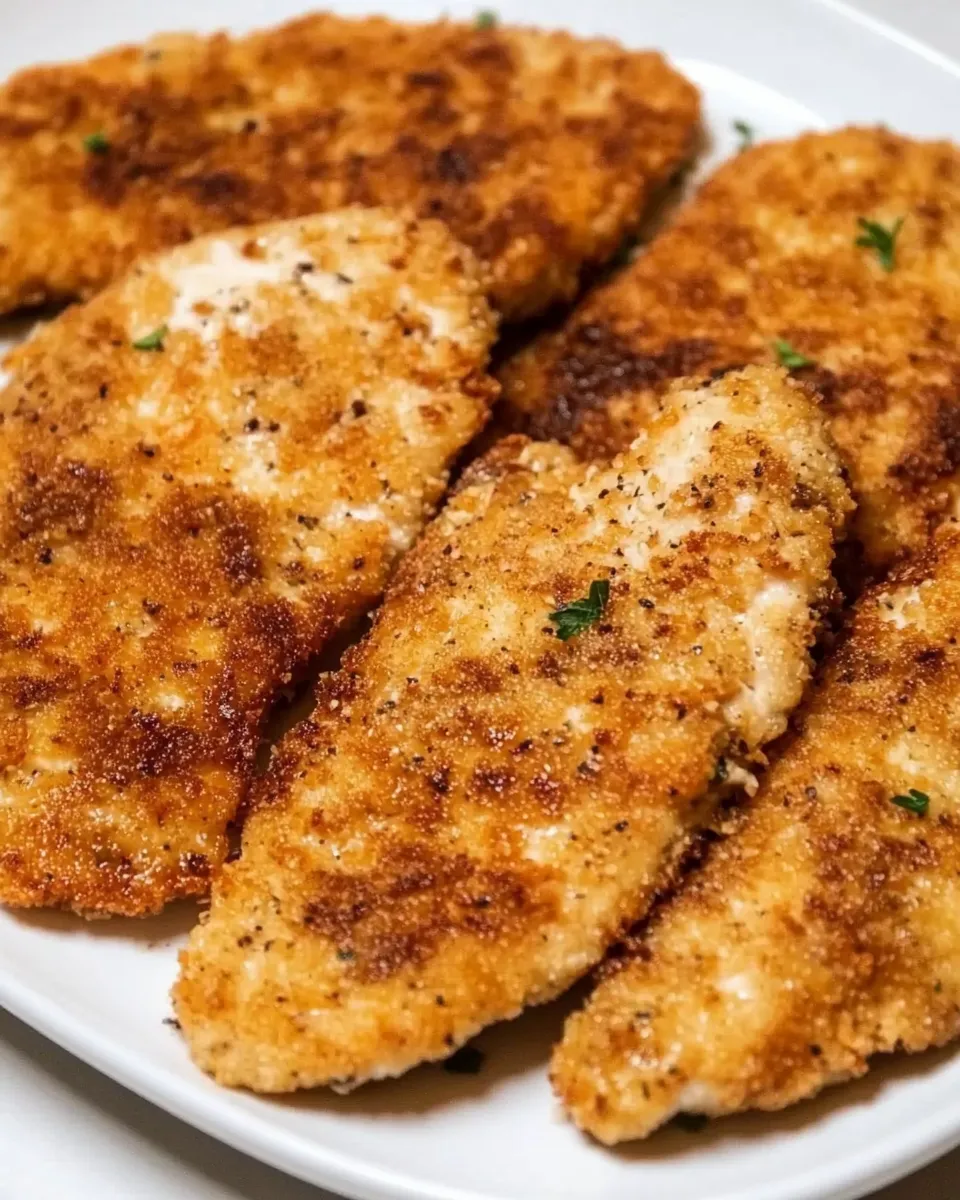
- 1 cup panko breadcrumbs — gives the cutlets a crisp, flaky crust.
- 2 teaspoons Italian seasoning — mixes into the panko for immediate flavor.
- kosher salt — to taste; season the breadcrumb mixture so the crust is seasoned.
- black pepper — to taste; a grind or two adds subtle heat.
- cooking oil — enough to reach about 1/2 inch depth in the skillet for frying.
Cook Chicken Cutlets Like This
- Place 1 chicken breast on a cutting board with the thicker side away from you. Hold it steady with your hand; insert a knife horizontally into the middle of the breast (knife parallel to the board) and cut inward, angling slightly down as you move toward the thicker portion to create two even cutlets. Repeat with the second breast.
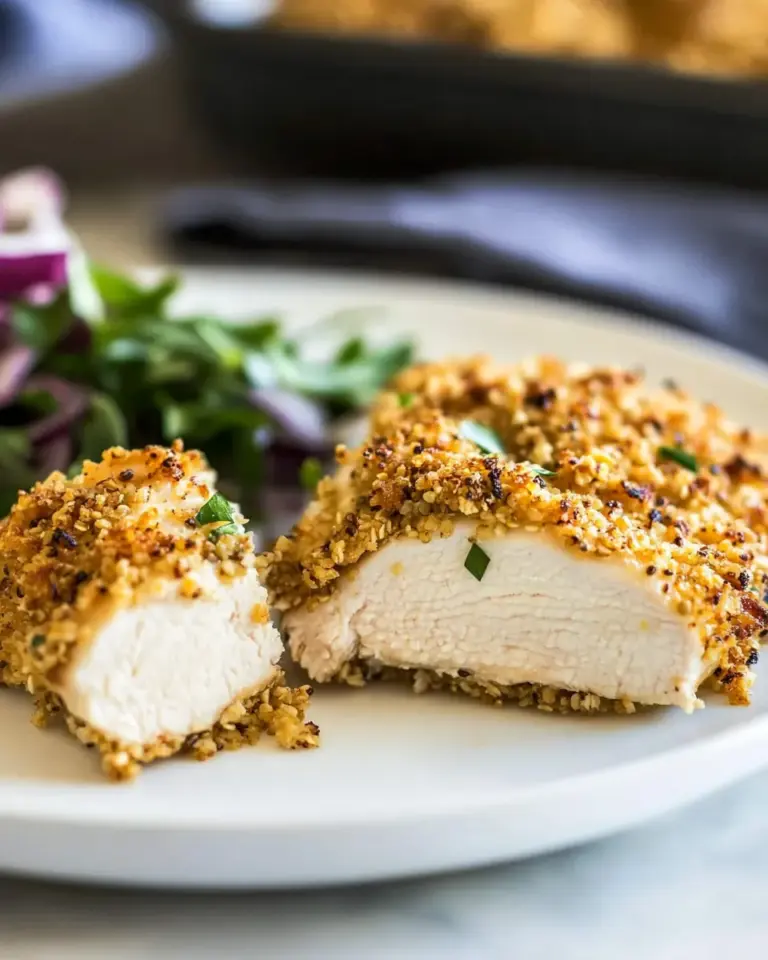
- Place each cutlet between two pieces of plastic wrap and use a meat mallet or rolling pin to pound them to an even thickness of about 1/4–1/2 inch.
- Set up a dredging station: put 1/4 cup all-purpose flour in bowl #1; crack and beat 2 eggs in bowl #2; combine 1 cup panko breadcrumbs and 2 teaspoons Italian seasoning in bowl #3. Season the breadcrumb mixture with kosher salt and black pepper to taste.
- Lightly coat both sides of a cutlet in the flour, shake off excess, dip it into the beaten eggs, then press it into the panko mixture to coat both sides. Repeat for each cutlet and set them aside on a plate.
- Pour cooking oil into a large skillet to about 1/2 inch depth and heat over medium-high until the oil registers about 350–375°F or is shimmering and hot.
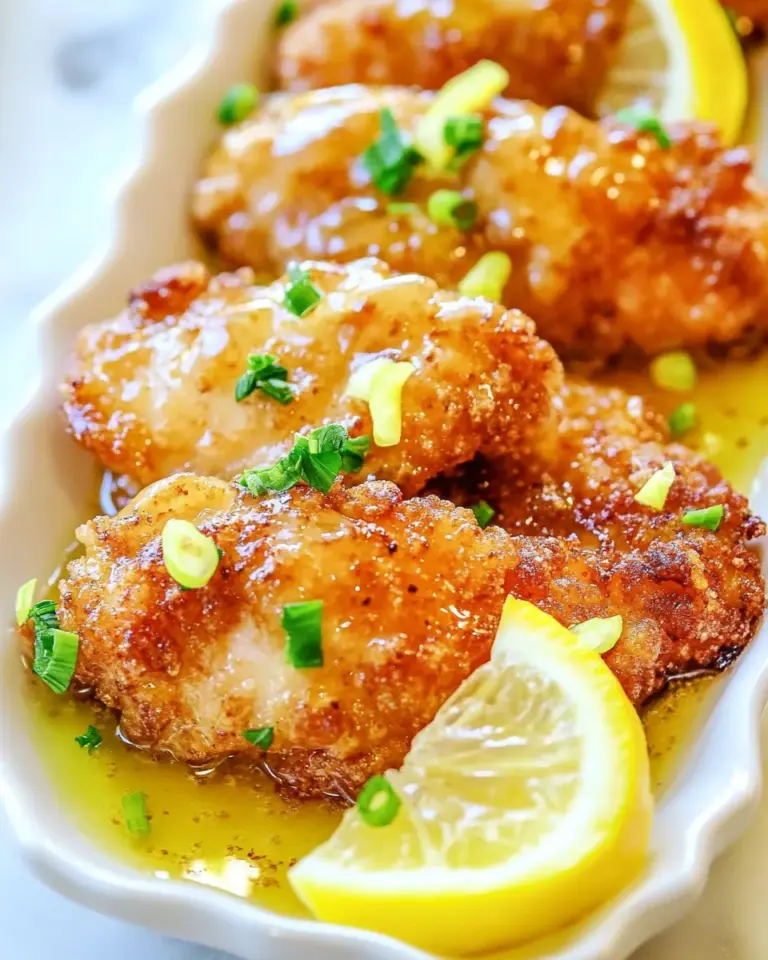
- Working in batches so you do not crowd the pan, carefully place cutlets in the hot oil and fry until golden brown, about 3–4 minutes per side.
- Transfer cooked cutlets to a lined plate or wire rack to drain and rest briefly before serving.
Why Chicken Cutlets is Worth Your Time
Chicken cutlets are fast. Once you’ve split and pounded the breasts, the individual cutlets cook in minutes. That makes them ideal for busy evenings when you want a quick protein that still feels special.
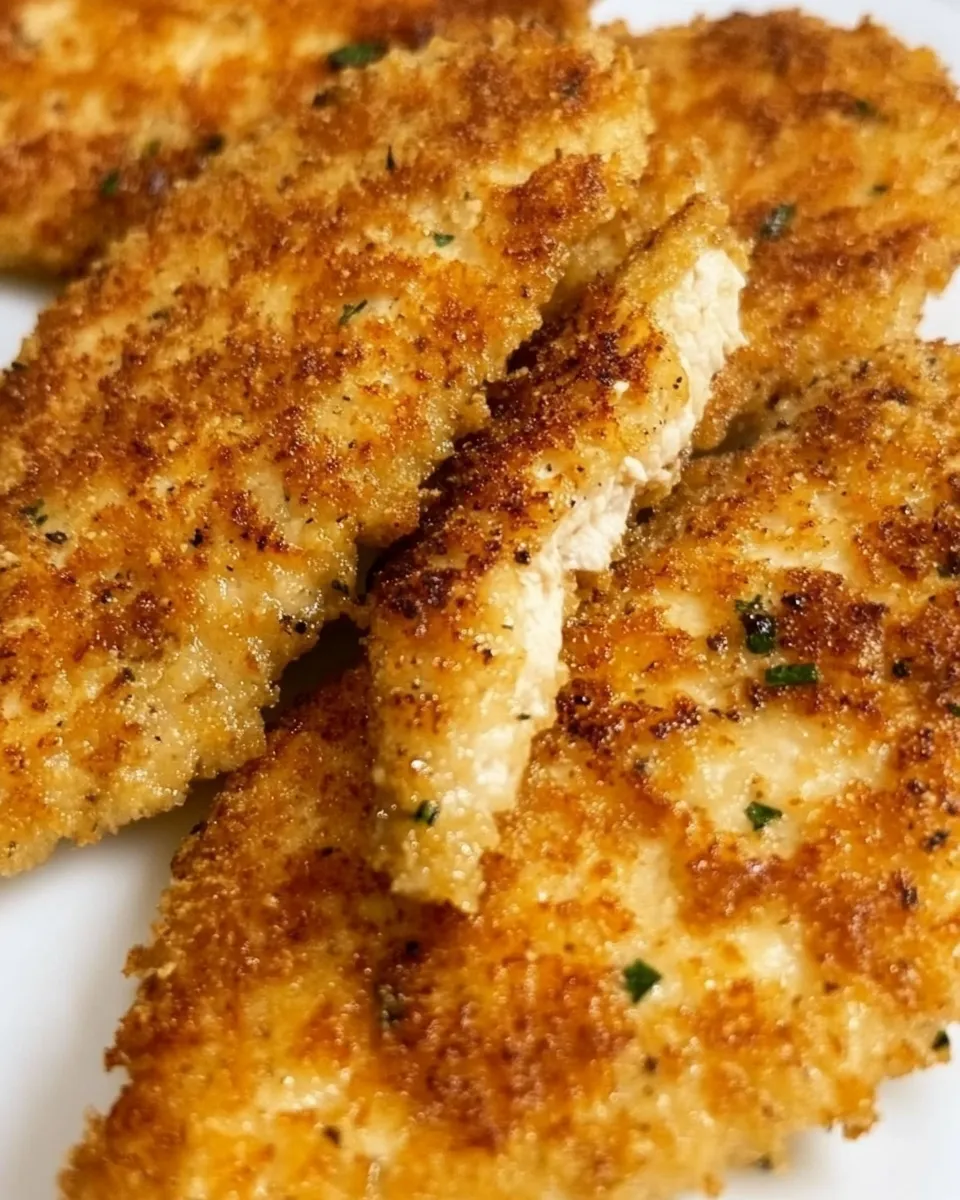
The texture is another win: thin, even meat with a crunchy panko exterior contrasts beautifully with a tender inside. The method also scales easily—double the station and you can feed a crowd without slowing down the process.
Finally, cutlets are versatile. Serve them with a squeeze of lemon, tuck into sandwiches, or top with simple pan sauces. The basic technique opens up many weeknight and weekend meals.
Quick Replacement Ideas
- Panko breadcrumbs → regular breadcrumbs (gives less crunch but still good).
- All-purpose flour → a 50/50 mix of flour and cornstarch for a lighter crust (no specific measurements added).
- Eggs → beaten egg + splash of water or milk works to thin the egg if it’s very thick.
- Italian seasoning → a sprinkle of dried oregano and basil if that’s what you have on hand.
Cook’s Kit
- Sharp chef’s knife — for clean breast halving.
- Cutting board with a damp towel underneath — prevents slipping.
- Meat mallet or rolling pin — evens thickness quickly.
- Three shallow bowls — for flour, egg, and breadcrumb stations.
- Large skillet — a heavy-bottomed pan keeps heat steady.
- Thermometer (optional) — to check oil temperature if you like precision.
- Wire rack and baking sheet or lined plate — for draining and keeping cutlets crisp.
Watch Outs & How to Fix
- Cutlets burn on the outside but are undercooked inside — Fix: pound them thinner (1/4–1/2 inch is the target), lower heat slightly, and finish in a 350°F oven for a few minutes if needed.
- Soggy crust — Fix: don’t crowd the pan. Fry in batches and drain on a wire rack rather than directly on paper towels; air circulation preserves crunch.
- Breadcrumbs falling off — Fix: make sure you shake off excess flour before the egg step so the egg can form an even film; press crumbs gently into the egg-coated cutlet to adhere them.
- Oil smokes or burns — Fix: use an oil with a high smoke point and maintain medium-high heat; if it smokes, lower the heat and start over with fresh oil when it cools slightly.
- Uneven browning — Fix: ensure the oil is hot and shimmering before adding cutlets; cook undisturbed for the full 3–4 minutes per side to allow crust formation.
Smart Substitutions
- Use bone-in thin-cut chicken if you prefer more flavor; adjust cooking time and ensure internal doneness.
- Gluten-free option: substitute a gluten-free all-purpose flour and gluten-free breadcrumbs.
- If you don’t have panko, crush plain potato chips or crackers for a crunchy coat—use enough to match the breadcrumb volume, then season.
Behind the Recipe
This method is classic breaded cutlet technique—flatten the meat so it cooks quickly, and use a three-step dredge (flour, egg, crumbs) so the coating adheres. Panko became popular because it produces a jagged, flakey crust that traps air and stays crisp longer than standard fine breadcrumbs.
I favor a light flour layer instead of a thicker batter because it shortens cook time and keeps the crust dry and crisp. The Italian seasoning in the crumbs gives an immediate savory note, so you don’t need to fuss with a marinade or a heavy spice rub.
Cooling, Storing & Rewarming
Cool cutlets on a wire rack to keep the crust crisp. If you’ll store them, transfer once cool and refrigerate in a single layer separated by parchment or wax paper to avoid sticking. They’ll keep well in the fridge for up to 3 days.
To reheat and preserve crispness, place on a wire rack over a sheet tray and warm in a 350°F oven for 8–12 minutes. For a quicker re-crisp, finish under the broiler for a minute or two—watch closely so they don’t burn. Microwaving will make them soggy; avoid it unless you’re short on time and don’t mind a softer crust.
Chicken Cutlets FAQs
Can I use chicken thighs instead of breasts?
Yes. Boneless, skinless thighs can be used; pound them to an even thickness so they cook evenly. Thighs may require slightly longer cook time because of higher fat content and different shape.
How do I know the cutlets are cooked through?
Because the cutlets are thin, the 3–4 minutes per side guideline usually works. If unsure, check the thickest part with an instant-read thermometer (165°F is the safe temperature for poultry) or cut into one to ensure there’s no pink.
Can I bake these instead of frying?
You can. Arrange on a wire rack over a sheet pan and spray lightly with oil; bake at 425°F until golden and cooked through. The texture will be less deep-fried crisp but still enjoyable.
Why panko instead of regular breadcrumbs?
Panko crumbs are coarser and flakier, which creates more crunch and a lighter crust. Regular breadcrumbs work if that’s what you have, but the result will be denser.
How do I keep the breading from separating?
Pat the chicken dry, use the flour step to give the egg something to stick to, don’t skip pressing the crumbs onto the meat, and don’t flip the cutlets too soon while frying. Also, don’t stack cutlets while they rest—you’ll steam the crust.
Hungry for More?
If you liked this straightforward method, try topping cutlets with fresh lemon, capers, and a little butter for a classic twist, or pile arugula and shaved parmesan for a lively sandwich. Bookmark this technique—it’s a dependable base for many quick meals.
How to Make Chicken Cutlets
Equipment
- Chef’s knife
- Cutting Board
Ingredients
Ingredients
- 2 boneless skinless chicken breasts *
- 1/4 cupall-purpose flour
- 2 eggs
- 1 cuppanko breadcrumbs
- 2 teaspoonsItalian seasoning
- kosher salt to taste
- black pepper to taste
- cooking oil **
Instructions
Instructions
- Place 1 chicken breast on a cutting board with the thicker side away from you. Hold it steady with your hand; insert a knife horizontally into the middle of the breast (knife parallel to the board) and cut inward, angling slightly down as you move toward the thicker portion to create two even cutlets. Repeat with the second breast.
- Place each cutlet between two pieces of plastic wrap and use a meat mallet or rolling pin to pound them to an even thickness of about 1/4–1/2 inch.
- Set up a dredging station: put 1/4 cup all-purpose flour in bowl #1; crack and beat 2 eggs in bowl #2; combine 1 cup panko breadcrumbs and 2 teaspoons Italian seasoning in bowl #3. Season the breadcrumb mixture with kosher salt and black pepper to taste.
- Lightly coat both sides of a cutlet in the flour, shake off excess, dip it into the beaten eggs, then press it into the panko mixture to coat both sides. Repeat for each cutlet and set them aside on a plate.
- Pour cooking oil into a large skillet to about 1/2 inch depth and heat over medium-high until the oil registers about 350–375°F or is shimmering and hot.
- Working in batches so you do not crowd the pan, carefully place cutlets in the hot oil and fry until golden brown, about 3–4 minutes per side.
- Transfer cooked cutlets to a lined plate or wire rack to drain and rest briefly before serving.
Notes
If you don’t have a meat mallet or tenderizer, use a heavy kitchen utensil or cutting board.
Place a damp paper towel under your cutting board if it slides around.
While cutting, it’s best to position your palm directly on the chicken, with fingers curved upwards.
The cutlets need space when frying, so cook in batches if needed.