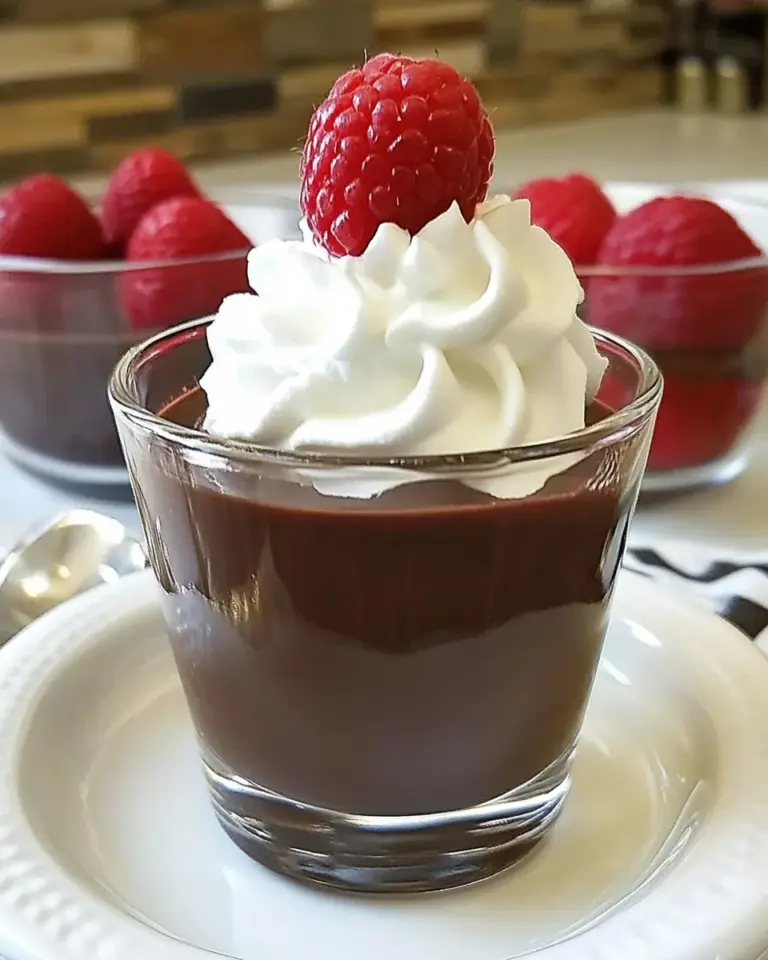
This is the kind of recipe I reach for when I want a dessert that feels elegant but doesn’t demand special equipment or a full afternoon. Chocolate custard is quietly impressive: silky, chocolatey, and comforting. It sets firmly without gelatin, relies on basic pantry items, and finishes beautifully with fresh fruit if you want a bright contrast.
I tested this method repeatedly to make it forgiving. Small adjustments — how gently you heat the milk, how you melt the chocolate — are what separate a smooth, glossy custard from a grainy one. The technique here is straightforward, and the timing is realistic: the active work is brief, the patience comes with chilling. Follow the steps exactly for reliable results every time.
Below you’ll find the exact ingredient list, the step-by-step directions from start to finish, practical swap options, troubleshooting, storage advice, and quick serving ideas. Read through once, then get your mise en place ready; this custard rewards attentiveness more than fuss.
What You’ll Need
Before you begin, gather your ingredients and a couple of small tools. Eggs should be cold from the fridge, and chocolate at room temperature helps it melt evenly when the hot custard is poured over it. You’ll want a heatproof bowl for the chocolate and small serving cups or one larger bowl for chilling.
Ingredients
- 3 egg yolks — the primary setting agent; they give the custard its richness and structure.
- 1/4 cup granulated sugar — sweetens and helps stabilize the custard.
- 1 pinch kosher salt — balances sweetness and deepens chocolate flavor.
- 1 1/4 cups whole milk — provides body and softness; whole milk gives the best texture.
- 3/4 cup heavy cream — increases creaminess and yields a silkier mouthfeel.
- 1 1/2 teaspoons vanilla extract — rounds flavors and lifts the chocolate.
- 1 cup semisweet chocolate chips — the chocolate base; semisweet gives a balanced sweetness and good melting behavior.
- Fresh fruit for garnish (optional) — brightens the plate and adds texture contrast; optional but recommended for serving.
Chocolate Custard: Step-by-Step Guide
- In a medium bowl, whisk the 3 egg yolks, 1/4 cup granulated sugar, and 1 pinch kosher salt until smooth and the sugar is mostly dissolved.
- Add the 1 1/4 cups whole milk and 3/4 cup heavy cream to the yolk mixture and whisk until fully combined.
- Pour the mixture into a saucepan and set over medium-low heat. Whisk constantly and heat until the mixture is hot, steaming, and slightly thickened with small bubbles forming at the edges—do not let it boil.
- Remove the saucepan from the heat immediately to avoid curdling. Stir in the 1 1/2 teaspoons vanilla extract.
- Place 1 cup semisweet chocolate chips in a heatproof bowl. Pour the hot custard over the chocolate chips and let sit 1 minute, then whisk until the chocolate is completely melted and the custard is smooth.
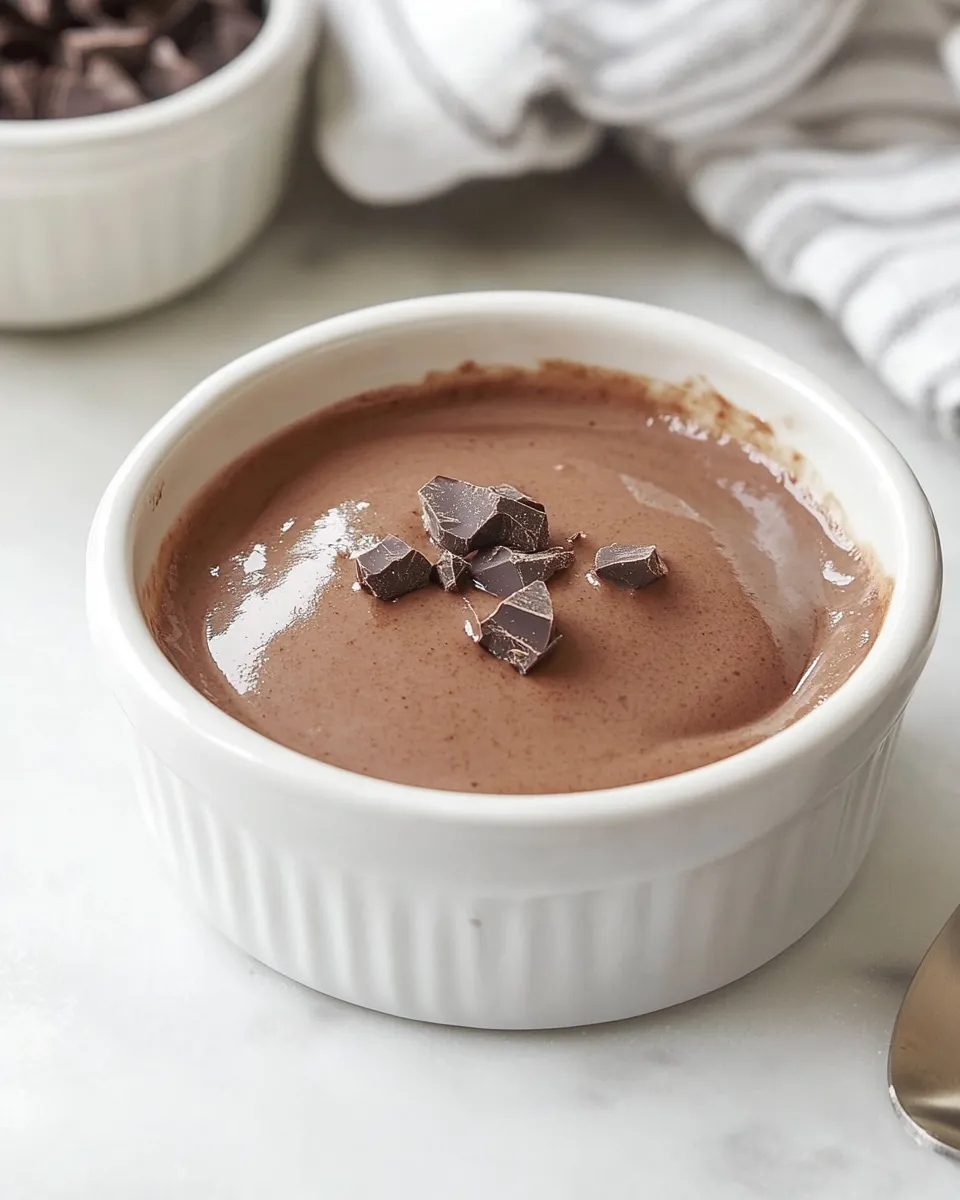
- Pour the custard into individual serving cups or a large bowl. Press plastic wrap directly onto the surface of the custard to prevent a skin from forming. Refrigerate for at least 4 hours, or until set.
- Garnish with fresh fruit, if desired, and serve chilled.
What Makes This Recipe Special
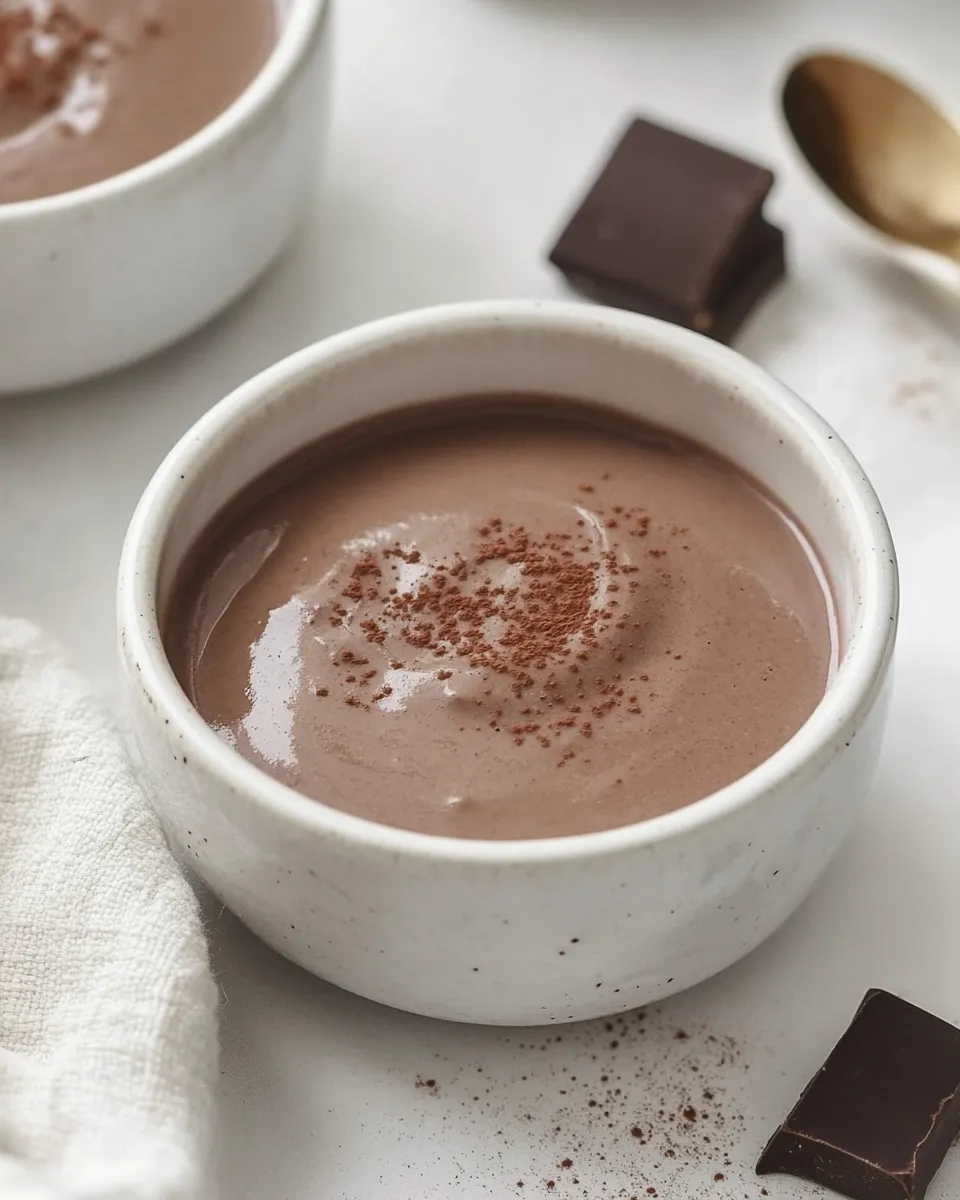
This custard stands out because it uses a straightforward hot-custard technique rather than baking in a water bath or adding gelatin. The egg yolks do the thickening, producing a dense yet tender set that’s richer than a pudding but softer than a firm pastry cream. Using both whole milk and heavy cream balances cost and texture: you get the silkiness without an overly heavy mouthfeel.
Pouring the hot custard directly over chocolate chips (rather than melting the chocolate separately) is a gentle and controlled way to combine the two. The residual heat melts the chocolate without subjecting it to direct high heat, which helps prevent graininess and split textures. Pressing plastic wrap onto the surface as it chills avoids an unpleasant skin and keeps the top uniformly smooth.
What to Use Instead
If you don’t have everything listed, here are practical swaps to keep the recipe on track without inventing new measurements:
- Milk/cream — If you don’t have heavy cream, you can use additional whole milk for a lighter custard; expect a slightly less rich texture. Using half-and-half is another middle ground if you have it on hand.
- Chocolate — Semisweet is ideal, but you can use bittersweet if you prefer a more intense chocolate flavor, or milk chocolate for a sweeter, creamier result. Choose a chocolate you enjoy eating; quality matters here.
- Vanilla — If you don’t have extract, a split and scraped vanilla bean would work wonderfully, added to the milk while heating and removed before mixing with yolks.
Recommended Tools
- Heatproof mixing bowl — for melting chocolate and combining hot custard safely.
- Medium saucepan — for gently heating the milk and cream mixture.
- Whisk — a flexible whisk helps integrate the yolks and keep the custard smooth while heating.
- Fine-mesh strainer (optional)
- Plastic wrap — pressed directly onto the custard surface to avoid a skin.
- Individual serving cups or a single airtight container for chilling.
Avoid These Traps
Common failures are usually temperature-related. If you let the milk mixture boil, the eggs can scramble and the custard will be lumpy. Always heat over medium-low and whisk constantly so the yolks warm evenly. Remove from heat as soon as you see small bubbles at the edge and a slight thickening.
Pouring piping-hot liquid onto cold chocolate can sometimes cause the chocolate to seize, especially if the chocolate contains stabilizers. Let the hot custard sit on the chocolate for the one minute specified; then whisk gently. If it looks grainy at first, keep whisking — it often smooths out as the chocolate fully melts and emulsifies with the dairy.
Also, don’t skip pressing plastic wrap directly on the surface. The skin that forms is harmless but changes the texture you’re aiming for.
Seasonal Serving Ideas
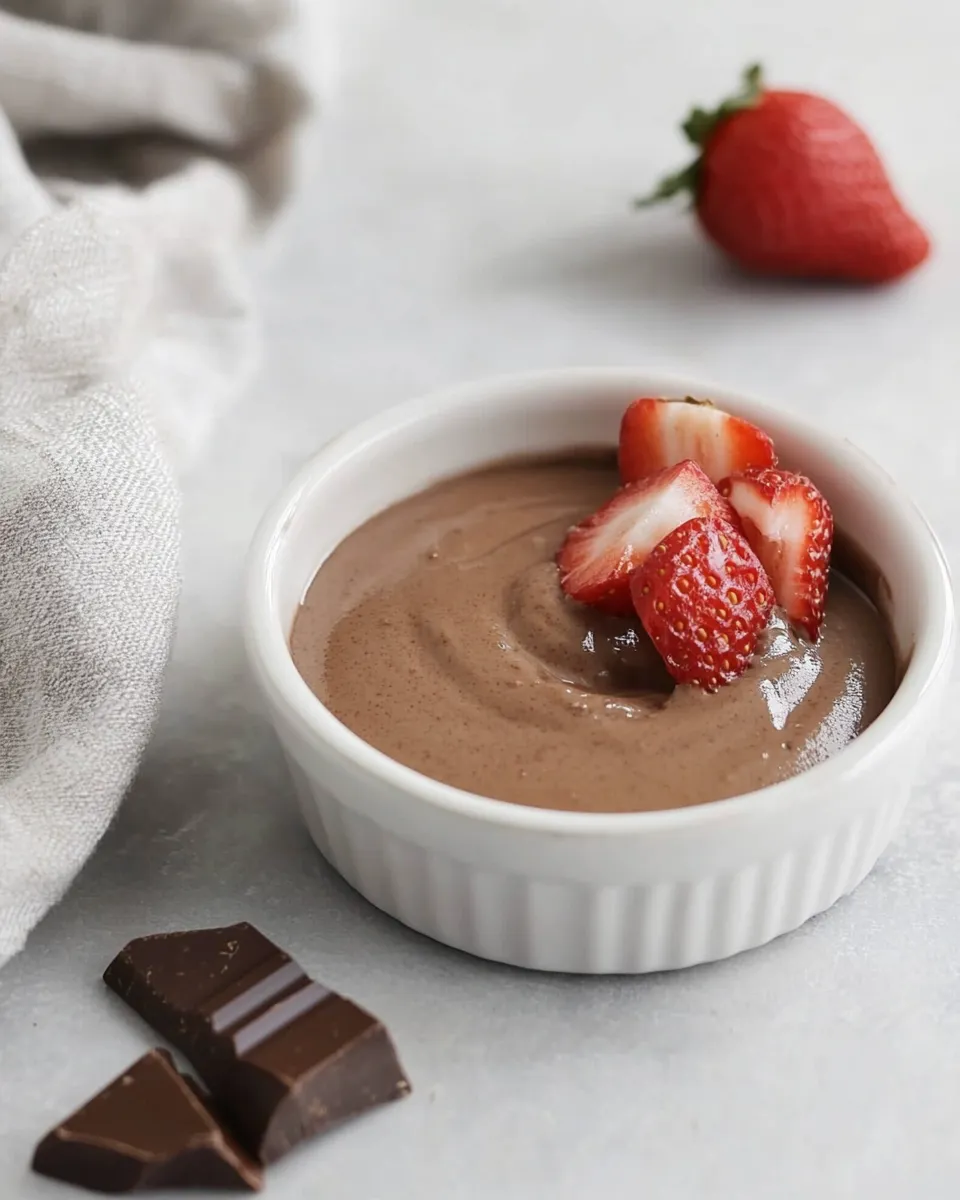
Custard is a nice year-round dessert. Layer the chilled custard with seasonal fruit for a simple parfait: winter citrus segments (blood orange or orange) add brightness in cold months; summer berries and stone fruit are perfect in warm weather. Top with toasted nuts in autumn for a crunchy contrast, or a sprinkle of flaky sea salt for a richer chocolate experience.
For a holiday table, serve the custard in small glasses with a spoon of caramelized pears or poached figs. In spring, a few macerated strawberries and a mint sprig keep the dish light and fresh. The custard’s neutral texture pairs well with anything that adds acidity or crispness.
Method to the Madness
The method is deliberately simple: temper the yolks with warmed milk and cream, heat gently to thicken, then use the heat to melt chocolate. Here are the critical stages broken down so you can watch for what matters.
Stage 1 — Combining yolks and dairy
Whisking the yolks with sugar first helps dissolve the sugar and creates a uniform base. When you add the milk and cream, whisk until smooth — no lumps. This step primes the eggs so they heat evenly.
Stage 2 — Gentle thickening
Heat the combined mixture over medium-low and stir often. You’re not trying to boil; you want a very gentle thickening where little bubbles form at the edge and the mixture coats the back of a spoon. As soon as this happens, remove from heat to prevent curdling.
Stage 3 — Chocolate integration and setting
Pour the hot custard over the chocolate and let it sit. This passive minute is essential: the chocolate melts gradually and the emulsion forms naturally. Whisk until smooth, then transfer to containers and seal the surface before chilling for at least four hours so the custard achieves the correct texture.
Save for Later: Storage Tips
Keep chilled custard refrigerated, covered with plastic wrap pressed on the surface if possible, for up to 3 days. Do not freeze custard — freezing will change the texture and can cause separation when thawed.
If you make the custard in a large bowl, decant into smaller serving dishes before chilling to reduce the time it takes to cool thoroughly. Faster chilling — provided it’s covered — helps maintain a more uniform texture.
Troubleshooting Q&A
Q: My custard looks grainy after I whisk in the chocolate. What happened?
A: Graininess usually means the chocolate didn’t emulsify smoothly with the dairy. Continue whisking off heat — often it will come together. If it remains grainy, strain the custard through a fine-mesh sieve into your serving bowls to remove any tiny lumps.
Q: The eggs curdled and I have scrambled bits. Can I fix it?
A: If curdling is mild, strain the mixture through a sieve; some texture may remain but it can be salvageable. To prevent this, heat slower next time and remove from the heat the moment small bubbles appear at the edge. Constant whisking while heating reduces hot spots.
Q: It set too firmly or too loosely.
A: The set depends on the ratio of yolks to dairy and the chilling time. This recipe’s proportions yield a custard that’s firm but scoopable after 4 hours. If it’s too firm, you might have overcooked it. If it’s too loose, ensure you chilled it long enough; sometimes refrigeration temp affects set time.
Q: Can I make this ahead?
A: Yes. Make the custard and refrigerate for up to 3 days. For best texture, cover the surface with plastic wrap so no skin forms and flavors don’t absorb other smells from the fridge.
Wrap-Up
This Chocolate Custard is an everyday dessert that reads like something special. It asks for attention while heating and patience while chilling, and in return delivers a smooth, chocolate-forward finish that’s easily dressed up with fruit or nuts. Use good chocolate, watch your heat, and don’t rush the chill time — those are the three small promises you keep to get a perfect custard.
Make it once, and you’ll see how reliably elegant it is: approachable for weeknight dessert and gracious enough for company. If you have questions about swaps, timing, or serving, drop a note and I’ll walk you through it.
Chocolate Custard
Equipment
- Medium Bowl
- Whisk
- Saucepan
- Heatproof bowl
- Plastic Wrap
- Refrigerator
Ingredients
Ingredients
- 3 egg yolks
- 1/4 cupgranulated sugar
- 1 pinchkosher salt
- 1 1/4 cupswhole milk
- 3/4 cupheavy cream
- 1 1/2 teaspoonsvanilla extract
- 1 cupsemisweet chocolate chips
- Fresh fruitfor garnish optional
Instructions
Instructions
- In a medium bowl, whisk the 3 egg yolks, 1/4 cup granulated sugar, and 1 pinch kosher salt until smooth and the sugar is mostly dissolved.
- Add the 1 1/4 cups whole milk and 3/4 cup heavy cream to the yolk mixture and whisk until fully combined.
- Pour the mixture into a saucepan and set over medium-low heat. Whisk constantly and heat until the mixture is hot, steaming, and slightly thickened with small bubbles forming at the edges—do not let it boil.
- Remove the saucepan from the heat immediately to avoid curdling. Stir in the 1 1/2 teaspoons vanilla extract.
- Place 1 cup semisweet chocolate chips in a heatproof bowl. Pour the hot custard over the chocolate chips and let sit 1 minute, then whisk until the chocolate is completely melted and the custard is smooth.
- Pour the custard into individual serving cups or a large bowl. Press plastic wrap directly onto the surface of the custard to prevent a skin from forming. Refrigerate for at least 4 hours, or until set.
- Garnish with fresh fruit, if desired, and serve chilled.