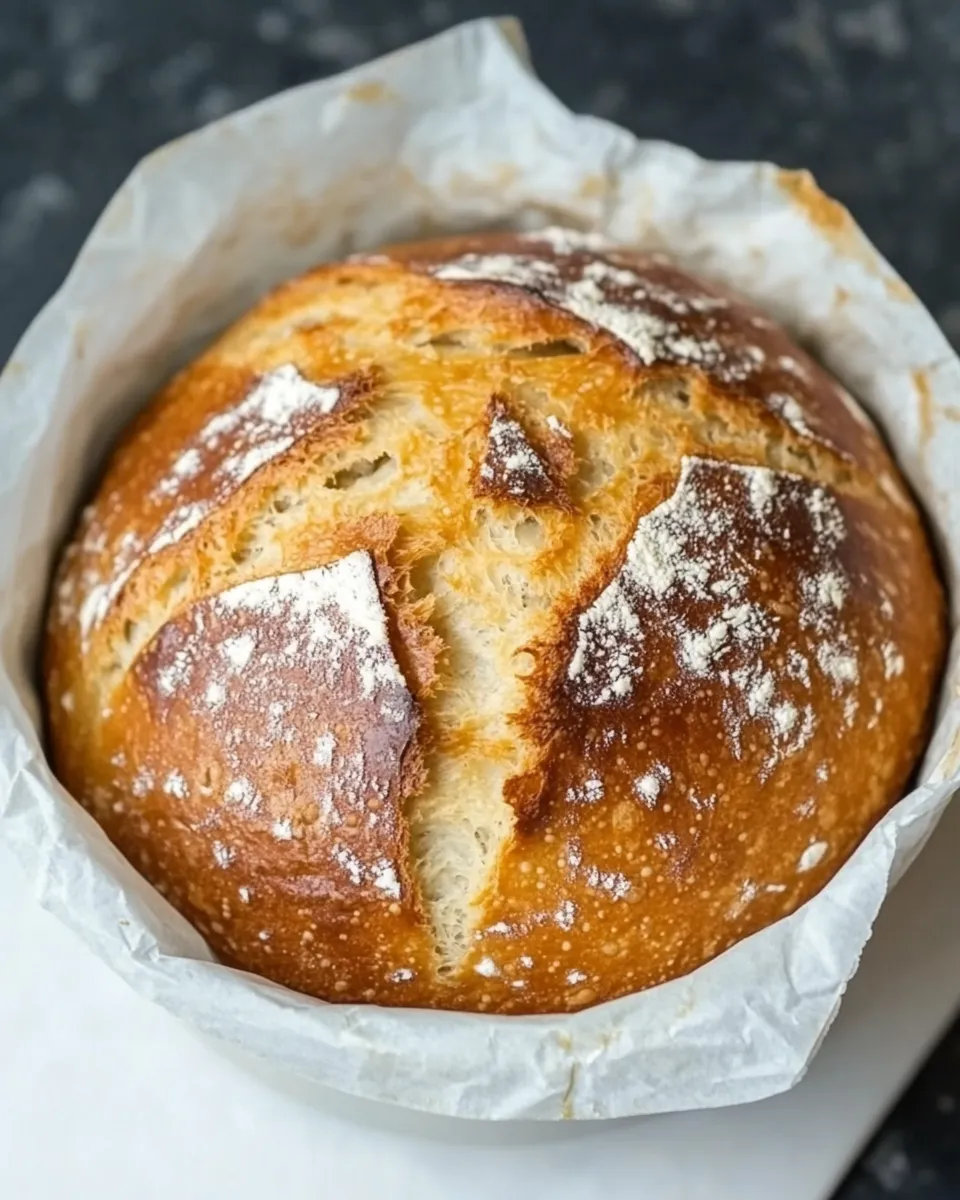
This is a straightforward loaf that proves you don’t need a big oven or fancy equipment to get great bread. It takes basic pantry ingredients, a little patience, and an air fryer. The method is forgiving, which makes it perfect for weeknight baking or the first time you’re trying a no-knead-style loaf in a compact appliance.
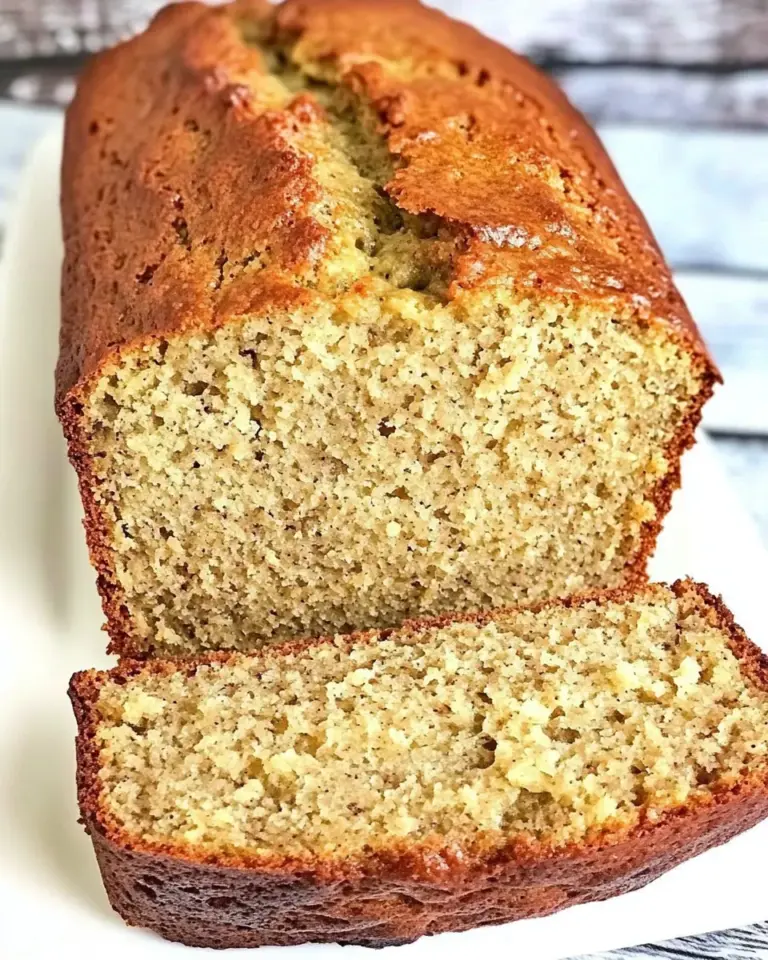
Expect a crisp crust and a tender, slightly open crumb. The dough is wet enough to keep the interior moist but dry enough to shape. I like it plain, sliced thick with butter, or toasted for sandwiches. Either way, it’s fast, reliable, and uses minimal hands-on time.
Below you’ll find the exact ingredients and step-by-step directions I use every time, plus practical troubleshooting and storage tips so your loaf turns out well whether it’s the first or the fiftieth.
What Goes In

- 3 3/4 cups all-purpose flour — Builds the structure; measure by spooning into the cup and leveling for accuracy.
- 1 1/2 teaspoons baking soda — Provides rise and lightness; essential in this quick, buttermilk-based dough.
- 2 cups buttermilk — Activates the baking soda and keeps the crumb moist; room-temperature is fine.
Step-by-Step: Air Fryer Bread
- Preheat the air fryer to 180°C (350°F).
- In a large bowl, whisk together 3 3/4 cups all‑purpose flour and 1 1/2 teaspoons baking soda until evenly combined.
- Pour 2 cups buttermilk into the dry ingredients and stir with a spatula or wooden spoon until a shaggy dough forms; stop as soon as the ingredients are combined.
- Lightly flour a work surface, turn the dough out, and gently knead 5–6 times to bring it into a single ball. Do not over‑knead.
- Shape the dough into a round loaf sized to fit your air fryer basket. If it does not fit, divide the dough into two equal pieces and shape each into a round to bake in separate batches.
- Place the shaped loaf (or loaves) in the preheated air fryer basket, leaving space around them for air to circulate (you may place them on a circle of parchment paper if desired).
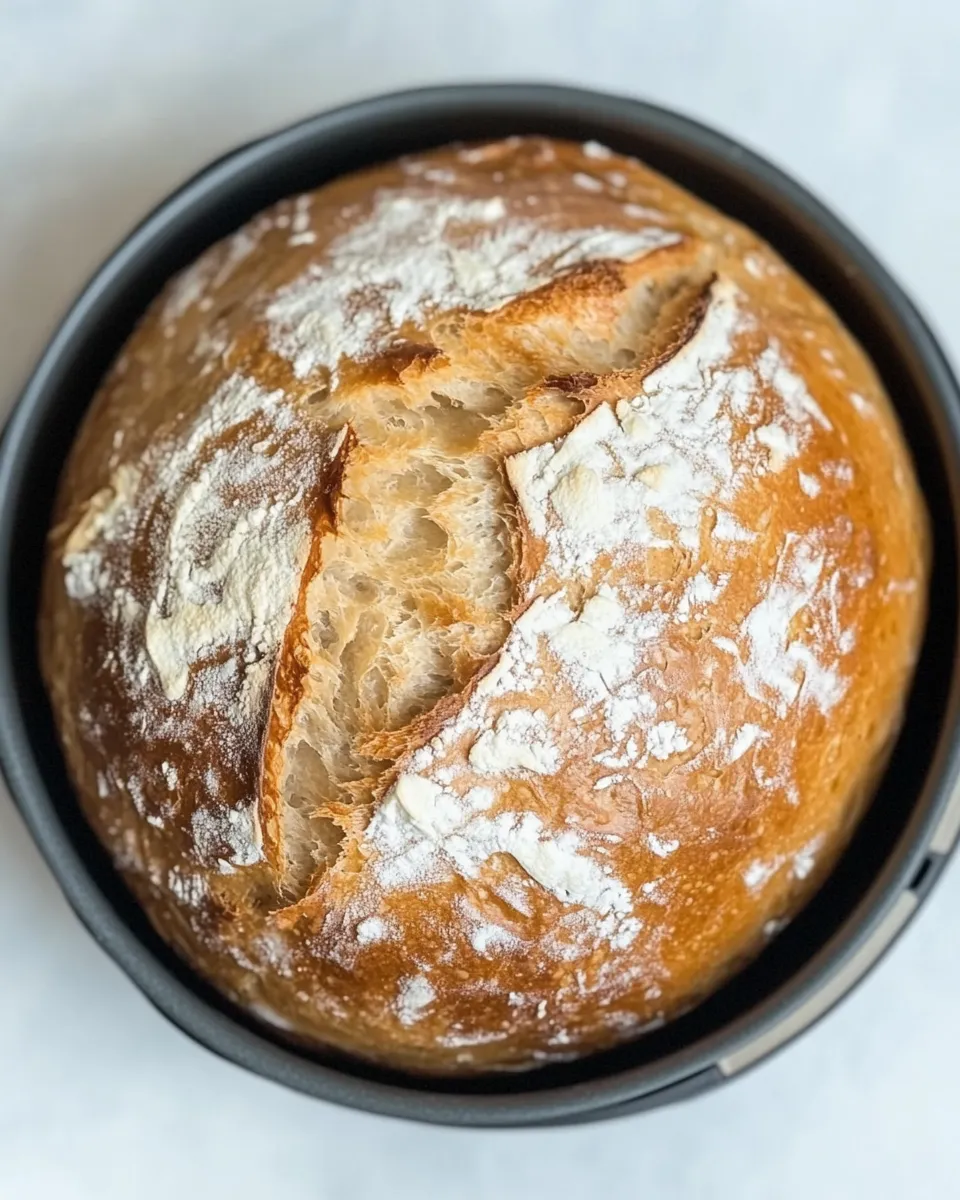
- Bake at 180°C (350°F) for 23–25 minutes. Carefully flip the loaf with tongs or a spatula and bake an additional 15 minutes, until the crust is golden and the base sounds hollow when tapped.
- Let the bread rest in the air fryer basket for 5 minutes, then transfer to a cutting board and rest another 5 minutes before slicing and serving.
Why It Works Every Time
There are three simple things that make this method reliable: the acid in the buttermilk, the mechanical action of gentle kneading, and the air fryer’s convection heat.
The buttermilk reacts with the baking soda immediately, producing tiny bubbles that give the dough lift without yeast. Because the leavening happens quickly, the dough doesn’t need long rises. That means less time and a lower chance of overproofing.
Gentle kneading brings the dough into a cohesive ball and organizes the gluten just enough to hold gas pockets. Over-kneading would tighten the dough and make the loaf dense, so the prescribed 5–6 turns is deliberate: enough to shape, not enough to toughen.
The air fryer excels here. It circulates hot air rapidly around the loaf, creating an even crust without drying out the crumb. Flipping the loaf halfway ensures both sides brown and the base dries sufficiently so the center finishes baking. The result is a crisp, golden exterior and a moist, tender interior.
If You’re Out Of…
- Buttermilk — Use plain yogurt thinned with a little milk or water to similar consistency. The acidity is the key, not the exact dairy.
- Baking soda — This is harder to replace directly. Baking powder won’t give the same texture; you’ll get a different rise and flavor.
- All-purpose flour — You can use part whole-wheat, but expect a denser loaf. For best results, stick with all-purpose for this recipe.
Essential Tools for Success
- Air fryer with a basket large enough for a round loaf (or plan to bake two smaller loaves).
- Large mixing bowl for combining flour and leavening.
- Spatula or wooden spoon — for mixing the shaggy dough without overworking it.
- Light dusting of flour and a work surface for gentle shaping.
- Tongs or a spatula sturdy enough to flip the loaf in the basket.
- Parchment paper rounds (optional) to keep the basket clean and help with transfer.
Things That Go Wrong
Here are the common problems and how to fix them quickly.
Crust browns too fast but interior is underdone. If the outside reaches color before the middle cooks, lower the temperature by 10–15°C (about 25–30°F) and increase total baking time. Smaller loaves can also help; divide the dough and bake in two batches so heat penetrates more evenly.
The loaf is dense. That usually means the dough was over-kneaded or the baking soda lost its potency. Knead gently and only as directed. If your baking soda is old (it can lose power after a couple years), replace it.
The base is soggy. Make sure to flip the loaf halfway as instructed. If your air fryer traps moisture at the bottom, try a shorter first bake and a longer second bake after flipping, or place the loaf on a perforated parchment designed for air fryers.
It tastes overly acidic. This can happen with too much buttermilk or uneven mixing. Measure carefully and stir just until combined to avoid pockets of acid.
Fresh Takes Through the Year
Small seasonal tweaks make this bread feel new without changing the method.
Spring: Fold in a handful of chopped fresh herbs—think chives or parsley—after initial mixing for a bright, savory loaf. Summer: Add a scattering of seeds on top before baking for crunch and a nutty flavor. Autumn: Stir in a small amount of grated cheese into the dough for a richer loaf; place a few extra shreds on top for color. Winter: Mix in dried herbs or a pinch of cracked black pepper to pair with soups and stews.
Keep additions modest. This recipe is designed around a simple structure; too much mix-in can alter hydration and bake times. When in doubt, add toppings rather than folding large ingredients into the dough.
Author’s Commentary
I make this loaf when I want fresh bread without a long schedule. It’s become my go-to for last-minute guests and lazy weekends. The technique respects the ingredients: a minimal approach that highlights the tang of buttermilk and the comfort of a warm slice.
I love that it’s forgiving. If the shape is imperfect, nobody minds once it’s sliced and buttered. The flip at mid-bake feels odd the first time, but it’s the trick that gives you a proper base and an evenly browned crust. Trust it.
Refrigerate, Freeze, Reheat
Storage is simple. Wrap cooled slices or the whole loaf tightly and keep at room temperature for up to 2 days. For longer storage, freeze slices or the whole loaf in an airtight bag for up to 3 months.
To reheat from room temperature: toast slices or warm in a 180°C (350°F) oven for 5–8 minutes to refresh the crust. From frozen: toast directly from the freezer or thaw at room temperature and warm for a few minutes. Avoid microwaving whole slices for long periods; it softens the crust and yields a gummy texture.
Helpful Q&A
- Q: Can I make this gluten-free? — A: The recipe relies on wheat gluten for structure; gluten-free flours will need binders and a different approach. This recipe as written is best with all-purpose flour.
- Q: Do I need to let the dough rest before baking? — A: No. The leavening is immediate from the buttermilk and baking soda. Shape and bake right away to get the best rise.
- Q: Why flip the loaf? — A: Flipping ensures even browning and helps the base dry out enough so the center finishes baking. Air fryers can brown one side faster, so the flip evens things out.
- Q: My air fryer is small. Can I halve the recipe? — A: Yes. Divide the dough and bake smaller loaves or make two batches. Smaller rounds will bake through more reliably.
- Q: How do I test for doneness? — A: A golden crust and a hollow sound when tapped on the base are reliable signals. If unsure, a quick temperature check in the center should read around 95–100°C (203–212°F) for fully baked quick breads.
Make It Tonight
This is one of those recipes you can start after dinner and have fresh bread before midnight. Plan for about 45–55 minutes total: a few minutes to mix and shape, 23–25 minutes for the first bake, 15 minutes after the flip, and 10 minutes of resting. It’s small-commitment baking with a big payoff.
Grab the three ingredients, warm up the air fryer, and give it a try. Slice it thick, spread on butter while it’s still warm, and enjoy the satisfaction of homemade bread with almost no drama.
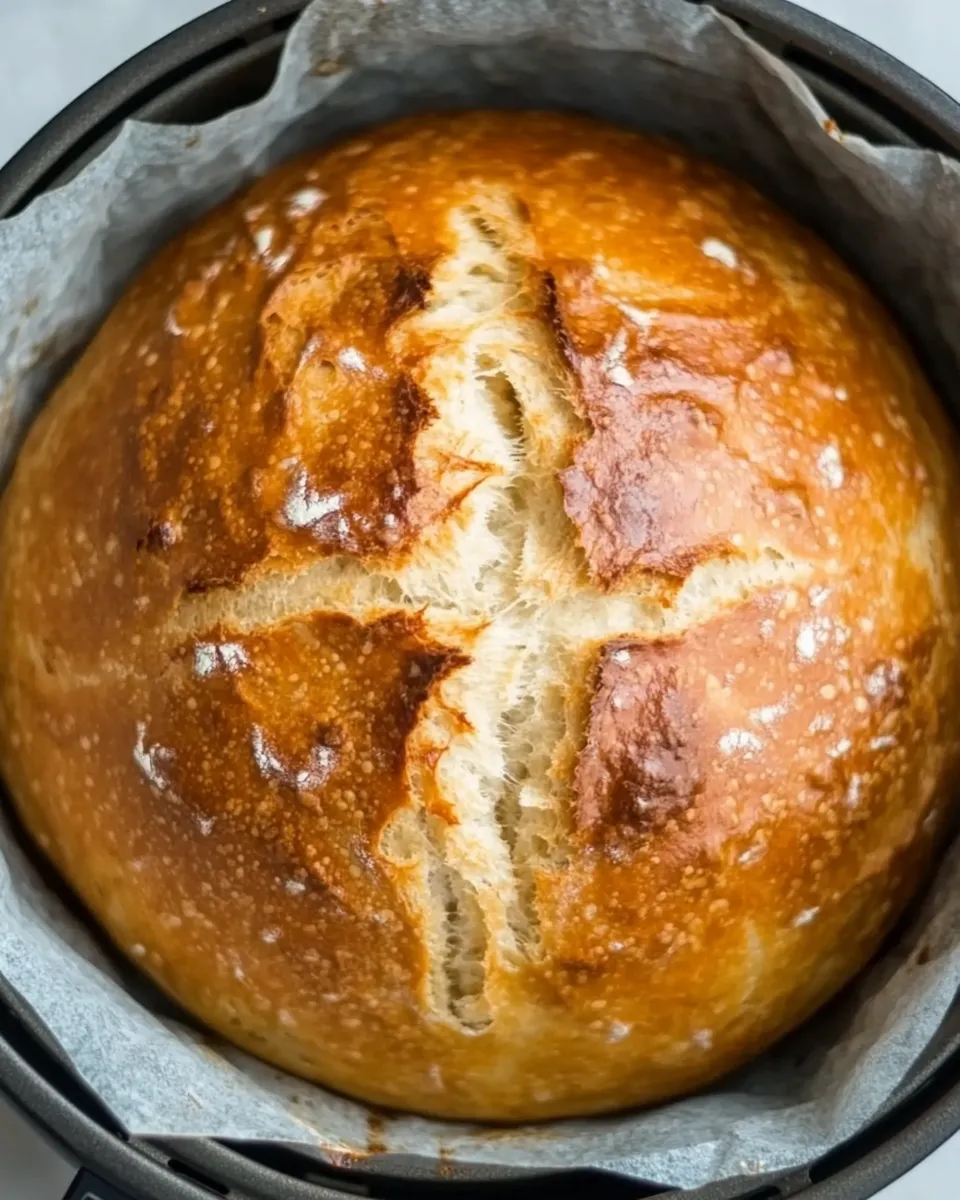
Air Fryer Bread
Equipment
- Air Fryer
- Mixing Bowl
- Spatula
- work surface
- Tongs
- Parchment paper (optional)
Ingredients
Ingredients
- 3 3/4 cupsall purpose flour
- 1 1/2 teaspoonsbaking soda
- 2 cupsbuttermilk
Instructions
Instructions
- Preheat the air fryer to 180°C (350°F).
- In a large bowl, whisk together 3 3/4 cups all‑purpose flour and 1 1/2 teaspoons baking soda until evenly combined.
- Pour 2 cups buttermilk into the dry ingredients and stir with a spatula or wooden spoon until a shaggy dough forms; stop as soon as the ingredients are combined.
- Lightly flour a work surface, turn the dough out, and gently knead 5–6 times to bring it into a single ball. Do not over‑knead.
- Shape the dough into a round loaf sized to fit your air fryer basket. If it does not fit, divide the dough into two equal pieces and shape each into a round to bake in separate batches.
- Place the shaped loaf (or loaves) in the preheated air fryer basket, leaving space around them for air to circulate (you may place them on a circle of parchment paper if desired).
- Bake at 180°C (350°F) for 23–25 minutes. Carefully flip the loaf with tongs or a spatula and bake an additional 15 minutes, until the crust is golden and the base sounds hollow when tapped.
- Let the bread rest in the air fryer basket for 5 minutes, then transfer to a cutting board and rest another 5 minutes before slicing and serving.
Notes
Cinnamon raisin– Fold through 1 teaspoon of cinnamon and 1/2 cup of soaked raisins (soak the raisins in water for 30 minutes for maximum plumpness).
Cheese and garlic– Mince 2 cloves of garlic (or use 2 teaspoons of garlic powder) and add that to the dough, along with up to 2 cups of shredded cheese (I like a full-flavored one like Colby Jack or Tasty).
Olives and walnuts– For a Mediterranean-style loaf, add some sliced black olives, chopped walnuts, and a tablespoon of Italian seasoning.
Topping ideas– Keep things simple with pumpkin seeds, poppy seeds, sunflower seeds or flaxseeds. You can also fold some through the dough.