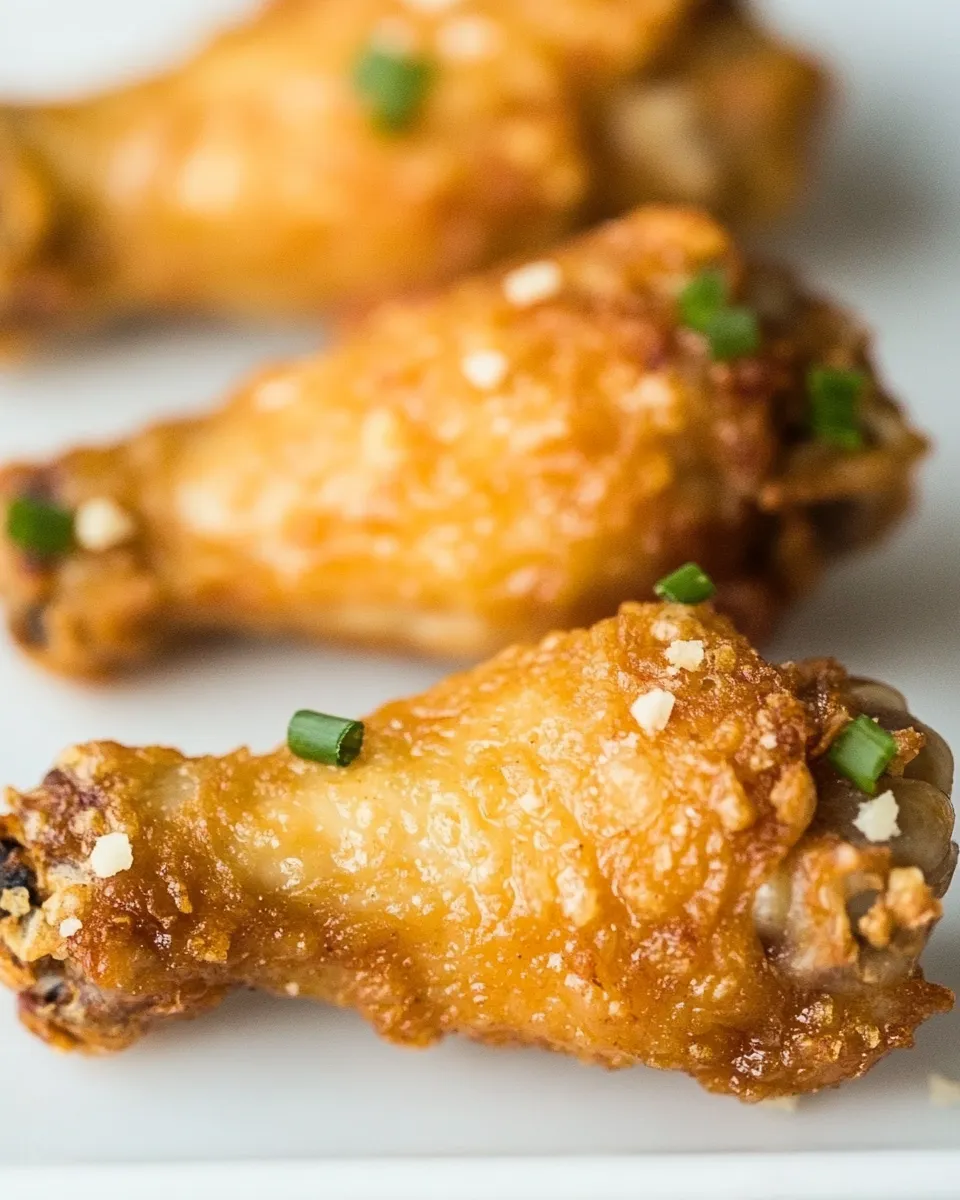
I adore a plate of well-crisped chicken wings. They’re the perfect finger food — addictive, satisfying, and more approachable than deep frying for a weeknight or game day. This version skips baking powder entirely and relies on a simple boil-to-bake technique that renders the skin and concentrates flavor. Short prep, predictable steps, and results you can count on.
No complicated marinades, no mysterious ingredients, just two pantry staples and a bit of heat. I’ll walk you through the exact steps and the small choices that make the skin crackle and the meat stay juicy. There are no tricks that demand special tools; basic kitchen gear and attention to timing are what matter.
Read through the steps once, have your pan and rack ready, and you’ll be surprised how often this method becomes your go-to. It’s practical, forgiving, and perfect when you want crisp wings without deep-frying or chemical crisper aids.
Ingredients at a Glance
- 2lbschicken wings — the star protein; split or whole wings work for this method.
- 1tablespoonsalt — seasons the water and the meat from the inside out; don’t skip it during the boiling step.
Crispy Baked Chicken Wings (without Baking Powder) in Steps
- Preheat the oven to 450°F (230°C).
- Fill a large pot with enough water to fully cover the 2 lbs chicken wings and bring the water to a boil.
- Add 1 tablespoon salt to the boiling water, then add the chicken wings to the pot.
- Bring the water back to a boil, then reduce heat to maintain a simmer and cook the wings for 10 minutes.
- Drain the wings thoroughly and pat them as dry as possible with paper kitchen towel.
- Line a sheet pan with foil (optional for easier cleanup) and set a wire rack over the pan. Arrange the wings in a single layer on the rack with space between pieces.
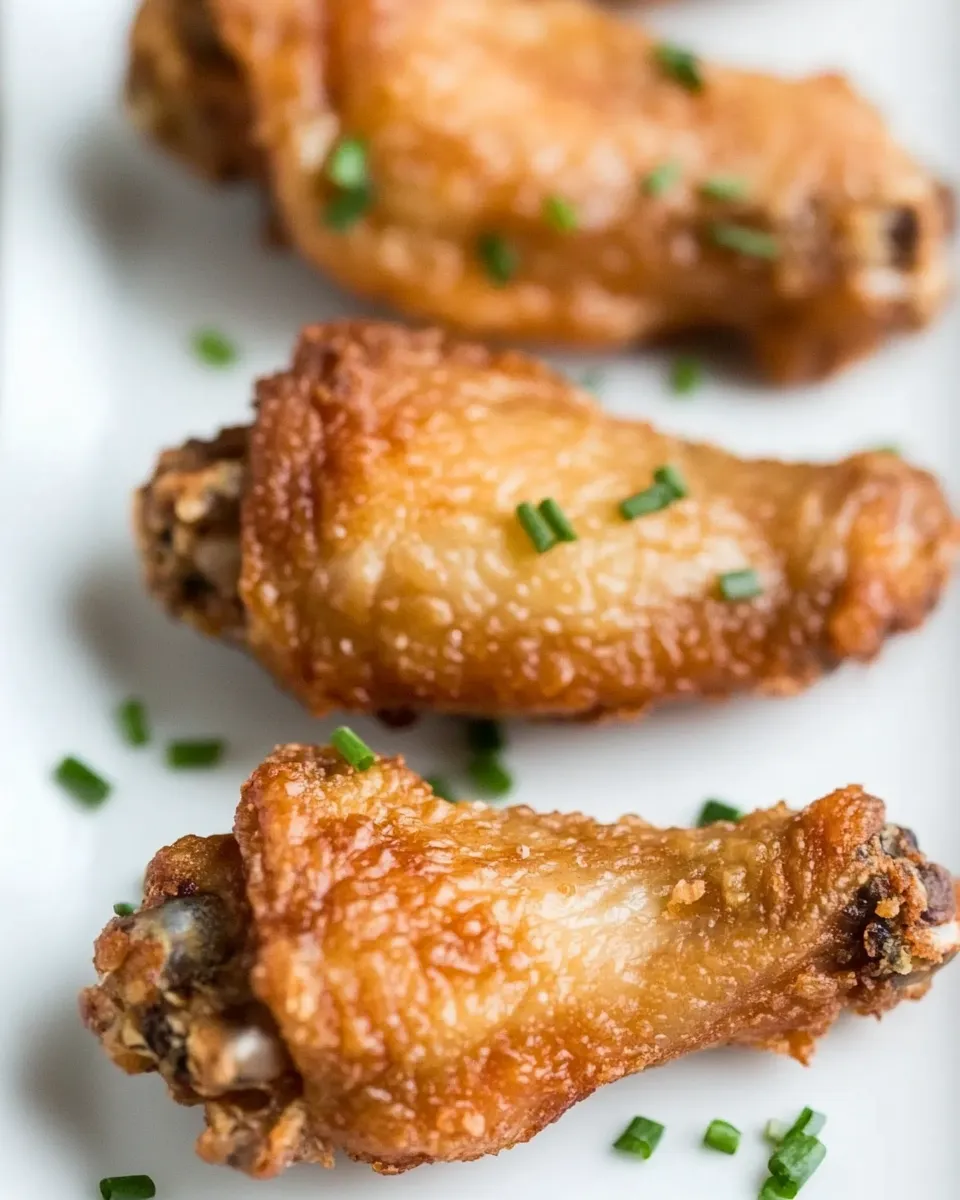
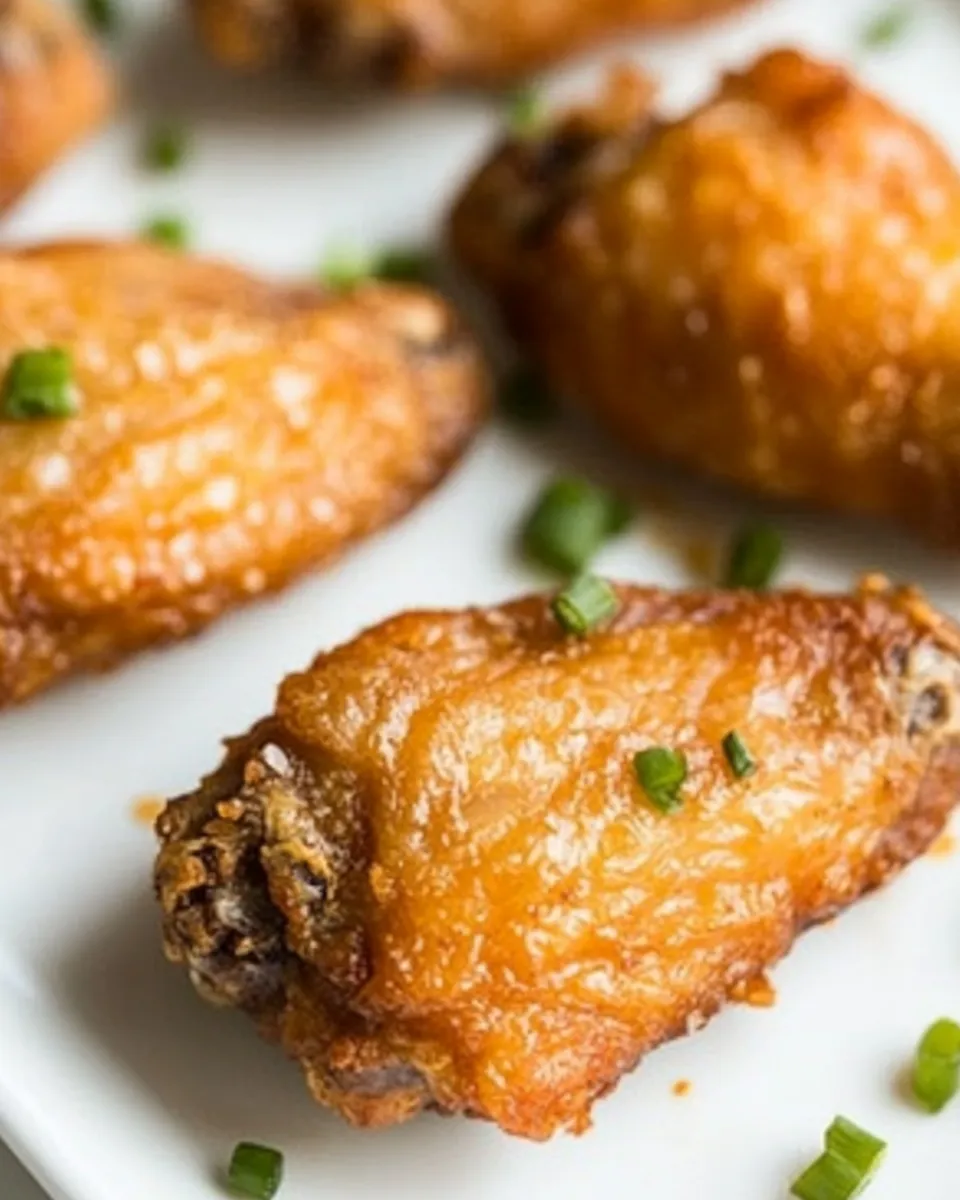
- Bake the wings at 450°F (230°C) for about 30 minutes, until the skin is crisp and golden.
Why It Deserves a Spot
This method is honest and efficient. Blanching the wings in salted boiling water jump-starts the rendering of fat and tightens the skin so the oven can finish things quickly. You get crisp skin and juicy meat without extra chemicals or oil. That alone is enough to recommend it, but there are other reasons to keep this recipe in your rotation:
- Predictable timing. The blanch-and-bake combo produces reliable results — you won’t be guessing whether your wings are done.
- Cleaner than frying. No splatter or large amounts of oil to dispose of.
- Fast finish. Thirty minutes in a very hot oven gives you gorgeous color and crunch.
For casual dinners, parties, or batch-cooking for snacks, this technique is low-effort with high payoff. It’s ideal when you want straightforward flavors and crisp texture.
Easy Ingredient Swaps
Keep the swaps simple and practical. You’re only working with wings and salt here, so alternatives focus on salt type and slight variations in the poultry you buy.
- Salt type — If you have kosher or coarse sea salt, use those in place of the tablespoon noted; note that granular volume varies, so taste accordingly. The tablespoon measurement in the recipe assumes standard table salt; with kosher salt, the same tablespoon will taste milder, so adjust to your preference.
- Wing form — Whole wings, separated wingettes and drumettes, or wings with tips removed all work. Adjust spacing on the rack so air circulates around each piece.
- Smaller batches — If you have less than 2 lbs, reduce water to cover and maintain the same salt-to-water effect; cooking time in the oven remains similar, but check earlier for color and crispness.
Equipment & Tools
- Large pot — big enough to fully submerge the wings for the blanch.
- Colander or large sieve — to drain the wings thoroughly after simmering.
- Paper kitchen towels — for patting the wings as dry as possible (this step is crucial).
- Sheet pan — sturdy and large enough to hold the rack and wings in a single layer.
- Wire rack — elevates the wings so hot air can circulate and fat drips away.
- Aluminum foil — optional, for easier cleanup under the rack.
- Oven thermometer (optional) — helpful if your oven runs hot or cold; you want steady 450°F (230°C).
What Not to Do
- Don’t skip drying the wings. Wet skin steams instead of crisps. Take the time to pat them as dry as possible.
- Don’t crowd the rack. Overlapping pieces trap steam and prevent the skin from crisping.
- Don’t lower the oven temperature. The high heat is essential for a good, quick crisp.
- Don’t skip the simmer step. That initial cook helps render fat and makes the final bake effective; simply throwing raw wings into the oven won’t give the same result.
- Don’t assume the wings are done by time alone. Look for golden color and a crackly texture on the skin.
Better Choices & Swaps
Small choices change the result. Here are practical decisions that make this simple recipe even better.
- Wire rack over foil-lined pan — This setup keeps the wings out of their own drippings so the skin crisps on all sides. It’s better than placing wings directly on the pan.
- Use a shallow pan — A low-sided sheet pan allows hot oven air to circulate more evenly around the wings than a deep pan would.
- High oven rack position — Put the pan in the middle or upper-middle of the oven so the heat hits the top of the wings and helps color the skin.
- Finish under broiler (optional and brief) — If after 30 minutes the crisp isn’t where you want it, a quick 1–2 minute broil can help. Watch closely to prevent burning.
What Could Go Wrong
There are a few common pitfalls, but they’re easy to fix once you know them.
- Soft skin — Caused by insufficient drying or overcrowding. Fix by thoroughly patting dry and spacing wings on the rack.
- Pale wings — Likely the oven isn’t hot enough or the pan position is too low. Confirm the oven is at 450°F (230°C) and move the rack up slightly.
- Dried-out meat — Overcooking can cause dryness. Keep an eye on color and texture; once the skin is golden and crisp, the meat should still be juicy. If in doubt, check an internal piece near the bone.
- Uneven crisping — Occurs when wings are different sizes or too close together. Bake similar-sized pieces together and maintain space between them.
Storage & Reheat Guide
These wings store well and reheating is forgiving if you follow the right steps.
- Refrigeration — Cool wings completely, then store in an airtight container for up to 3 days.
- Freezing — Freeze on a tray until firm, then transfer to a sealed bag or container. Use within 2 months for best texture.
- Reheating in oven — Preheat to 400°F (200°C). Arrange wings on a wire rack over a sheet pan and heat for 8–12 minutes until warmed through and the skin re-crisps. This is the preferred method for maintaining texture.
- Quick reheat (not ideal) — Microwave will warm but soften the skin. If microwaving, then pop them under a hot broiler or in a hot skillet for a minute to recover some crisp.
- Do not refreeze thawed wings after reheating. Follow standard safe food handling guidelines.
Quick Q&A
- Q: Can I skip the boiling step? A: You can, but the wings won’t crisp as reliably. The brief simmer renders fat and tightens skin, which the oven then finishes.
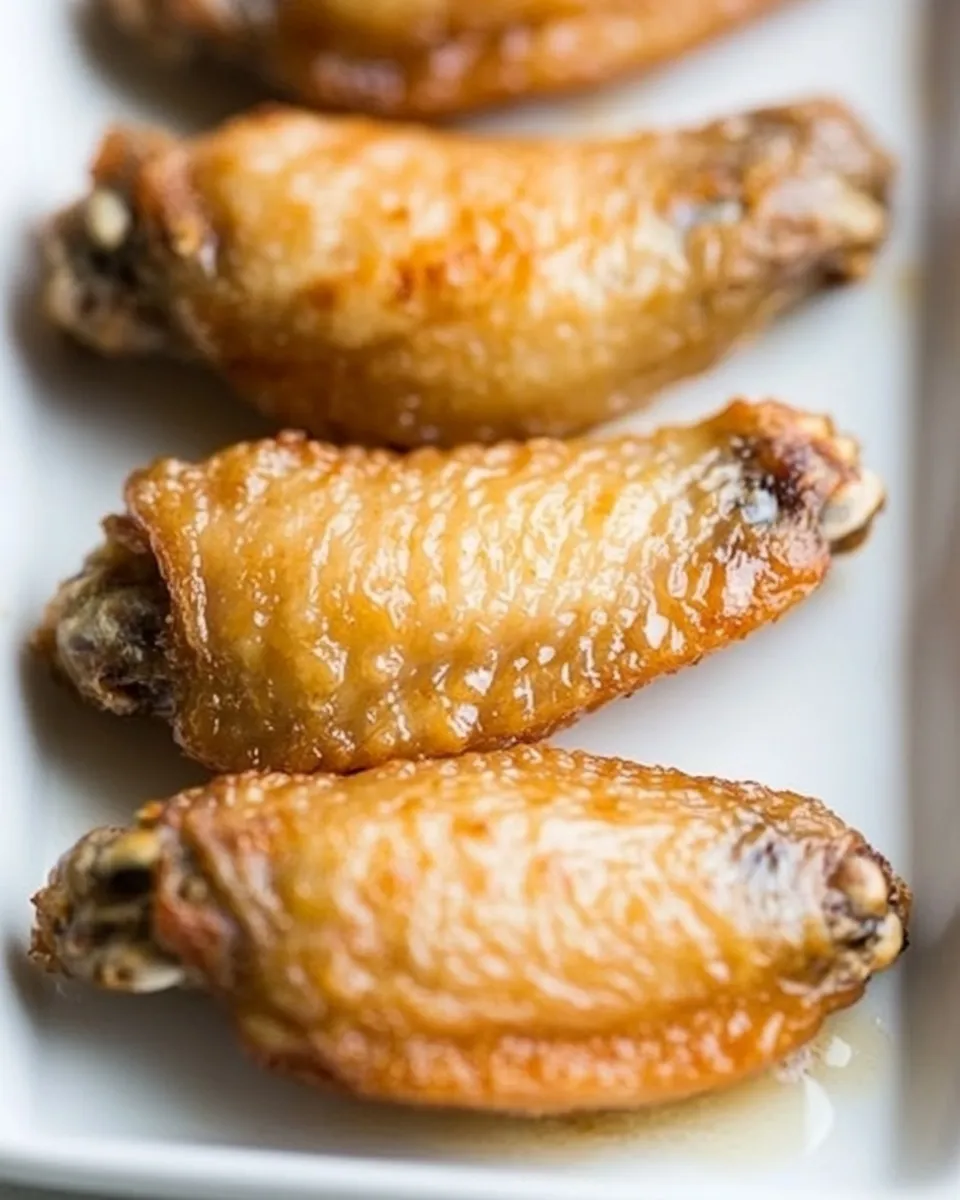
- Q: How do I know when they’re done? A: Look for deeply golden, crackly skin and juices that run clear near the bone. Time is a guide; visual and textural cues win.
- Q: Can I season after baking? A: Yes. Tossing hot wings in sauce or a dry rub after baking is an excellent way to add flavor without risking soggy skin during the oven step.
- Q: Will brining be better? A: The salted simmer acts like a light brine. For a deeper brine, you can brine in a salt solution ahead of time, but adjust the simmer salt accordingly to avoid over-salting.
Ready, Set, Cook
Line your pan, heat the water, and set the oven to 450°F (230°C). Follow the steps in order: boil, simmer, drain, dry, bake. Keep a close eye during the final minutes for the color you want. When the skin is crackly and golden, pull the wings out and either serve them plain or toss them in your favorite sauce. They hold up well to buffalo sauce, honey-garlic, or a simple squeeze of lemon and sprinkle of flaky salt.
These wings prove you don’t need baking powder or deep frying to get excellent texture. A small amount of technique — proper blanching, careful drying, and a hot oven — makes all the difference. Enjoy, and don’t be surprised if this method becomes your default whenever wings are on the menu.
Crispy Baked Chicken Wings (without Baking Powder)
Equipment
- Oven
- Large Pot
- Sheet Pan
- Wire Rack
- Foil
- Paper Towels
Ingredients
Ingredients
- 2 lbschicken wings
- 1 tablespoonsalt
Instructions
Instructions
- Preheat the oven to 450°F (230°C).
- Fill a large pot with enough water to fully cover the 2 lbs chicken wings and bring the water to a boil.
- Add 1 tablespoon salt to the boiling water, then add the chicken wings to the pot.
- Bring the water back to a boil, then reduce heat to maintain a simmer and cook the wings for 10 minutes.
- Drain the wings thoroughly and pat them as dry as possible with paper kitchen towel.
- Line a sheet pan with foil (optional for easier cleanup) and set a wire rack over the pan. Arrange the wings in a single layer on the rack with space between pieces.
- Bake the wings at 450°F (230°C) for about 30 minutes, until the skin is crisp and golden.