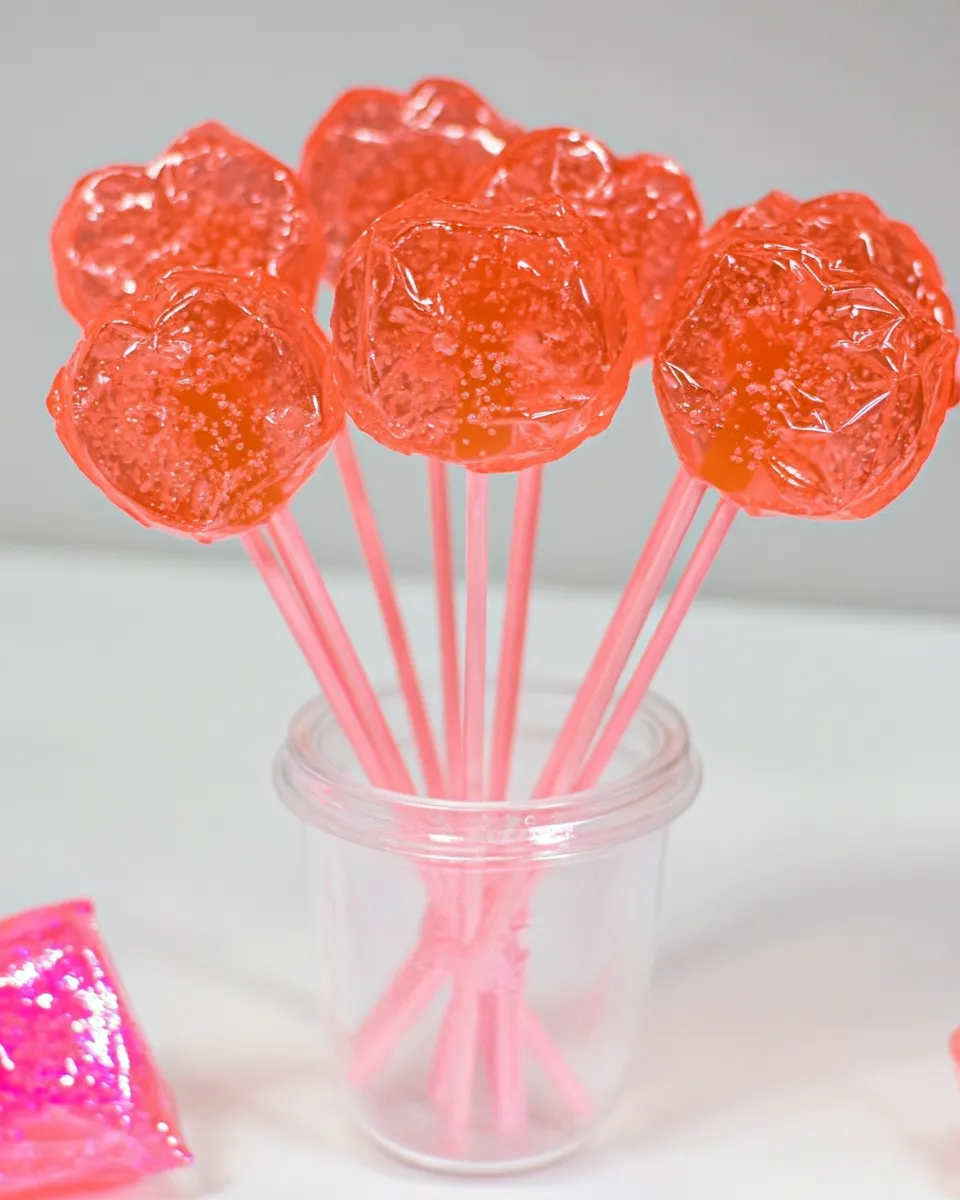
I love small projects that reward you quickly, and making suckers at home is one of those wins. With just a handful of pantry staples and a candy thermometer, you can turn simple sugar into glassy, snap‑hard lollipops that kids will adore and adults will nibble with nostalgia. The method is straightforward, but it asks for attention at a few moments: chilling molds, reaching the right temperature, and a careful, speedy pour.
This recipe focuses on technique more than decoration. Follow the steps and you’ll get clear, hard candies with bright flavor and no cloudiness. The process also scales: a small batch like this is perfect for testing flavors and colors before committing to a larger run. I’ll walk you through the ingredients, the exact steps, what to watch for, and a few practical variations to meet dietary needs or solve texture problems.
Ready to make candy? Lay out your tools, read through the steps, and don’t rush the thermometer reading. These little treats set quickly once they leave the pan, and a calm, organized approach keeps them glossy, clear, and perfectly hard.
What Goes Into Homemade Suckers
Below is everything you need for a small batch of classic hard suckers. Quantities are exact; keep them as written for predictable results. Notes explain each ingredient’s job so you can understand why we use it.
Ingredients
- 1 cup sugar — the primary structure of the candy; creates the glassy, hard texture when cooked to hard‑crack stage.
- 1/2 cup water — hydrates the sugar so it dissolves evenly and heats without burning.
- 1/3 cup corn syrup — prevents crystallization and keeps the candy smooth and clear.
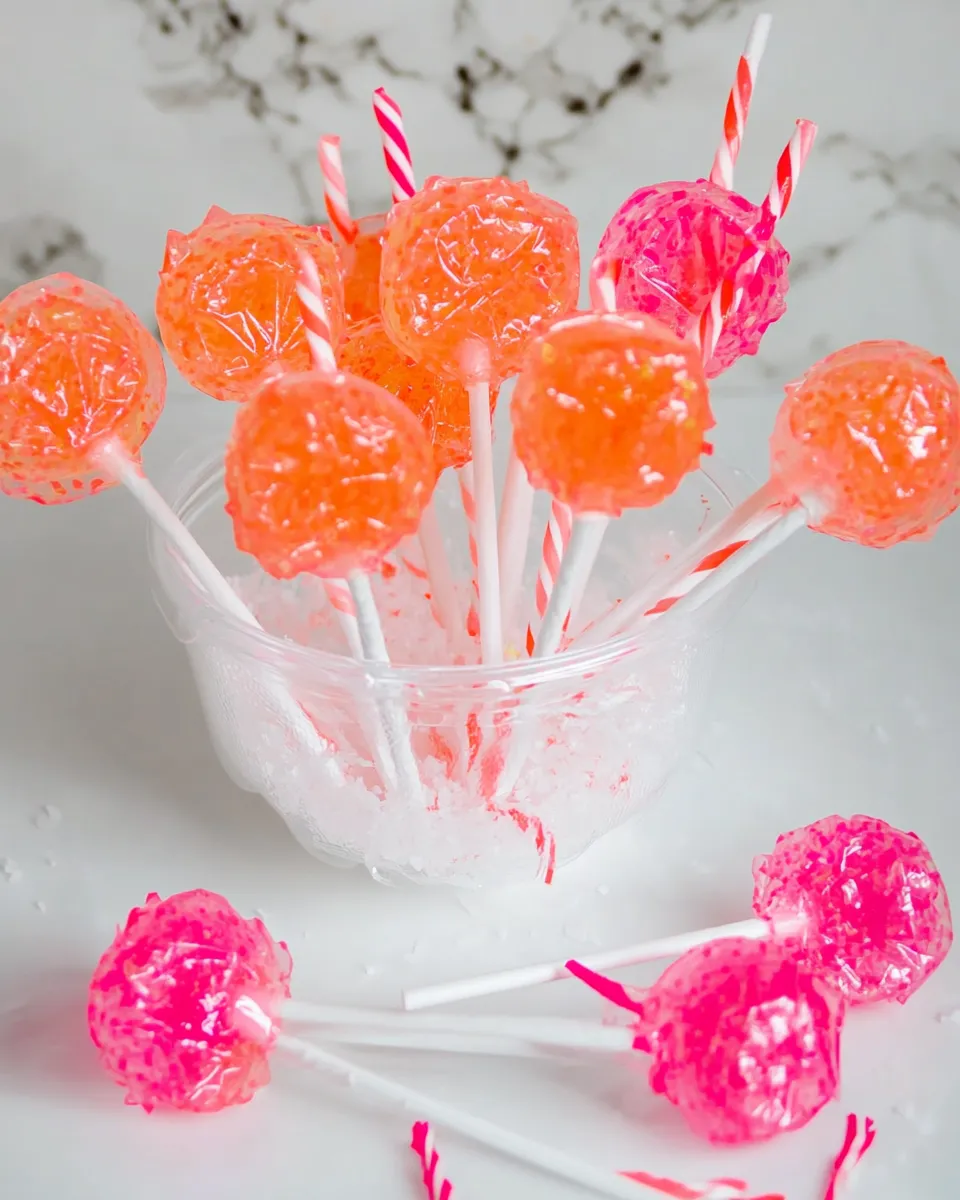
- 1/4 tsp food coloring — for visual appeal; a little goes a long way with clear candies.
- 3-5 drops flavoring (cherry or cinnamon) — concentrated extracts add bright taste; start at 3 drops and adjust in future batches.
- sucker sticks — standard lollipop sticks to anchor the candy while it sets.
- candy thermometer — essential. You must reach 300 degrees F (hard‑crack) for proper texture.
Homemade Suckers: Step-by-Step Guide
- Assemble your molds with the sucker sticks inserted, place them on a cookie sheet, and put the tray in the freezer while you cook the candy to chill the molds.
- In a medium saucepan combine 1cup sugar, 1/2cup water, and 1/3cup corn syrup. Stir over medium heat until the sugar is fully dissolved, then clip in your candy thermometer.
- Increase heat and bring the mixture to a boil. Cook without stirring (you may occasionally swirl the pan gently) until the thermometer reads 300 degrees (hard‑crack stage).
- Remove the pan from heat. Carefully add 1/4tsp food coloring and 3–5 drops flavoring (cherry or cinnamon) and stir for about 2 minutes to blend and cool slightly.
- Take the chilled molds from the freezer and quickly pour the hot syrup into the molds, filling each cavity to the top.
- Let the suckers sit undisturbed at room temperature for 10–15 minutes, until fully hardened.
- Once set, remove the cookie sheet from the molds and pop the suckers out of the molds. Allow them to cool completely before handling or wrapping.
Why This Recipe Belongs in Your Rotation
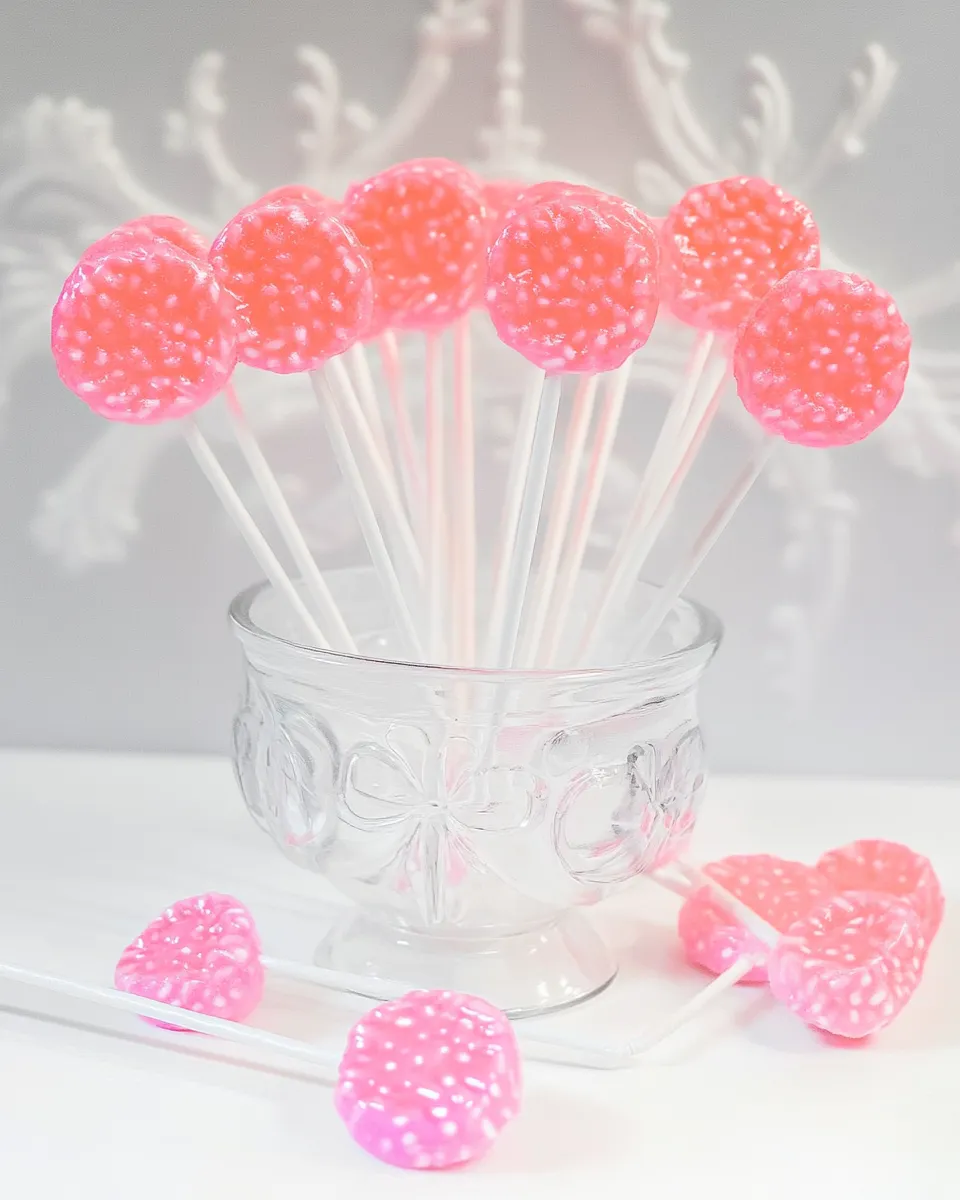
Homemade suckers are fast, inexpensive, and customizable. The total cook time is short, and once you’ve made a batch you’ll be able to tweak color and flavor right away. They make thoughtful homemade gifts, party favors, or quick weekend projects with kids (with supervision during the hot steps).
Because the ingredient list is so small, you can focus on technique: getting the sugar to the right temperature and preventing crystallization. Master those two things, and you’ll get consistent results every time. The finished candies store well and maintain their snap for weeks when wrapped properly.
Texture-Safe Substitutions
If you want a similar result but need to swap something, choose replacements that perform the same role:
- Substitute light corn syrup with glucose syrup or golden syrup if available — those still inhibit crystallization. Expect minor color or flavor shifts.
- For flavoring, use concentrated extract rather than diluted mixers. Oils intended for candy can be stronger; reduce the drops if trying a new concentrated flavor.
- Do not replace sugar with granular sweeteners like xylitol or erythritol without following a tested recipe; they behave differently under high heat and can produce grainy or soft textures.
Appliances & Accessories
Small investments make this process safer and more predictable:
- Candy thermometer — nonnegotiable. An instant‑read thermometer that’s not rated for high temps can give misleading readings.
- Heavy‑bottomed saucepan — heats evenly and reduces hot spots that can burn sugar.
- Silicone or rigid plastic candy molds and a cookie sheet — molds go on a flat surface for easy filling and freezing ahead of time.
- Heatproof spatula or wooden spoon — for the brief stirring when adding color and flavor after removing from heat.
Frequent Missteps to Avoid
There are a few common errors that turn promising batches into sticky or cloudy candy. Watch for these and you’ll save time and ingredients.
- Turning your back on the thermometer — candy can jump from perfect to overcooked in seconds. Stay present once it starts boiling fast.
- Stirring during the boil — stirring encourages crystallization. Swirl the pan gently if you must, but avoid a spoon scraping the sides.
- Pouring into warm molds — always chill the molds first. Warm molds can cause premature spreading and loss of shine.
- Adding flavoring before removing from heat — alcohol or volatile flavors can evaporate or burn; add after you pull the pan off the burner.
Variations for Dietary Needs
This basic hard candy is naturally free of dairy and eggs, which makes it suitable for many diets, but there are still considerations:
- Vegan: Most granulated sugar in the U.S. may be processed with bone char; if strict vegan, use certified organic or beet sugar labeled vegan.
- Allergies: The core recipe contains no common allergens, but read labels on extracts and food coloring for hidden ingredients.
- Low sugar/sugar‑free: This recipe relies on sugar for structure. If you need sugar‑free candy, look for tested recipes that use alternative bulking agents designed for hard candies rather than swapping ingredients directly.
- Low‑sodium / low‑fat: This recipe is already very low in sodium and fat-free.
What Could Go Wrong
When something goes sideways, it usually fits into a few predictable scenarios:
- Cloudy candy — often caused by sugar crystallization from stirring or using an unclean pan. Start again with a clean pot and avoid scraping the sides while boiling.
- Sticky or soft centers — undercooking is the cause. Make sure you reach 300°F (hard‑crack); a few degrees lower will give a chewier result.
- Brittle but dull finish — pouring into warm molds or cooling too quickly can remove shine. Chilled molds and calm room cooling help maintain gloss.
- Burnt flavor — the sugar has overheated. Discard the batch; burned sugar tastes bitter and cannot be salvaged.
Storage Pro Tips
Proper storage keeps suckers crisp and attractive for weeks.
- Wrap individually in cellophane or parchment and twist the ends; seal with a small sticker or tape to keep air out.
- Store in a cool, dry place away from humidity. Moisture will soften the candy.
- If you’re stacking or packing for gifting, use parchment between layers to prevent sticking.
- Do not refrigerate — condensation will form and make the candy sticky.
Homemade Suckers FAQs
- How long do these suckers keep? Properly wrapped and stored in a cool, dry place, they’ll stay crisp for several weeks.
- Can I make them ahead for a party? Yes. Make them a few days in advance and store individually wrapped at room temperature.
- What temperature is hard‑crack? 300 degrees F. Use a candy thermometer and remove the pan promptly when it reaches this mark.
- Why did my candy turn cloudy? Crystallization from stirring or granules left on the pot sides are common culprits. Use clean tools and avoid stirring during boil.
- Can I use other flavors? Yes—try mint, lemon, or orange extracts. Start with 3 drops for a single batch and adjust in later batches.
- Are the molds reusable? Yes. Wash molds in warm water and dry thoroughly before reusing.
Wrap-Up
Homemade suckers are a satisfying project: quick to prepare, forgiving when you follow the thermometer, and endlessly customizable. Keep a clean pot, a reliable candy thermometer, chilled molds, and patience during the boil. Start with the recipe exactly as written, then experiment with colors and flavors once you’re comfortable with the technique.
If one batch doesn’t come out perfect, take notes and try again—the learning curve is short and the reward is a shelf of bright, crunchy treats you made yourself. Happy candy making!
Homemade Suckers
Equipment
- Sucker sticks
- Sucker molds
- candy and deep fry thermometer
Ingredients
Ingredients
- 1 cupsugar
- 1/2 cupwater
- 1/3 cupcorn syrup
- 1/4 tspfood coloring
- 3-5 dropsflavoringcherry or cinnamon
- sucker sticks
- candy thermometer
Instructions
Instructions
- Assemble your molds with the sucker sticks inserted, place them on a cookie sheet, and put the tray in the freezer while you cook the candy to chill the molds.
- In a medium saucepan combine 1cup sugar, 1/2cup water, and 1/3cup corn syrup. Stir over medium heat until the sugar is fully dissolved, then clip in your candy thermometer.
- Increase heat and bring the mixture to a boil. Cook without stirring (you may occasionally swirl the pan gently) until the thermometer reads 300 degrees (hard‑crack stage).
- Remove the pan from heat. Carefully add 1/4tsp food coloring and 3–5 drops flavoring (cherry or cinnamon) and stir for about 2 minutes to blend and cool slightly.
- Take the chilled molds from the freezer and quickly pour the hot syrup into the molds, filling each cavity to the top.
- Let the suckers sit undisturbed at room temperature for 10–15 minutes, until fully hardened.
- Once set, remove the cookie sheet from the molds and pop the suckers out of the molds. Allow them to cool completely before handling or wrapping.
Notes
TIP TO CLEAN POT AFTERWARD: Put water in pot and boil until candy comes off.