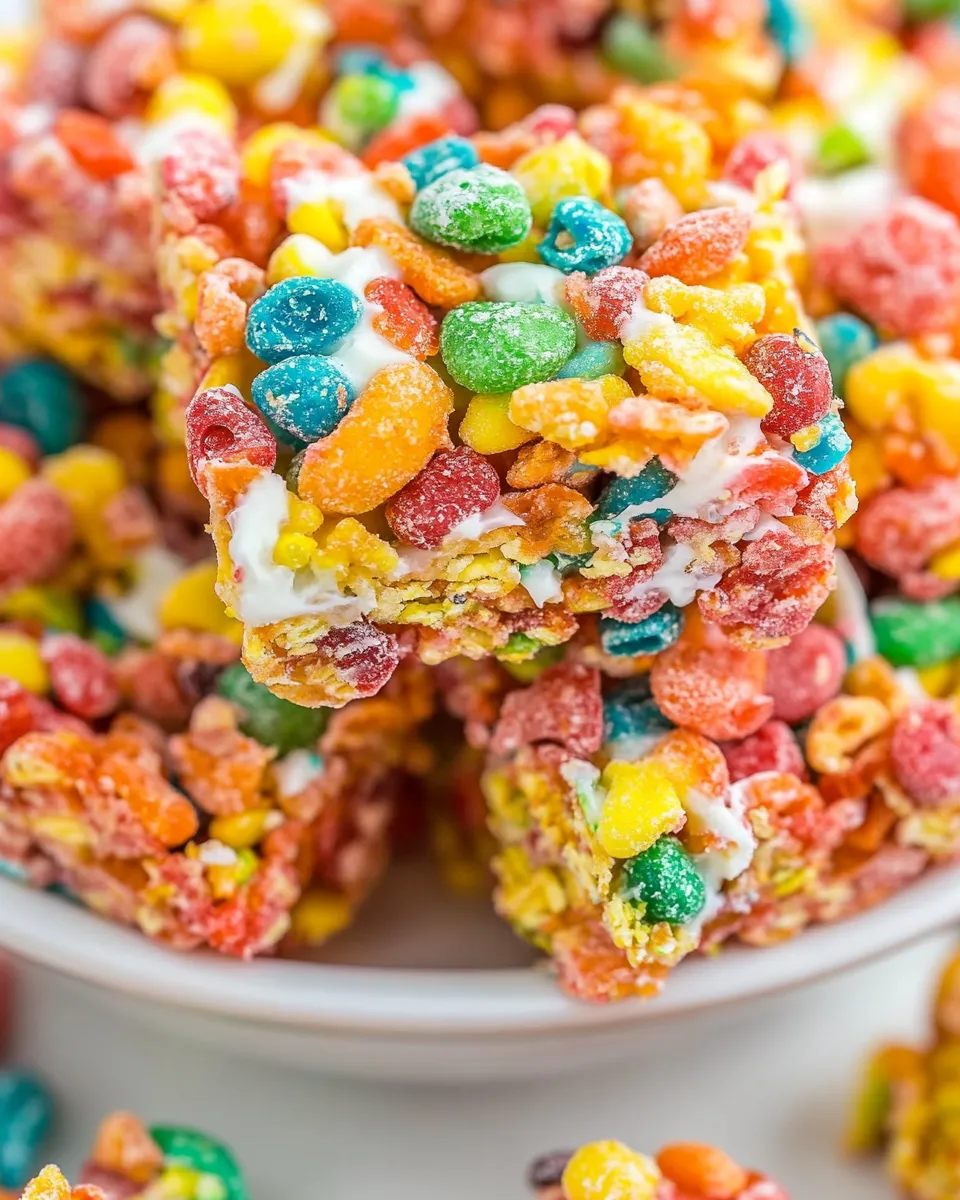
These Fruity Pebble Rice Crispy Treats are the kind of no-fuss dessert that feels celebratory without a lot of effort. Bright, crackly, and slightly chewy, they’re a favorite at bake sales, kids’ parties, and quick afternoon pick-me-ups. The recipe is straightforward: cereal, butter, mini marshmallows, and a touch of vanilla. That’s it.
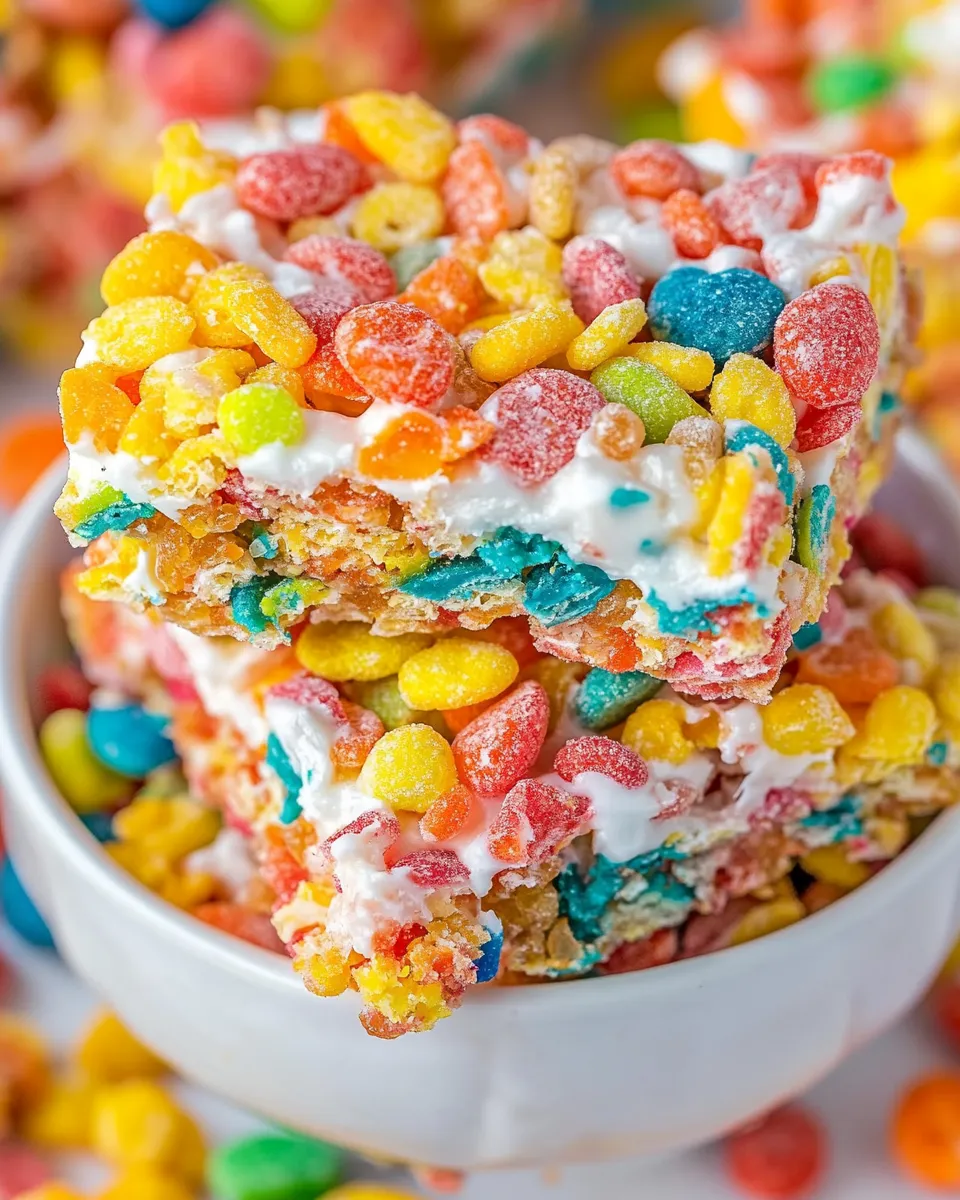
I like them because they come together fast and deliver a big visual payoff. You don’t need special equipment, and the colors from the cereal make them feel dressed up even when you keep the finish simple. Prep time is short, and cleanup is minimal if you line the pan like the recipe recommends.
Below you’ll find a clear ingredient breakdown, step-by-step method copied exactly from the tried-and-true instructions, practical tips to avoid common mistakes, storage guidance, and a few serving ideas. Read through once, then get into the kitchen — these treats respond well to confident, steady hands.
Ingredient Breakdown
- 9 cups (300 g) Fruity Pebbles Cereal (or any Pebbles flavor) — the colorful, crunchy base; measure into a large heatproof bowl and set aside so it’s ready when your marshmallow mixture is done.
- 15 ounces (425 g) mini marshmallows — the binder and source of chewiness; melt with butter to coat the cereal evenly.
- 8 tablespoons (113 g) unsalted butter — provides richness and helps the marshmallows melt smoothly; melt over medium-low heat so it doesn’t brown.
- 1 teaspoon vanilla extract — adds depth and rounds the sweetness; stir in after removing the pan from heat so the flavor stays bright.
Stepwise Method: Fruity Pebble Rice Crispy Treats
- Line a 9×13-inch pan with foil (leave an overhang for easy lifting) and spray the foil with nonstick cooking spray.
- Measure the Fruity Pebbles into a large, heatproof bowl and set aside.
- In a large saucepan over medium-low heat, melt the unsalted butter, stirring occasionally until fully melted.
- Add the mini marshmallows to the melted butter and stir continuously until the marshmallows are completely melted and the mixture is smooth. Remove the pan from the heat.
- Stir the vanilla extract into the melted marshmallow mixture until combined.
- Pour the marshmallow mixture over the cereal and gently fold with a rubber spatula until the cereal is evenly coated.
- Transfer the coated cereal to the prepared pan. Using a spatula sprayed with nonstick cooking spray or a piece of wax paper lightly sprayed with cooking spray, press the mixture firmly and evenly into the pan.
- Let the bars cool and set at room temperature until firm, about 30 minutes. Use the foil overhang to lift the slab from the pan and slice into bars.
- Store the bars in an airtight container at room temperature for up to 3 days.
Why Fruity Pebble Rice Crispy Treats is Worth Your Time
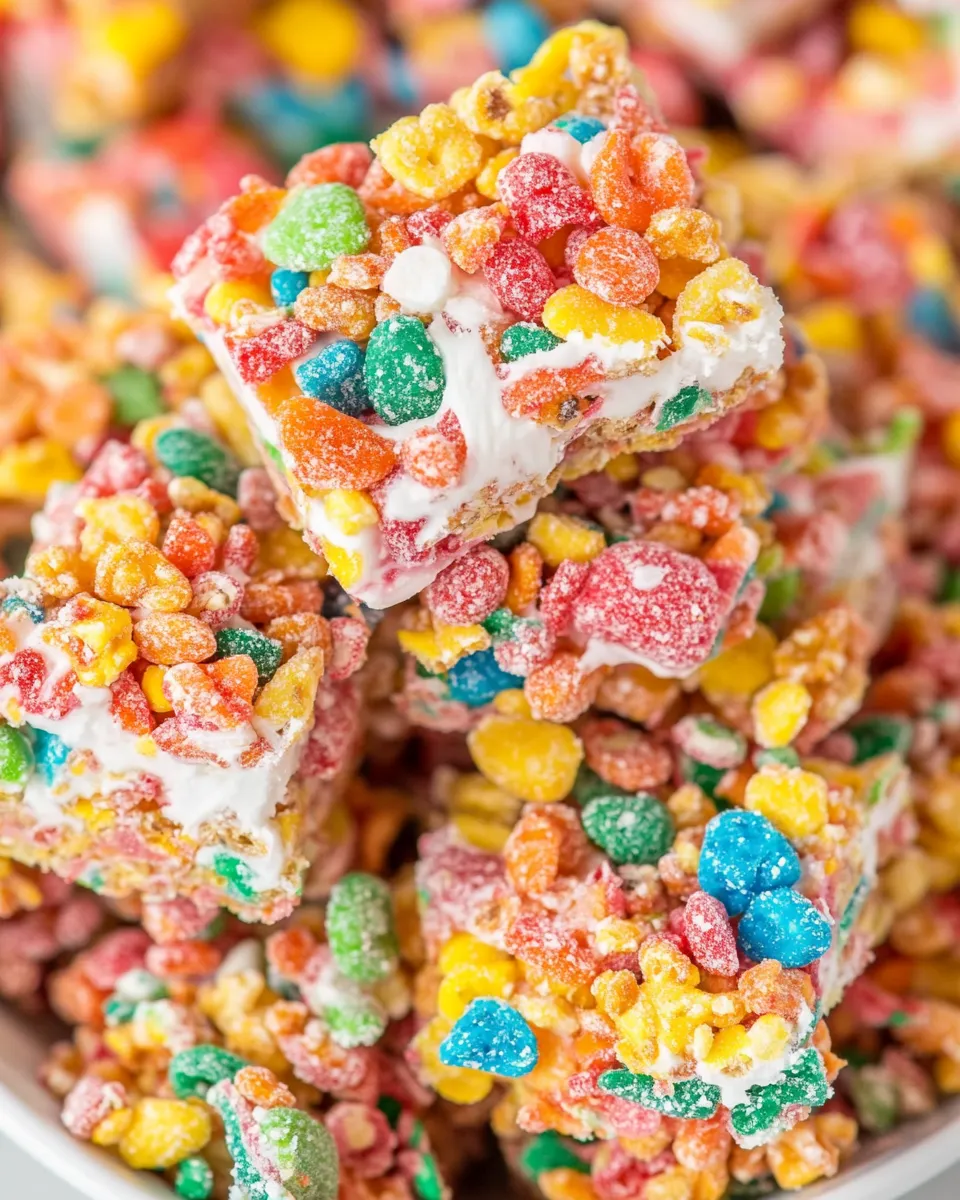
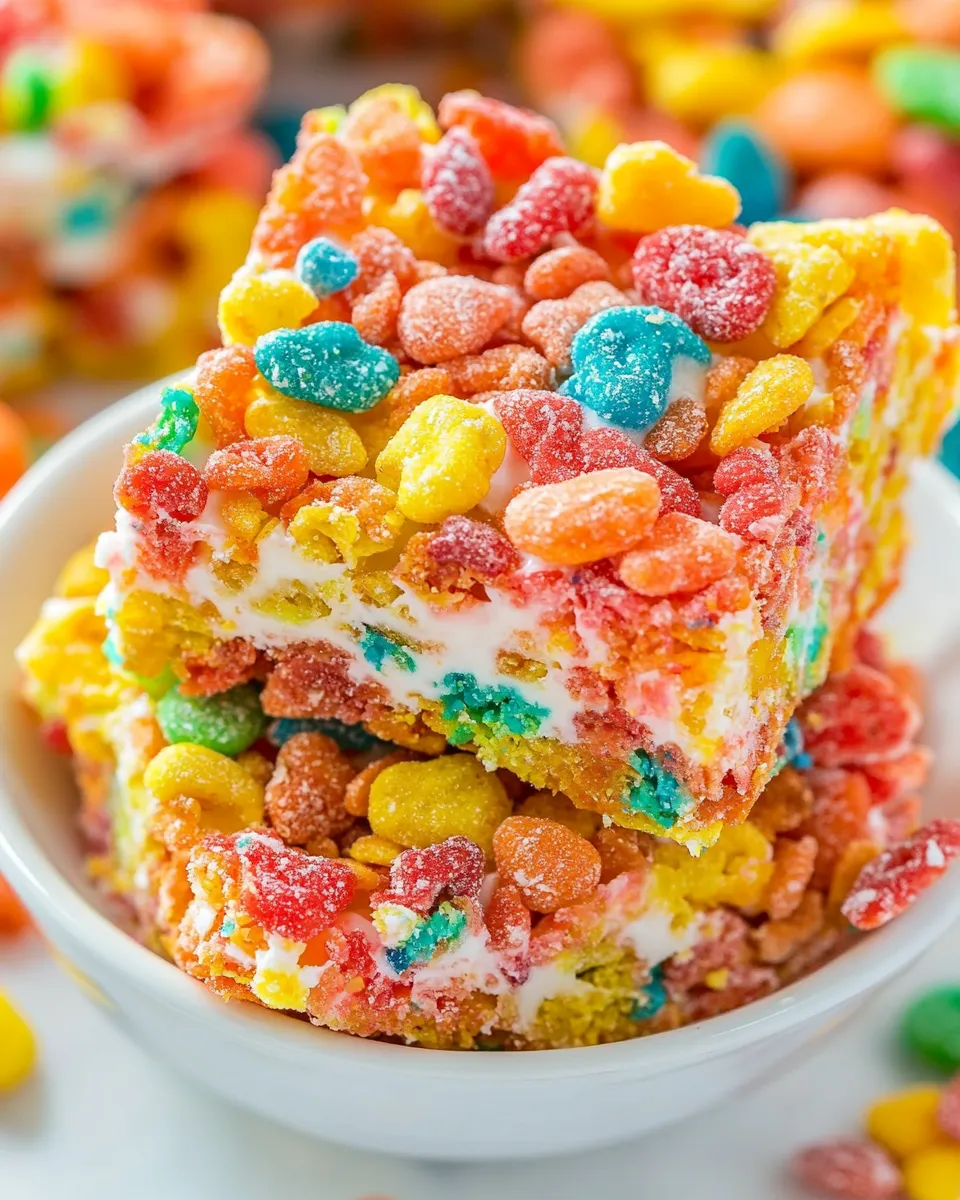
These treats are quick to make and hard to mess up, which is a big reason to keep this recipe on speed dial. You get contrast in texture — the snap of the cereal and the chew of the marshmallow — and intense, nostalgic flavor from the Fruity Pebbles. They’re also visually compelling: no frosting required to make them look festive.
Beyond the sensory appeal, they’re useful. Need a last-minute dessert for a classroom party, potluck, or picnic? These are portable and forgiving. They’re also customizable: swap the cereal for another Pebbles flavor, press into cookie cutters for party shapes, or drizzle with a bit of white chocolate for a more grown-up finish.
Low-Carb/Keto Alternatives
Traditional Fruity Pebble treats rely on cereal and marshmallows, both high in carbs and sugar. If you’re on a low-carb or keto plan, you can’t make a like-for-like swap without changing the character of the bars. That said, here are practical approaches to capture something similar in spirit:
- Swap the cereal for chopped toasted nuts and unsweetened coconut flakes — this keeps the crunch and bulk but reduces carbs. Expect more of a nut-bar texture than a cereal bar.
- Use sugar-free marshmallow products or a keto-friendly binding syrup — there are commercially available sugar-free marshmallows and marshmallow fluff alternatives that melt similarly. Read labels for sugar alcohols and tolerance.
- Make smaller servings — cutting bars smaller reduces carb impact per serving while keeping the original recipe intact for special occasions.
Tools of the Trade
- 9×13-inch baking pan — the recipe is built around this size for even thickness.
- Aluminum foil — lining the pan and leaving an overhang makes lifting and slicing much easier.
- Nonstick cooking spray — for the foil and spatula, prevents sticking when pressing the mixture into the pan.
- Large, heatproof bowl — hold the cereal ready and keep the work area organized.
- Large saucepan — melt the butter and marshmallows; wide pans help marshmallows melt evenly.
- Rubber spatula — gentle folding and scraping are essential to coat the cereal without crushing it.
- Measuring cups and spoons — precise measures keep texture consistent, especially with the cereal count and butter.
Slip-Ups to Skip
A few simple mistakes can change the texture or make the bars sticky and messy. Watch for these common errors:
- Overheating the marshmallows: keep the pan at medium-low and remove from heat as soon as the mixture is smooth. Overcooking can make the marshmallow mixture grainy or too stiff.
- Pressing too hard into the pan: you want compact bars, but pressing too firmly squeezes out air and makes them dense. Press evenly and with moderate force.
- Skipping the foil overhang: it’s a small step that saves cutting headaches later. Without it, you’ll be scraping sticky bars from the pan.
- Not spraying your spatula or wax paper: marshmallow is famously sticky. A light spray lets you smooth the surface without losing half the mixture to the tool.
- Using a non-heatproof bowl for the cereal: measuring into a heatproof bowl is recommended so you can pour hot marshmallow mixture directly without risk.
Fit It to Your Goals
Make these treats work for your occasion with small, intentional tweaks.
- Kid-friendly packs: slice into small squares and place in cupcake liners or clear bags for grab-and-go favors.
- Make ahead: you can prepare the bars a day in advance and keep them at room temperature in an airtight container for up to 3 days; bring them out just before serving.
- Gluten-free option: choose certified gluten-free Fruity Pebbles if serving someone with celiac or gluten sensitivity.
- Fancier presentation: drizzle with melted white or dark chocolate, sprinkle a few extra cereal pieces on top before the drizzle sets, or cut shapes with cookie cutters for themed events.
Cook’s Commentary
I make these often when speed and smiles matter equally. The technique is forgiving: melt butter low and slow, add marshmallows and stir until smooth, then pull off the heat and stir in vanilla. That little extra step of stirring vanilla off-heat preserves its fragrance. Folding is where texture happens—gentle action keeps the cereal from turning to crumbs.
If you like a chewier bar, leave slightly more marshmallow in the center by not over-pressing. If you want a tighter bar that slices cleanly, press a little more firmly and let them set fully for the 30 minutes at room temperature. I prefer the middle ground: compact enough to pick up, slightly airy so each bite has crunch and chew.
How to Store & Reheat
Follow the built-in guidance and you’ll keep the bars at their best:
- Room temperature: Store the bars in an airtight container at room temperature for up to 3 days. This preserves the chew and prevents the cereal from getting stale from moisture.
- Longer storage: you can freeze wrapped portions for up to 1 month. Thaw at room temperature in the packaging to avoid condensation making them soggy.
- Reheating: these are best served at room temperature. If you prefer a slightly softer, warm bite, microwave a single serving for 5–10 seconds on a low power setting; watch closely so you don’t melt the cereal into a mess.
Fruity Pebble Rice Crispy Treats FAQs
Can I use a different cereal? Yes. Any Pebbles flavor works. You can also try other puffed rice cereals, but colors and flavor will change. Use the same volume for best results.
Can I make these vegan? Classic marshmallows and butter are not vegan. There are plant-based marshmallows and vegan butter alternatives available; results will vary slightly in texture. Use those substitutes and proceed the same way.
How do I get clean cuts? Use a sharp knife and wipe it between cuts, or chill the slab briefly to firm up before slicing. The foil overhang helps you lift the slab cleanly to a cutting board.
Can I add mix-ins? Yes, but be careful. Mini chocolate chips will melt when mixed into hot marshmallow; add them after the mixture cools a bit. Small candies work well as a topping pressed lightly into the top before the bars set.
Bring It to the Table
These bars are crowd-pleasers and look great on a casual dessert table. Slice them into uniform bars for serving, or use cookie cutters for themed parties. For school events or children’s birthdays, place individual squares in lined cupcake tins or cellophane bags tied with ribbon. For a grown-up twist, cut smaller bites and pair them with espresso or a simple fruit plate to balance sweetness.
They’re cheerful, portable, and reliably loved. Keep the ingredients on hand and you can throw a batch together in about 20 minutes—more if you count the applause.
Fruity Pebble Rice Crispy Treats
Ingredients
Ingredients
- 9 cups 300 g Fruity Pebbles Cereal (or any Pebbles flavor)
- 15 ounces 425 g mini marshmallows
- 8 tablespoons 113 g unsalted butter
- 1 teaspoonvanilla extract
Instructions
Instructions
- Line a 9×13-inch pan with foil (leave an overhang for easy lifting) and spray the foil with nonstick cooking spray.
- Measure the Fruity Pebbles into a large, heatproof bowl and set aside.
- In a large saucepan over medium-low heat, melt the unsalted butter, stirring occasionally until fully melted.
- Add the mini marshmallows to the melted butter and stir continuously until the marshmallows are completely melted and the mixture is smooth. Remove the pan from the heat.
- Stir the vanilla extract into the melted marshmallow mixture until combined.
- Pour the marshmallow mixture over the cereal and gently fold with a rubber spatula until the cereal is evenly coated.
- Transfer the coated cereal to the prepared pan. Using a spatula sprayed with nonstick cooking spray or a piece of wax paper lightly sprayed with cooking spray, press the mixture firmly and evenly into the pan.
- Let the bars cool and set at room temperature until firm, about 30 minutes. Use the foil overhang to lift the slab from the pan and slice into bars.
- Store the bars in an airtight container at room temperature for up to 3 days.