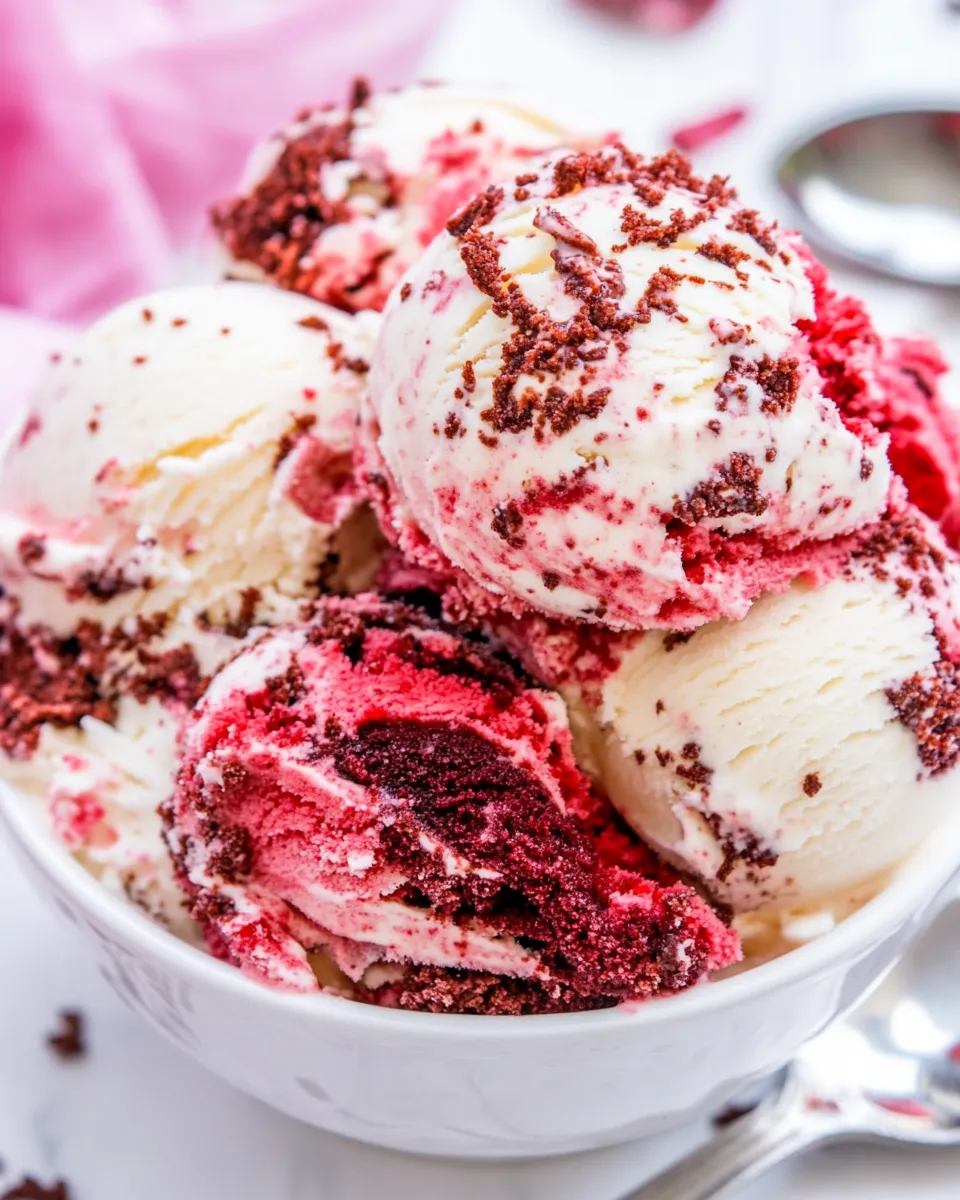
There’s something undeniably delightful about the combination of cake and ice cream, but when it comes to a truly special treat, Red Velvet Ice Cream takes the cake—literally! Imagine the rich, velvety flavor of red velvet cake transformed into a creamy, dreamy ice cream that captures the essence of this beloved dessert. Whether you’re celebrating a special occasion or simply indulging in a sweet craving, this homemade Red Velvet Ice Cream is the perfect way to treat yourself.
The Upside of Red Velvet Ice Cream
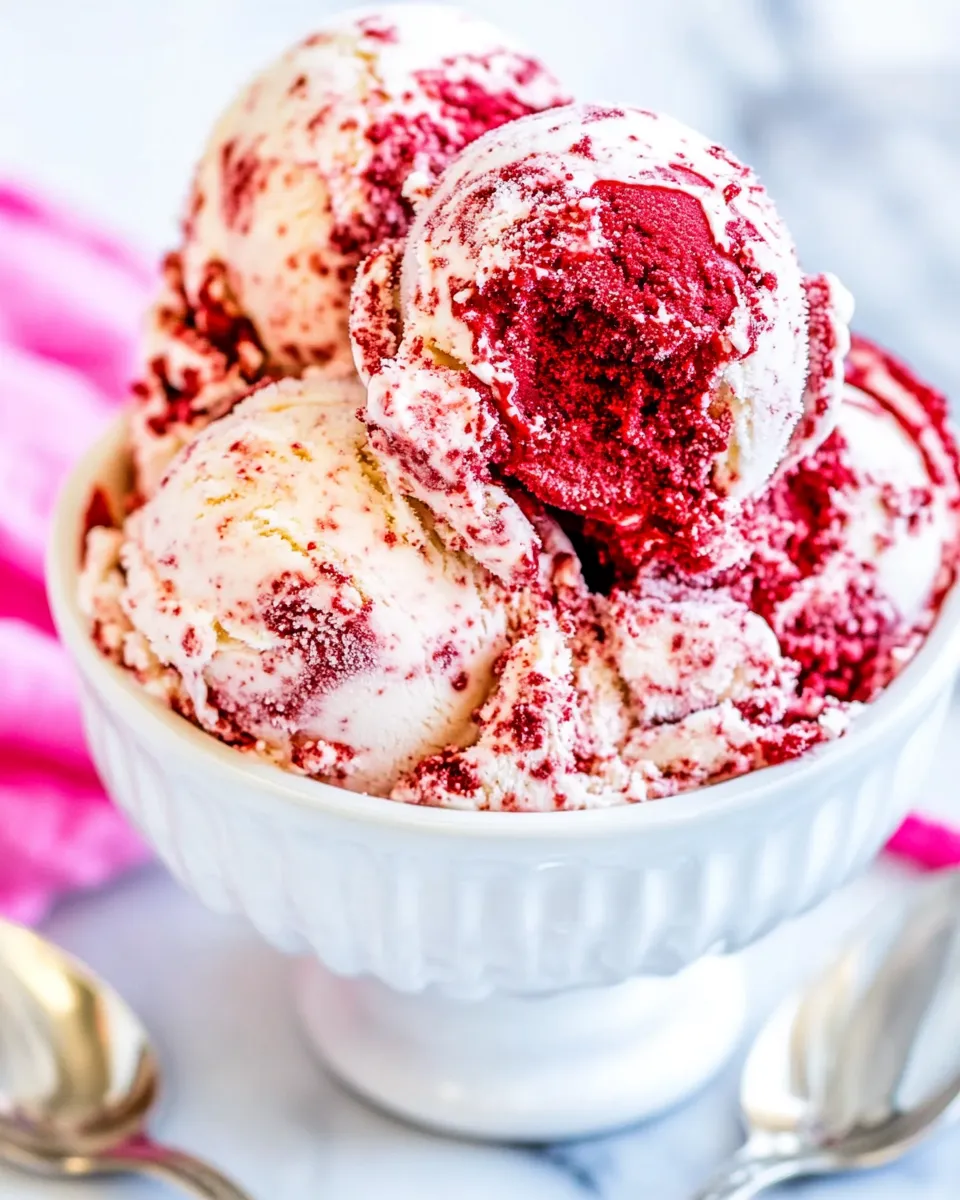
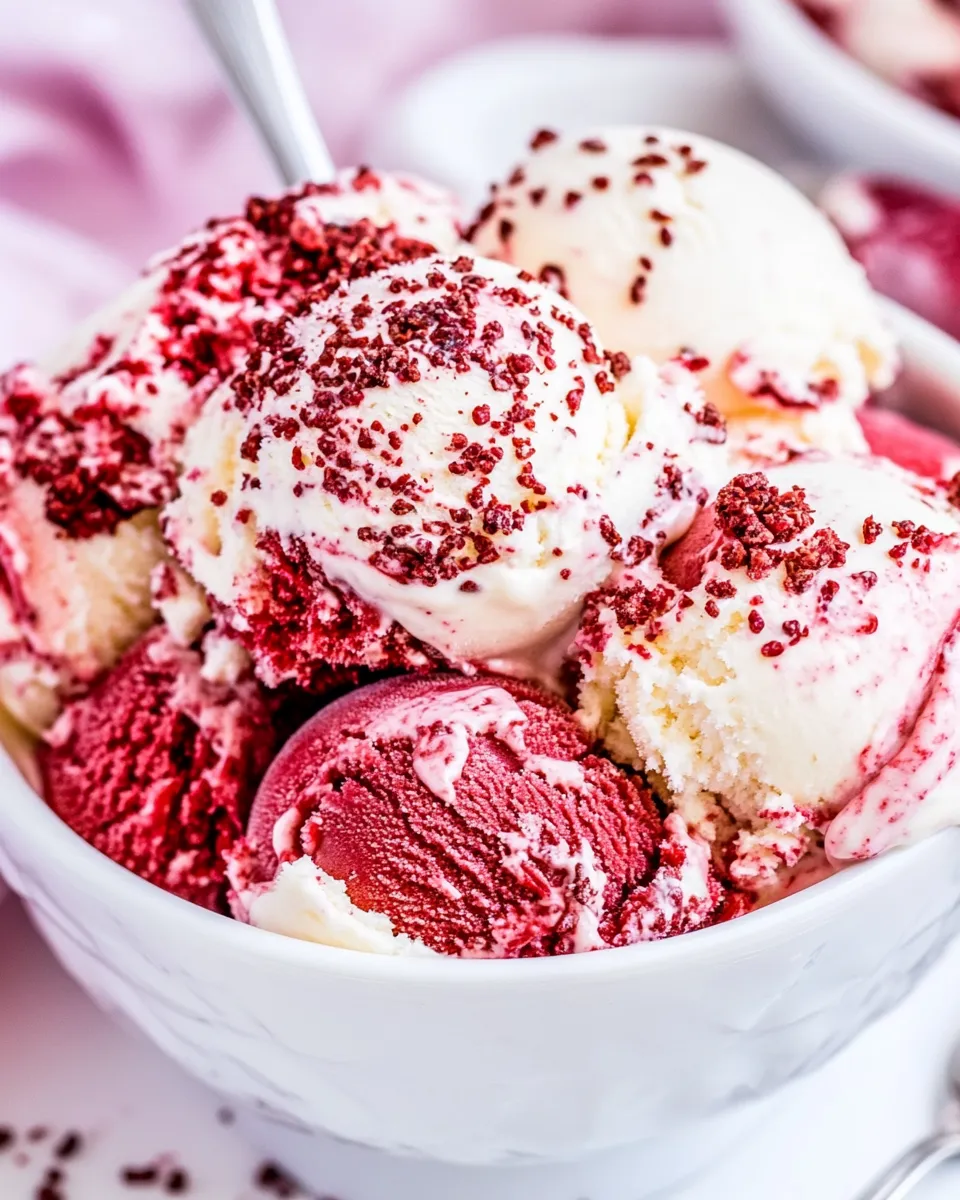
Red Velvet Ice Cream is not just a feast for the eyes with its gorgeous red hue; it’s a luscious blend of flavors that brings together the smoothness of cream cheese, the richness of condensed milk, and the nostalgic taste of red velvet cake. With a pinch of salt to enhance the sweetness and a hint of vanilla to round it all out, this ice cream is sure to impress both friends and family. Plus, making ice cream at home is a fun and rewarding experience, allowing you to control the ingredients and customize your flavors.
What Goes Into Red Velvet Ice Cream
To create this dreamy dessert, you’ll need a few simple ingredients:
- 4 ounces cream cheese, light or regular, softened to room temperature
- 1 (4.5-ounce) can sweetened condensed milk, regular or fat-free
- Pinch of salt
- 1 pint heavy cream, well chilled
- 2 teaspoons vanilla extract
- 2-3 cups red velvet cake cubes (about half of an 8-9 inch round layer or about 4-6 cupcakes), with or without frosting
Hardware & Gadgets
Before you start making your Red Velvet Ice Cream, gather the following tools:
- Mixing Bowl – For combining the cream cheese and condensed milk.
- Whisk or Electric Mixer – To beat the cream cheese until smooth.
- Ice Cream Maker – Essential for churning the mixture into creamy perfection.
- Spatula – For folding in the heavy cream and cake cubes.
- Freezer-Safe Container – To store your finished ice cream.
Build Red Velvet Ice Cream Step by Step
Making Red Velvet Ice Cream is a straightforward process that results in a delicious, creamy treat. Follow these simple steps to create your own batch:
Step 1: Prepare the Base
In a large mixing bowl, combine the softened cream cheese and sweetened condensed milk. Use a whisk or an electric mixer to blend them together until smooth and creamy. This will provide the rich base for your ice cream.
Step 2: Add Flavor
Stir in a pinch of salt and the vanilla extract to the cream cheese mixture. This not only enhances the flavor but also balances the sweetness of the condensed milk.
Step 3: Whip the Cream
In another bowl, pour the well-chilled heavy cream. Using a whisk or an electric mixer, whip the cream until stiff peaks form. This step is crucial as it gives the ice cream its light and airy texture.
Step 4: Fold Together
Gently fold the whipped cream into the cream cheese mixture using a spatula. Take your time with this step to maintain the lightness of the whipped cream. The mixture should be smooth and well combined.
Step 5: Add Cake Cubes
Now it’s time to fold in the red velvet cake cubes. Whether you choose to include frosting or not is entirely up to you! Gently mix until the cake is evenly distributed throughout the ice cream base.
Step 6: Churn the Ice Cream
Pour the mixture into your ice cream maker and churn according to the manufacturer’s instructions. This usually takes about 20-25 minutes, but be sure to keep an eye on it.
Step 7: Freeze
Once churned, transfer the ice cream to a freezer-safe container. Smooth the top with a spatula and cover it tightly. Freeze for at least 4-6 hours, or until firm.
Make It Fit Your Plan
If you want to customize your Red Velvet Ice Cream or adapt it to fit dietary preferences, consider the following options:
- Use light cream cheese and fat-free sweetened condensed milk for a lower-calorie version.
- Incorporate nut milk instead of heavy cream for a dairy-free alternative.
- Add chocolate chips or white chocolate chunks for a delicious twist.
- Top with chopped pecans or walnuts for added texture and flavor.
Recipe Notes & Chef’s Commentary
Creating the perfect Red Velvet Ice Cream is all about balance. The sweetness from the condensed milk and the richness of the cream cheese are complemented beautifully by the lightness of the whipped cream. Here are some additional tips:
- Make sure your cream cheese is at room temperature to avoid lumps in your mixture.
- For a stronger chocolate flavor, you can add a tablespoon of cocoa powder to the cream cheese mixture.
- This ice cream pairs wonderfully with a drizzle of chocolate sauce or a scoop of vanilla ice cream on the side.
- Feel free to experiment with different cake flavors—chocolate cake or funfetti cake would also work great!
Shelf Life & Storage
Your homemade Red Velvet Ice Cream can be stored in a tightly sealed freezer-safe container for up to 2 weeks. After that, it may start to lose its creamy texture and flavor. To serve, let it sit at room temperature for about 5-10 minutes before scooping to make it easier to serve.
Your Questions, Answered
Can I use store-bought red velvet cake for this recipe?
Absolutely! Using store-bought red velvet cake or cupcakes can save you time and effort while still delivering delicious results.
How can I make this ice cream without an ice cream maker?
If you don’t have an ice cream maker, pour the mixture into a freezer-safe container and freeze. Stir every 30 minutes for the first 2-3 hours to break up any ice crystals, then let it freeze until firm.
Can I make this recipe vegan?
Yes! Substitute the cream cheese with a vegan cream cheese alternative, use coconut cream instead of heavy cream, and opt for vegan sweetened condensed milk.
What can I serve with Red Velvet Ice Cream?
This ice cream pairs beautifully with chocolate syrup, whipped cream, or even a sprinkle of chopped nuts. You could also serve it alongside a slice of red velvet cake for an indulgent treat!
For those busy nights when you’re short on time but still want to whip up something sweet, consider these quick dessert ideas:
Next Steps
Now that you’ve learned how to make your very own Red Velvet Ice Cream, it’s time to gather your ingredients and get started! Whether you’re making it for a special occasion or just to satisfy a sweet tooth, this indulgent treat is sure to impress. Make memories in the kitchen as you whip up this delicious dessert, and don’t forget to share your creations with friends and family. Enjoy the creamy goodness and the delightful flavor of Red Velvet Ice Cream!

Red Velvet Ice Cream
Equipment
- Mixing Bowl
- Whisk or electric mixer
- Ice cream maker
- Spatula
- Freezer-safe container
Ingredients
- 4 ounces cream cheese light or regular, softened to room temperature
- 1 can sweetened condensed milk 4.5-ounce can, regular or fat-free
- a pinch salt
- 1 pint heavy cream well chilled
- 2 teaspoons vanilla extract
- 2-3 cups red velvet cake cubes about half of an 8-9 inch round layer or about 4-6 cupcakes, with or without frosting
Instructions
Step 1: Prepare the Base
- In a large mixing bowl, combine the softened cream cheese and sweetened condensed milk. Use a whisk or an electric mixer to blend them together until smooth and creamy.
Step 2: Add Flavor
- Stir in a pinch of salt and the vanilla extract to the cream cheese mixture to enhance and balance the sweetness.
Step 3: Whip the Cream
- In another bowl, pour the well-chilled heavy cream. Using a whisk or an electric mixer, whip the cream until stiff peaks form.
Step 4: Fold Together
- Gently fold the whipped cream into the cream cheese mixture using a spatula, maintaining the lightness of the whipped cream until smooth and well combined.
Step 5: Add Cake Cubes
- Fold in the red velvet cake cubes gently until evenly distributed throughout the ice cream base.
Step 6: Churn the Ice Cream
- Pour the mixture into your ice cream maker and churn according to the manufacturer's instructions, usually about 20-25 minutes.
Step 7: Freeze
- Transfer the churned ice cream to a freezer-safe container, smooth the top, cover tightly, and freeze for at least 4-6 hours until firm.
Notes
- Ensure cream cheese is at room temperature for a smooth mixture without lumps.
- Add a tablespoon of cocoa powder for a stronger chocolate flavor.
- Store in a tightly sealed container for up to 2 weeks; let sit 5-10 minutes before serving for easier scooping.