These Peanut Butter Protein Bars are exactly the kind of no-fuss snack you want stashed in the fridge for hectic mornings, afternoon pick-me-ups, or post-workout refuels. They’re dense, satisfyingly peanut-buttery, gently sweet, and studded with chocolate that melts into each bite. The beauty of this recipe is how quickly it comes together with simple pantry staples and minimal equipment—no oven required.
Throughout this article I’ll walk you through the why behind a few technique choices, share a handful of small tips to make assembly foolproof, and give a clear, step-by-step set of directions so you can make these bars exactly as intended. Whether you’re meal-prepping for the week or need a protein-rich snack for a day on the go, these bars have your back.
Why you’ll love these Peanut Butter Protein Bars
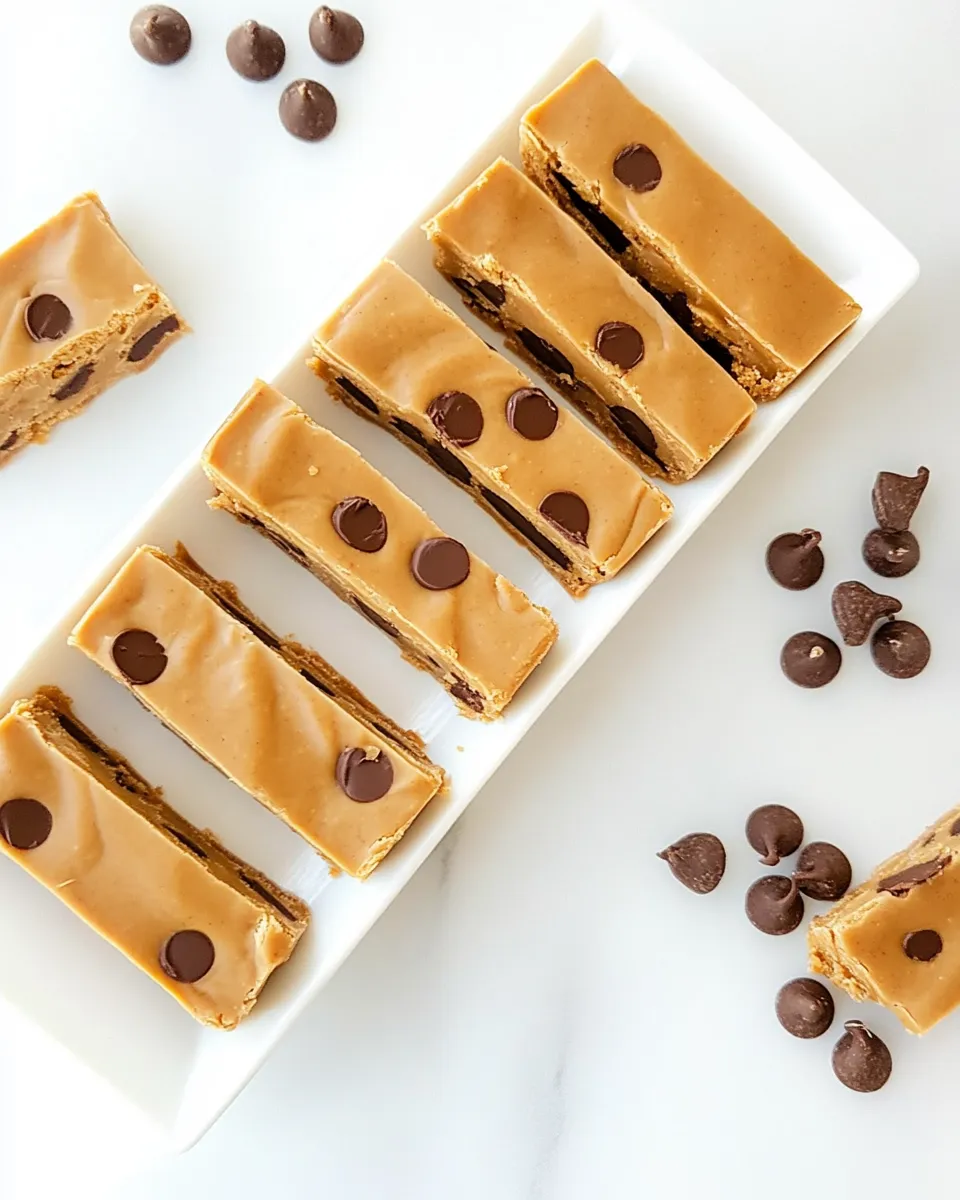
- Convenient: No baking, no special tools, and they set up in the refrigerator.
- Customizable: Use your favorite protein powder and swap the chocolate for chopped nuts or dried fruit if you prefer.
- Balanced: The combo of almond flour, protein powder, and peanut butter gives a satisfying texture and a boost of protein to tide you over until your next meal.
- Versatile: Cut into squares for snacks, slice thin for a pre-workout bite, or wrap individually for backpacks and lunches.
Ingredients
Make sure you have the following on hand:
- 1 1/2 cups almond flour
- 1/2 cup protein powder of choice
- 3/4 cup natural peanut butter
- 1/4 cup honey
- 3 Tbsp unsweetened almond milk, or milk of choice
- 1 tsp vanilla extract
- 1/3 cup chocolate chips, I used Lily’s
Notes on ingredients and swaps
All quantities above should be followed exactly for the best texture and setting of these Peanut Butter Protein Bars. A couple quick notes:
- If your peanut butter is very runny, use it as-is; the almond flour and protein powder will absorb excess moisture. If your peanut butter is extremely thick, you can warm it slightly to make stirring easier.
- Protein powder choice affects flavor and sweetness. A vanilla or neutral flavor works best; if you use an unflavored powder, you may prefer a touch more honey. If your powder is sweetened, taste the mixture before adding extra honey.
- I used Lily’s chocolate chips for a lower-sugar option, but any chocolate chips or chopped chocolate will work. If substituting, keep the same volume: 1/3 cup.
- The unsweetened almond milk keeps the bars dairy-light and helps bind the mixture. Any milk of choice can be used in the same amount.
Equipment
- Mixing bowl
- Spoon or spatula
- 8×8-inch baking pan or similar shallow container
- Parchment paper (helps with removal)
- Measuring cups and spoons
Step-by-step instructions
Follow these clear, sequential steps to make the bars. The directions are rewritten for clarity while keeping the ingredient amounts and original order intact.
- Line an 8×8-inch baking pan with parchment paper, leaving an overhang on two sides to make it easy to lift the finished bars out. Set the pan aside.
- In a medium mixing bowl, combine 1 1/2 cups almond flour and 1/2 cup protein powder of choice. Stir together until evenly mixed and there are no large lumps.
- Add 3/4 cup natural peanut butter and 1/4 cup honey to the dry mixture. Use a sturdy spoon or spatula to fold these into the almond flour and protein powder. The mixture will begin to come together but may still be slightly crumbly—that’s normal.
- Pour in 3 Tbsp unsweetened almond milk, or milk of choice, and add 1 tsp vanilla extract. Stir until the liquid is fully incorporated and the dough is pliable and holds together when squeezed between your fingers. If the dough seems too dry, add the milk by half-teaspoon increments until it reaches the right consistency; if it seems too wet, add a teaspoon of almond flour at a time.
- Fold in 1/3 cup chocolate chips, distributing them evenly through the mixture. For an even chocolate layer on top, reserve a tablespoon of chips to sprinkle on the surface after pressing the mixture into the pan.
- Transfer the mixture to the prepared baking pan. Use your hands or the back of a spatula to press the mixture firmly and evenly into the pan, creating a compact, uniform layer about 1/2 to 3/4 inch thick. If you reserved chocolate chips, sprinkle them on top now and gently press to adhere.
- Place the pan in the refrigerator for at least 1 hour to allow the bars to firm up. Chilling helps the almond flour and protein powder bind with the peanut butter and honey so the bars slice cleanly.
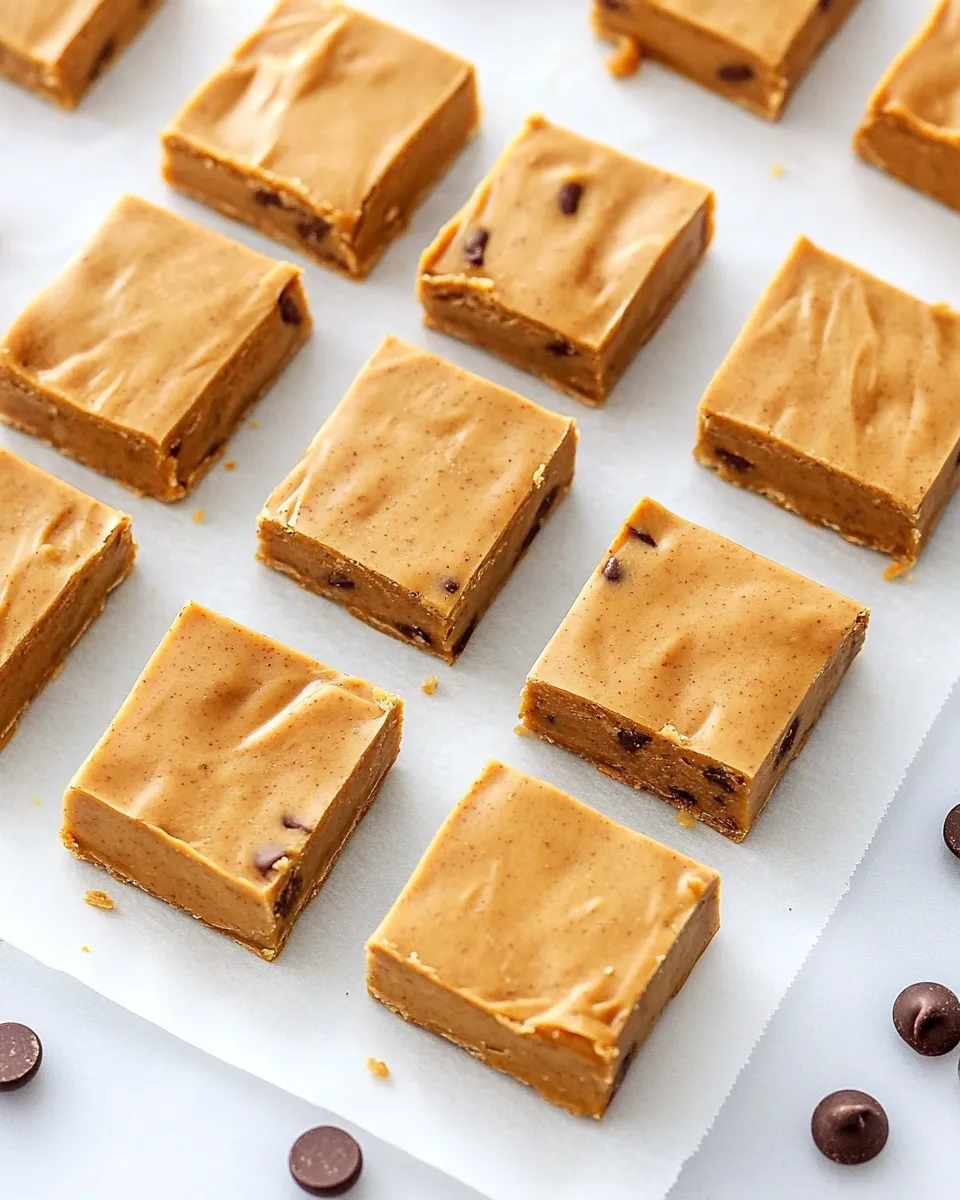
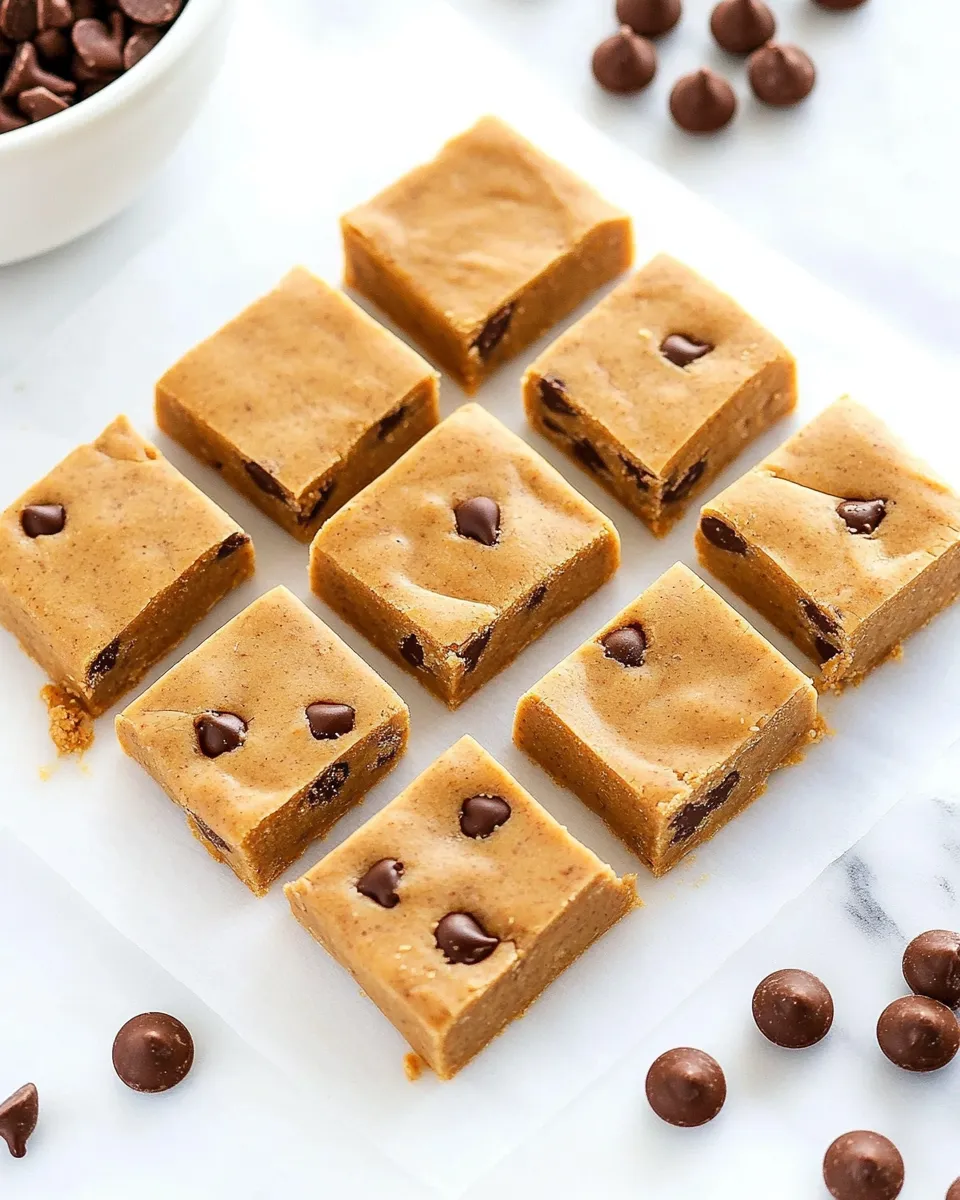
- After chilling, lift the bars from the pan using the parchment overhang. Place on a cutting board and use a sharp knife to cut into 8 or 12 bars, depending on your preferred size. For clean cuts, wipe the knife between slices with a warm, damp towel.
- Store the bars in an airtight container in the refrigerator for up to one week. For longer storage, freeze for up to three months; thaw in the refrigerator before serving.
How to get perfect texture every time
These tips will help you avoid common pitfalls and ensure your Peanut Butter Protein Bars have the best chew and hold:
- If your peanut butter separates (oil on top), stir it first so the fat and solids are recombined. This keeps the bars from becoming oily on the surface.
- Measure the almond flour by spooning it into the cup and leveling off with a knife rather than scooping directly from the bag. This prevents packing and yields a more consistent result.
- Room temperature peanut butter mixes more easily. If you’re in a hurry, a 10-second zap in the microwave softens it without making it liquid.
- If you prefer firmer bars, press the mixture extra tightly into the pan and chill for a longer period—overnight is fine and often improves slicing.
- To make smaller, bite-sized bars, press the mixture into a rimmed baking sheet and cut into 24 pieces instead of 8 or 12.
Serving suggestions and variations
These bars are a great blank canvas. A few ideas to switch things up:
- Add a sprinkle of sea salt on top before chilling for a sweet-and-salty finish.
- Stir in 2 tablespoons of chopped nuts or seeds for extra crunch.
- Substitute almond butter for peanut butter for a different flavor profile while keeping the same textures.
- Swap the chocolate chips for 1/4 cup dried fruit if you prefer less chocolate; reduce honey by 1 tablespoon if you add particularly sweet dried fruit.
- Drizzle melted chocolate across the top after the bars are chilled for a decorative finish—let the drizzle set in the refrigerator before slicing.
Nutrition and portioning
These Peanut Butter Protein Bars are relatively nutrient-dense due to the almond flour and peanut butter. They supply a good balance of healthy fats, protein, and carbohydrates. Exact nutrition depends on the protein powder and chocolate you use, but a typical bar (when the recipe is cut into 8 bars) provides a satisfying amount of protein and keeps you feeling full between meals.
Frequently asked questions
Can I bake these bars? No baking is necessary; the bars are designed to set in the refrigerator. Baking would change the texture and could dry them out.
What protein powder works best? A vanilla-flavored whey or plant-based protein powder works well. If your powder is unflavored, taste the dough before you add extra honey—some powders are bitter and need a little more sweetener.
Can I make these nut-free? To make them nut-free, replace almond flour with a seed flour like sunflower seed flour and swap peanut butter for sunflower seed butter. Note that seed flours can darken and change texture slightly, so keep an eye on consistency and adjust milk as needed.
How long will the bars keep? Stored in an airtight container in the refrigerator, these bars will keep up to one week. Freeze for longer storage; thaw in the fridge before eating.
Final thoughts
These Peanut Butter Protein Bars are one of those recipes that become part of your routine: simple to make, flexible to adapt, and reliably delicious. The combination of almond flour, protein powder, natural peanut butter, and honey yields a bar that’s satisfying without being overly sweet. Once you master the base, feel free to personalize with mix-ins and toppings to suit your taste and lifestyle.
Happy prepping—make a batch and keep them within reach for busy days, early workouts, or whenever you need a quick, tasty boost.
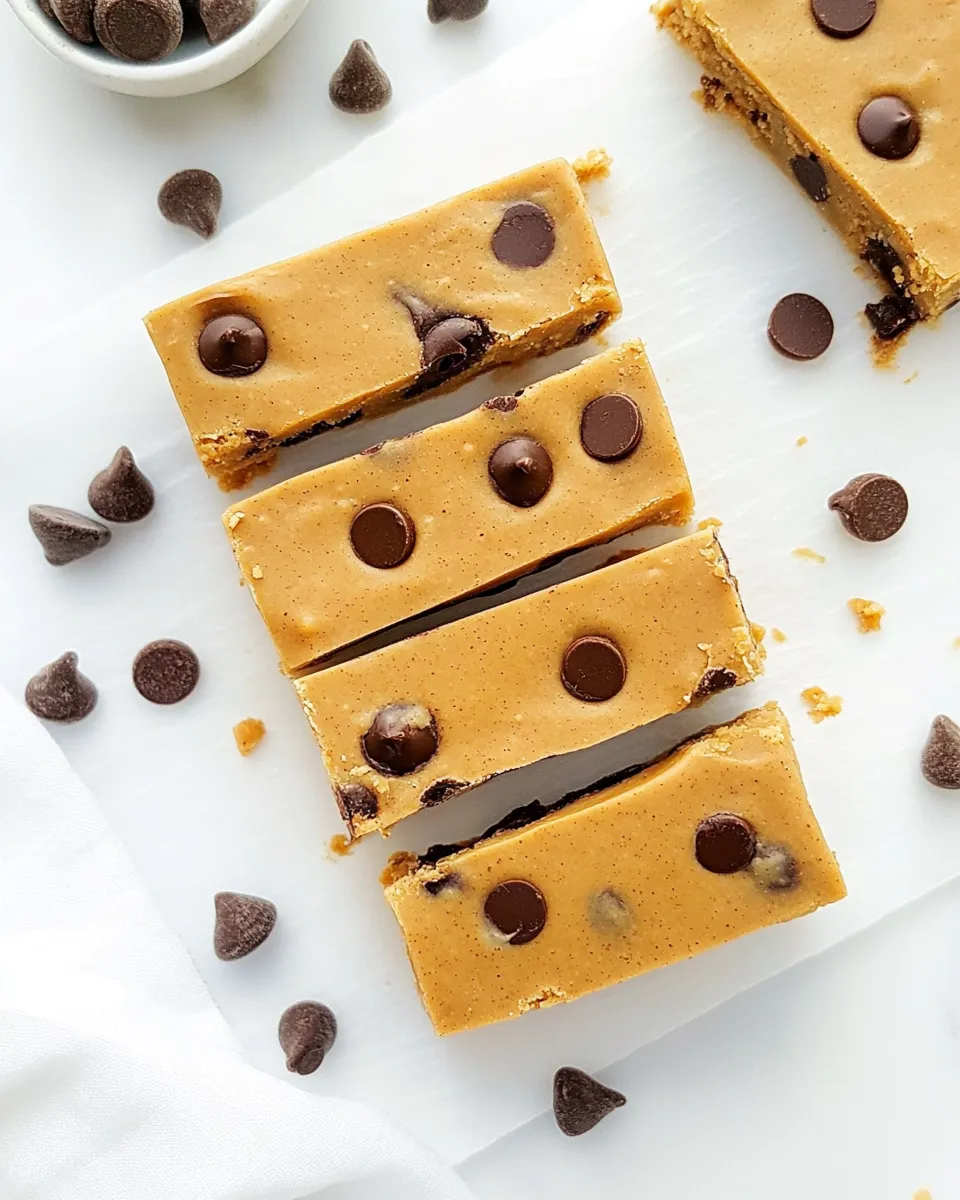
Peanut Butter Protein Bars
Equipment
- Mixing Bowl
- Spatula
- 8x8 baking pan
- Parchment Paper
- Refrigerator or freezer
Ingredients
- 1.5 cups almond flour
- 0.5 cup protein powder of choice
- 3/4 cup natural peanut butter
- 1/4 cup honey
- 3 Tbsp unsweetened almond milk or milk of choice
- 1 tsp vanilla extract
- 1/3 cup chocolate chips I used Lily’s
Instructions
- Line a 8x8-inch baking pan with parchment paper and set aside.
- In a large bowl, combine the almond flour, protein powder, natural peanut butter, honey, almond milk, and vanilla extract with a spatula until a thick, uniform dough forms.
- Fold the chocolate chips into the mixture, reserving a small handful if you want to sprinkle some on top.
- Transfer the mixture to the prepared pan and press firmly and evenly with a spatula to flatten; sprinkle reserved chocolate chips on top if desired.
- Refrigerate for 30–60 minutes until set, or freeze for about 25 minutes for a firmer texture.
- Lift the set mixture from the pan using the parchment paper and slice into 16 squares.
- Store bars in an airtight container in the refrigerator.
Notes
- Use any protein powder you prefer.
- Press mixture firmly for tidy bars.
- Chill in the freezer for a firmer, quicker set.
- Slice after the bars have fully set.