There’s something intoxicating about the scent of fish caramelizing under high heat: the edges crisp, the center glossy and tender, and a kiss of char that lifts the natural richness. This is a simple, dependable approach to Broiled Salmon that I turn to when I want an impressive dinner with minimal fuss. With just four 6-ounce salmon fillets, a drizzle of extra-virgin olive oil, and a batch of your favorite seasoning, you’ll have a meal that’s elegant enough for guests and easy enough for a weeknight.
Why this method works
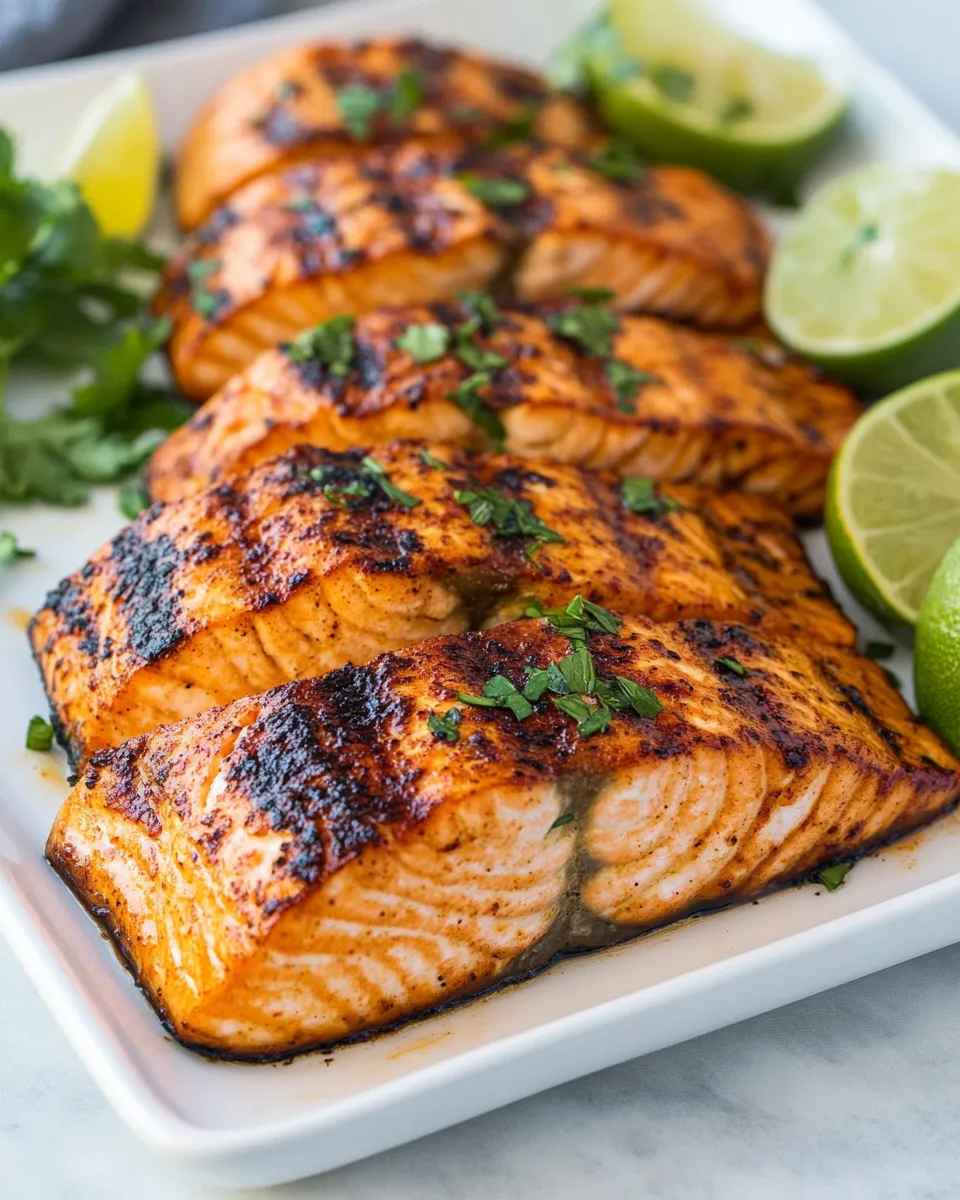
The broiler delivers intense, top-down heat that mimics the high flame of a grill. It quickly creates a flavorful crust while keeping the interior moist. Because the cook time is short, the fish stays tender and flaky instead of drying out. This particular Broiled Salmon method leans on three ingredients and technique rather than a long list of additions, so the salmon’s natural flavor takes center stage. Finish with chopped fresh herbs for brightness and a touch of color.
Ingredients
- 4 (6-ounce) salmon fillets
- 2 tablespoons extra-virgin olive oil
- 1 batch seasoning (Salmon Seasoning or your seasoning of choice)
- Chopped fresh herbs such as parsley, dill, or chives (optional, for serving)
Equipment
- Baking sheet
- Baking rack (optional, but helpful to allow air circulation and even browning)
- Small bowl or ramekin for oil
- Tongs or a spatula for transferring fillets
- Instant-read thermometer (optional, for precise doneness)
Prep at a glance
- Total time: about 15–20 minutes
- Active time: 10 minutes
- Serves: 4
Before you start
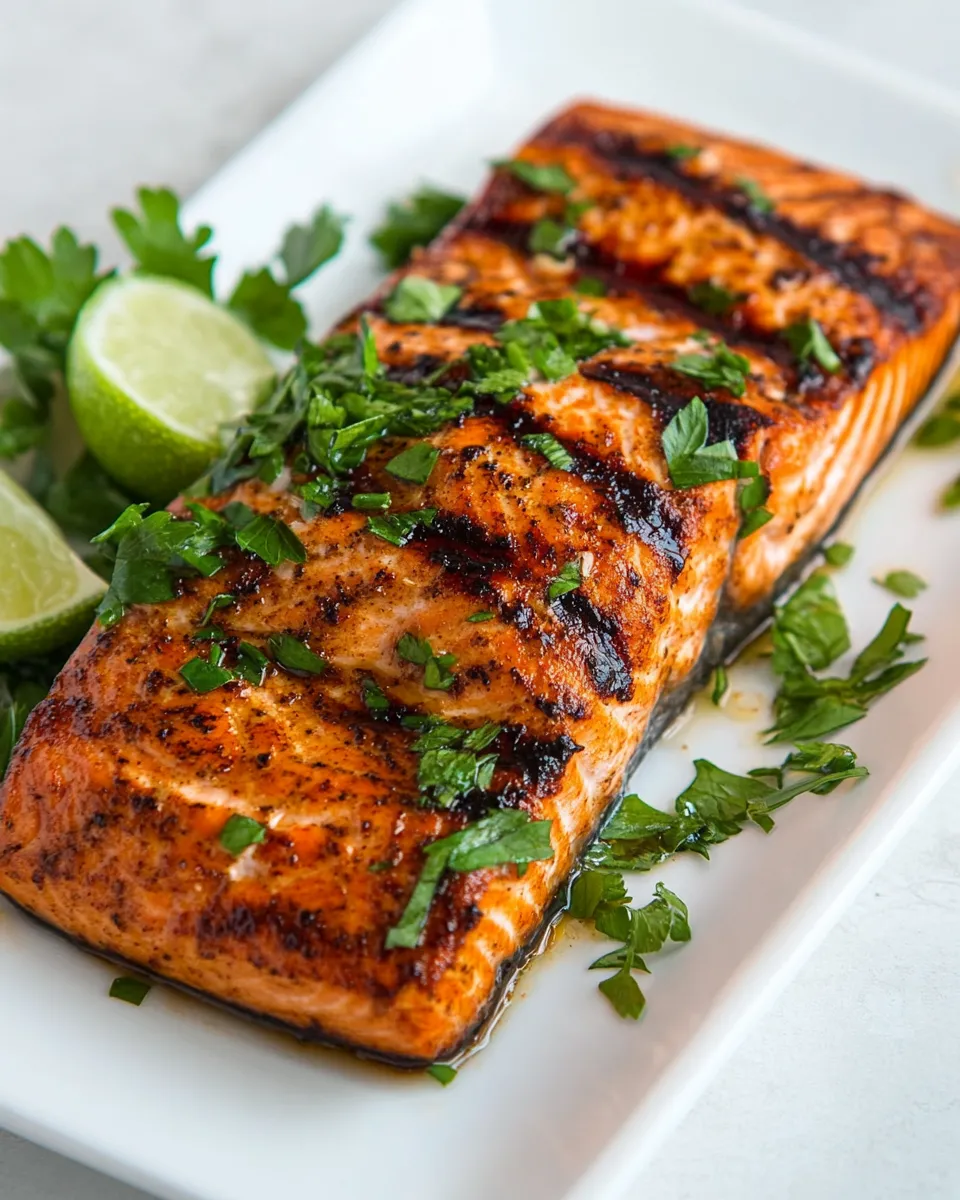
Take the salmon out of the refrigerator about 10–15 minutes before you plan to cook so it comes closer to room temperature. That helps it cook more evenly. Preheat your broiler on high and position the oven rack so the top of the fillets will sit roughly 4 to 6 inches beneath the heating element—close enough to get a strong sear but not so close that they risk burning in the first minute.
Step-by-step directions
- Preheat the broiler. Set your oven to broil on high and move the oven rack so it will be 4 to 6 inches from the broiler element. Line a baking sheet with foil for easier cleanup and set a baking rack on top of the sheet if you have one.
- Pat the fillets dry. Using a paper towel, gently pat each of the 4 (6-ounce) salmon fillets until the surface is dry. Removing excess moisture helps the surface brown better under the broiler.
- Brush with oil. Pour 2 tablespoons extra-virgin olive oil into a small bowl or ramekin. Brush the top surface of each salmon fillet evenly with the oil. This will promote browning and help the seasoning adhere.
- Season the fish. Sprinkle 1 batch of your chosen salmon seasoning or preferred seasoning evenly over the top of each fillet. Use as much as needed to get a good coat, making sure the seasoning covers the exposed surface but not so much that it overwhelms the fish. Pat the seasoning lightly so it sticks.
- Arrange on the rack. Place the seasoned fillets skin-side down on the prepared baking rack or directly on the lined baking sheet if not using a rack. Space them a little apart so hot air can circulate and the edges crisp evenly.
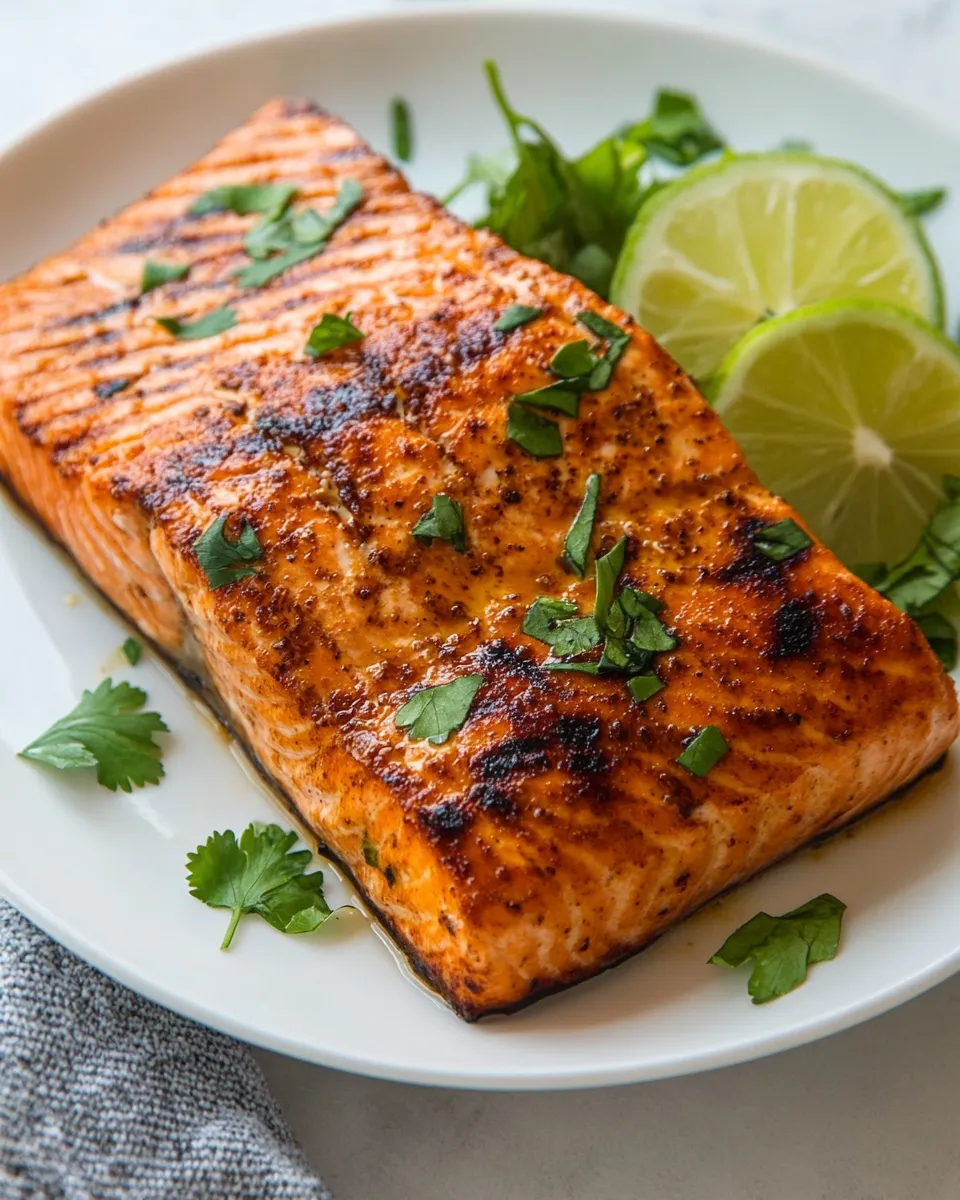
- Broil the salmon. Slide the baking sheet into the oven to position the fillets under the broiler. Broil the fillets for 6 to 8 minutes, depending on thickness and how done you like your fish. Start checking at the 6-minute mark. The top should be golden and slightly charred in spots, and the interior should flake easily with a fork.
- Check for doneness. Use an instant-read thermometer if you want to be precise: the internal temperature should register about 125°F for medium-rare to medium, or 145°F if you prefer fully cooked through. If you don’t have a thermometer, test by gently pressing the thickest part of a fillet with a fork—the flesh should separate into flakes but still be moist.
- Rest briefly. Remove the baking sheet from the oven and allow the fillets to rest for 2 minutes. Resting lets the juices redistribute and gives the residual heat a moment to finish the cooking.
- Garnish and serve. Finish each fillet with a sprinkle of chopped fresh herbs such as parsley, dill, or chives for a fresh contrast. Serve immediately with your favorite sides.
Serving suggestions
Broiled Salmon pairs beautifully with a variety of simple sides that soak up its buttery juices. Try one of these combinations:
- Light and bright: lemony roasted asparagus and a small quinoa salad tossed with olive oil and chopped cucumber.
- Comfort classics: creamy mashed potatoes with a scoop of steamed green beans or peas.
- Grain-forward: farro or brown rice pilaf dotted with toasted almonds and herbs.
- Fresh and fast: a crisp mixed greens salad with a mustard vinaigrette and slices of avocado.
Flavor tips and variations
- Spice profile: If you’re using a pre-mixed seasoning blend called “Salmon Seasoning,” it often contains a balance of salt, garlic, paprika, and herbs. If you prefer a brighter finish, add a few squeezes of lemon or a scattering of citrus zest just before serving.
- Smoky touch: For a smoky edge without a grill, add a pinch of smoked paprika to the seasoning mix before applying to the fish.
- Herb finish: Fresh chopped dill complements salmon beautifully, while parsley or chives offer a milder, grassy lift. Add herbs right at the end so they stay vibrant.
- Glaze option: If you want a glaze, brush a thin layer of a tart-sweet sauce such as a reduced balsamic or a soy-based glaze in the last minute of broiling. Watch closely so it caramelizes and doesn’t burn.
How to tell when the salmon is perfectly cooked
With Broiled Salmon, the biggest mistake is overcooking. Look for these signs of doneness:
- The top has turned a golden color with tiny darker charred spots.
- The flesh flakes easily along the natural lines when nudged with a fork, but it shouldn’t crumble apart.
- There’s still a slight sheen in the center of the fillet—moisture indicates tenderness.
Make-ahead and storage
You can season the fillets and store them covered in the refrigerator for up to 24 hours before broiling. Once cooked, keep leftovers in an airtight container in the refrigerator for up to 3 days. Reheat gently in a low oven (about 300°F) for 8–10 minutes or enjoy cold in salads or flakes atop warmed grains.
Notes on sourcing
Choose fillets that are bright in color and smell fresh—sea-like, not fishy. The texture should be firm to the touch. If you have access to sustainably caught or responsibly farmed options, those are great choices. Regardless of the source, freshness will make the biggest difference in flavor for this simple preparation.
Recipe card
Yield: 4 servings
Ingredients:
- 4 (6-ounce) salmon fillets
- 2 tablespoons extra-virgin olive oil
- 1 batch seasoning (Salmon Seasoning or your seasoning of choice)
- Chopped fresh herbs such as parsley, dill, or chives (optional, for serving)
Directions:
- Preheat the broiler to high and position an oven rack 4–6 inches from the heat source. Line a baking sheet with foil and place a baking rack on top if using.
- Pat the 4 (6-ounce) salmon fillets dry with paper towels.
- Brush the top of each fillet with 2 tablespoons extra-virgin olive oil.
- Sprinkle 1 batch of Salmon Seasoning or your seasoning of choice evenly over the top of each fillet and press lightly so it adheres.
- Arrange the fillets skin-side down on the prepared baking rack or baking sheet, spacing them apart.
- Broil for 6–8 minutes, checking at 6 minutes. The tops should be golden with slight char and the flesh should flake with a fork.
- Check internal temperature if desired: about 125°F for medium-rare to medium, 145°F if you prefer fully cooked through. Allow the fillets to rest for 2 minutes after removing from the oven.
- Garnish with chopped fresh herbs such as parsley, dill, or chives if desired and serve immediately.
Final thoughts
Simple, quick, and endlessly adaptable, this Broiled Salmon method is one I come back to when I want food that feels elevated without a lot of fuss. It gives you that crisp, caramelized exterior and a buttery interior every time, and it pairs beautifully with a wide range of sides. Once you get the timing right for your oven and preferred doneness, this will become your go-to weeknight or weekend main.
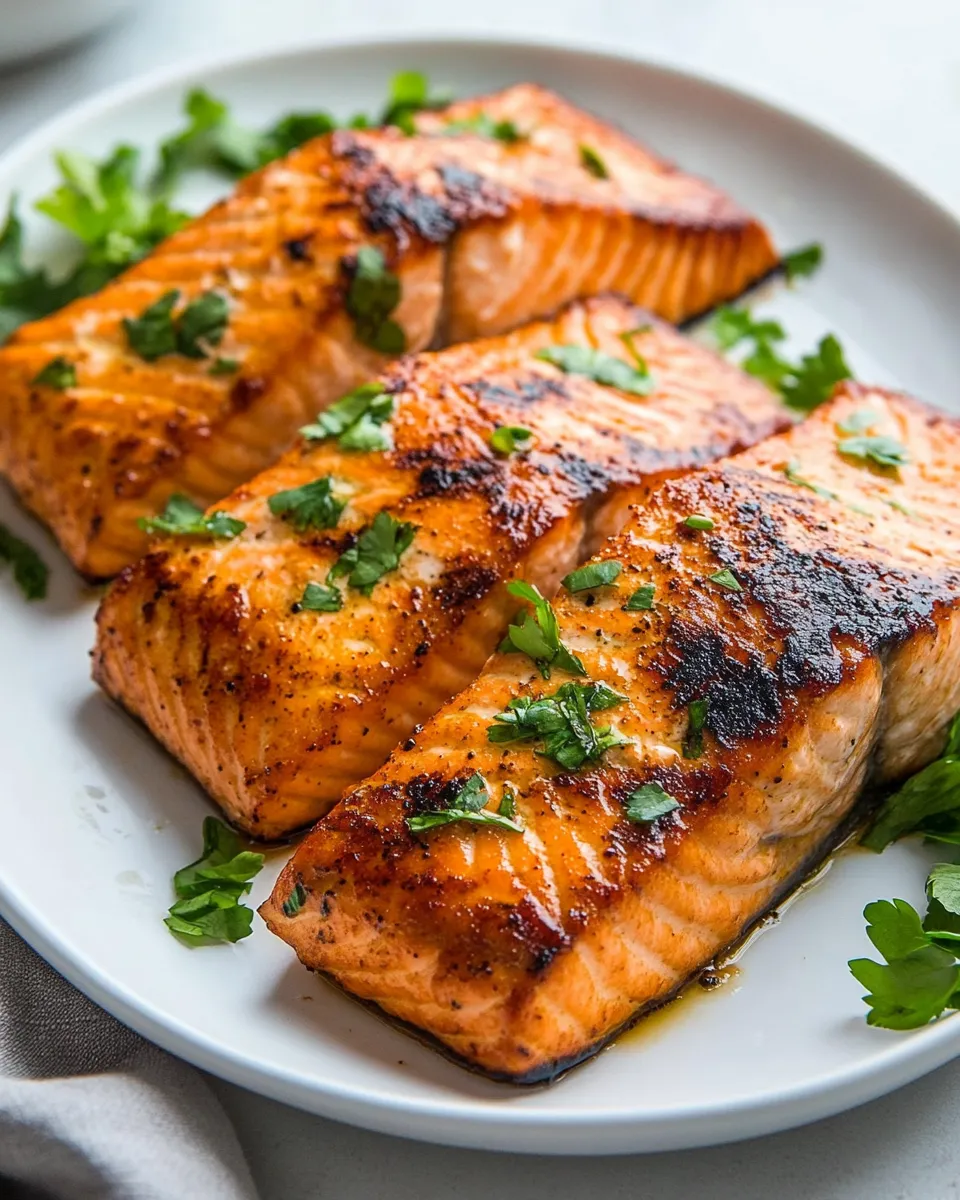
Broiled Salmon
Equipment
- oven with broiler
- baking dish or rimmed sheet
- aluminum foil or broiler-safe parchment
- Pastry brush or spoon
- Instant Read Thermometer
Ingredients
- 4 6-ounce salmon fillets skin on or off, about 6 ounces each
- 2 tablespoons extra-virgin olive oil
- 1 batch Salmon Seasoning or seasoning of your choice, to taste
- chopped fresh herbs such as parsley, dill, or chives (optional, for serving)
Instructions
- Position an oven rack in the upper third of the oven so the top of the salmon will be about 6 inches from the broiler element; preheat the broiler on high.
- Line a baking dish or rimmed sheet with aluminum foil or broiler-safe parchment.
- Arrange the 4 salmon fillets in a single layer, skin-side down, without touching.
- Brush each fillet with the 2 tablespoons olive oil, then sprinkle each evenly with the Salmon Seasoning.
- Broil the salmon for 7 to 9 minutes, checking at 6 minutes to gauge doneness; the salmon is done when it flakes easily and an instant-read thermometer at the thickest part reads 135°F for medium-rare or about 140°F for well-done.
- If the tops are browning too quickly, loosely tent with foil to prevent burning.
- Remove the salmon and let it rest 5 minutes to finish cooking through by carryover heat.
- Serve warm, garnished with chopped fresh herbs if desired.
Notes
- Refrigerate cooked salmon in an airtight container for up to 2 days.
- Gently rewarm leftovers in a skillet over medium-low heat or in the microwave.
- Freeze in an airtight, freezer-safe container for up to 3 months and thaw overnight in the refrigerator before reheating.