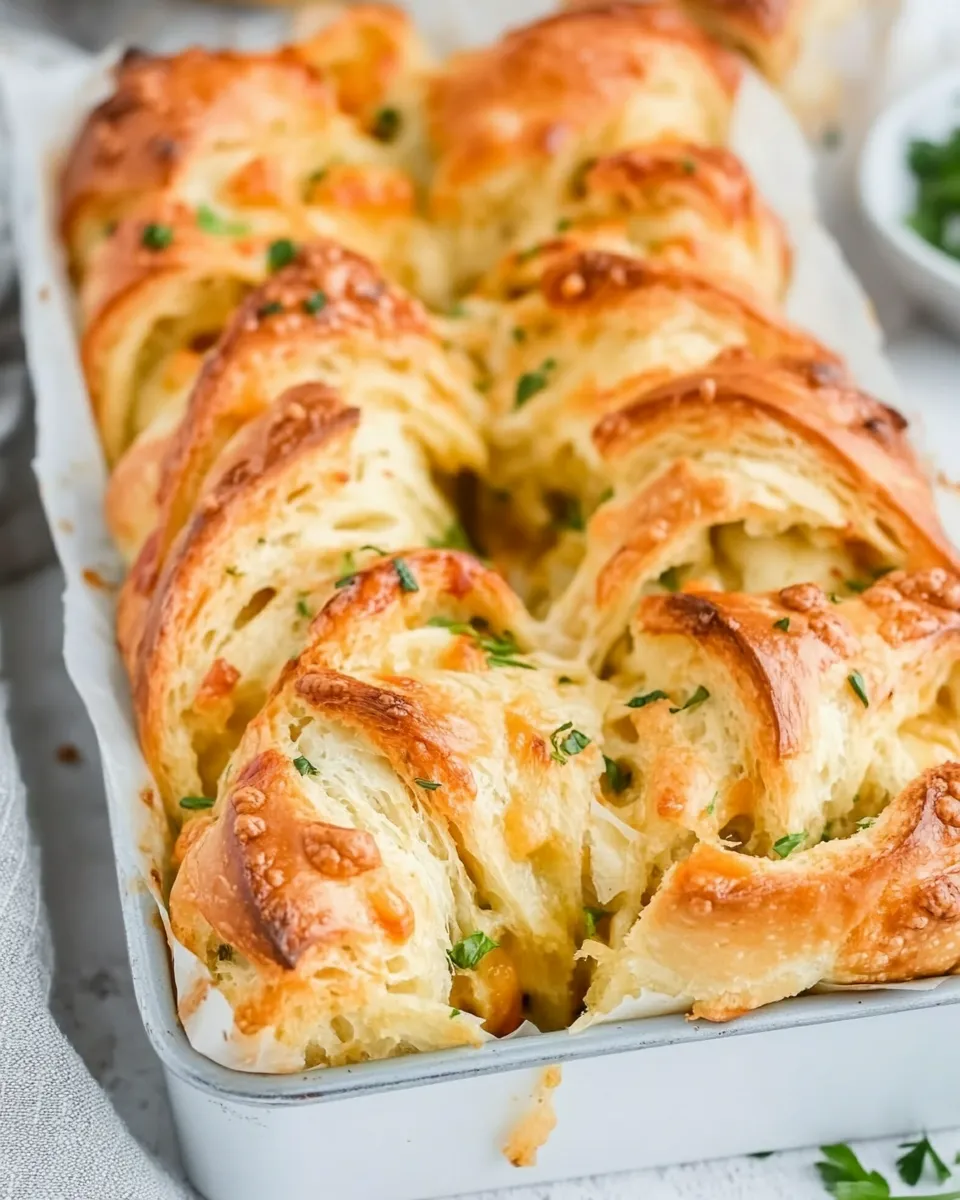
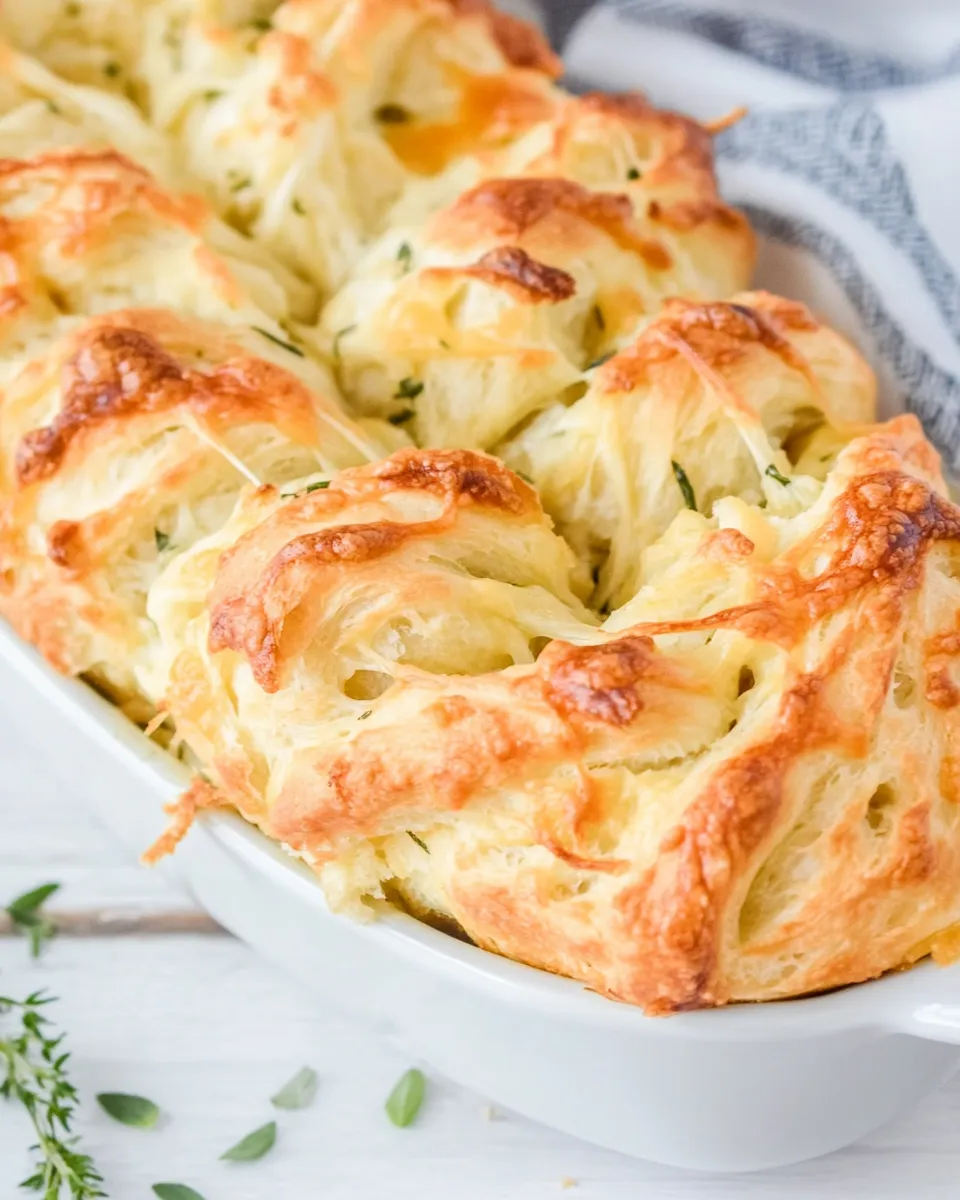
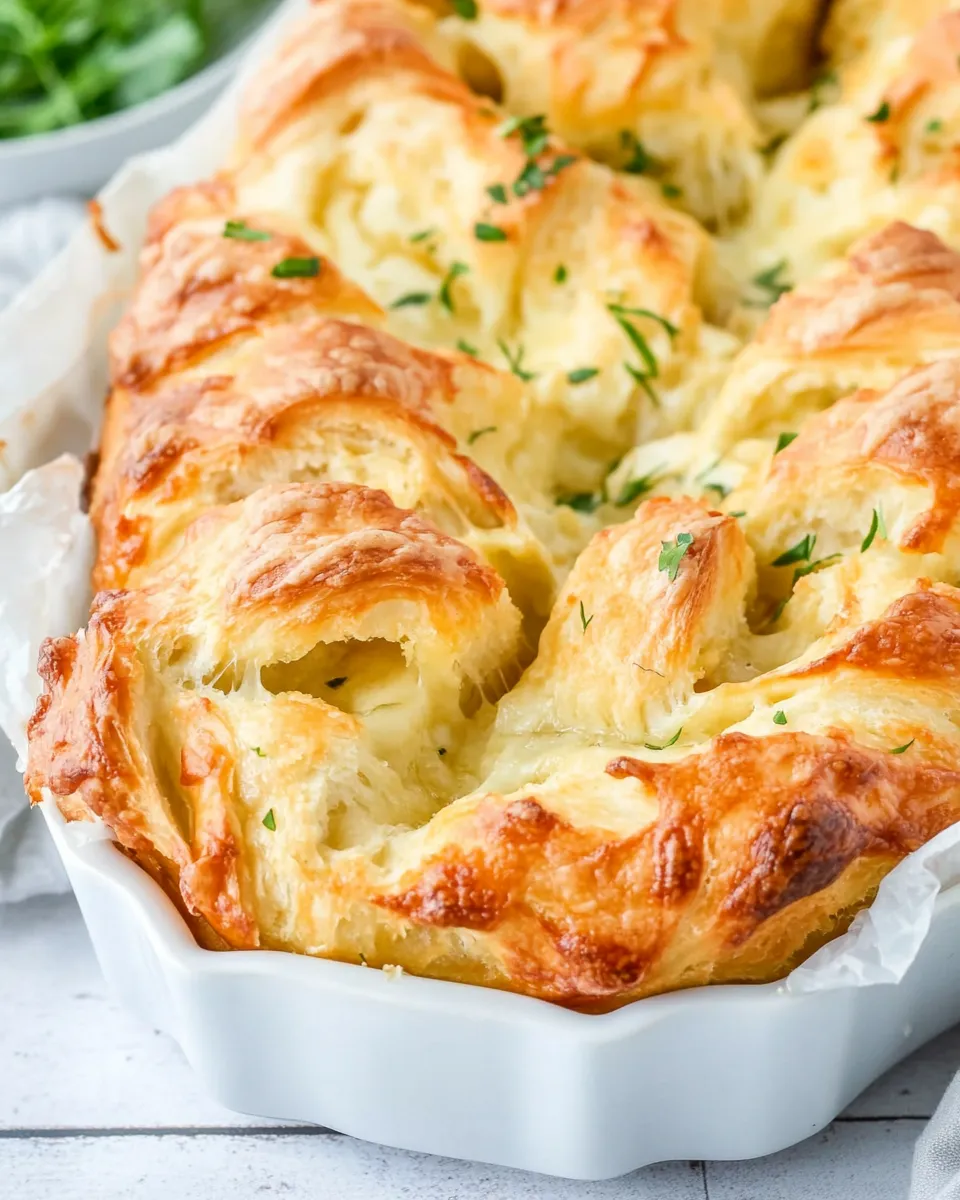
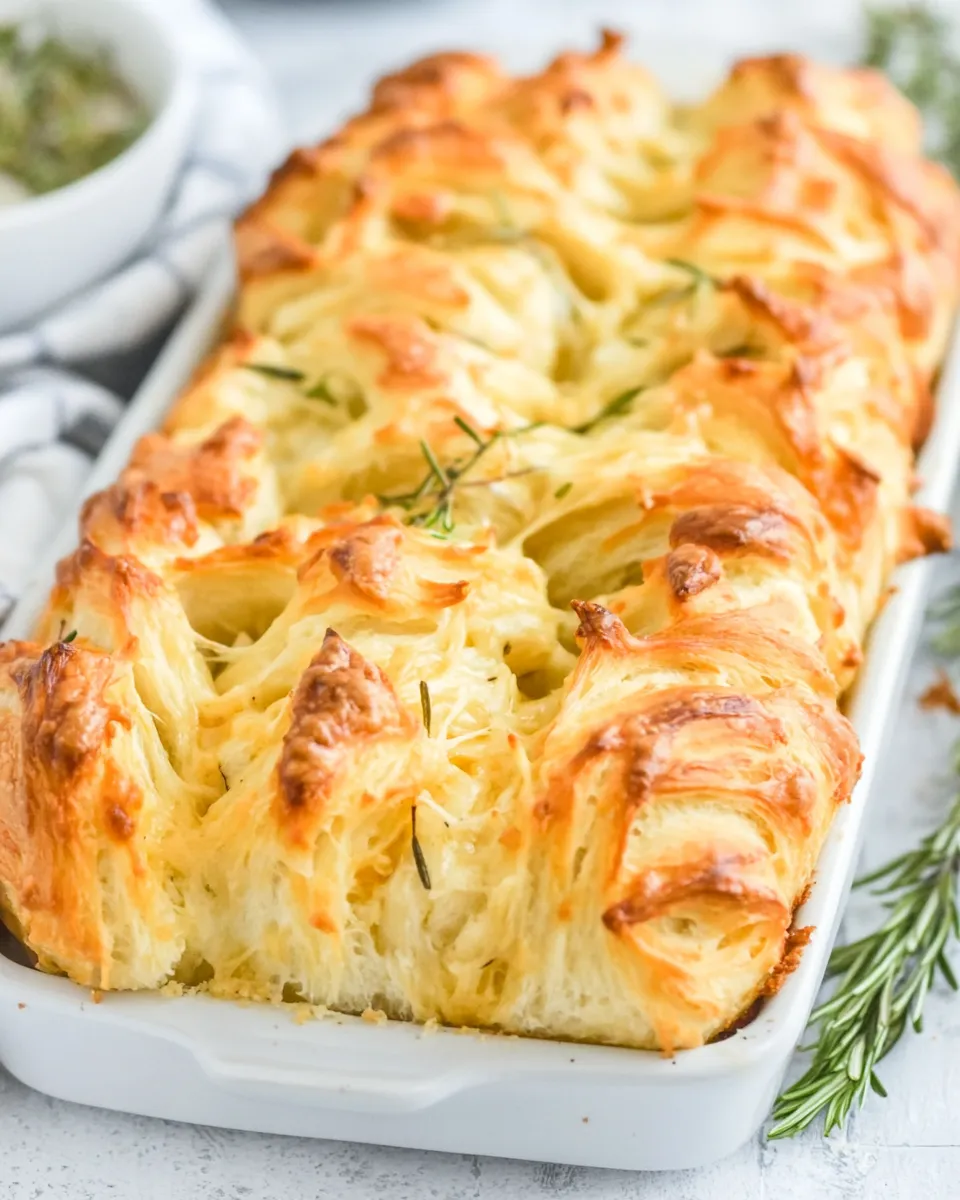
There’s something incredibly satisfying about tearing into a warm loaf of Cheesy Pull Apart Garlic Bread (With Biscuit Dough!). This dish is the epitome of comfort food, perfect for gatherings, movie nights, or simply when you want to indulge in something delicious. The combination of buttery, garlicky goodness with ooey-gooey melted cheese makes this bread a showstopper. Using biscuit dough not only simplifies the process but also yields a wonderfully fluffy texture that pairs beautifully with the garlic and cheese. Let’s dive into how you can create this mouthwatering treat in your own kitchen.
The Upside of Cheesy Pull Apart Garlic Bread (With Biscuit Dough!)
What makes this Cheesy Pull Apart Garlic Bread (With Biscuit Dough!) so special? First off, it’s incredibly easy to prepare, thanks to the use of store-bought biscuit dough. The result is a bread that’s soft, cheesy, and infused with rich garlic flavor. Whether you enjoy it as a side dish to pasta, a snack on its own, or as part of a charcuterie board, this dish is sure to impress. Plus, it’s customizable! You can adjust the cheese blend, spice levels, and even add herbs to suit your taste.
What You’ll Gather
- 3 tablespoons buttermelted (plus extra for greasing the pan)
- 1 tablespoon dried parsley
- 1 tablespoon minced garlic (or 3 cloves of fresh garlic, minced)
- 1/2 teaspoon red pepper flakes (optional for a kick)
- 16.3 ounces biscuit dough (I used Pillsbury Grands)
- 1 1/2 cups shredded cheese (I recommend mozzarella, cheddar, and pepper jack)
Tools & Equipment Needed
- Mixing bowl: For combining the garlic, herbs, and melted butter.
- Baking pan: A loaf pan works best, but a round cake pan can also be used.
- Knife: To cut the biscuit dough into pieces.
- Pastry brush: For spreading the melted butter mixture over the dough.
- Oven: Preheated to 375°F (190°C) for perfect baking.
Cheesy Pull Apart Garlic Bread (With Biscuit Dough!) — Do This Next
Step 1: Preheat Your Oven
Preheat your oven to 375°F (190°C). This ensures that your Cheesy Pull Apart Garlic Bread (With Biscuit Dough!) bakes evenly and achieves that golden crust we all love.
Step 2: Prepare the Baking Pan
Grease your baking pan with a little melted butter to prevent sticking. This will help achieve a beautiful golden-brown exterior.
Step 3: Mix the Garlic Butter
In a mixing bowl, combine the melted butter, dried parsley, minced garlic, and red pepper flakes. Stir well to ensure the garlic and herbs are evenly distributed throughout the butter.
Step 4: Cut the Biscuit Dough
Open the biscuit dough and separate it into individual biscuits. Cut each biscuit into quarters. This will create the pull-apart effect, allowing the cheese and garlic butter to meld beautifully.
Step 5: Toss with Garlic Butter
Add the quartered biscuit dough pieces to the bowl with the garlic butter mixture. Toss until each piece is well coated.
Step 6: Layer the Dough in the Pan
Begin layering the coated biscuit pieces into your prepared baking pan. Sprinkle shredded cheese between the layers as you stack them. Don’t be shy with the cheese—it’s the star of the show!
Step 7: Bake
Once all the dough is layered and cheese is added, pour any remaining garlic butter on top. Bake in the preheated oven for 25-30 minutes, or until the bread is golden brown and the cheese is bubbling.
Step 8: Cool and Serve
Once baked, allow the bread to cool slightly before serving. This helps the cheese set a little, making it easier to pull apart. Serve warm for the best experience!
Ingredient Flex Options
- For a different flavor, try using fresh herbs like thyme or rosemary instead of dried parsley.
- Swap out the cheese for your favorites, such as gouda, provolone, or even feta for a tangy twist.
- Add cooked bacon bits or pepperoni for an extra savory punch.
- For a vegetarian option, include sautéed mushrooms or spinach for added texture and flavor.
Missteps & Fixes
- If the bread seems too dry, try adding a little more melted butter over the top before baking.
- For a gooey center, make sure to layer cheese throughout the biscuit pieces, not just on top.
- If the top browns too quickly, cover it with aluminum foil halfway through baking.
- Ensure the biscuit dough is cut into even pieces for uniform cooking and ease of pulling apart.
Keep It Fresh: Storage Guide
To keep your Cheesy Pull Apart Garlic Bread (With Biscuit Dough!) fresh, store any leftovers in an airtight container in the refrigerator. It will be best consumed within 2-3 days. You can reheat it in the oven at 350°F (175°C) for about 10 minutes or until warmed through. For longer storage, consider freezing the bread. Wrap it tightly in plastic wrap and then in aluminum foil. It can be frozen for up to 2 months. To reheat from frozen, simply bake at 375°F (190°C) until heated through.
Ask the Chef
Can I use homemade biscuit dough instead of store-bought?
Absolutely! If you have a favorite homemade biscuit recipe, feel free to use it. Just ensure it yields a similar amount to the store-bought version, about 16.3 ounces.
What can I serve with this Cheesy Pull Apart Garlic Bread?
This bread pairs wonderfully with pasta dishes, soups, or salads. It’s also great as a side for BBQ or grilled meats. You can even enjoy it with marinara sauce for dipping!
Can I make this bread in advance?
You can prepare the dough and layer it in the pan ahead of time. Just cover it with plastic wrap and refrigerate until you’re ready to bake. You might need to add a few extra minutes to the baking time if it’s cold from the fridge.
Is this recipe kid-friendly?
Definitely! Kids love cheesy, gooey foods, and the pull-apart aspect makes it fun to eat. You can even let them help with tossing the dough in the garlic butter!
Before You Go
Now that you have the recipe for Cheesy Pull Apart Garlic Bread (With Biscuit Dough!), you’re ready to impress your family and friends with this delightful dish. It’s simple, satisfying, and oh-so-delicious. Remember, the key to a great pull-apart bread is in the layers of cheese and garlic butter, so don’t hold back! Enjoy the process and most importantly, enjoy every cheesy bite!
Cheesy Pull Apart Garlic Bread (With Biscuit Dough!)
Equipment
- Mixing Bowl
- Baking Pan
- Knife
- Pastry Brush
- Oven
Ingredients
- 3 tablespoons butter melted (plus extra for greasing the pan)
- 1 tablespoon dried parsley
- 1 tablespoon minced garlic or 3 cloves of fresh garlic, minced
- 1/2 teaspoon red pepper flakes optional for a kick
- 16.3 ounces biscuit dough I used Pillsbury Grands
- 1 1/2 cups shredded cheese I recommend mozzarella, cheddar, and pepper jack
Instructions
- Preheat your oven to 375°F (190°C).
- Grease your baking pan with a little melted butter to prevent sticking.
- In a mixing bowl, combine the melted butter, dried parsley, minced garlic, and red pepper flakes. Stir well.
- Open the biscuit dough and separate it into individual biscuits. Cut each biscuit into quarters.
- Add the quartered biscuit dough pieces to the bowl with the garlic butter mixture. Toss until each piece is well coated.
- Begin layering the coated biscuit pieces into your prepared baking pan. Sprinkle shredded cheese between the layers as you stack them.
- Pour any remaining garlic butter on top. Bake in the preheated oven for 25-30 minutes, or until golden brown and cheese is bubbling.
- Allow the bread to cool slightly before serving. Serve warm for best experience.
Notes
- Try fresh herbs like thyme or rosemary instead of dried parsley for a different flavor.
- Swap the cheese with gouda, provolone, or feta for variety.
- Add cooked bacon bits or pepperoni for extra savory flavor.
- Store leftovers in an airtight container in the refrigerator for 2-3 days.
- Freeze wrapped bread for up to 2 months and reheat at 375°F until warmed through.