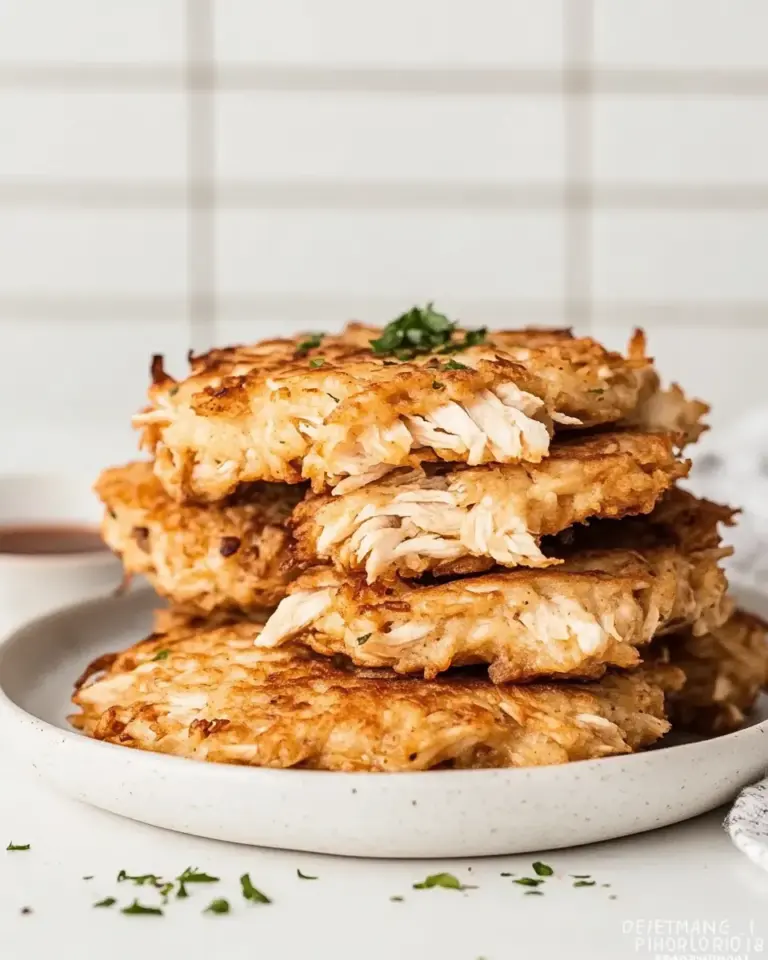
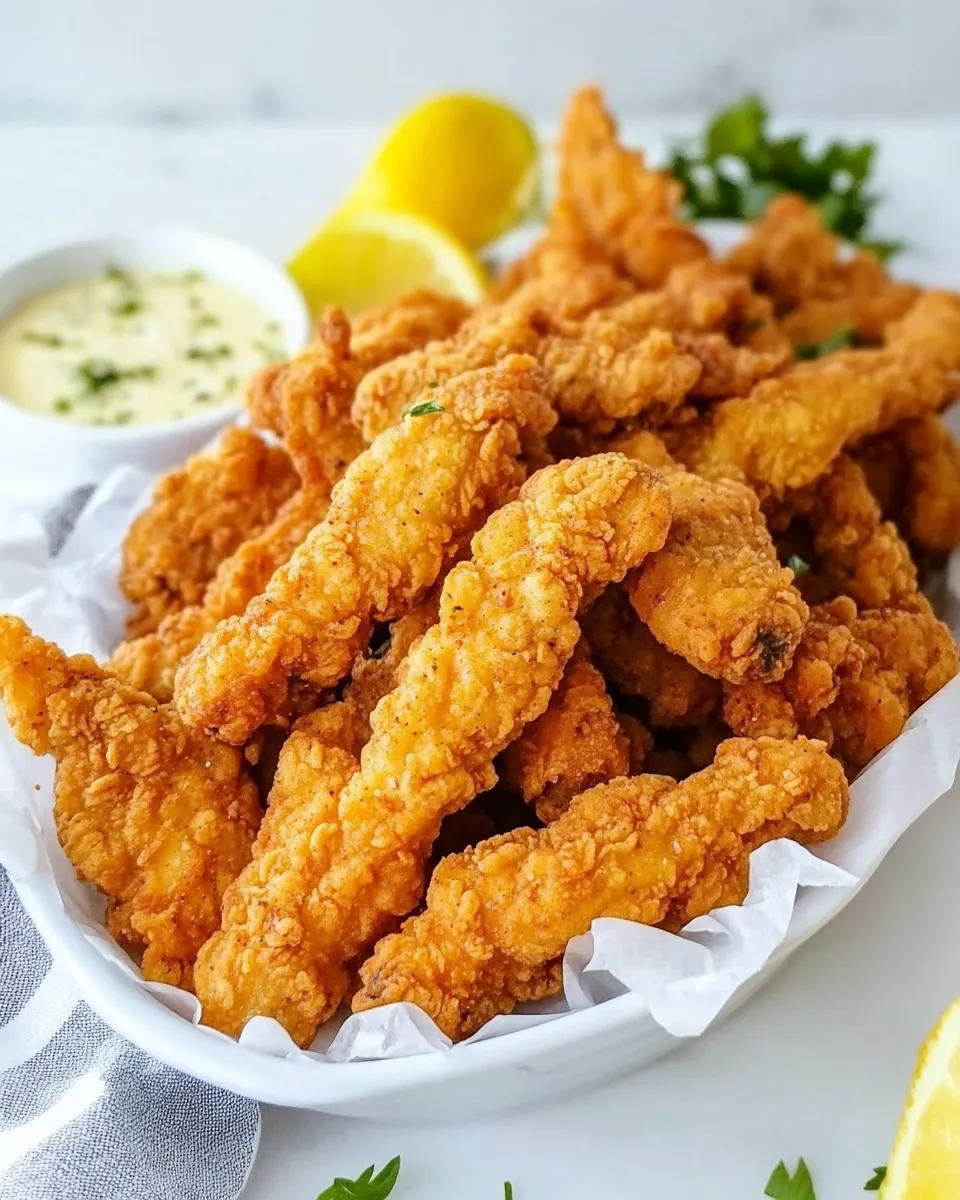
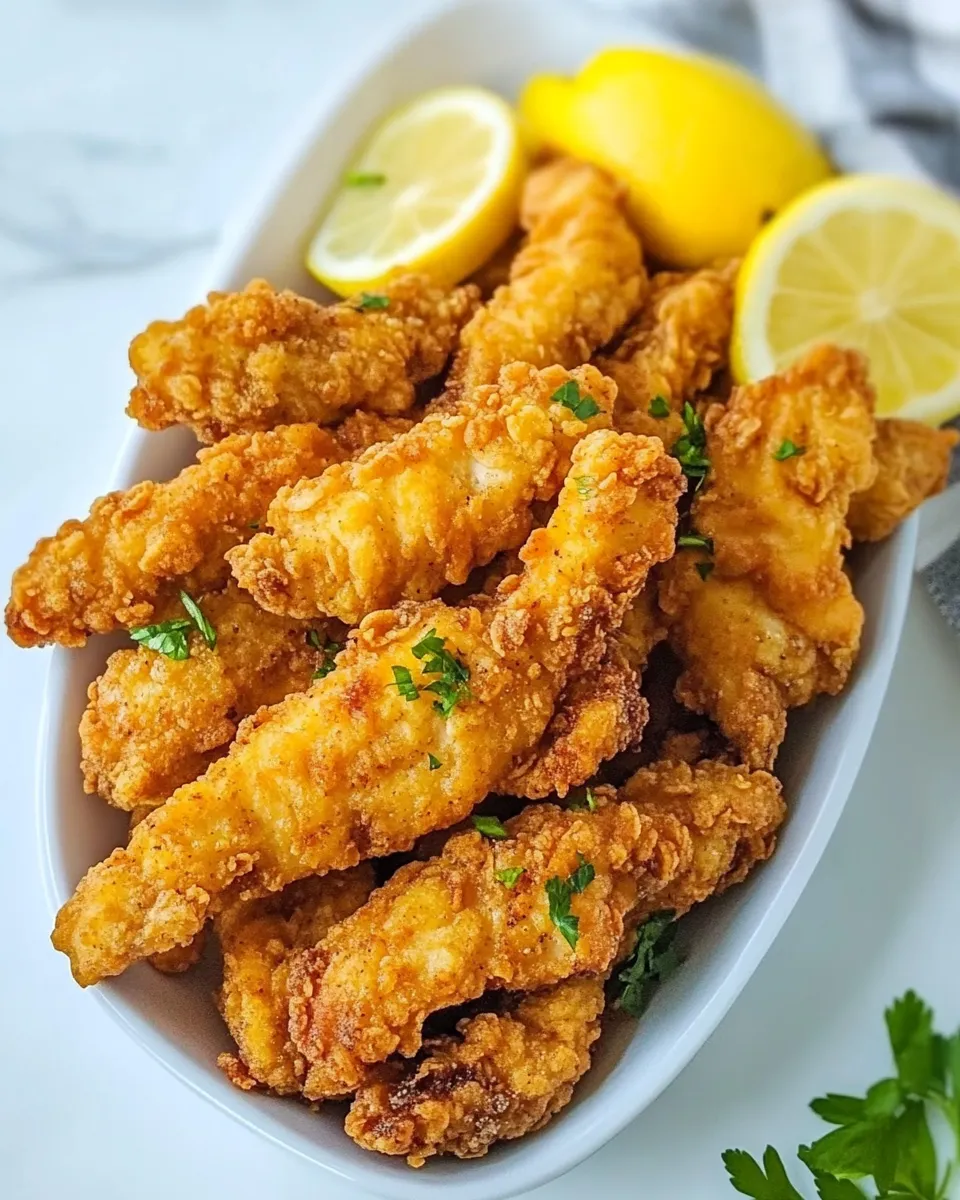
There’s something about a perfect batch of chicken fingers that hits every craving: crisp exterior, juicy interior, a little kick, and a sauce that pulls everything together. This recipe uses simple pantry staples and a straightforward technique so you can make golden, tender strips right at home. Below you’ll find a full ingredient list, an easy-to-follow step-by-step method, tips for success, and serving ideas that turn this into a family dinner winner or party snack.
Why this recipe works

Simple ingredients and a balanced coating yield chicken fingers that stay moist inside while developing a satisfyingly crunchy crust. The flour seasoning blends savory and warm spices—garlic, onion, oregano, and paprika—while a touch of cayenne adds background heat. A quick sauce combines tang, sweetness, and a little fire for dipping. The process is forgiving, making this a great option for cooks of any level.
Ingredients
- 2 lbs boneless chicken breasts, cut into strips (size and thickness of your choice)
- 2 cups all-purpose flour
- 1 teaspoon salt
- 1 teaspoon black pepper
- 1 teaspoon garlic powder
- 1 teaspoon onion powder
- 1 teaspoon dried oregano
- 1/2 teaspoon sweet paprika
- 1/4 teaspoon cayenne spice (or to taste)
- 2 eggs (or 1 extra large egg)
- 2 tablespoons honey mustard
- 2 garlic cloves, minced
- 1/4 cup hot sauce (or to taste) optional
- 3 tablespoons ketchup
- 2 tablespoons lemon juice
- 1/2 teaspoon salt
- 1/2 teaspoon black pepper
- 1/2 teaspoon dried oregano
- 1/2 teaspoon paprika
- 1 teaspoon onion powder
- 1 teaspoon garlic powder
Equipment
- Large shallow bowls or pie pans for dredging
- Baking sheet lined with foil or parchment (if baking) or a wire rack for resting
- Large skillet for frying (if frying)
- Tongs or a fork for handling strips
- Measuring spoons and cups
- Instant-read thermometer (optional but helpful)
Prep and timing
Active time: 25–30 minutes. Total time: about 45 minutes including resting and frying/baking.
Step-by-step directions
The directions below follow the original order and quantities from the ingredient list but are rewritten into clear, simple steps so you can focus on technique and timing.
- Cut the chicken. Pat the 2 lbs boneless chicken breasts dry with paper towels. Trim any excess fat. Slice the breasts into strips about 1 to 1 1/2 inches wide and roughly 1/2 to 3/4 inch thick—choose whatever size you prefer for serving. Try to make the pieces relatively uniform so they cook evenly.
- Make the seasoned flour. In a large shallow bowl or pie pan, combine 2 cups all-purpose flour, 1 teaspoon salt, 1 teaspoon black pepper, 1 teaspoon garlic powder, 1 teaspoon onion powder, 1 teaspoon dried oregano, 1/2 teaspoon sweet paprika, and 1/4 teaspoon cayenne spice (or adjust to taste). Whisk or stir the mixture until the spices are evenly distributed.
- Mix the egg wash. In a second shallow bowl, crack 2 eggs (or 1 extra large egg) and whisk them until smooth. Add 2 tablespoons honey mustard and stir to combine; this gives a touch of sweetness and helps the flour mixture adhere to the chicken.
- Set up your dredging station. Place the seasoned flour bowl and the egg wash bowl side by side with the bowl of chicken strips nearby. This makes the coating process quick and efficient.
- Coat the chicken strips. Working one piece at a time, dredge each chicken strip in the seasoned flour, pressing gently so the flour adheres. Shake off any excess flour, then dip the strip into the egg wash, coating it fully. Return the strip to the flour bowl for a final light dredge, pressing again to form an even coating. Place the coated strips on a tray or plate. Repeat until all strips are coated.
- Rest the coated strips. Let the coated chicken rest on the tray for 5–10 minutes at room temperature. This helps the coating set and reduces the chance of it falling off during cooking.
- Choose your cooking method. You can fry or bake the chicken fingers. Both methods are included below so you can pick what suits your kitchen and preference.
- Frying (for a crispier crust). Pour a neutral oil with a high smoke point (such as vegetable, canola, or sunflower oil) into a large skillet so the oil depth is about 1/4 to 1/2 inch. Heat the oil over medium-high heat until it reaches 350°F (175°C) or until a small pinch of flour sizzles when dropped in. Working in batches to avoid crowding, add the coated chicken strips to the hot oil and cook for 3–4 minutes per side, flipping once, until the crust is golden brown and the internal temperature reaches 165°F (74°C). Transfer cooked strips to a wire rack set over a baking sheet or paper towels to drain and stay crisp. Repeat with remaining strips.
- Baking (lighter method). Preheat your oven to 425°F (220°C). Place a wire rack on a baking sheet and spray it lightly with oil or line the sheet with parchment. Arrange the coated chicken strips in a single layer on the rack, leaving space between pieces. Lightly spray the tops with oil to encourage browning. Bake for 12–18 minutes, turning once halfway through, until the coating is golden and the internal temperature is 165°F (74°C). Exact timing depends on strip thickness, so check near the lower end of the range.
- Make the dipping sauce. While the chicken cooks, whisk together the sauce: in a small bowl combine 2 garlic cloves, minced, 1/4 cup hot sauce (optional, adjust to taste), 3 tablespoons ketchup, 2 tablespoons lemon juice, 1/2 teaspoon salt, 1/2 teaspoon black pepper, 1/2 teaspoon dried oregano, 1/2 teaspoon paprika, 1 teaspoon onion powder, and 1 teaspoon garlic powder. Taste and adjust the heat or acidity as you like. If you prefer a milder sauce, reduce the hot sauce or omit it and add a splash of extra ketchup or lemon juice to balance flavor.
- Serve. Transfer the cooked chicken fingers to a serving platter. Serve warm alongside the dipping sauce. They’re excellent with fries, a simple green salad, or pickles for contrast. Leftovers can be stored in the refrigerator for up to 3 days and reheated in a 375°F (190°C) oven until warmed through and crisp.
Tips for perfect chicken fingers every time
- Uniform strips: Slice the breasts into pieces of similar thickness so they cook at the same rate. Thinner strips will cook faster and crisp up more; thicker strips stay juicier.
- Don’t overcrowd the pan: When frying, cook in batches. Overcrowding drops the oil temperature and results in soggy coating.
- Oil temperature: If you fry, aim for about 350°F. Too cool and the coating absorbs oil; too hot and the crust will brown before the chicken cooks.
- Rest before frying: Letting the dredged strips sit briefly helps the egg and flour adhere, reducing the chance of the coating separating.
- Bake with a rack: If you bake, elevating the strips on a rack allows hot air to circulate so the bottom can crisp as well.
- Flavor adjustments: The spice levels are easily adjustable: increase cayenne for more heat or omit it for a milder crowd-pleaser.
Variations and serving ideas
- Crunchier coating: After the egg wash, press the strips into panko breadcrumbs for extra crunch. Use the same spices in the flour or toss a few tablespoons of panko into the seasoned flour mixture.
- Herbed twist: Add a teaspoon of fresh chopped parsley or dill to the dipping sauce for a fresh finish.
- Smoky flavor: Swap sweet paprika for smoked paprika for deeper, smoky notes.
- Meal pairings: Serve with coleslaw, sweet potato fries, or a simple cucumber and tomato salad.
Make-ahead and storage
You can coat the strips up to a day ahead and keep them covered in the refrigerator on a tray. For longer storage, cooked chicken fingers freeze well: place baked or fried strips in a single layer on a tray to freeze, then transfer to a freezer bag for up to 2 months. To reheat, bake at 375°F (190°C) until hot and crisp, about 10–15 minutes from thawed.
Final notes
This chicken fingers recipe balances convenience and flavor. The seasoned flour contributes depth, the egg wash gives the coating its hold, and the bright, savory sauce brings it all together. Whether you’re feeding kids, throwing together a game-night spread, or simply craving something crunchy and satisfying, these chicken fingers deliver every time.
Enjoy your homemade chicken fingers—crispy outside, tender inside, and perfectly dunkable.
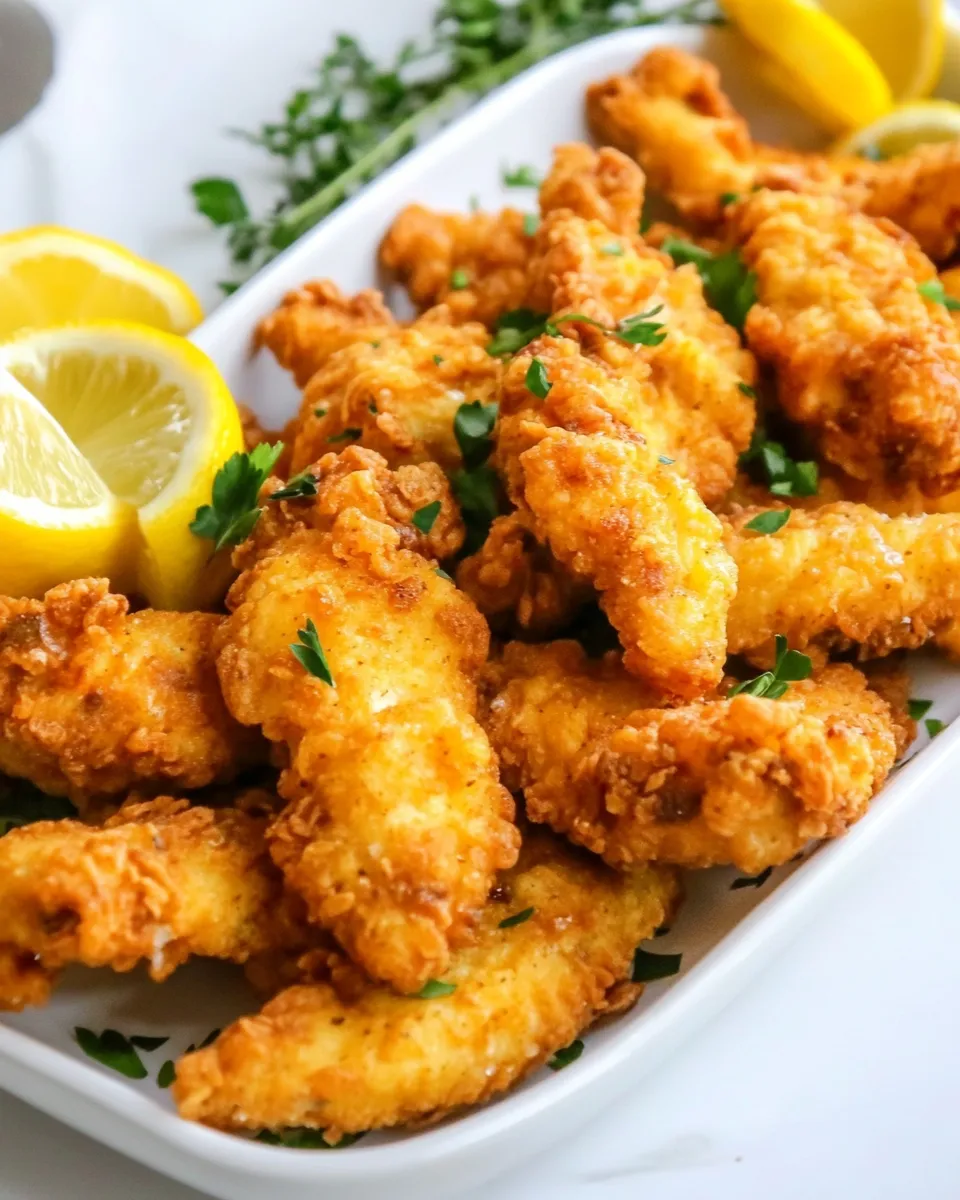
Chicken Fingers
Equipment
- Deep fryer or large pot
- wide shallow bowls (2)
- Tongs
- paper towels or wire rack
- Knife and cutting board
- Measuring cups and spoons
Ingredients
- 2 lb boneless chicken breasts cut into strips (size and thickness of your choice)
- 2 cup all-purpose flour divided for double-dredge
- 1 tsp salt for flour mix
- 1 tsp black pepper for flour mix
- 1 tsp garlic powder for flour mix
- 1 tsp onion powder for flour mix
- 1 tsp dried oregano for flour mix
- 1/2 tsp sweet paprika for flour mix
- 1/4 tsp cayenne spice or to taste, for flour mix
- 2 eggs or 1 extra-large egg
- 2 tbsp honey mustard for egg mix
- 2 garlic cloves minced, for egg mix
- 1/4 cup hot sauce optional, for egg mix; or to taste
- 3 tbsp ketchup for egg mix
- 2 tbsp lemon juice for egg mix
- 1/2 tsp salt for final seasoning
- 1/2 tsp black pepper for final seasoning
- 1/2 tsp dried oregano for final seasoning
- 1/2 tsp paprika for final seasoning
- 1 tsp onion powder for final seasoning
- 1 tsp garlic powder for final seasoning
Instructions
- In a wide shallow bowl, combine 2 cups all-purpose flour with 1 tsp salt, 1 tsp black pepper, 1 tsp garlic powder, 1 tsp onion powder, 1 tsp dried oregano, 1/2 tsp sweet paprika and 1/4 tsp cayenne; mix well—this is the flour mix.
- In a second wide bowl, whisk together 2 eggs, 2 tbsp honey mustard, 2 minced garlic cloves, 1/4 cup hot sauce (optional), 3 tbsp ketchup and 2 tbsp lemon juice until smooth—this is the egg mix.
- Trim and pat the 2 lb boneless chicken breasts dry, then cut into strips of your preferred size and thickness.
- Lightly coat each chicken strip in the flour mix, shaking off excess flour.
- Dip the lightly floured chicken into the egg mix, making sure each strip is fully coated.
- Dredge the egg-coated chicken back into the flour mix and press the flour onto the surface to build a good coating.
- Heat oil in a deep fryer to 375°F (or heat a large pot half full of oil over medium-high heat until it reaches about 350–375°F). If using a pot, do not overfill.
- Fry the chicken strips in batches to avoid crowding: in a deep fryer fry for about 3–5 minutes or in a pot fry 2–3 pieces at a time for 5–8 minutes, until golden brown and cooked through (internal temperature 165°F / 74°C).
- Remove the chicken fingers and drain on paper towels or a wire rack for a minute.
- Serve hot.
Notes
- Use boneless chicken breasts for best results.
- Follow the sequence flour, egg, flour for a sturdy coating.
- Do not overcrowd the fryer or pot to maintain oil temperature.
- Fry until internal temperature reaches 165°F (74°C).
- Drain excess oil on paper towels or a wire rack.
- Hot oil should be about 350–375°F for frying.