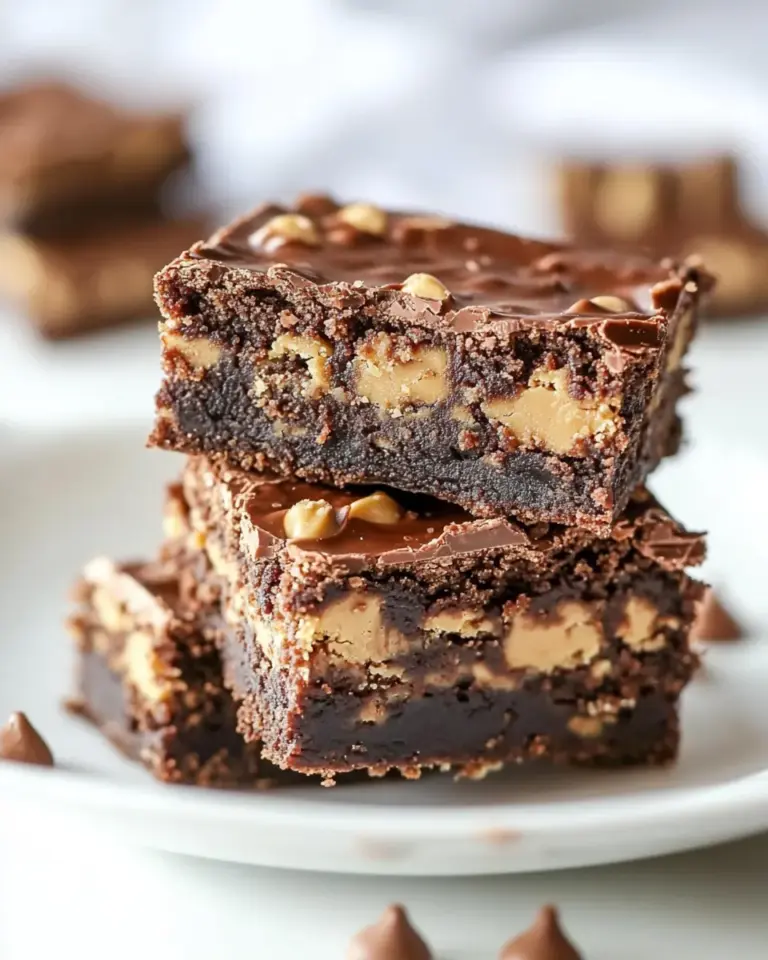
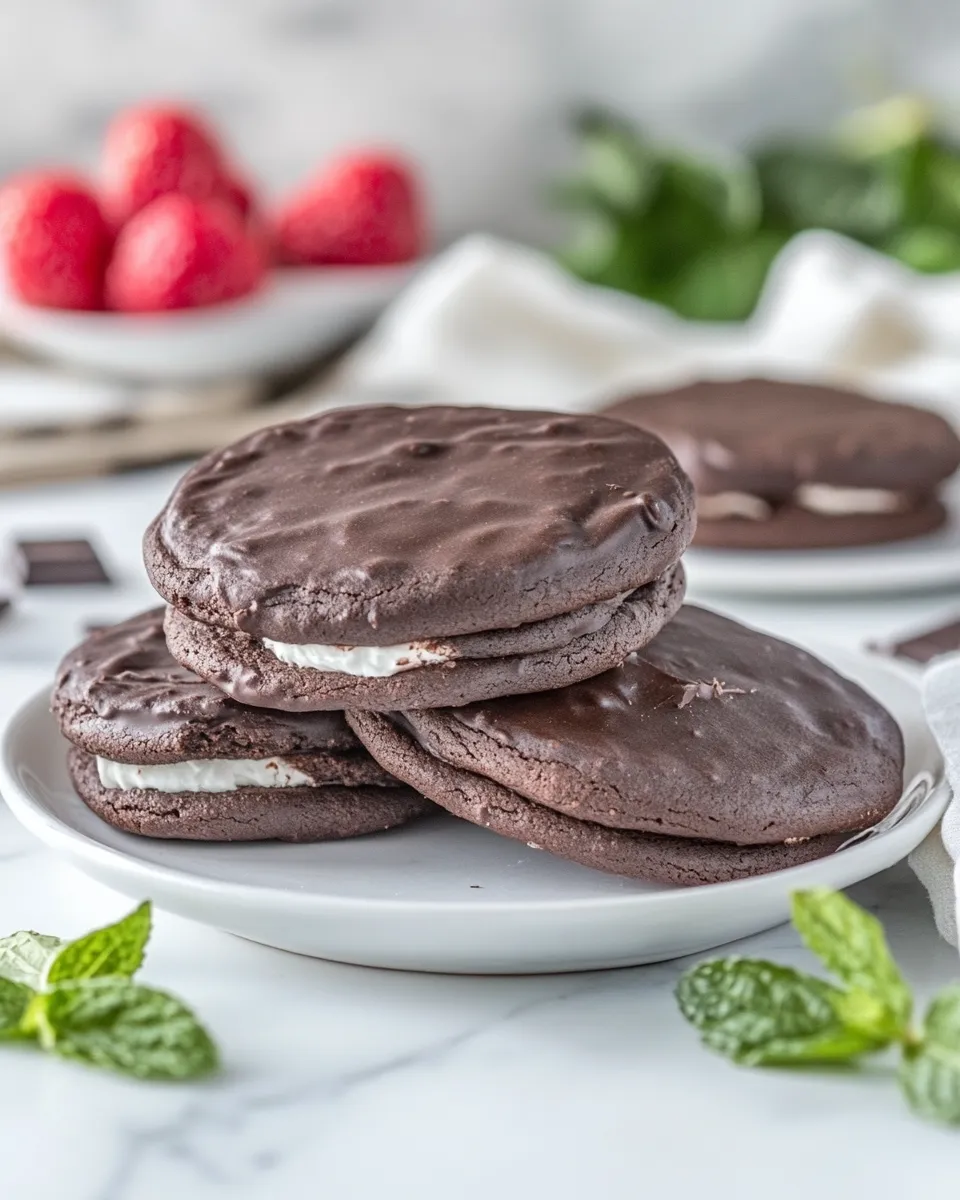
These cookies are exactly what the name promises: dense, intensely chocolatey rounds that get sandwiched around a buttery, chocolate filling. They’re not fussy to make, but they do benefit from a little patience—chilling the dough and the filling matters. If you want a cookie that tastes like a cross between a brownie and a cookie, this is it.
I tested the recipe until the texture felt right: chewy, slightly crackled tops, and a rich ganache center that sets firm enough to bite into. The formula relies on melted chocolate in the dough and chocolate chips for pockets of melty goodness. You’ll shape the rounds by hand, bake them just until the glossy top dulls, then fill and sandwich for serious chocolate satisfaction.
Below you’ll find the ingredients, the exact step-by-step instructions, equipment notes, troubleshooting, and practical swaps. Read through once before you start so you can move smoothly from chilling bowls to warm cookies on the rack.
What’s in the Bowl
Ingredients
- 10 ounces semisweet chocolate, chopped — the primary chocolate for both the dough and the filling; flavor anchor.
- 3 ounces unsweetened chocolate, chopped — adds depth and reduces sweetness so the cookie tastes complex.
- ¼ cup butter, cut into chunks — enriches the filling and gives a glossy, spreadable texture.
- 3 eggs, at room temperature — provides structure and richness for the dough.
- 1 cup plus 2 tablespoons sugar — sweetens and helps create the slightly crisp top.
- 1 teaspoon instant espresso powder — amplifies chocolate flavor without making the cookie taste like coffee.
- 2 teaspoons vanilla extract — rounds and brightens the chocolate notes.
- 6 tablespoons flour — a small amount keeps the cookie tender and dense rather than cakey.
- ¾ teaspoon baking powder — gives a touch of lift so the cookies aren’t flat.
- ¼ teaspoon kosher salt — balances sweetness and highlights chocolate.
- 1 ½ cups semisweet chocolate chips — dispersed through the dough for melty pockets and texture.
From Start to Finish: Chocolate Coma Sandwich Cookies
- Make the melted chocolate base for the dough: place 7 ounces of the semisweet chopped chocolate and all 3 ounces of the unsweetened chopped chocolate in a microwave-safe bowl. Microwave in 30-second intervals, stirring well between intervals, until the chocolate is fully melted and smooth. Let cool slightly (a few minutes) so it is warm but not hot.
- Whisk together the 3 eggs, 1 cup plus 2 tablespoons sugar, 1 teaspoon instant espresso powder, and 2 teaspoons vanilla extract in a medium bowl until combined. Whisk this mixture into the slightly cooled melted chocolate until smooth and even.
- Combine the dry ingredients: in a separate bowl stir together 6 tablespoons flour, 3/4 teaspoon baking powder, and 1/4 teaspoon kosher salt. Fold the dry ingredients into the chocolate-egg mixture until just incorporated.
- Stir in the 1 1/2 cups semisweet chocolate chips until evenly distributed through the dough. Cover the bowl and chill the dough in the refrigerator until firm enough to shape, about 1 hour.
- While the dough chills, make the chocolate filling (ganache-style) using the remaining chocolate and the butter: reserve the remaining 3 ounces of semisweet chopped chocolate. Put the reserved 3 ounces semisweet chocolate and the 1/4 cup butter in a microwave-safe bowl. Microwave in 20- to 30-second intervals, stirring between intervals, until the chocolate and butter are melted and the mixture is smooth. Let cool, then cover and chill, stirring once or twice, until the filling is thick enough to spread or pipe, about 2 hours. (If the filling becomes too firm to spread, warm briefly in the microwave in 5–10 second bursts, stirring after each.)
- Preheat the oven to 350°F. Line two large baking sheets with parchment paper.
- Shape the cookies: scoop about 2 tablespoons of chilled dough and roll into a round between your palms. Place rounds on the prepared baking sheets about 1 inch apart. Gently press each round to flatten to about 1/2-inch thickness.
- Bake the cookies for about 10 minutes, until the tops lose their wet shine but are not overbaked. (Oven times vary; check at 8 minutes if your oven runs hot.)
- Let the cookies cool on the baking sheets set on wire racks until firm enough to handle.
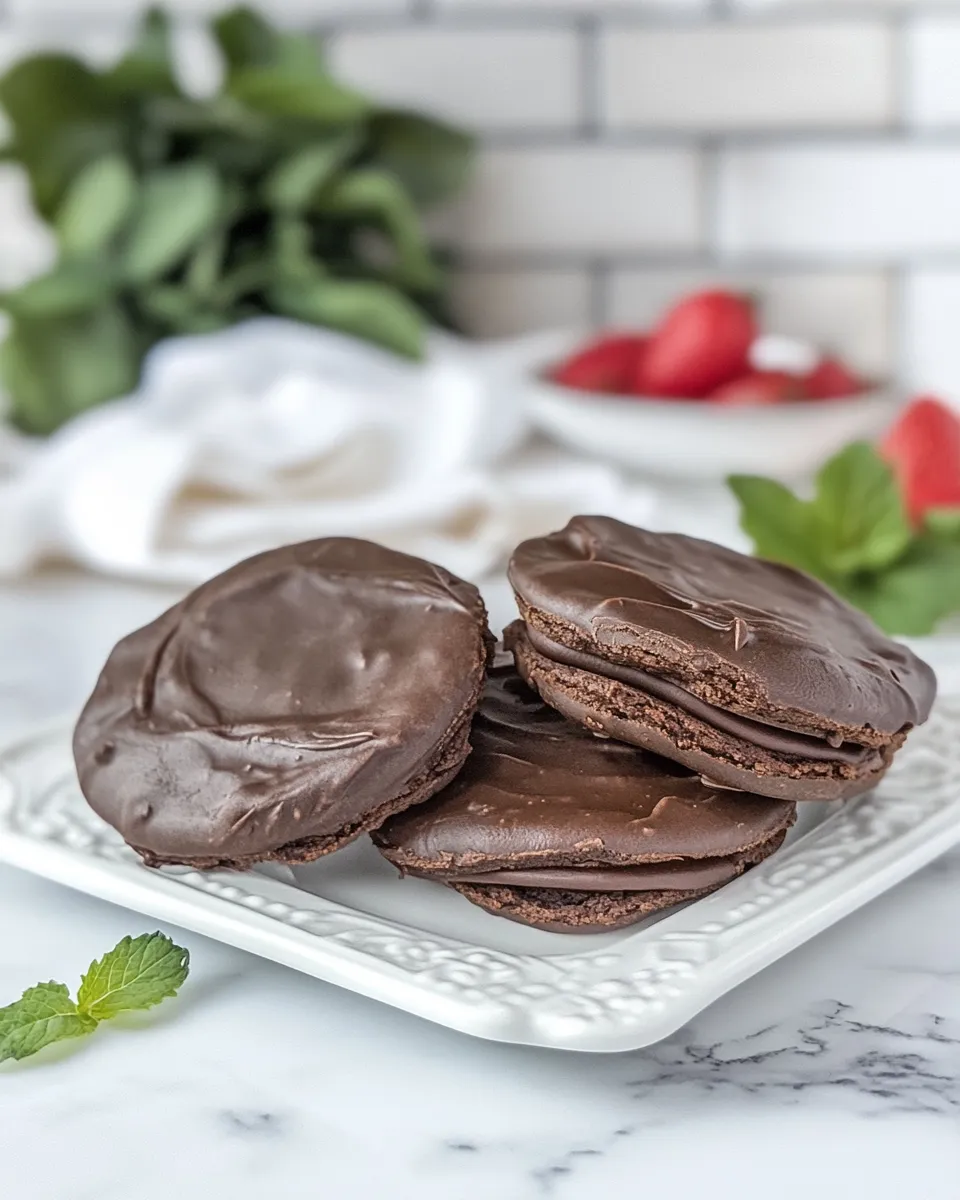
- Assemble the sandwiches: spread or pipe a generous tablespoon (or to taste) of the chilled chocolate filling onto the flat side of half the cookies, then top with the remaining cookies, flat side down, to form sandwiches. If the filling is too firm to spread, warm briefly in the microwave in 5–10 second bursts and stir before using.
Why Cooks Rave About It
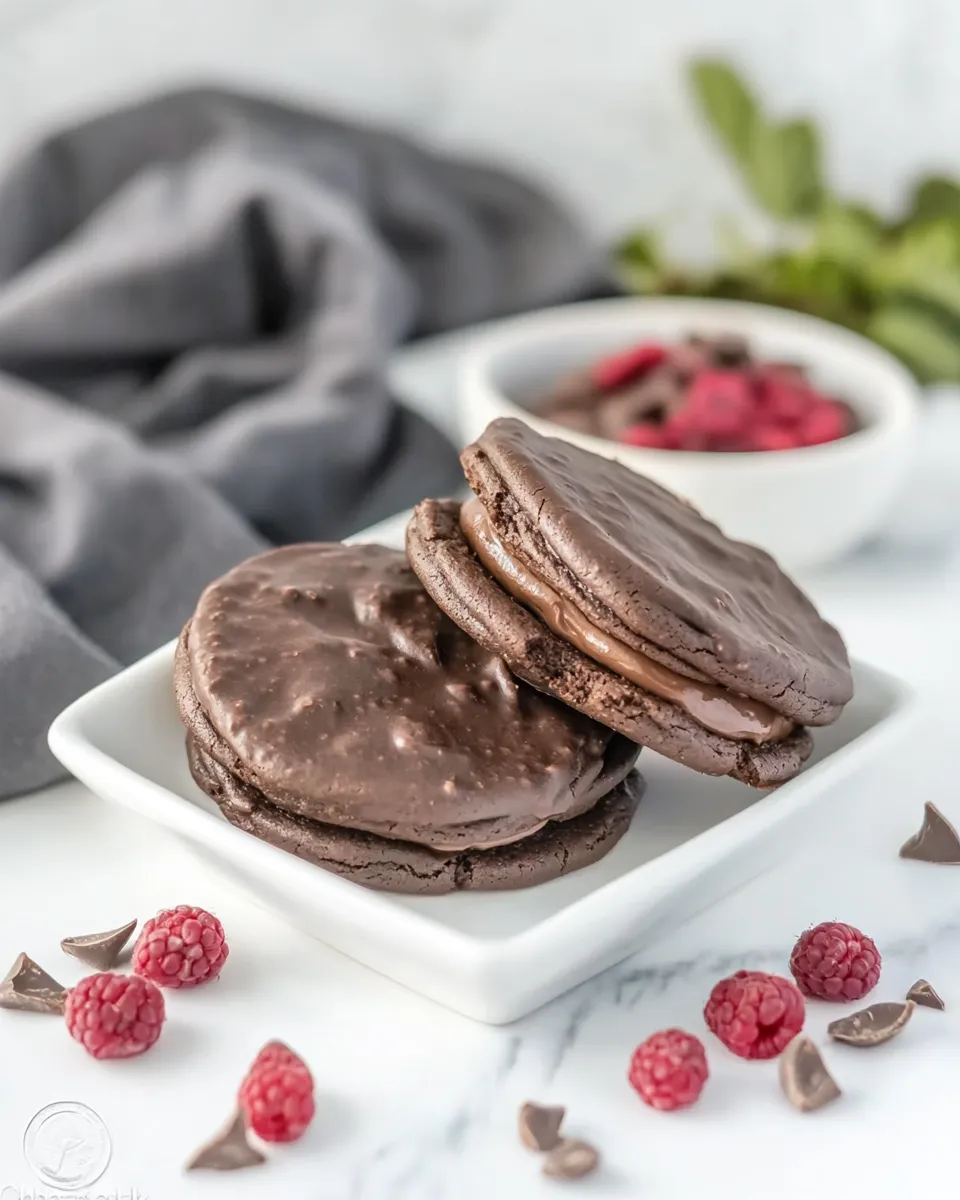
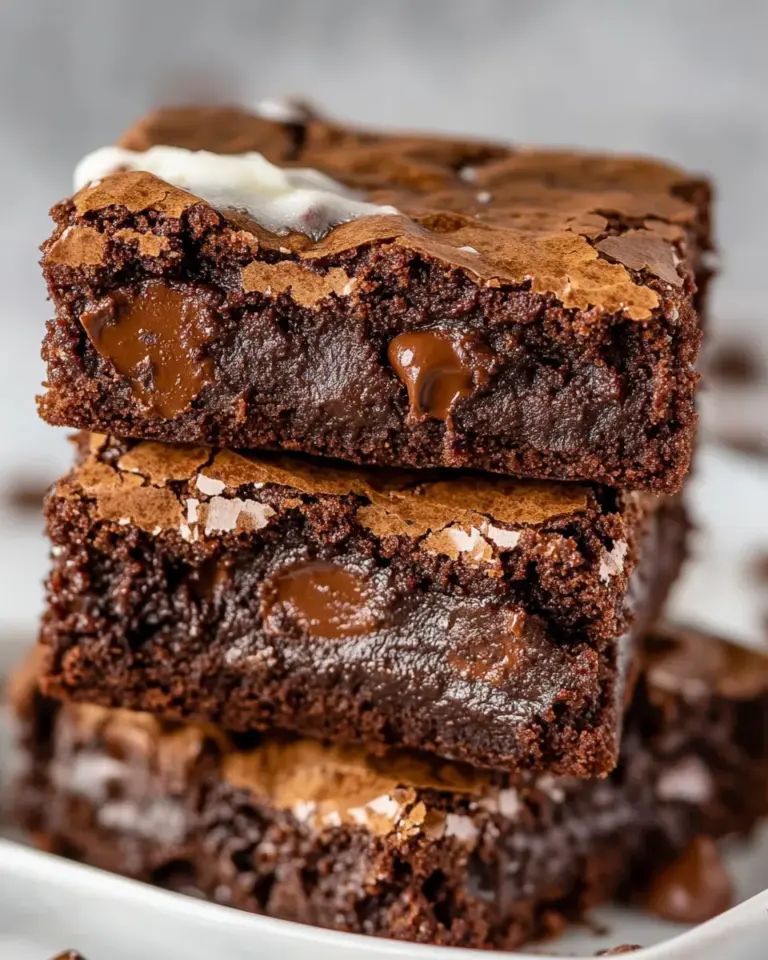
These cookies are a favorite because they deliver concentrated chocolate flavor without needing a pastry degree. Melted chocolate in the batter makes them fudgy rather than cakey, and the chips give you chew and shine. The filling is a simple chocolate-and-butter emulsion that behaves like ganache but sets to a sliceable consistency. Texture contrasts—tender cookie shell, chewy interior, creamy filling—are the main reason people make these again and again.
They also scale well: the dough holds up in the fridge for a day or two, and the filling keeps its shape after chilling. That makes them good for making ahead for parties or gifts. Finally, the espresso powder—used sparingly—boosts chocolate depth in a way that’s almost invisible but unmistakable in the result.
Quick Replacement Ideas
Short on one item? Here are safe swaps and small adjustments you can make without breaking the recipe.
- Semisweet chocolate — you can use dark chocolate (slightly less sweet) or a blend of semisweet and milk if you prefer sweeter cookies.
- Unsweetened chocolate — if you don’t have it, increase the semisweet slightly and reduce a bit of sugar, but be cautious; this will alter texture and sweetness.
- Butter in the filling — if you need a dairy-free option, a neutral-flavored solid fat like a firm coconut oil can work, but flavor and setting point will change.
- Instant espresso powder — omit if you must; the cookies will still be chocolatey, though with a touch less depth. You can also replace it with an equal amount of instant coffee if that’s what you have.
Setup & Equipment
Gather these items before you start. Having everything ready helps the chilling and shaping steps go smoothly.
- Microwave-safe bowls (two recommended) — one for the dough chocolate, one for the filling.
- Mixing bowls — medium and small for wet and dry ingredients.
- Whisk and rubber spatula — whisk for combining eggs and sugar; spatula for folding.
- Measuring cups and spoons — accurate measures keep texture consistent.
- Kitchen scale (optional) — useful if you’d rather weigh chocolate than measure by volume.
- Scoop or tablespoon — to portion the dough into roughly 2-tablespoon rounds.
- Baking sheets and parchment paper — for even baking and easy cleanup.
- Wire cooling racks — allow cookies to cool properly before filling.
- Small piping bag or offset spatula — for neat filling application, if you want precision.
Pitfalls & How to Prevent Them
Here are the common mistakes and direct fixes, based on testing.
- Cookies spread too much — dough wasn’t chilled long enough. Chill for the full hour or until firm to the touch before shaping.
- Tops stay glossy after baking — underbaked. Bake until the wet shine dulls; check at 8 minutes if your oven runs hot.
- Filling too runny — didn’t cool and chill long enough. Chill the filling about 2 hours until thick. If it’s still too soft, chill longer; if it becomes too firm, warm briefly in 5–10 second bursts.
- Filling doesn’t stick — cookies too warm when assembling. Let cookies cool fully so the filling won’t simply melt and slide out.
- Grainy filling after melting — overheated chocolate can seize. Stir between microwave bursts and remove from heat while small bits remain; residual heat will finish melting.
Variations by Season
Small adjustments keep this recipe feeling fresh throughout the year.
- Winter: Add a pinch of ground cinnamon or a few drops of peppermint extract to the filling for a holiday twist. Use dark chocolate for a richer, more wintery profile.
- Spring: Fold in a handful of finely chopped toasted hazelnuts or pistachios into the filling for a crunchy contrast, or roll the edges of the sandwiches in finely chopped nuts.
- Summer: Make the filling a touch lighter by whipping it briefly after it chills, or add a citrus zest—orange works well—with the vanilla to brighten the chocolate.
- Autumn: Stir 1/4 teaspoon ground ginger and a pinch of nutmeg into the dough for warm spice notes that pair well with semisweet chocolate.
Behind-the-Scenes Notes
Why some steps are important: melting chocolate and cooling it slightly keeps the eggs from scrambling when mixed. The small amount of flour and the melted chocolate create that brownie-like chew instead of a cake. Chilling serves two purposes—firming the dough so it’s easy to shape, and slowing spread so you get a taller cookie that can hold a filling.
The filling is essentially a chocolate-butter emulsion. It chills to a pipeable consistency, but it will soften at room temperature. If you need to assemble many sandwiches, work in batches and keep the filling chilled, warming only what you’ll use immediately.
Store, Freeze & Reheat
Storage tips that keep the texture right:
- Room temperature: Store assembled sandwiches in an airtight container for up to 3 days. Keep them in a single layer or separate layers with parchment to prevent sticking.
- Refrigerator: Store for up to 1 week. Bring to room temperature before serving so the filling softens slightly.
- Freezing: Freeze assembled sandwiches in a single layer on a tray until firm, then transfer to a freezer-safe bag for up to 2 months. Thaw in the fridge overnight, then bring to room temperature before serving.
- Reheat: If the filling is too firm, warm sandwiches gently in 5–10 second microwave bursts (covered) just to soften, not melt.
Ask & Learn
Q: Can I double this recipe? A: Yes. Use a larger bowl and chill in two containers if needed. Assembly takes longer, but the dough and filling scale proportionally.
Q: My filling is grainy—what happened? A: Chocolate likely overheated or water touched the melted chocolate. Rewarm gently and strain if needed, or make a fresh batch.
Q: Can I bake from frozen dough balls? A: If you freeze shaped dough balls, add a minute or two to the bake time. They may spread less; keep an eye on the oven.
Bring It Home
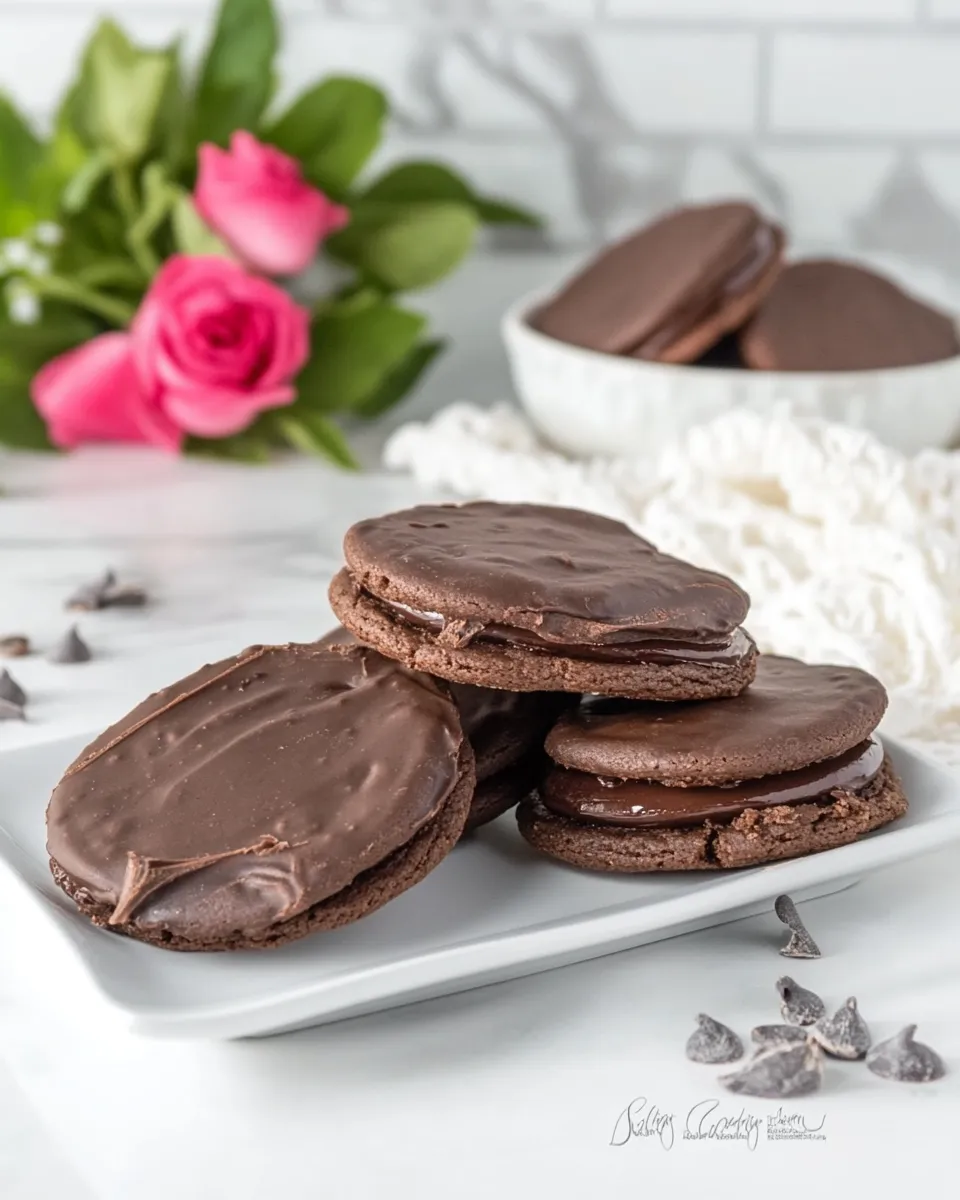
Chocolate Coma Sandwich Cookies are forgiving, impressive, and designed for chocolate lovers who want more than a basic drop cookie. Follow the chilling steps, watch the bake time closely, and let the filling fully chill for best results. Make a batch for a gathering or wrap a few as a thoughtful homemade gift. When you bite into one, you’ll know the patience paid off.
Chocolate Coma Sandwich Cookies
Equipment
- Microwave-safe Bowl
- Whisk
- Mixing Bowls
- Spatula
- Baking Sheets
- Parchment Paper
- Wire Rack
- Measuring Cups
- Measuring Spoons
Ingredients
Ingredients
- 10 ounces semisweet chocolate chopped
- 3 ounces unsweetened chocolate chopped
- 1/4 cup butter cut into chunks
- 3 eggs at room temperature
- 1 cup plus 2 tablespoons sugar
- 1 teaspoon instant espresso powder
- 2 teaspoons vanilla extract
- 6 tablespoons flour
- 3/4 teaspoon baking powder
- 1/4 teaspoon kosher salt
- 1 1/2 cups semisweet chocolate chips
Instructions
Instructions
- Make the melted chocolate base for the dough: place 7 ounces of the semisweet chopped chocolate and all 3 ounces of the unsweetened chopped chocolate in a microwave-safe bowl. Microwave in 30-second intervals, stirring well between intervals, until the chocolate is fully melted and smooth. Let cool slightly (a few minutes) so it is warm but not hot.
- Whisk together the 3 eggs, 1 cup plus 2 tablespoons sugar, 1 teaspoon instant espresso powder, and 2 teaspoons vanilla extract in a medium bowl until combined. Whisk this mixture into the slightly cooled melted chocolate until smooth and even.
- Combine the dry ingredients: in a separate bowl stir together 6 tablespoons flour, 3/4 teaspoon baking powder, and 1/4 teaspoon kosher salt. Fold the dry ingredients into the chocolate-egg mixture until just incorporated.
- Stir in the 1 1/2 cups semisweet chocolate chips until evenly distributed through the dough. Cover the bowl and chill the dough in the refrigerator until firm enough to shape, about 1 hour.
- While the dough chills, make the chocolate filling (ganache-style) using the remaining chocolate and the butter: reserve the remaining 3 ounces of semisweet chopped chocolate. Put the reserved 3 ounces semisweet chocolate and the 1/4 cup butter in a microwave-safe bowl. Microwave in 20- to 30-second intervals, stirring between intervals, until the chocolate and butter are melted and the mixture is smooth. Let cool, then cover and chill, stirring once or twice, until the filling is thick enough to spread or pipe, about 2 hours. (If the filling becomes too firm to spread, warm briefly in the microwave in 5–10 second bursts, stirring after each.)
- Preheat the oven to 350°F. Line two large baking sheets with parchment paper.
- Shape the cookies: scoop about 2 tablespoons of chilled dough and roll into a round between your palms. Place rounds on the prepared baking sheets about 1 inch apart. Gently press each round to flatten to about 1/2-inch thickness.
- Bake the cookies for about 10 minutes, until the tops lose their wet shine but are not overbaked. (Oven times vary; check at 8 minutes if your oven runs hot.)
- Let the cookies cool on the baking sheets set on wire racks until firm enough to handle.
- Assemble the sandwiches: spread or pipe a generous tablespoon (or to taste) of the chilled chocolate filling onto the flat side of half the cookies, then top with the remaining cookies, flat side down, to form sandwiches. If the filling is too firm to spread, warm briefly in the microwave in 5–10 second bursts and stir before using.