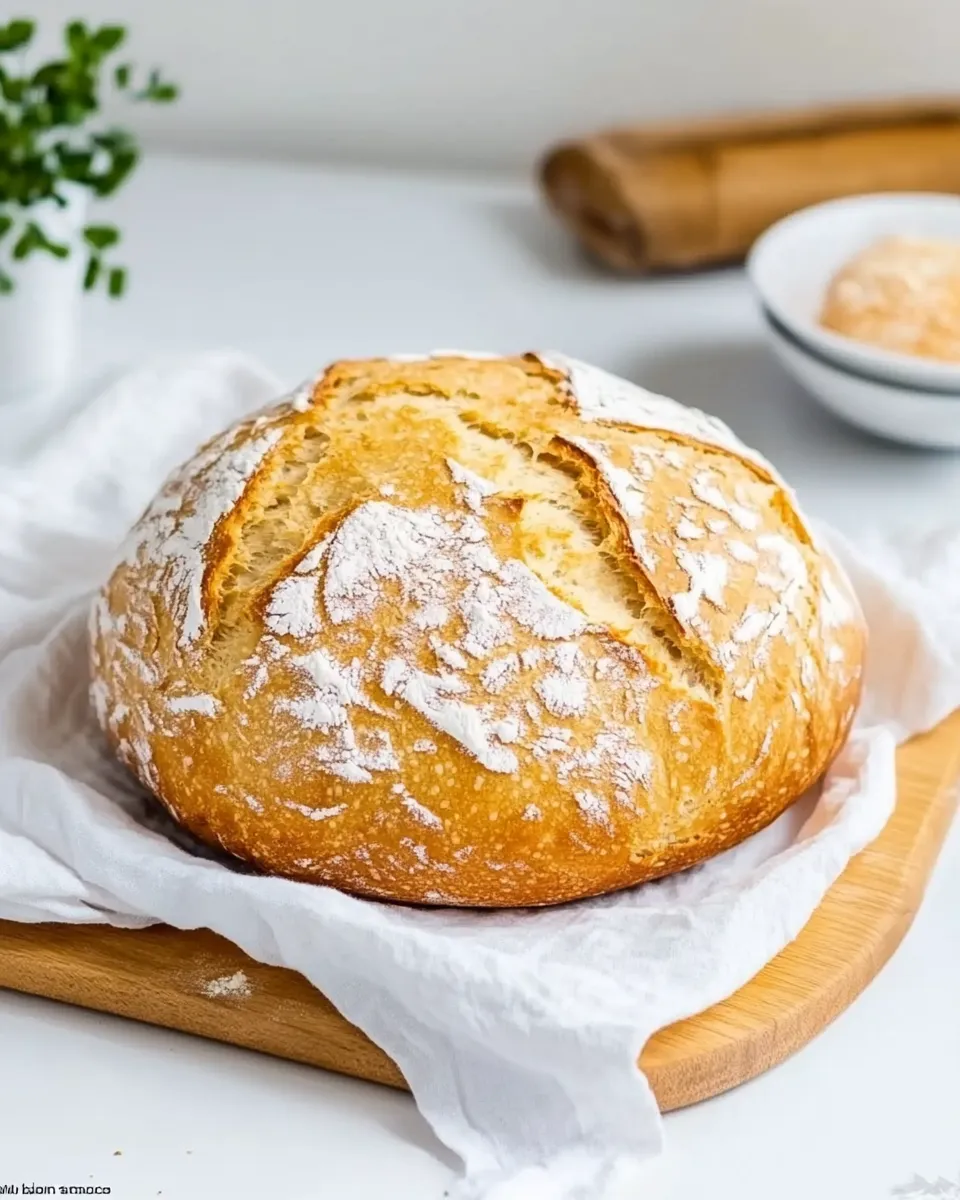
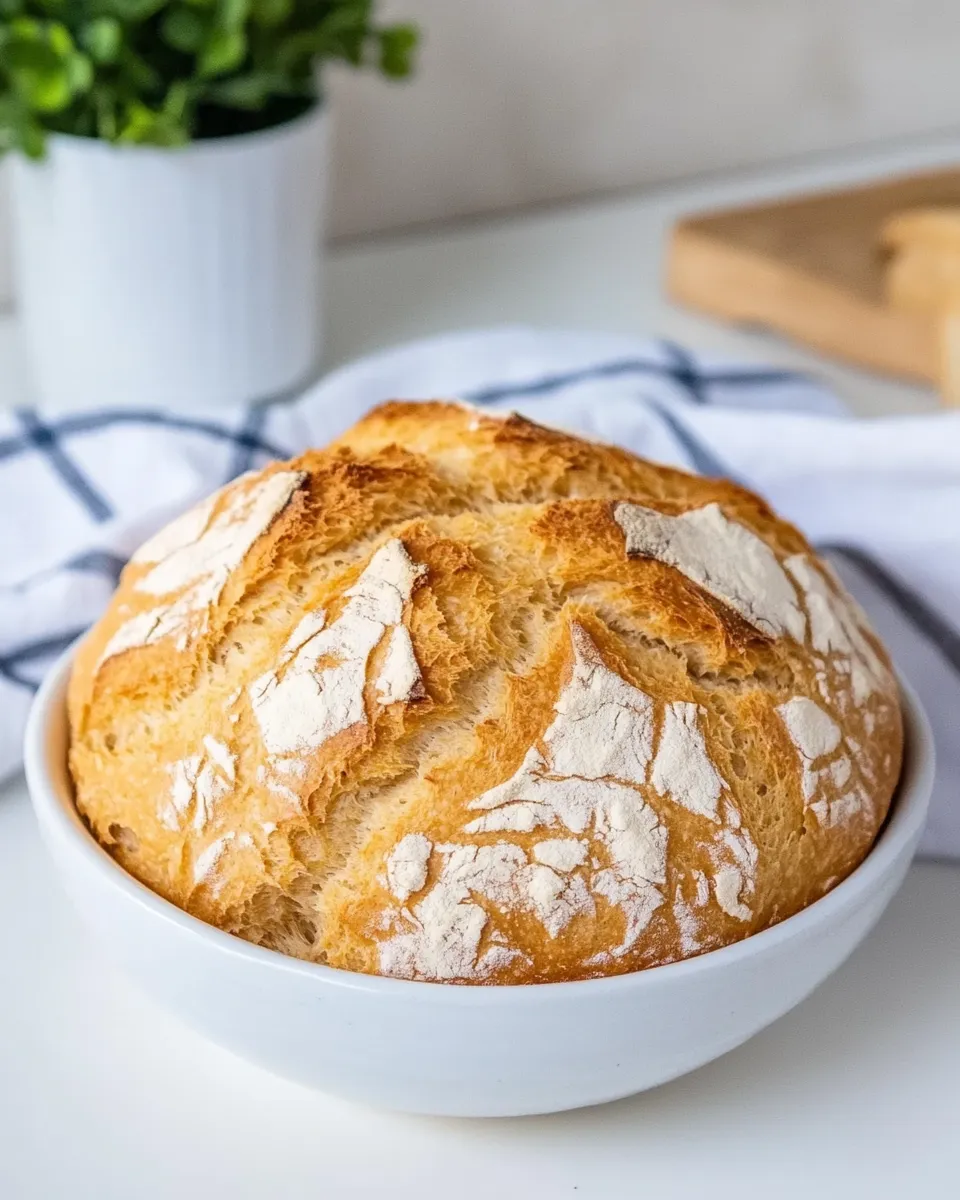
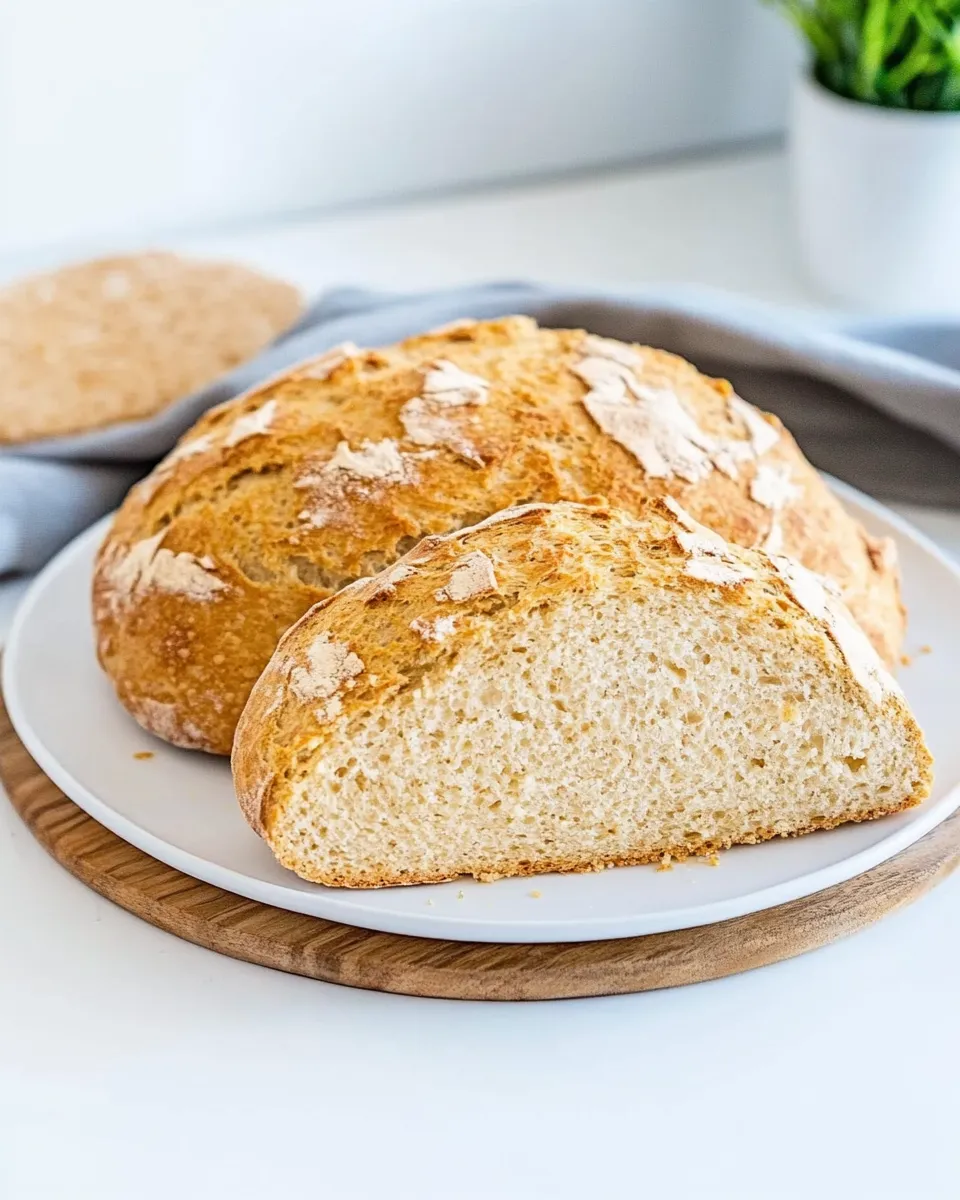
This is the kind of bread I make when I want something honest and straightforward: no dairy, no fuss, and a warm, crusty loaf from ingredients I usually have on hand. It’s the recipe I turn to when I want toast that browns beautifully and holds jam without falling apart. The texture is rustic, the flavor mild, and it toasts really well.
If you’re nervous about yeast, rising times, or complicated techniques, you’ll like this. There’s no knead that goes on forever, no proofing bowl to babysit. You make a quick curdled milk, stir it into dry ingredients, shape, slash, and bake. That’s it. The result is a homey loaf that’s perfect for sandwiches or a pairing with soup.
I’ll walk you through ingredients, exact steps, troubleshooting, and storage so you can confidently bake this loaf again and again. Practical tips live in each section — no fluff, just useful details.
What’s in the Bowl
Think of this as a very small, forgiving soda bread: flour, a leavening agent, a touch of sugar, salt for flavor, and a milk-plus-vinegar mixture that acts like buttermilk. The method relies on a quick acid-meets-milk reaction to give the baking soda something to work with, and a short, gentle knead to bring the dough together. It’s fast and surprisingly reliable.
Ingredients
- 1 cup milk of choice — I used oat milk; the milk provides moisture and, when curdled, mimics buttermilk for tender crumb.
- 2 tablespoons white vinegar — acid that curdles the milk; helps activate the baking soda. See notes.
- 2 cups all-purpose flour — the structure of the loaf; you can use a gluten-free all-purpose blend if needed, but results may vary by blend.
- 1/2 teaspoon baking soda — the primary leavening agent; it reacts with the curdled milk to give lift.
- 1/2 teaspoon salt — essential for flavor; don’t skip it unless you need a low-sodium loaf.
- 1 tablespoon sugar — a small amount to balance flavor and help with browning on the crust.
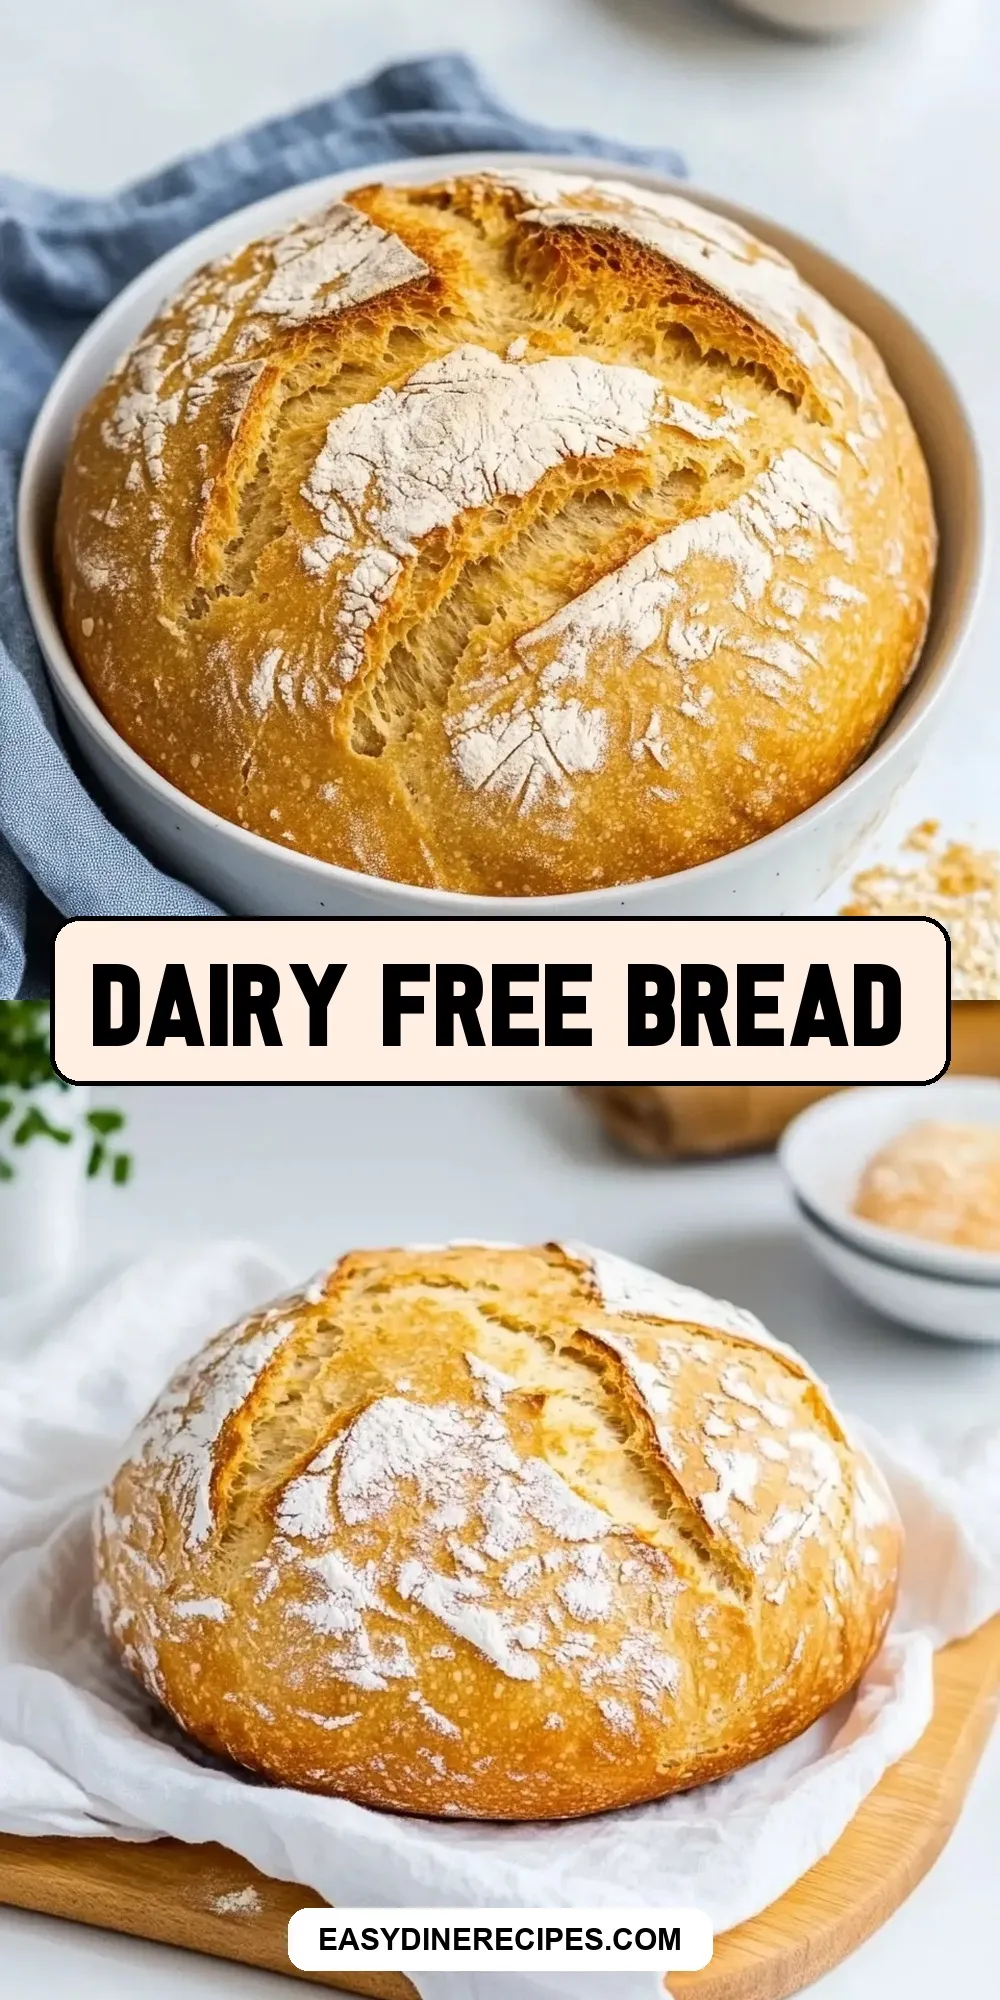
Dairy Free Bread, Made Easy
- Preheat the oven to 200°C / 400°F. Line a large baking tray with parchment paper and set aside.
- In a small bowl, combine 1 cup milk of choice and 2 tablespoons white vinegar. Stir once, then let sit undisturbed about 10 minutes until the milk curdles.
- In a large mixing bowl, whisk together 2 cups all-purpose flour, 1/2 teaspoon baking soda, 1/2 teaspoon salt, and 1 tablespoon sugar until evenly combined.
- Pour the curdled milk into the dry ingredients in two additions, stirring gently with a spoon or spatula after each addition until just combined. The mixture should form a sticky dough; do not overmix.
- Lightly flour a clean work surface. Turn the sticky dough out onto the floured surface and sprinkle about 1 tablespoon of flour on top of the dough.
- Using floured hands, knead the dough gently 8–10 times until it comes together into a rough dome. The dough should remain somewhat sticky.
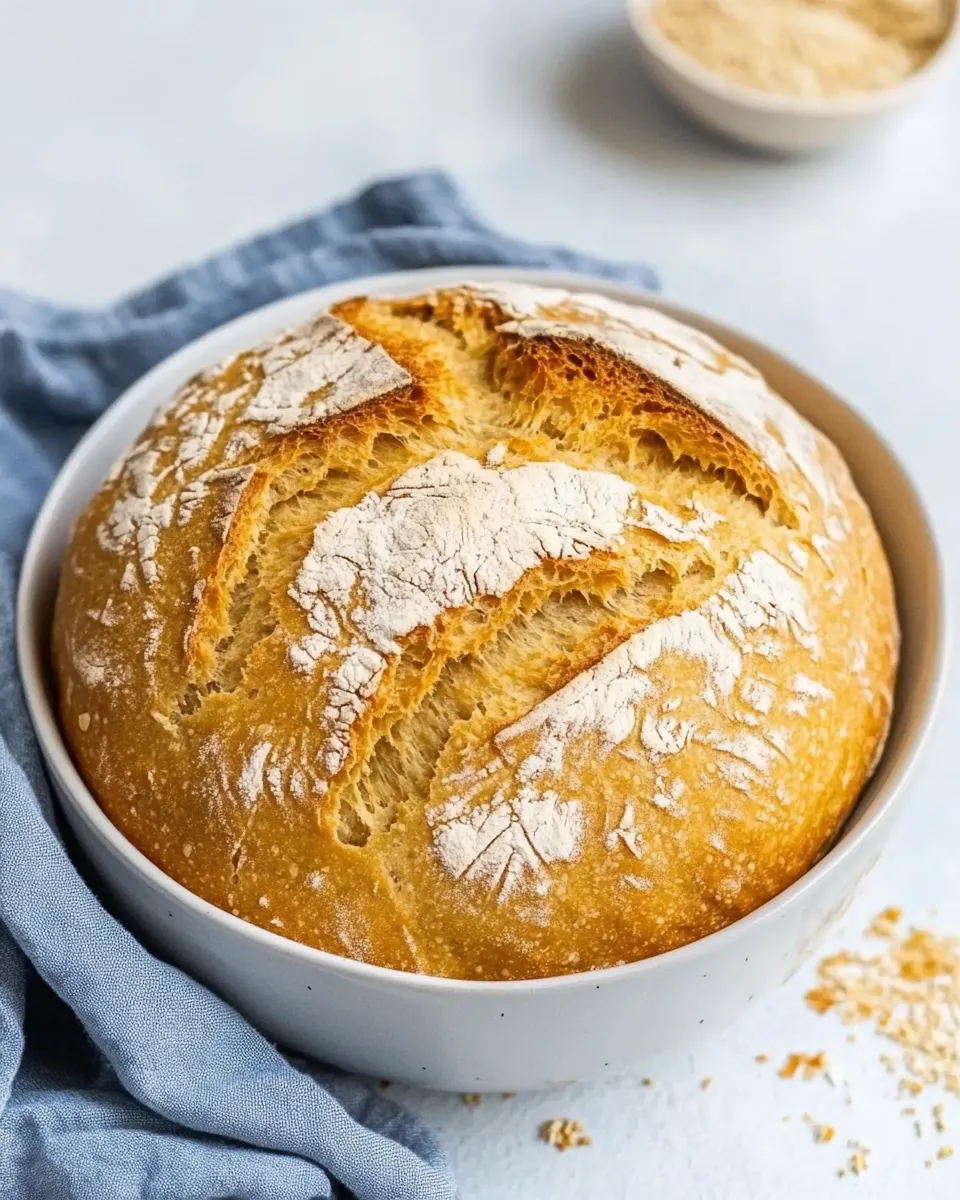
- Place the dough dome seam-side down on the lined baking tray. Using a sharp knife, make two cuts across the top to form a cross, cutting about 1/2 inch deep.
- Bake in the preheated oven for 20–25 minutes, checking at 20 minutes. The bread is done when the top is golden brown and the bottom sounds hollow when tapped.
- Remove the bread from the oven and allow it to cool completely on the tray before slicing and toasting.
Why You’ll Keep Making It
This loaf ticks a lot of boxes: it’s fast, needs minimal equipment, and gives reliably good results. You don’t need to babysit a starter or measure water temperature for yeast. It also adapts easily to the plant milks you already use, so it’s truly dairy free without compromising texture.
It’s also forgiving. The dough is meant to be sticky, and a gentle knead is all it needs to come together. That minimal handling keeps crumb tender and makes the technique approachable for beginners. Finally, it’s versatile — toast it for breakfast, slice for sandwiches, or serve beside a bowl of stew.
If You’re Out Of…
Run out of anything? Generally, you can make smart swaps without starting over.
- If you don’t have oat milk: any plant milk will do — almond, soy, rice, or coconut — as long as it’s unsweetened so the flavor stays neutral.
- If you’re out of white vinegar: lemon juice works as the acid to curdle the milk. Use the same amount (2 tablespoons) and proceed the same way.
- If you need it gluten-free: swap in a 1:1 gluten-free all-purpose flour blend. Note that crumb and rise depend on the blend’s starches and xanthan gum content, so texture may vary.
- If you don’t have sugar: the tablespoon is mostly for slight browning and flavor; you can omit it, but the crust will be less richly colored.
Tools & Equipment Needed
- Oven — reliable temperature is important for a good crust.
- Large mixing bowl — for combining dry ingredients and mixing in the curdled milk.
- Small bowl — to mix the milk and vinegar.
- Measuring cups and spoons — scale optional but useful for consistency.
- Wooden spoon or spatula — for gentle mixing.
- Clean work surface with a dusting of flour — for shaping and light kneading.
- Sharp knife — to score the top so the loaf expands evenly.
- Large baking tray and parchment paper — parchment prevents sticking and makes cleanup simple.
Problems & Prevention
Every home oven behaves slightly differently, and dough hydration can change with weather and flour. Here are the common pitfalls and how to avoid or fix them.
- If the dough is too sticky to handle: dust your hands and the work surface lightly with flour, but avoid adding more than the 1 tablespoon called for during shaping. A dusting is enough to manage stickiness; adding too much flour will dry the loaf.
- If the loaf is pale on top but sounds hollow: your oven may run cool. Move the tray to a higher rack for the last 5 minutes, or increase oven temp by 10–15°F (5–10°C) if you consistently see pale crusts.
- If the center is dense or underbaked: let it bake a few minutes longer and check again. The hollow-bottom tap test is reliable — if it doesn’t sound hollow, return it to the oven for 2–4 minutes and recheck.
- If the crumb is gummy after cooling: this can happen if it was sliced too soon. Let the loaf cool completely on the tray before slicing; cooling allows the crumb to set.
Seasonal Twists
You can adapt serving and pairings to the season without changing the recipe itself.
- Spring: toast slices and top with ricotta-style plant cheese and fresh herbs or a smear of lemony vegan butter.
- Summer: use thick slices for hearty sandwiches with grilled vegetables, or toast and serve with fresh tomatoes, basil, and a drizzle of olive oil.
- Autumn: this loaf pairs beautifully with roasted squash or pumpkin soup; slice thick and toast for dipping.
- Winter: slice and warm with garlic-infused olive oil or a dairy-free spread; serve alongside stews and braises for soaking up sauces.
If You’re Curious
Quick science: the milk-plus-vinegar step makes a quick substitute for buttermilk. The acid causes the milk to curdle slightly and lowers the pH. That acidity reacts with baking soda and produces carbon dioxide bubbles, which help the dough rise and give a lighter crumb than you’d get with milk alone.
The short, gentle knead matters because overworking a low-flour dough can develop too much gluten and make the loaf tough. Eight to ten gentle turns brings the dough together while keeping the interior tender.
Save for Later: Storage Tips
Store at room temperature wrapped in a clean kitchen towel or in a paper bag for up to 2 days to preserve crust texture. If you prefer a softer crust, store in a loose plastic bag after the loaf has fully cooled, but know the crust will soften.
For longer storage, slice and freeze: wrap individual slices in plastic or parchment and place in a freezer bag. They’ll keep well for up to 3 months. Toast or warm frozen slices directly from the freezer; no need to thaw.
Common Questions
- Can I use regular cow’s milk? Yes — the method works with dairy milk too. The recipe is written dairy-free, but the technique is the same.
- Will this work with yeast instead? You could convert to a yeast loaf, but that becomes a different recipe with rising times and different hydration. Follow this recipe as written for a quick soda-style loaf.
- Can I add seeds, nuts, or herbs? Yes. Fold in a small handful (about 1/3 to 1/2 cup) at step 4 after the dough has just come together. Be gentle to avoid overmixing.
- Why does the recipe call for two additions of the curdled milk? Adding in two pours prevents overmixing and lets you assess the dough’s hydration so you stop when it’s just combined and still tacky.
- How do I know it’s done? The top should be golden brown and the bottom should sound hollow when tapped. If you’re unsure, give it a minute or two more in the oven.
Before You Go
Make this loaf on a quiet afternoon when you have 30 minutes to spare and a willingness to let it cool before slicing. It rewards patience and works beautifully as a daily bread for breakfast or sandwiches. If you try a small tweak — a different plant milk or a handful of seeds — take notes so you can reproduce the version you love.
If something didn’t go as planned, come back to the Problems & Prevention section first — most issues have quick fixes. Enjoy the simplicity of a dairy-free loaf that feels homemade without a big time commitment.
Dairy Free Bread
Equipment
- Oven
- large baking tray
- Parchment Paper
- Small Bowl
- Large Mixing Bowl
- Spoon or spatula
- Sharp Knife
- clean work surface
Ingredients
Ingredients
- 1 cupmilk of choiceI used oat milk
- 2 tablespoonswhite vinegar* See notes
- 2 cupsall-purpose flourUse gluten-free if needed
- 1/2 teaspoonbaking soda
- 1/2 teaspoonsalt
- 1 tablespoonsugar
Instructions
Instructions
- Preheat the oven to 200°C / 400°F. Line a large baking tray with parchment paper and set aside.
- In a small bowl, combine 1 cup milk of choice and 2 tablespoons white vinegar. Stir once, then let sit undisturbed about 10 minutes until the milk curdles.
- In a large mixing bowl, whisk together 2 cups all-purpose flour, 1/2 teaspoon baking soda, 1/2 teaspoon salt, and 1 tablespoon sugar until evenly combined.
- Pour the curdled milk into the dry ingredients in two additions, stirring gently with a spoon or spatula after each addition until just combined. The mixture should form a sticky dough; do not overmix.
- Lightly flour a clean work surface. Turn the sticky dough out onto the floured surface and sprinkle about 1 tablespoon of flour on top of the dough.
- Using floured hands, knead the dough gently 8–10 times until it comes together into a rough dome. The dough should remain somewhat sticky.
- Place the dough dome seam-side down on the lined baking tray. Using a sharp knife, make two cuts across the top to form a cross, cutting about 1/2 inch deep.
- Bake in the preheated oven for 20–25 minutes, checking at 20 minutes. The bread is done when the top is golden brown and the bottom sounds hollow when tapped.
- Remove the bread from the oven and allow it to cool completely on the tray before slicing and toasting.
Notes
Raisin bread.Fold through ¼-½ cup of raisins into the dough. For a sweeter bread, add ¼ cup of sugar.
Walnut currant bread.Fold through ¼ cup of chopped walnuts and ¼ cup of dried currants (or cranberries).
Whole grain bread.Use whole wheat flour and add ¼ cup of mixed seeds into the dough, and sprinkle some on top before baking.
Rosemary bread.Add 1 tablespoon of rosemary and ½ teaspoon of extra salt, and sprinkle coarse sea salt on top before baking.