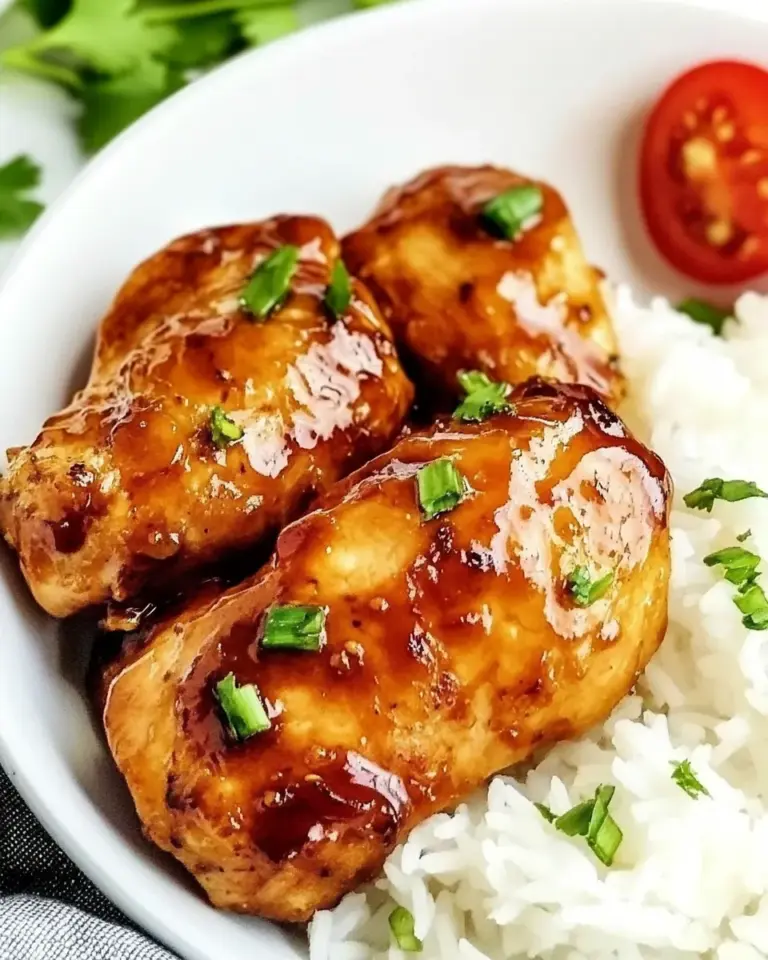
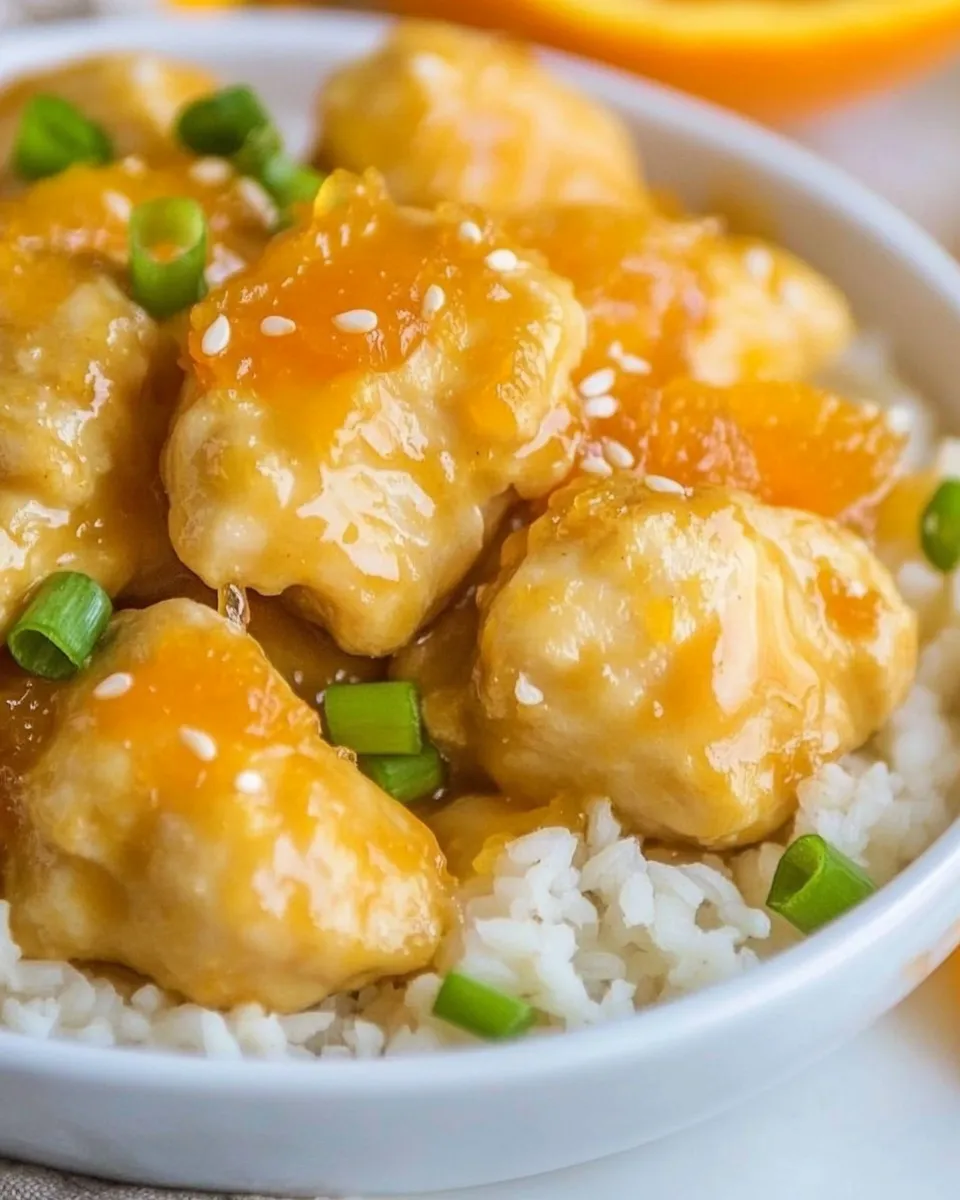
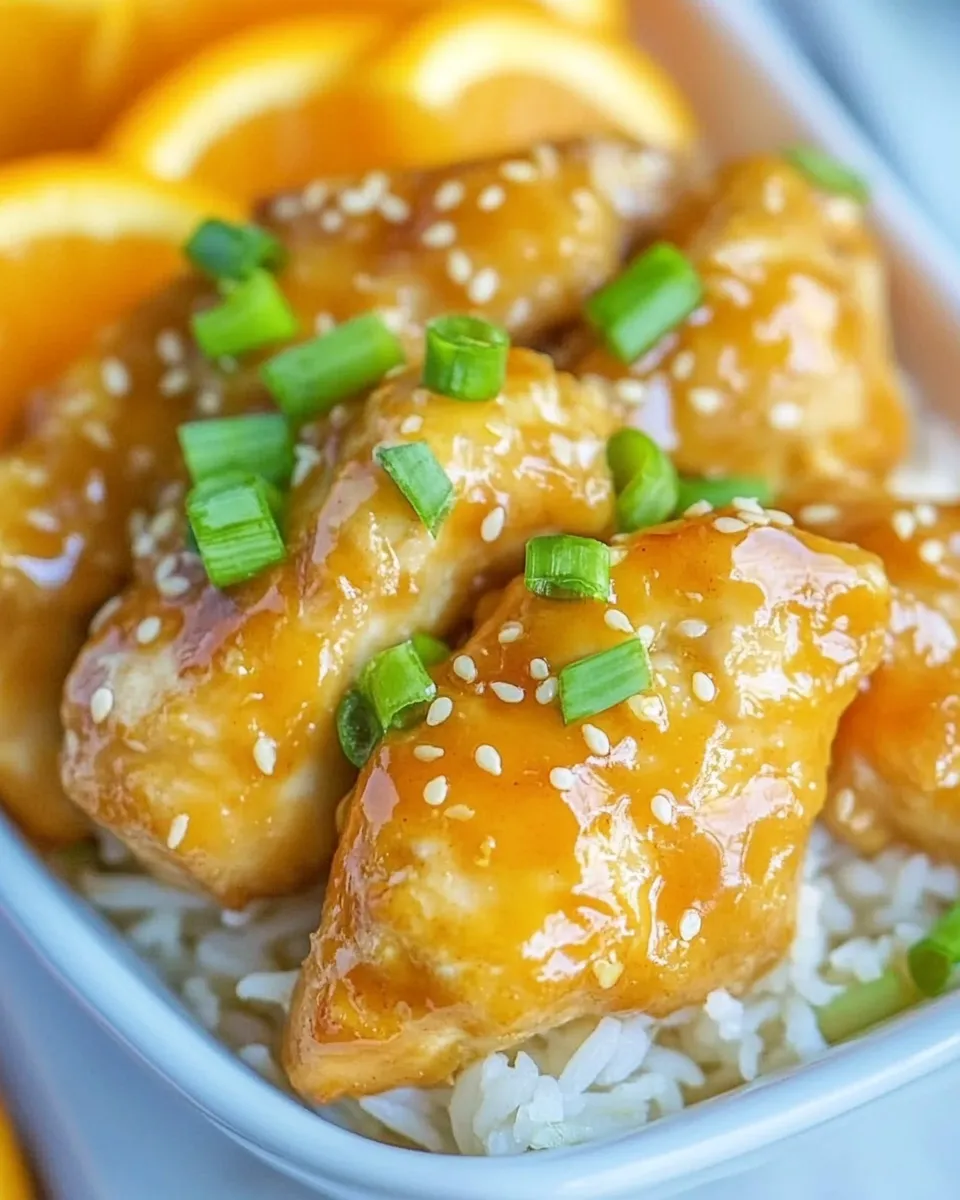
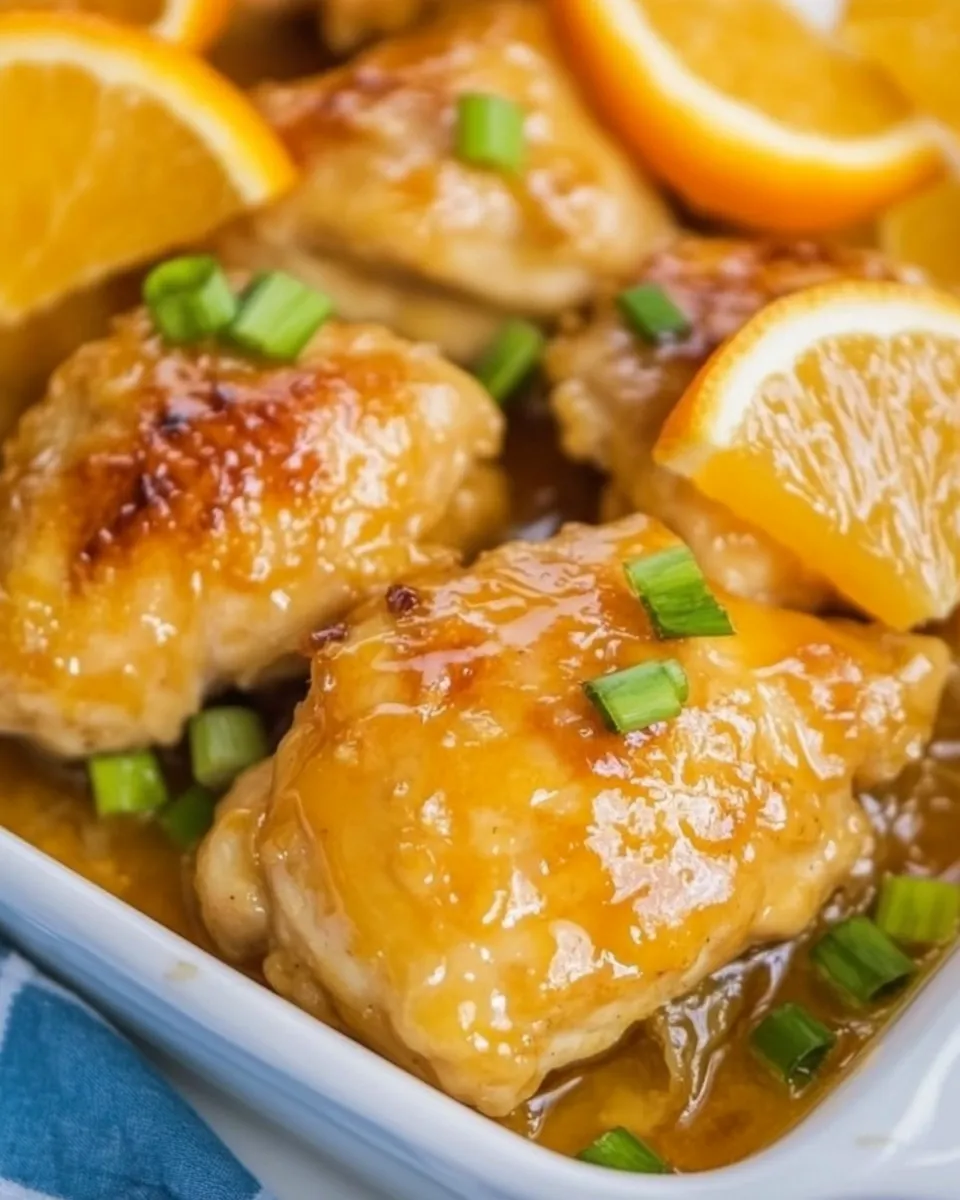
This is a straightforward, weeknight-friendly recipe that delivers the bright, sticky-sweet flavors of orange chicken without deep-frying. It’s built around simple pantry items and a quick stovetop sauce, so you can get dinner on the table in under an hour. The result is crispy-ish baked chicken tossed in a glossy orange glaze—comforting and fresh at once.
I test recipes with real weeknights in mind: minimal hands-on time, predictable steps, and a sauce that hits the sweet, salty, and tangy marks. You don’t need special equipment or hard-to-find ingredients. A cookie sheet, a saucepan, a bowl for a cornstarch slurry, and a few minutes of stirring are all that’s required.
Below you’ll find the exact ingredient list and step-by-step directions I use every time I make this. I also include practical options, troubleshooting tips, and storage advice so the dish works for you whether you’re cooking for one, a family, or guests.
Ingredient List
- 1 ½ pounds boneless skinless chicken breasts — cut into bite-sized pieces; lean meat that bakes quickly.
- ½ cup breadcrumbs — provides a light coating for texture on the baked pieces.
- ¼ teaspoon salt — seasons the coating and the chicken.
- ¼ teaspoon pepper — adds mild background heat and seasoning.
- 1 cup water — the sauce base; thins the honey and juice so it simmers into a glaze.
- ¼ cup honey — primary sweetener that helps the sauce caramelize.
- ½ cup fresh orange juice from 3-5 oranges — the citrus backbone; fresh juice gives the brightest flavor.
- 1 tablespoon soy sauce — brings umami and balances the sweetness.
- 1 clove garlic pressed — aromatic foundation for the sauce.
- 1 tablespoon orange zest about 1 small orange — amplifies orange flavor without adding more liquid.
- ½ teaspoon fresh ginger zested — lends a fresh, warm bite that complements the citrus.
- ⅛ teaspoon dried red pepper flakes — a touch of heat to balance the sweet.
- 2 green onions sliced (green parts only) — one portion goes into the sauce; some reserved for garnish.
- 3 tablespoons cornstarch — thickens the sauce quickly when mixed into a slurry.
- 2 tablespoons cold water — used to make a smooth cornstarch slurry so the sauce doesn’t clump.
Baked Orange Chicken Cooking Guide
Method
- Preheat oven to 400°F. Spray a cookie sheet with nonstick cooking spray.
- Slice the chicken breasts into bite-sized pieces.
- Put the breadcrumbs, ¼ teaspoon salt, and ¼ teaspoon pepper into a gallon-size resealable bag. Add the chicken pieces, seal the bag, and shake until the pieces are evenly coated.
- Arrange the coated chicken pieces in a single layer on the prepared cookie sheet.
- Bake for about 20 minutes, flipping the pieces after 10 minutes, until the chicken is cooked through and no longer pink in the center.
- While the chicken bakes, slice the green parts of the 2 green onions. Set aside a small handful of the sliced green onion for garnish and use the remainder in the sauce.
- In a medium saucepan combine 1 cup water, ¼ cup honey, ½ cup fresh orange juice, 1 tablespoon soy sauce, 1 pressed clove garlic, 1 tablespoon orange zest, ½ teaspoon fresh ginger (zested), and 1/8 teaspoon dried red pepper flakes. Whisk to combine.
- Heat the saucepan over medium heat and bring the mixture to a boil. Add the sliced green onion pieces reserved for the sauce.
- Taste the sauce and, if desired, adjust by adding a little more soy sauce or more red pepper flakes to suit your preference.
- In a small bowl, stir together 3 tablespoons cornstarch and 2 tablespoons cold water until completely smooth and lump-free.
- With the sauce boiling, slowly pour the cornstarch slurry into the saucepan while whisking continuously. Continue to cook and whisk until the sauce thickens (this will happen quickly).
- When the chicken is done, transfer the baked chicken pieces into the saucepan and stir gently to coat all pieces with the sauce.
- Serve the coated chicken hot, garnished with the reserved sliced green onion.
Reasons to Love Baked Orange Chicken
- Healthier than deep-fried versions: baking reduces oil and cleanup while still giving bite-sized pieces a pleasant crust.
- Bright, balanced sauce: fresh orange juice and zest keep the glaze fruity, while soy sauce and garlic add depth.
- Fast and predictable: the oven does the heavy lifting, and the stovetop sauce comes together in minutes.
- Family-friendly texture and flavor: kids and adults usually like the sweet-savory profile, and the heat level is easy to adjust.
- One-pan finish option: once the chicken is baked you toss it in the warm saucepan, which keeps dishes to a minimum.
Ingredient Flex Options
- If you prefer a lighter coating, swap half the breadcrumbs for panko to get a flakier texture.
- For a gluten-free version, use gluten-free breadcrumbs or crushed gluten-free cereal for the coating and tamari in place of soy sauce.
- If fresh oranges aren’t available, a combination of bottled orange juice plus extra orange zest works—use zest for a brighter note.
- Want less sugar? Reduce the honey by a tablespoon or two and taste as the sauce reduces.
- Prefer dark meat? Use boneless skinless chicken thighs; expect slightly longer bake time and more forgiving texture.
- Swap cornstarch for arrowroot in a 1:1 ratio if you need a clearer, glossy sauce (note: do not boil arrowroot too long or it can thin).
Equipment Breakdown
- Oven — provides even radiant heat for baking the chicken pieces.
- Cookie sheet (rimmed) — a single layer ensures even browning; nonstick spray prevents sticking.
- Gallon-size resealable bag — easiest way to coat chicken evenly with breadcrumbs without a mess.
- Medium saucepan — where the sauce reduces and thickens; stainless steel or nonstick both work.
- Whisk — necessary for combining the sauce and for smoothly adding the cornstarch slurry.
- Small bowl — mix the cornstarch and cold water to avoid lumps before adding to the hot sauce.
- Sharp knife and cutting board — for slicing chicken and green onions cleanly.
- Spatula or tongs — to flip chicken at the halfway point and to transfer pieces into the sauce.
Errors to Dodge
- Overcrowding the cookie sheet — if pieces touch, they steam instead of crisp. Use two sheets if necessary.
- Skipping the flip at 10 minutes — flipping promotes even color and ensures doneness.
- Adding cornstarch dry to the sauce — always make a slurry first to avoid clumps and uneven thickening.
- Boiling the sauce too hard after thickening — a rolling boil can break down the cornstarch and thin the sauce; keep it at a simmer once thick.
- Not tasting and adjusting — sweetness and saltiness depend on your honey and soy sauce. Taste before thickening and adjust in step 9.
Year-Round Variations
- Spring/Summer: add thinly sliced bell pepper or snap peas when tossing the chicken in the sauce for a fresh crunch. Serve on a bed of lightly dressed greens or jasmine rice.
- Fall/Winter: stir in a splash of apple cider vinegar or a spoonful of molasses for deeper, warming notes. Serve with roasted root vegetables.
- Low-carb option: omit breadcrumbs and toss cooked diced chicken directly into the sauce, or use finely grated Parmesan as a coating if you tolerate dairy.
- Spice it up: increase the red pepper flakes or add a squirt of Sriracha to the sauce for a livelier kick.
Testing Timeline
The timeline here is compact and consistent: about 10 minutes prep, 20 minutes baking, and roughly 10 minutes for the sauce. I run this on repeat to dial timing:
- Prep (10 minutes): slicing chicken, coating in the bag, washing/cutting green onions, and measuring sauce ingredients.
- Bake (20 minutes): 400°F is hot enough to cook and firm the chicken without drying it. Flip at 10 minutes to brown both sides.
- Sauce (8–12 minutes): bringing the liquid to a boil and adding the onions takes a few minutes. The cornstarch thickens almost immediately, so whisk and watch for a glossy finish.
- Finish (2–4 minutes): tossing baked chicken into the warm sauce and garnishing—serve immediately for best texture.
Shelf Life & Storage
- Refrigerator: store cooled leftovers in an airtight container for 3–4 days. Keep the chicken and sauce together or separate—keeping sauce separate will retain crispness longer.
- Freezer: freeze in a freezer-safe container for up to 2 months. Thaw overnight in the fridge and reheat gently.
- Reheating: reheat gently on the stovetop over low heat, stirring occasionally. If sauce has thickened too much, add a splash of water to loosen it. In the microwave, cover and heat in short intervals to avoid drying the chicken.
FAQ
- Can I use chicken thighs instead of breasts? Yes. Boneless skinless thighs work great—expect a slightly longer bake time and juicier results.
- Can I make the sauce ahead? Absolutely. Make the sauce and refrigerate for up to 3 days. Warm it gently and whisk before adding the chicken.
- Why did my sauce turn gritty? That usually happens if cornstarch is added dry or clumped. Always mix cornstarch with cold water into a smooth slurry before adding, and whisk while pouring into the boiling sauce.
- Is this gluten-free? Not as written because of breadcrumbs and soy sauce. Use gluten-free breadcrumbs and tamari to make it gluten-free.
- How do I get the coating crispier? Use panko breadcrumbs and arrange pieces with space between them. You can also broil for 1–2 minutes at the end—watch closely to avoid burning.
Hungry for More?
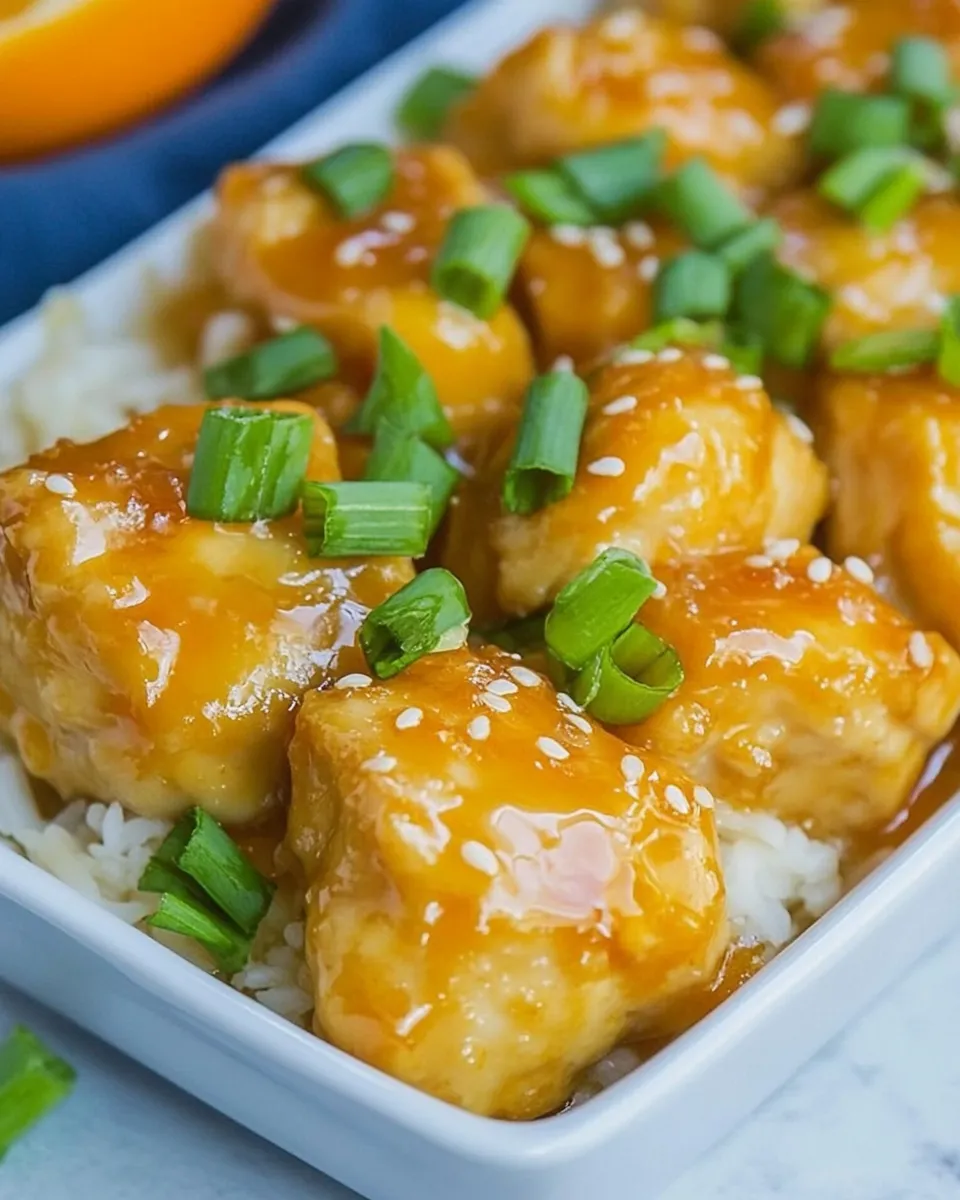
If you liked this Baked Orange Chicken, try serving it over steamed rice or cauliflower rice for a simple meal. For a fuller plate, add a side of stir-fried broccoli or a quick cucumber salad to cut through the sweetness. If you make it, leave a note on what you changed—I love hearing about swaps and timing tweaks that worked for you.
Easy Baked Orange Chicken
Equipment
- Oven
- Baking Sheet
- gallon-size resealable bag
- Medium Saucepan
- Small Bowl
- Whisk
Ingredients
Ingredients
- 1 1/2 poundsbonelessskinless chicken breasts
- 1/2 cupbreadcrumbs
- 1/4 teaspoonsalt
- 1/4 teaspoonpepper
- 1 cupwater
- 1/4 cuphoney
- 1/2 cupfresh orange juicefrom 3-5 oranges
- 1 tablespoonsoy sauce
- 1 clovegarlicpressed
- 1 tablespoonorange zestabout 1 small orange
- 1/2 teaspoonfresh gingerzested
- 1/8 teaspoondried red pepper flakes
- 2 green onionssliced green parts only
- 3 tablespoonscornstarch
- 2 tablespoonscold water
Instructions
Instructions
- Preheat oven to 400°F. Spray a cookie sheet with nonstick cooking spray.
- Slice the chicken breasts into bite-sized pieces.
- Put the breadcrumbs, ¼ teaspoon salt, and ¼ teaspoon pepper into a gallon-size resealable bag. Add the chicken pieces, seal the bag, and shake until the pieces are evenly coated.
- Arrange the coated chicken pieces in a single layer on the prepared cookie sheet.
- Bake for about 20 minutes, flipping the pieces after 10 minutes, until the chicken is cooked through and no longer pink in the center.
- While the chicken bakes, slice the green parts of the 2 green onions. Set aside a small handful of the sliced green onion for garnish and use the remainder in the sauce.
- In a medium saucepan combine 1 cup water, ¼ cup honey, ½ cup fresh orange juice, 1 tablespoon soy sauce, 1 pressed clove garlic, 1 tablespoon orange zest, ½ teaspoon fresh ginger (zested), and 1/8 teaspoon dried red pepper flakes. Whisk to combine.
- Heat the saucepan over medium heat and bring the mixture to a boil. Add the sliced green onion pieces reserved for the sauce.
- Taste the sauce and, if desired, adjust by adding a little more soy sauce or more red pepper flakes to suit your preference.
- In a small bowl, stir together 3 tablespoons cornstarch and 2 tablespoons cold water until completely smooth and lump-free.
- With the sauce boiling, slowly pour the cornstarch slurry into the saucepan while whisking continuously. Continue to cook and whisk until the sauce thickens (this will happen quickly).
- When the chicken is done, transfer the baked chicken pieces into the saucepan and stir gently to coat all pieces with the sauce.
- Serve the coated chicken hot, garnished with the reserved sliced green onion.