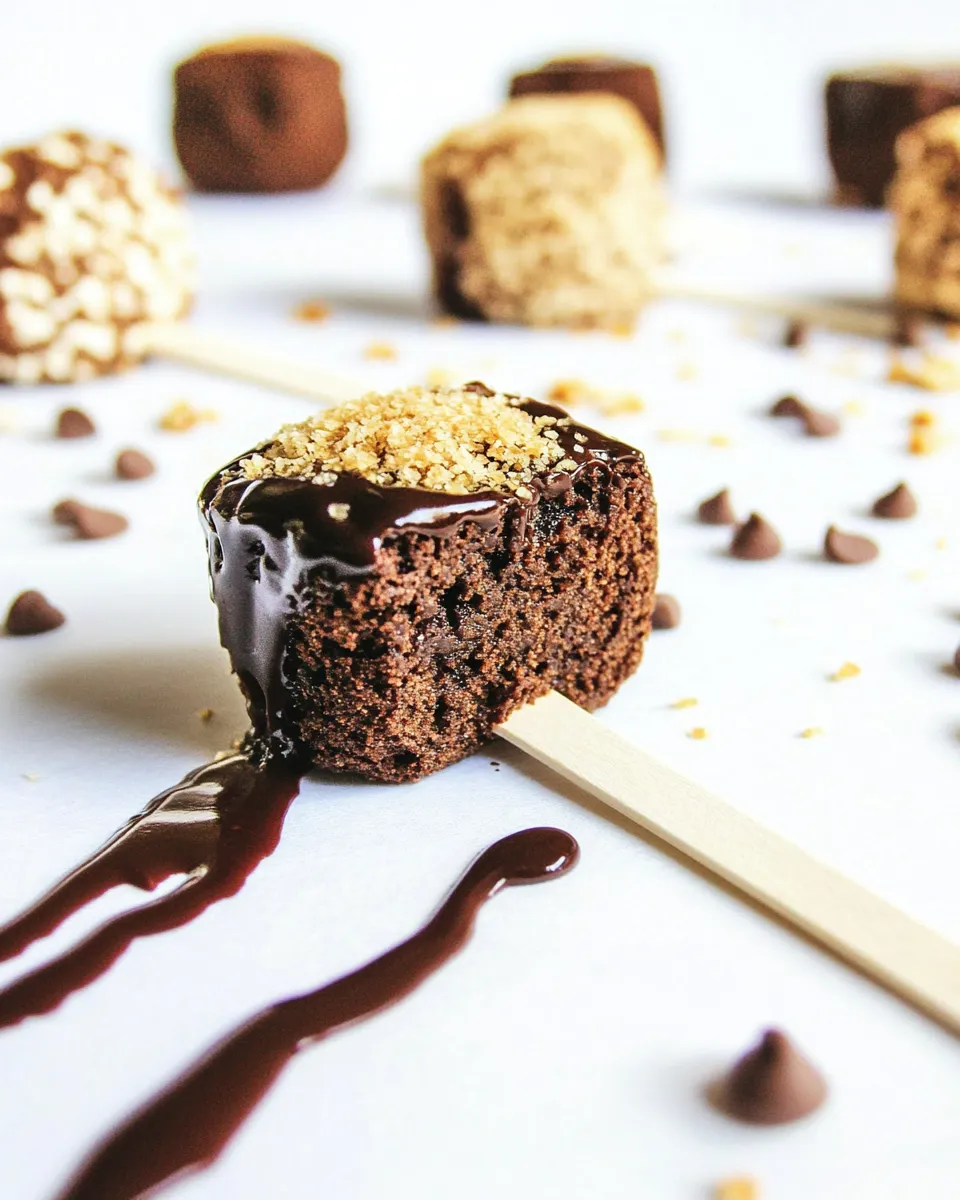
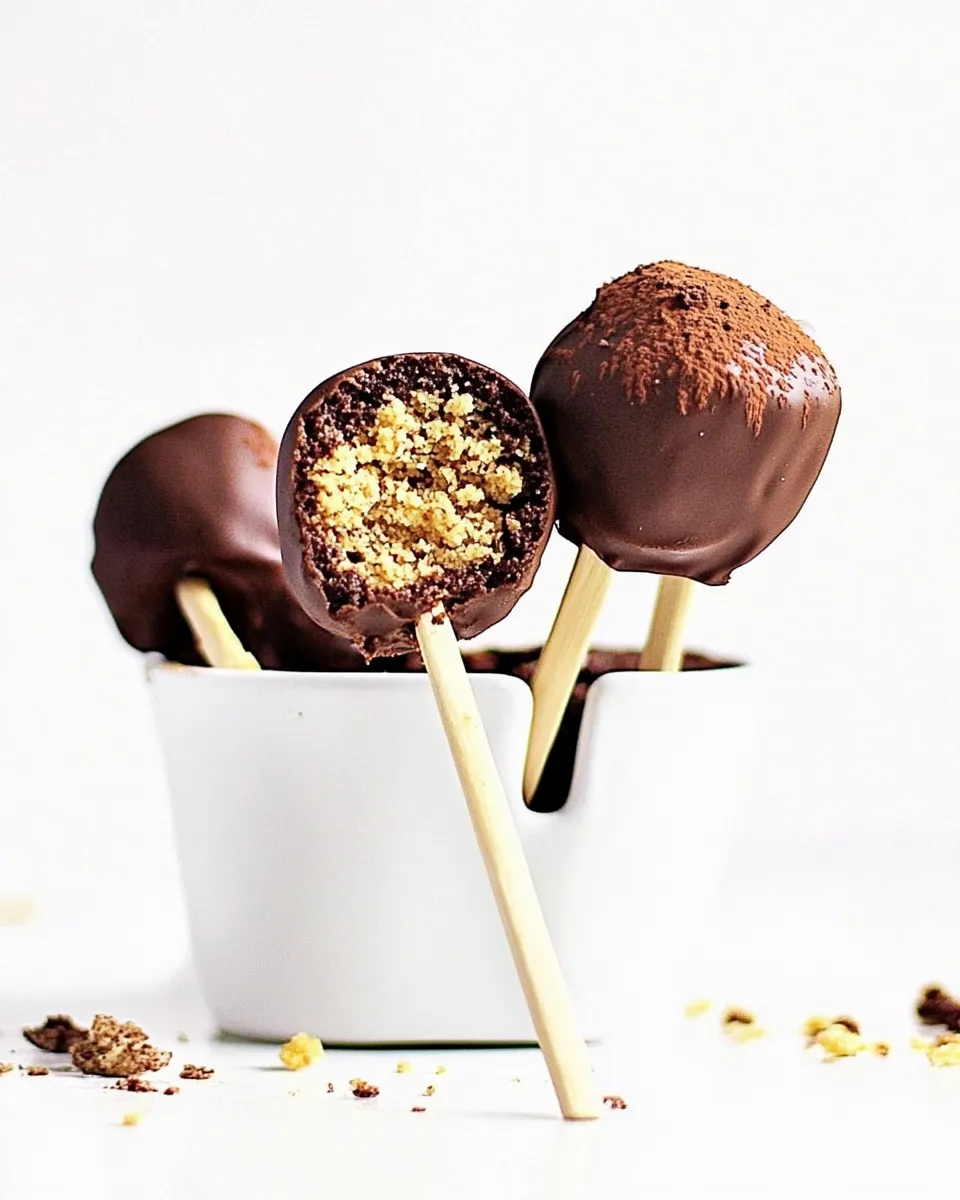
These brownie pops are one of my favorite quick projects for a last-minute dessert, class party, or a weekend treat. They take little time, use few ingredients, and the results are reliably cheerful — fudgy brownie squares transformed into hand-held bites with a glossy chocolate coat and a crunchy rim.
I like to keep the method simple so you can focus on texture and finishing touches. The coating is straightforward: melted Dove chocolate, a touch of cream, powdered sugar for structure, and just enough water to get a smooth, pourable consistency. The rimming ingredients are where you can have fun — coconut, nuts, candy, or even something salty for contrast.
Follow the steps below exactly for consistent results. I’ll walk you through ingredient notes, the exact method, troubleshooting, and ways to adapt these for different needs so you can make these without stress.
Ingredient Notes
Quick notes on the components before you assemble. Each part has a job: the brownies are the base, the melted chocolate becomes a coating that sets shiny, the powdered sugar gives the coating body and a cleaner set, and water adjusts texture. The rimming ingredients add flavor, texture and hide any imperfections at the edge where the coating pools.
Use brownies that are already baked and cooled. Two-inch squares are specified because they’re the perfect bite size for a pop — small enough to handle and large enough to hold a bit of coating and a rim. If your brownies are thicker or thinner, the balance of chocolate coating to brownie will change, so keep that in mind when dipping.
Ingredients
- 16 2 inch brownies — small baked brownie squares, cooled and ready for sticking and dipping.
- 2/3 cups Dove chocolate, melted — the primary coating; melts smooth and sets with a shine.
- 1 tablespoon heavy cream — softens the melted chocolate and helps create a glossy coating.
- 4 tablespoons powdered sugar, sifted — adds structure to the coating and helps it set evenly.
- 3-5 tablespoons water — thins the coating to a pouring or dipping consistency; add gradually.
- 3 tablespoons sweetened shredded coconut, chopped peanuts, chopped sliced almonds, toffee bits, crushed potato chips, Cap’n Crunch, (or anything you prefer to rim your brownies with) — rimming options to add texture and flavor; place on a shallow plate for easy dipping.
Make Brownie Pop Recipe: A Simple Method
- Place 2/3 cup Dove chocolate and 1 tablespoon heavy cream in a microwave-safe bowl. Heat in 20–30 second bursts, stirring between each burst, until the chocolate is fully melted and smooth.
- Add 4 tablespoons sifted powdered sugar to the melted chocolate and whisk until completely combined and smooth.
- Add 3 tablespoons water to the mixture and whisk to combine. If the coating is too thick to pour or smoothly coat the brownies, add up to 2 more tablespoons of water, one tablespoon at a time, whisking after each addition, until you reach a pouring-like/coating consistency (total 3–5 tablespoons).
- Measure 3 tablespoons of your chosen rimming ingredient(s) (sweetened shredded coconut, chopped peanuts, chopped sliced almonds, toffee bits, crushed potato chips, Cap’n Crunch, or another preferred topping) onto a shallow plate and spread into an even layer.
- Insert a popsicle stick into the center of each of the 16 two-inch brownies, leaving enough stick exposed to hold.
- Hold a brownie by the stick and dip it into the chocolate coating to fully cover or to your desired coverage. Allow excess chocolate to drip back into the bowl.
- Immediately press the coated edge of the brownie into the prepared rimming ingredient(s) so the topping adheres.
- Place finished brownie pops on a parchment-lined tray and let the chocolate set at room temperature until firm, or chill for 10–15 minutes to speed setting.
Why It’s My Go-To

I reach for this Brownie Pop Recipe because it’s efficient and forgiving. The method doesn’t require tempering or special equipment. The coating sets reliably and the powdered sugar stabilizes the chocolate so it firms without becoming brittle. That means predictable texture even if you make a batch in a hurry.
It’s also wildly adaptable: the basic assembly stays the same whether you want a classic chocolate-dipped pop or something more playful. The rimming step disguises small mistakes in coating and immediately adds contrast — texture and flavor in one trim. For parties and gifting, they travel well and look polished with minimal effort.
International Equivalents

Names and pantry items vary around the world, so here are equivalences to help while shopping. Dove chocolate is a brand of smooth eating chocolate — a milk or semi-sweet chocolate bar works the same for melting. Heavy cream may be labeled as whipping cream, double cream, or table cream in different countries; you want a high-fat dairy product to keep the coating glossy.
Powdered sugar is called icing sugar, confectioners’ sugar, or caster-sifted sugar depending on where you are. The rimming ingredients listed are examples; choose a locally familiar crunchy sweet or savory item to finish the edge — think toasted coconut, chopped nuts, crushed cereal, or candy bits.
Recommended Tools
- Microwave-safe bowl — for melting the chocolate safely in short bursts.
- Whisk — small whisk or fork to fully combine chocolate, cream, and powdered sugar.
- Measuring spoons/cups — to keep the ratio of chocolate to cream and sugar consistent.
- Shallow plate — for spreading rimming ingredients into an even layer for quick dipping.
- Popsicle sticks — sturdy, centered, and the right length to hold while dipping.
- Parchment-lined tray — a clean, nonstick surface to rest pops while the coating sets.
- Small spatula or spoon — to help lift brownie pops if needed without smudging too much coating.
Problems & Prevention
Common issues and direct fixes
Chocolate seizes (becomes grainy) — usually from overheating or moisture. Heat in short 20–30 second bursts and stir between each burst. If a small amount of moisture accidentally gets in, adding the 1 tablespoon of heavy cream before the powdered sugar helps regain smoothness, then whisk in sugar slowly.
Coating too thick or too thin — the recipe calls for 3–5 tablespoons water. Start with 3 tablespoons and add sparingly. If it’s too thin, stop adding water and let a little cool; it will thicken slightly. If too thick, whisk in up to 2 more tablespoons of water incrementally until you reach a pourable consistency.
Toppings not sticking — press the coated edge into the rimming ingredient immediately while the coating is still wet. If the coating has set too much, rewarm it slightly (a few seconds in the microwave, stir) to make it tacky again.
Brownies falling off the stick — push the stick firmly into the brownie center, but not so close to the edge that the brownie splits. If the brownie is very soft, chill briefly so it’s firmer before inserting the stick.
Adaptations for Special Diets
Base adjustments: use your preferred brownie base — store-bought, boxed, or homemade. For a gluten-free option, pick a brownie that’s labeled gluten-free. That keeps the process identical and fits the same assembly steps.
Dairy considerations: the coating calls for Dove chocolate and heavy cream. If dairy is a concern, choose a dairy-free chocolate and a suitable non-dairy cream alternative that behaves similarly (commercial non-dairy creams designed for cooking work best). No ingredient amounts change — only the product choice.
Flavor variations: keep the structure of the recipe and switch up the rimming ingredients for nut-free or nut-forward versions. Using crushed cereal or toasted coconut provides different textures without changing the wet ingredients or steps.
Cook’s Notes
Center the sticks and make sure each brownie is stable before dipping. If your brownie squares have very crusty tops, a quick press with a rolling pin (gently) can flatten the surface and make better contact with the coating.
Work in small batches when dipping. If the coating cools and thickens, reheat briefly in the microwave in 10–15 second bursts, stirring in between. Keep the coating at a warm, pourable state, but avoid overheating.
When pressing on the rimming ingredients, rotate the pop slightly so the rim gets even coverage. If a little excess coating pools at the bottom after you place the pop on the parchment, use a small offset spatula to tidy the base before it fully sets.
Storage & Reheat Guide
Store finished Brownie Pop Recipe pops in a single layer in an airtight container. If you’ve used a coating that sets firmly, they keep well at room temperature for short-term serving. For longer keeping or warmer climates, refrigerate the container to maintain the coating’s firmness. If chilled, let them sit at room temperature a few minutes before serving so the center isn’t too firm.
If you need to transport, place a sheet of parchment between layers and keep the container stable so the coated edges don’t rub. Avoid drastic temperature swings that can cause condensation on the coating.
Helpful Q&A
Q: Can I use boxed brownies or store-bought squares?
A: Yes. Any already-baked two-inch brownie squares work. The method is identical whether you make the brownies yourself or use a purchased product.
Q: What if my chocolate is grainy after melting?
A: Stop heating and stir immediately. Adding the heavy cream early in the melting process helps. If it seizes, a gentle reheat and stirring, or adding a touch more cream, can often smooth it back out.
Q: Can I skip the powdered sugar?
A: The powdered sugar adds structure and helps the coating set cleanly. Skipping it will change the texture of the coating and may make it thinner or glossier but less stable.
Q: Are the rimming options mandatory?
A: They’re not mandatory, but they elevate the pops by adding flavor, masking imperfections, and giving a pleasing textural contrast. Press the rim immediately after dipping so it adheres while the chocolate is still wet.
The Last Word
This Brownie Pop Recipe is a small, satisfying project with a big payoff. It’s fast, flexible, and forgiving — perfect for when you want something that looks special without a lot of extra work. Stick to the method above for reliable coating and consistent results, then have fun with the rims and presentation. Make a batch, share them cold or at room temperature, and enjoy the simple pleasure of a chocolate-dipped brownie you can hold in one hand.
Easy Brownie Pop Recipe
Equipment
- Microwave-safe Bowl
- Whisk
- Popsicle sticks
- shallow plate
- Parchment-Lined Tray
Ingredients
Ingredients
- 16 2 inch brownies
- 2/3 cups Dove chocolate melted
- 1 tablespoon heavy cream
- 4 tablespoons powdered sugar sifted
- 3-5 tablespoons water
- 3 tablespoons sweetened shredded coconut chopped peanuts, chopped sliced almonds, toffee bits, crushed potato chips, Cap'n Crunch, (or anything you prefer to rim your brownies with)
Instructions
Instructions
- Place 2/3 cup Dove chocolate and 1 tablespoon heavy cream in a microwave-safe bowl. Heat in 20–30 second bursts, stirring between each burst, until the chocolate is fully melted and smooth.
- Add 4 tablespoons sifted powdered sugar to the melted chocolate and whisk until completely combined and smooth.
- Add 3 tablespoons water to the mixture and whisk to combine. If the coating is too thick to pour or smoothly coat the brownies, add up to 2 more tablespoons of water, one tablespoon at a time, whisking after each addition, until you reach a pouring-like/coating consistency (total 3–5 tablespoons).
- Measure 3 tablespoons of your chosen rimming ingredient(s) (sweetened shredded coconut, chopped peanuts, chopped sliced almonds, toffee bits, crushed potato chips, Cap'n Crunch, or another preferred topping) onto a shallow plate and spread into an even layer.
- Insert a popsicle stick into the center of each of the 16 two-inch brownies, leaving enough stick exposed to hold.
- Hold a brownie by the stick and dip it into the chocolate coating to fully cover or to your desired coverage. Allow excess chocolate to drip back into the bowl.
- Immediately press the coated edge of the brownie into the prepared rimming ingredient(s) so the topping adheres.
- Place finished brownie pops on a parchment-lined tray and let the chocolate set at room temperature until firm, or chill for 10–15 minutes to speed setting.