I make this caramel whenever I want something rich, quick, and totally forgiving. It’s the kind of recipe that feels fancy but behaves like a weekday companion: minimal fuss, big reward. You don’t need a candy thermometer or special training—just a little attention and the right rhythm at the stove.
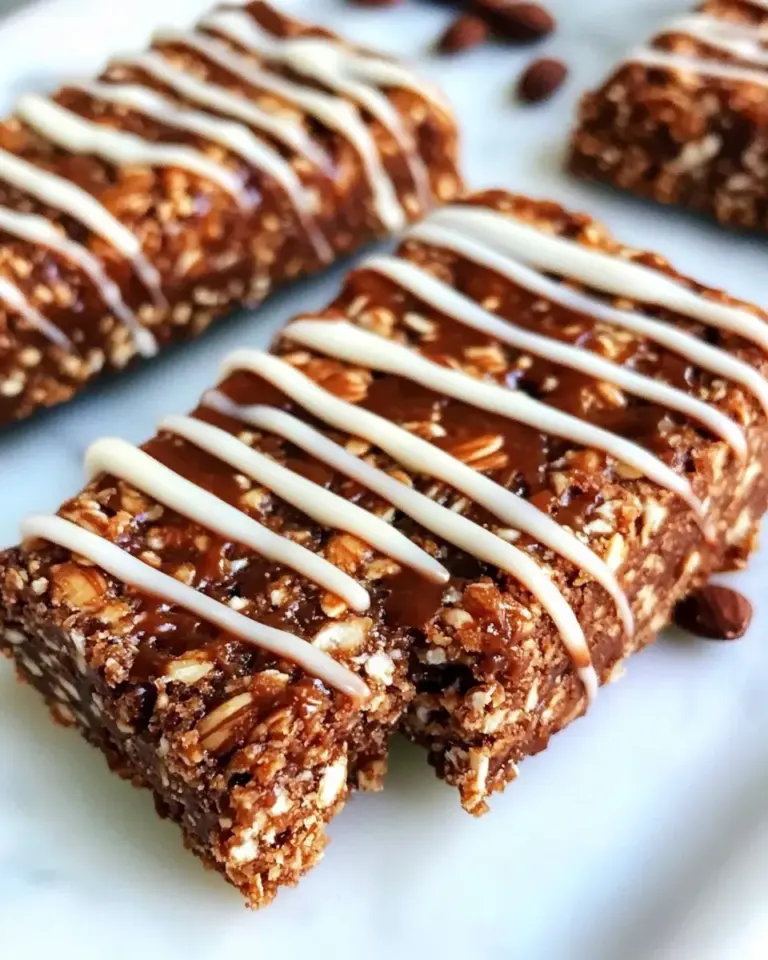
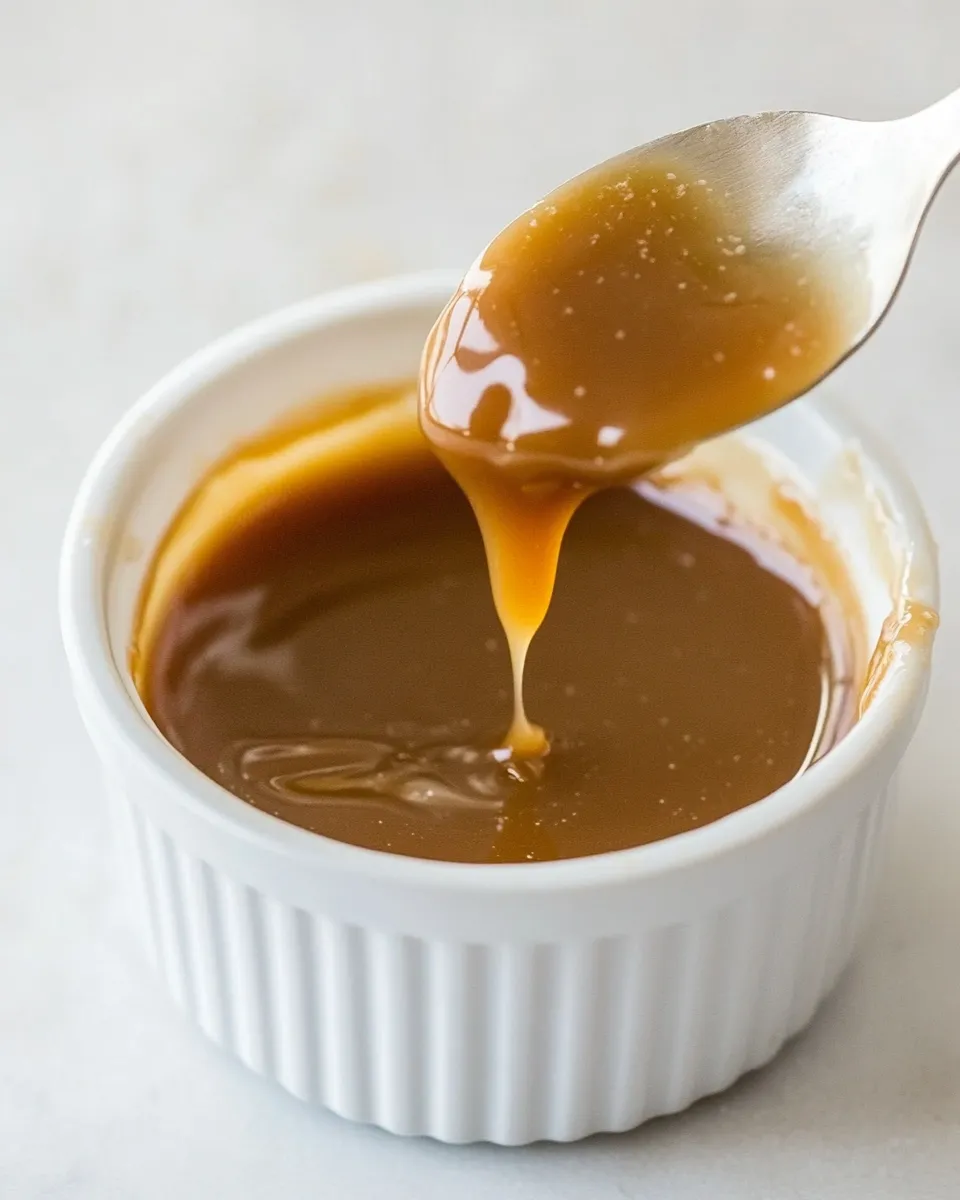
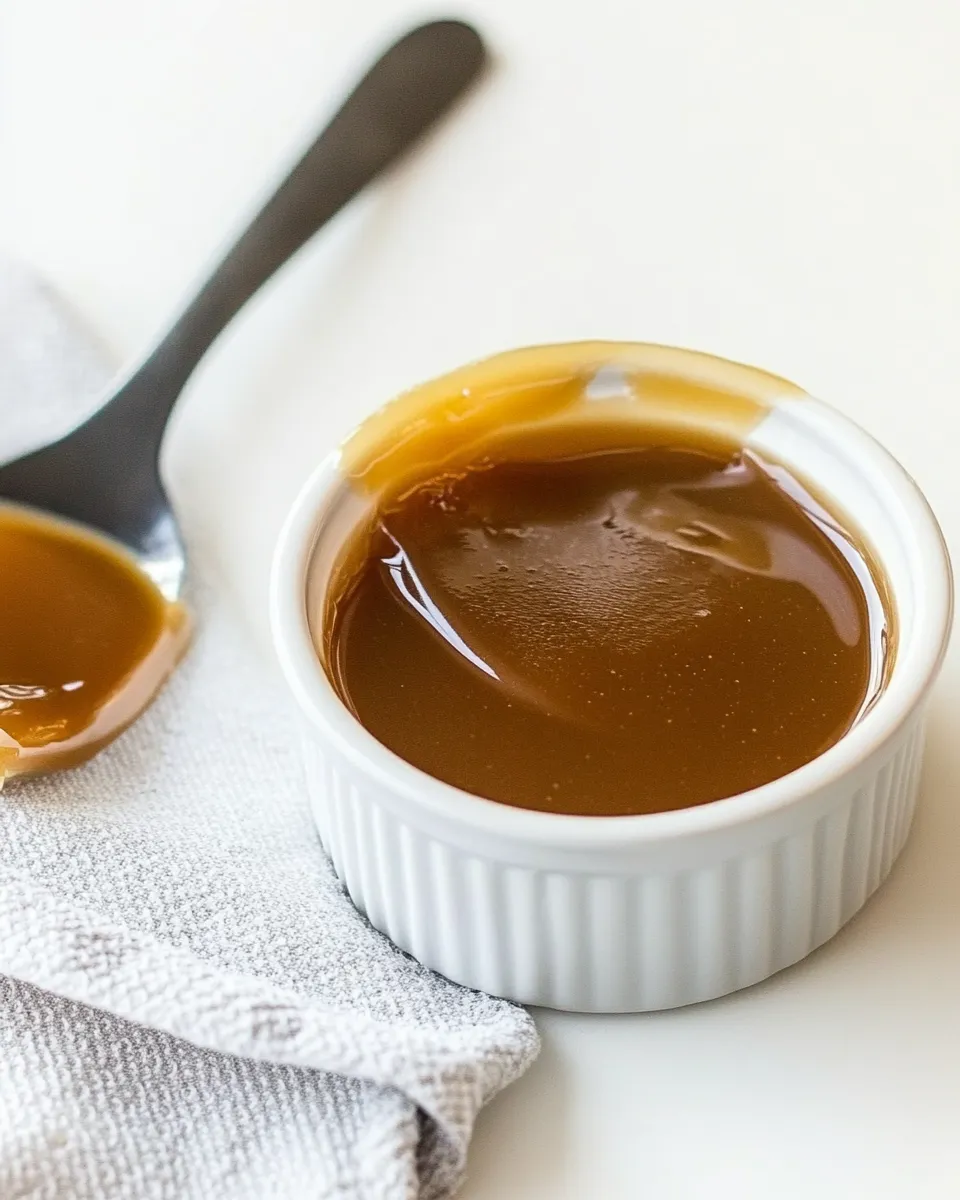
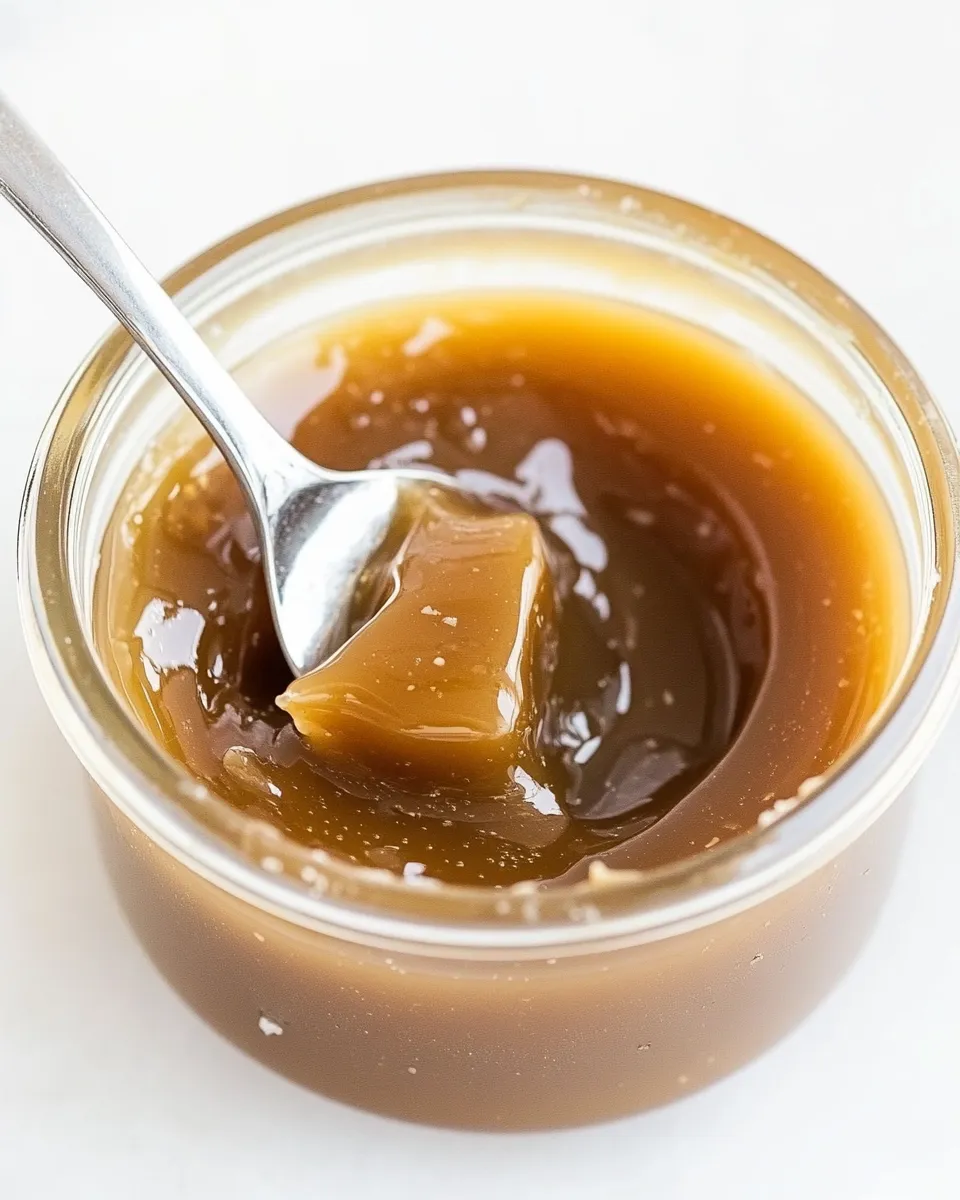
This version is smooth, slightly sticky, and a perfect balance of butter, brown sugar, and cream with a hint of sea salt to sharpen the sweetness. I love it spooned warm over ice cream, used to dip apple slices, or drizzled on plain yogurt for a weekend treat. It thickens as it cools, so plan for a pourable sauce hot and a spreadable texture once chilled.
Below I walk you through the exact steps and the small tricks I rely on. Clear equipment notes, troubleshooting tips, and seasonal serving ideas are included so you can use this caramel confidently in dozens of ways.
Ingredient Breakdown
Ingredients
- 1stick unsalted butter — provides richness and a silky mouthfeel; unsalted lets you control the final salt level.
- ¼cupheavy whipping cream — thins and enriches the sauce so it’s creamy and pourable when warm.
- 1cuppacked light brown sugar — the molasses in brown sugar gives color and depth; packed measures make the sweet base consistent.
- ½teaspoonsea salt — brightens the caramel and balances sweetness; finishing salt, not cooking salt, so the flavor pops.
Method: Homemade Caramel Recipe
- Place 1stick unsalted butter, 1cuppacked light brown sugar, and ¼cupheavy whipping cream in a medium-size saucepot.
- Set the pot over low–medium heat and whisk constantly so the butter melts and the sugar dissolves; keep whisking until the mixture is smooth and small bubbles form around the edges (about 5 minutes).
- When the caramel is smooth and gently bubbling (not a rapid boil), remove the pot from the heat.
- Stir in ½teaspoonsea salt until fully incorporated.
- Let the caramel cool slightly before serving or using; it will thicken as it cools.
Why Cooks Rave About It
This caramel nails three things cooks always want: speed, consistency, and flavor. First, it’s fast—everything happens in one pot and within minutes. Second, the ingredients are forgiving. Brown sugar brings moisture and depth so you get that classic caramel taste without chasing hard candy stages. Third, finish with sea salt: it lifts the flavors and makes the sauce versatile, not cloying. The texture is smooth enough for drizzling but thick enough to cling to fruit and baked goods.
Because it doesn’t rely on careful sugar-only caramelization, this recipe is approachable for home cooks who don’t want a chemistry lesson. It’s a dependable pantry solution for last-minute desserts or for elevating everyday breakfasts.
Vegan & Vegetarian Swaps

Vegetarian diets are fine with the original ingredients, but for a vegan version you can swap components while keeping the method identical. Replace the butter with a plant-based butter and use a non-dairy heavy cream alternative—choose one with higher fat for the creamiest result. For the salt, regular finishing salt works just as well.
Notes on texture: non-dairy creams vary in thickness. Coconut cream and some cashew creams give a richer finish than thin oat or almond “heavy creams.” Start with the same ¼ cup and adjust for desired pourability once the sauce cools.
Equipment & Tools
You don’t need specialty gear for this caramel. The right tools make the job easier and safer:
- A medium-size saucepot — even heat distribution keeps the sauce from scorching.
- A sturdy whisk — necessary for constant stirring so the sugar dissolves evenly.
- Measuring cups and spoons — precise measures keep the balance correct.
- A heatproof spatula — useful for scraping down the sides and transferring the warm caramel.
- Glass jar or small pouring container — for storing and serving the finished sauce.
Troubles You Can Avoid
Common issues are simple to prevent. Scorching happens when heat is too high or attention drifts. Keep the heat at low–medium and whisk constantly until the mixture is smooth and bubbling gently around the edges. If you see a rapid boil, remove the pot from heat immediately to avoid grainy or burnt flavors.
If the caramel is too thin after cooling, it likely needs longer cooling time or a brief simmer before removing from heat (watch carefully). If it becomes grainy, it may be due to undissolved sugar—reheating gently and whisking can often rescue it, or a tiny splash of cream added while whisking can help smooth things out.
Spring–Summer–Fall–Winter Ideas
Caramel is a year-round player. Here are straightforward pairings and uses for every season.
Spring
Drizzle warm caramel over lemon ricotta pancakes or spoon onto fresh berries for a sweet contrast to bright, acidic fruits.
Summer
Serve as an ice cream sauce—warm the caramel briefly before pouring. It’s also fantastic for dipping fresh apple or pear slices at picnics.
Fall
Use as a finishing sauce for roasted squash or drizzle over pumpkin pie to add caramelized depth that complements fall spices.
Winter
Stir a spoonful into hot chocolate or coffee for a cozy, caramel-infused drink. It’s also a lovely glaze for baked pears or steamed puddings.
Cook’s Notes
Texture: The sauce is pourable when warm and thickens as it cools to room temperature. If you need a thicker spread, let it sit longer or refrigerate briefly; for a thinner drizzle, warm gently and stir.
Salt level: I recommend the stated ½ teaspoon of sea salt, but taste and adjust as needed. For a more pronounced salt-flake finish, sprinkle a pinch of flaky sea salt on top right before serving.
Scaling: You can make a double batch, just use a larger pot and watch the heat carefully. The cooking time may shift slightly; focus on watching for smoothness and gentle bubbling rather than exact minutes.
Shelf Life & Storage
Let the caramel cool to room temperature, then transfer to a clean jar or airtight container. Stored in the refrigerator, it will keep for up to 2 weeks. The sauce will firm up when cold—bring it to room temperature or warm gently in a microwave in 10–15 second bursts, stirring between, before use.
To reheat on the stove, set the caramel in a small saucepan over very low heat and stir until smooth. Add a splash of cream if it feels too thick. Avoid boiling during reheating; you only want to loosen the texture.
FAQ
Q: Can I use granulated sugar instead of brown sugar?
A: This recipe relies on the molasses in light brown sugar for flavor and moisture. Substituting granulated sugar will change the flavor profile and texture—granulated sugar can work but you’ll miss that caramel depth. If you do use granulated sugar, expect a lighter color and slightly different behavior.
Q: Why did my caramel seize or become grainy?
A: Graininess usually comes from undissolved sugar crystals or overheating. Keep the heat at low–medium and whisk continuously so the sugar dissolves fully. If graininess happens, try gently reheating and whisking or adding a small splash of cream while whisking to smooth it out.
Q: Can I make this ahead for a party?
A: Yes. Make it up to two weeks in advance and store refrigerated. Rewarm gently before serving. For the best presentation, warm the sauce until pourable and transfer to a warmed serving container.
Q: Is a candy thermometer necessary?
A: Not for this recipe. It’s designed to rely on visual cues—smoothness and small edge bubbles—rather than exact temperature stages. That’s what makes it beginner-friendly.
Wrap-Up
This Homemade Caramel Recipe is one of my favorite quick solutions for elevating desserts and snacks. It’s forgiving, adaptable, and requires only a few pantry staples. Keep a jar in the fridge, and you’ll find yourself reaching for it all the time—on ice cream, fruit, warm drinks, and more. Try it once, make notes about your favorite uses, and then tweak salt or serving temperature to suit your taste. Simple pleasures, well executed.
Easy Homemade Caramel Recipe
Equipment
- Saucepan
- Whisk
Ingredients
Ingredients
- 1 stick unsalted butter
- 1/4 cupheavy whipping cream
- 1 cuppacked light brown sugar
- 1/2 teaspoonsea salt
Instructions
Instructions
- Place 1stick unsalted butter, 1cuppacked light brown sugar, and ¼cupheavy whipping cream in a medium-size saucepot.
- Set the pot over low–medium heat and whisk constantly so the butter melts and the sugar dissolves; keep whisking until the mixture is smooth and small bubbles form around the edges (about 5 minutes).
- When the caramel is smooth and gently bubbling (not a rapid boil), remove the pot from the heat.
- Stir in ½teaspoonsea salt until fully incorporated.
- Let the caramel cool slightly before serving or using; it will thicken as it cools.
Notes
Make-Ahead:
You can make this up to 1 hour ahead of time, just keep warm in a double boiler.
How to Store:
Cover and keep in the refrigerator for up to 1 week. This will not freeze well.
How to Reheat:
Add the caramel to a sauce pan and heat over low heat while whisking until hot and more sauce-like.
Be careful
not to cook it too long as the fat will evaporate and the caramel will crystalize and burn.