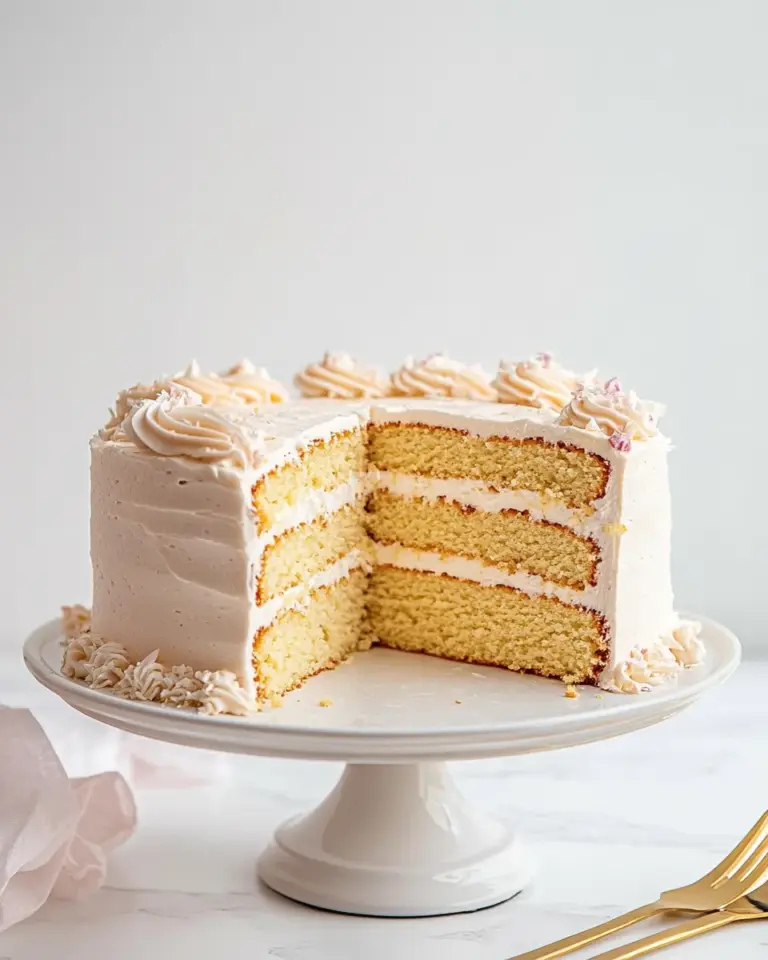
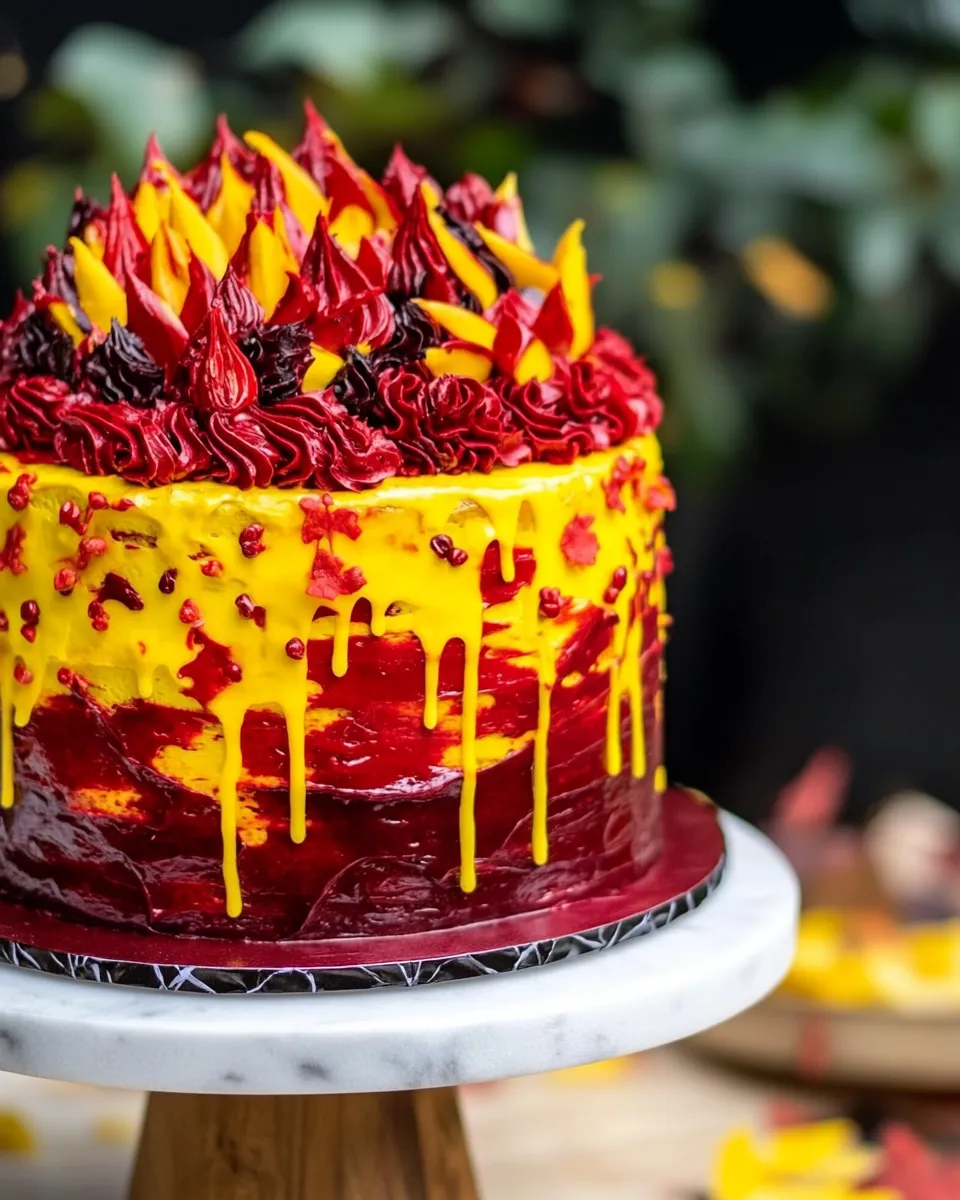
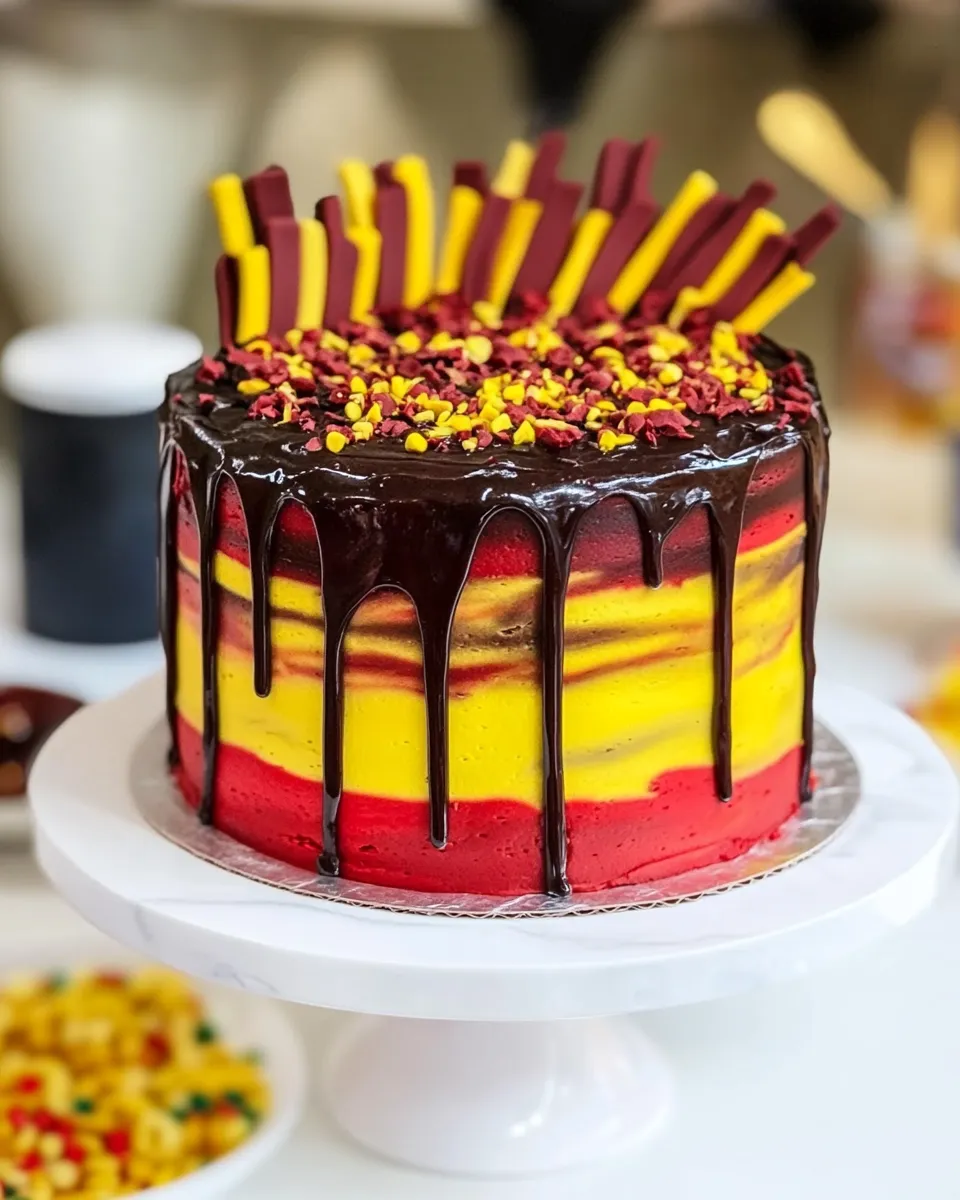
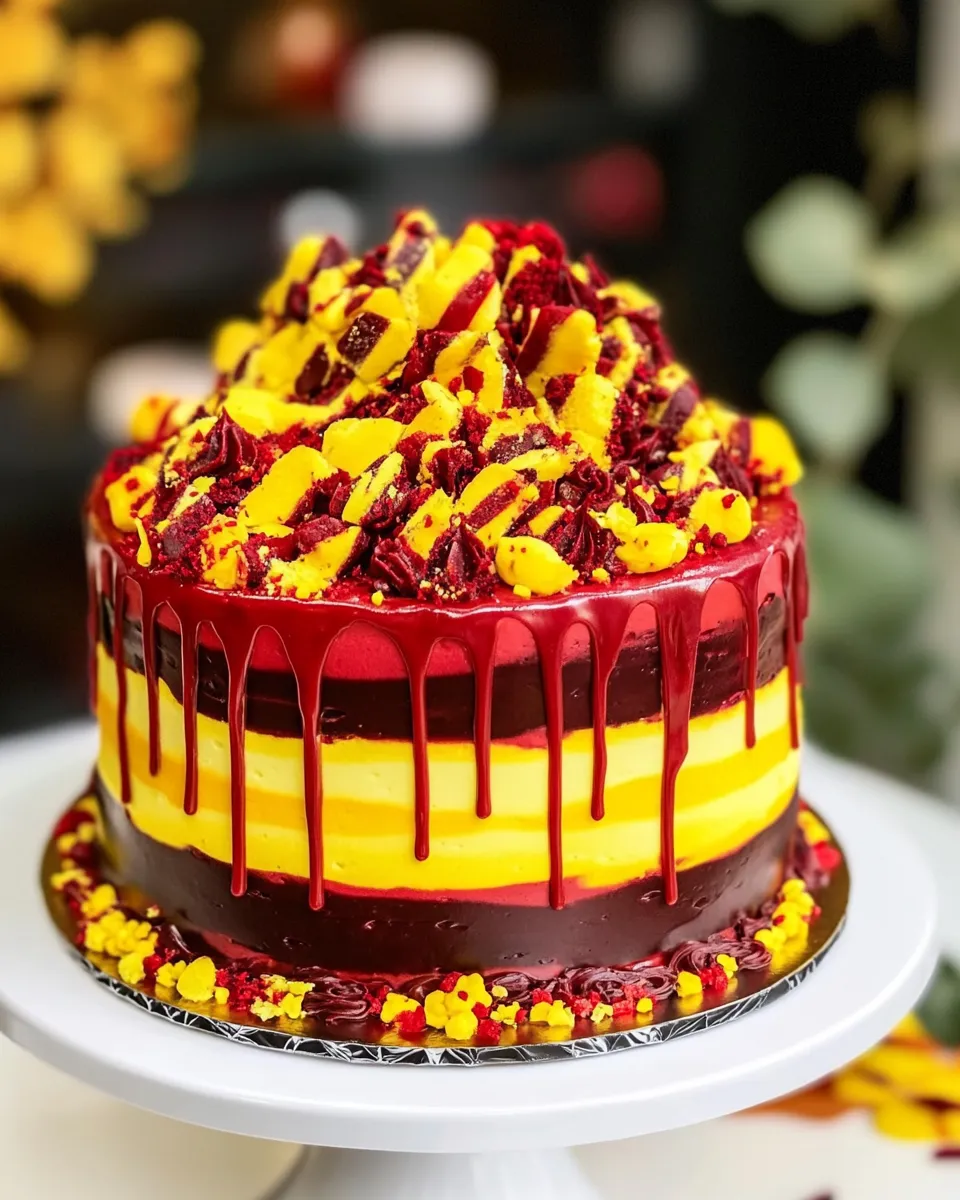
I never set out to make a cake that wears a name from a storybook, but when a friend requested a bold, layered cake for a themed party, this recipe became my go-to. It’s straightforward, forgiving, and dramatic on the plate — red and yellow layers stacked with clouds of buttercream. You don’t need special skills, just a bit of patience with slicing and frosting.
The base batter is simple pantry baking: flour, sugar, a little baking soda and vinegar, oil and water. Nothing temperamental. The color comes from food coloring stirred into divided batter so you get bright, consistent layers after baking. The frosting is an old-school buttercream built on butter and powdered sugar with a splash of cream for spreadability.
I’ll walk you through shopping, exact steps, small substitutions for texture, and what to avoid so the cake looks and slices beautifully. No gimmicks. Just practical advice so you can make this cake and enjoy the results without last-minute panic.
Your Shopping Guide
Before you start, gather everything so you can work in a smooth sequence. Check your baking staples: flour, sugar, baking soda and salt. Make sure you have enough butter and powdered sugar for a thick buttercream; this recipe uses a generous amount. Pick food coloring that offers concentrated color so you don’t thin the batter or frosting unnecessarily.
Buy a neutral oil (vegetable or canola) if you don’t have one. For the heavy whipping cream, a small carton is enough. If you plan to serve the cake shortly after assembling, pick a firm butter (not overly soft) to help the frosting hold its shape. And confirm you have parchment paper or a nonstick spray for the pans.
Ingredients
- 3 cups all purpose flour — structure for the cake; measure by spooning into the cup and leveling for accuracy.
- 2 cups sugar — sweetness and tenderness; use granulated sugar as listed.
- 1 teaspoon salt — balances flavor; don’t skip.
- 2 teaspoons baking soda — leavening; ensures rise with the acidic vinegar.
- 2 teaspoons white vinegar — reacts with baking soda to give lift.
- 2 teaspoons vanilla extract — flavoring for the cake batter; adds depth.
- 1/2 cup + 2 tablespoons oil — I used vegetable oil — fat for moistness; keep the amount exact.
- 2 cups water — hydrates the batter; room temperature is fine.
- 1/4 teaspoon yellow food coloring — tints one half of the batter.
- 1/4 teaspoon red food coloring — tints the other half of the batter.
- 6 cups powdered sugar — for the frosting; sift if lumpy.
- 2 cups butter, softened — the base of the buttercream; should be soft but not melting.
- 2 teaspoons vanilla extract — flavor for the frosting; doubles the batter flavor.
- 1/4 cup heavy whipping cream — loosens and smooths the frosting to spreadable consistency.
- 1/2 teaspoon red food coloring — tints the final frosting for the exterior.
Harry Potter Cake: From Prep to Plate
- Preheat the oven to 180°C / 350°F. Grease two 8-inch (20 cm) round cake pans and line the bottoms with parchment paper (optional) for easier removal. Set pans aside.
- In a large mixing bowl, whisk together 3 cups all-purpose flour, 2 cups sugar, 1 teaspoon salt, and 2 teaspoons baking soda until evenly combined.
- Add the wet ingredients to the dry mixture: 2 teaspoons white vinegar, 1/2 cup + 2 tablespoons oil, 2 teaspoons vanilla extract, and 2 cups water. Mix on low-to-medium speed (or stir) until the batter is smooth and uniform, scraping the bowl sides as needed.
- Divide the batter evenly between two medium bowls. Stir 1/4 teaspoon yellow food coloring into one bowl and 1/4 teaspoon red food coloring into the other bowl until the color is even.
- Pour the yellow batter into one prepared pan and the red batter into the other prepared pan, smoothing the tops with a spatula.
- Bake both pans in the preheated oven for 25–27 minutes, or until a toothpick or skewer inserted into the center comes out clean or with a few moist crumbs.
- Remove the pans from the oven and let the cakes cool in the pans for about 10 minutes. Run a knife around the pan edges, then invert the cakes onto wire racks and remove the parchment. Let the cakes cool completely before slicing.
- Once completely cool, use a long serrated knife or a cake leveler to slice each cake horizontally into two even layers, yielding four cake layers total (two red layers and two yellow layers). Place the layers on separate plates or racks, keeping them in order.
- To make the frosting, place 6 cups powdered sugar and 2 cups softened butter in the bowl of a stand mixer or a large mixing bowl. Beat on low speed until the sugar is incorporated, then increase speed to medium and beat until the mixture is smooth and creamy.
- Add 2 teaspoons vanilla extract, then add the 1/4 cup heavy whipping cream gradually while mixing until the frosting is combined and reaches a spreadable consistency. Stop and scrape the bowl as needed.
- Divide the frosting into two bowls. In one bowl stir in 1/2 teaspoon red food coloring until evenly tinted; leave the other bowl plain (uncolored).
- Assemble the cake on a flat serving plate or cake board: place one red layer down as the base, spread an even layer of plain frosting over it, then place a yellow layer on top. Repeat with the next plain-frosting layer and the next red layer, ending with the final cake layer on top.
- Use the red-tinted frosting to cover the top and exterior sides of the stacked cake, smoothing with an offset spatula or knife. If you prefer, reserve a thin crumb coat of red frosting, chill 10–15 minutes, then finish with a final coat.
- Let the assembled cake sit for several minutes (or chill 15–30 minutes for cleaner slices) to set the frosting, then slice and serve.
Why You’ll Keep Making It
This cake is repeatable. The batter is tolerant — it doesn’t rely on delicate creaming or precise folding — so even when you rush, it performs. The layered color makes a strong visual impression without specialty tools. The buttercream is classic; it’s straightforward to pipe or spread, and it holds up well at room temperature for a few hours.
Beyond looks, the texture is consistently moist thanks to the oil and water in the batter. That means you can slice thin layers without them crumbling apart, and the layers marry well with the rich frosting. You’ll likely find yourself making it for birthday parties and themed gatherings because it’s quick to scale and decorate.
Texture-Safe Substitutions
If you need to adapt, choose swaps that preserve the cake’s moisture and the frosting’s stability. Use the following only if necessary:
- Replace the vegetable oil with an equal amount of light olive oil or canola oil — both will keep the crumb moist.
- Swap whole milk for the 1/4 cup heavy whipping cream in frosting only if you need to reduce richness; add it slowly to reach the right spreadable consistency.
- If your powdered sugar is very fine, you can use it as-is; coarser powdered sugar may benefit from a quick sift to avoid grainy buttercream.
Tools & Equipment Needed
You’ll keep this simple. Basic equipment will get the job done with clean, even results.
Essential
- Two 8-inch (20 cm) round cake pans — for even, same-size layers.
- Mixing bowls — large for batter, medium for dividing the batter.
- Stand mixer or hand mixer — for smooth buttercream and easy incorporation.
- Offset spatula and serrated knife — for leveling and smoothing the frosting.
- Wire rack — for cooling the cakes completely before slicing.
Nice-to-have
- Long serrated cake knife or cake leveler — makes even layers fast.
- Cake board or flat serving plate — helps with assembling and transporting.
Don’t Do This
Don’t try to frost a warm cake. The buttercream will melt and slide. Let the layers cool completely before slicing and assembling. Also, don’t overload the batter with extra liquid when tinting; use concentrated food coloring so you don’t alter the crumb.
Avoid skipping the vinegar — it reacts with baking soda to give lift. And don’t use melted butter instead of oil in the batter; melted butter will firm up the crumb differently and can make the cake denser.
Seasonal Ingredient Swaps
Use seasonal flavors by swapping small elements without changing structure. In autumn, add a teaspoon of cinnamon and a pinch of nutmeg to the dry mix for warm spice. In winter, replace the vanilla in the frosting with almond extract (¼ teaspoon) for a festive note. In summer, a tablespoon of lemon zest in the batter brightens the profile — balance with the same amount of water adjustment if needed.
Cook’s Commentary
I like to keep the layers well-chilled for easier handling. After the crumb coat, a short chill stabilizes the crumbs and makes final smoothing prettier. When tinting the buttercream red, go slow; 1/2 teaspoon produced the shade I wanted without making the frosting overly thin. If you over-color, a touch more powdered sugar can thicken the buttercream again.
One practical tip: when you slice the layers, keep them in order (red, yellow, red, yellow) on separate plates so you know which layer goes next. It saves time and avoids a mismatched stack. Clean slices come from a hot, damp knife wiped between cuts.
Save It for Later
To store, cover the cake loosely and keep at room temperature for up to 24 hours. For longer storage, refrigerate in an airtight container for 3–4 days. Bring slices back to room temperature before serving for the best texture. You can freeze individual unfrosted cake layers wrapped tightly in plastic and foil for up to two months; thaw in the refrigerator, then bring to room temperature before assembling.
Top Questions & Answers
Q: Can I make this gluten-free?
A: This recipe relies on all-purpose flour for structure. For a gluten-free version, use a 1:1 gluten-free flour blend with xanthan gum already included and expect slightly different texture and potentially a need for a slight adjustment in liquid.
Q: Can I tint the layers darker?
A: Yes. Increase food coloring in small increments. Gel colors give more saturation without adding liquid.
Q: Can I use a different pan size?
A: You can, but adjust baking time. Two 8-inch rounds are specified for even layer height and bake time.
See You at the Table
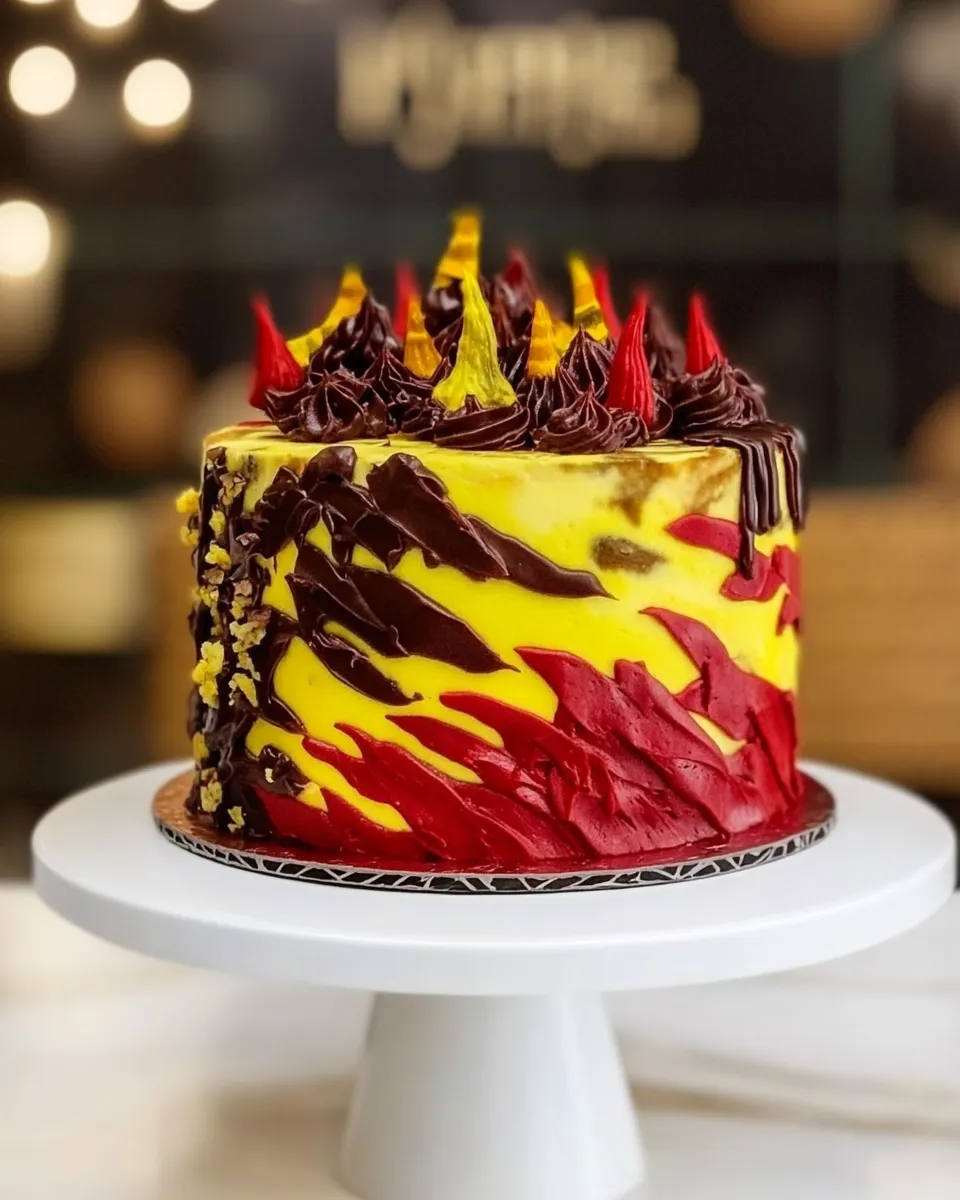
This Harry Potter Cake is a simple way to make a statement. It’s forgiving, colorful, and feeds a small crowd without fuss. Follow the steps, keep the layers cool, and take your time with the frosting — the results are worth it. Send me a photo when you make it; I love seeing how people personalize the colors and finishes.
Harry Potter Cake
Equipment
- 8-inch (20 cm) round cake pans
- Parchment Paper
- Mixing Bowls
- stand mixer or large mixing bowl and hand mixer
- Spatula
- Wire racks
- long serrated knife or cake leveler
- Offset Spatula or Knife
Ingredients
Ingredients
- 3 cupsall purpose flour
- 2 cupssugar
- 1 teaspoonsalt
- 2 teaspoonsbaking soda
- 2 teaspoonswhite vinegar
- 2 teaspoonsvanilla extract
- 1/2 cup + 2 tablespoonsoilI used vegetable oil
- 2 cupswater
- 1/4 teaspoonyellow food coloring
- 1/4 teaspoonred food coloring
- 6 cupspowdered sugar
- 2 cupsbuttersoftened
- 2 teaspoonsvanilla extract
- 1/4 cupheavy whipping cream
- 1/2 teaspoonred food coloring
Instructions
Instructions
- Preheat the oven to 180°C / 350°F. Grease two 8-inch (20 cm) round cake pans and line the bottoms with parchment paper (optional) for easier removal. Set pans aside.
- In a large mixing bowl, whisk together 3 cups all-purpose flour, 2 cups sugar, 1 teaspoon salt, and 2 teaspoons baking soda until evenly combined.
- Add the wet ingredients to the dry mixture: 2 teaspoons white vinegar, 1/2 cup + 2 tablespoons oil, 2 teaspoons vanilla extract, and 2 cups water. Mix on low-to-medium speed (or stir) until the batter is smooth and uniform, scraping the bowl sides as needed.
- Divide the batter evenly between two medium bowls. Stir 1/4 teaspoon yellow food coloring into one bowl and 1/4 teaspoon red food coloring into the other bowl until the color is even.
- Pour the yellow batter into one prepared pan and the red batter into the other prepared pan, smoothing the tops with a spatula.
- Bake both pans in the preheated oven for 25–27 minutes, or until a toothpick or skewer inserted into the center comes out clean or with a few moist crumbs.
- Remove the pans from the oven and let the cakes cool in the pans for about 10 minutes. Run a knife around the pan edges, then invert the cakes onto wire racks and remove the parchment. Let the cakes cool completely before slicing.
- Once completely cool, use a long serrated knife or a cake leveler to slice each cake horizontally into two even layers, yielding four cake layers total (two red layers and two yellow layers). Place the layers on separate plates or racks, keeping them in order.
- To make the frosting, place 6 cups powdered sugar and 2 cups softened butter in the bowl of a stand mixer or a large mixing bowl. Beat on low speed until the sugar is incorporated, then increase speed to medium and beat until the mixture is smooth and creamy.
- Add 2 teaspoons vanilla extract, then add the 1/4 cup heavy whipping cream gradually while mixing until the frosting is combined and reaches a spreadable consistency. Stop and scrape the bowl as needed.
- Divide the frosting into two bowls. In one bowl stir in 1/2 teaspoon red food coloring until evenly tinted; leave the other bowl plain (uncolored).
- Assemble the cake on a flat serving plate or cake board: place one red layer down as the base, spread an even layer of plain frosting over it, then place a yellow layer on top. Repeat with the next plain-frosting layer and the next red layer, ending with the final cake layer on top.
- Use the red-tinted frosting to cover the top and exterior sides of the stacked cake, smoothing with an offset spatula or knife. If you prefer, reserve a thin crumb coat of red frosting, chill 10–15 minutes, then finish with a final coat.
- Let the assembled cake sit for several minutes (or chill 15–30 minutes for cleaner slices) to set the frosting, then slice and serve.
Notes
TO STORE
: Leftovers are best to be stored in the refrigerator, covered, for up to one week. Let the cake sit at room temperature for 30 minutes before serving.
TO FREEZE
: Place the frosted cake in an airtight container and store it in the freezer for up to 6 months.