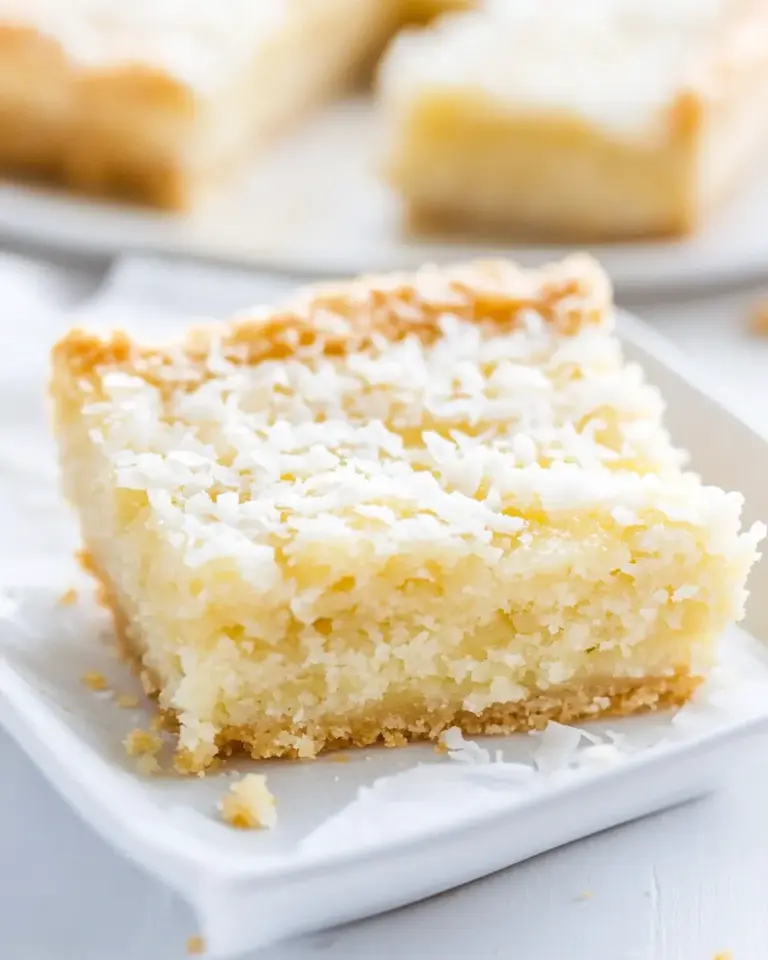
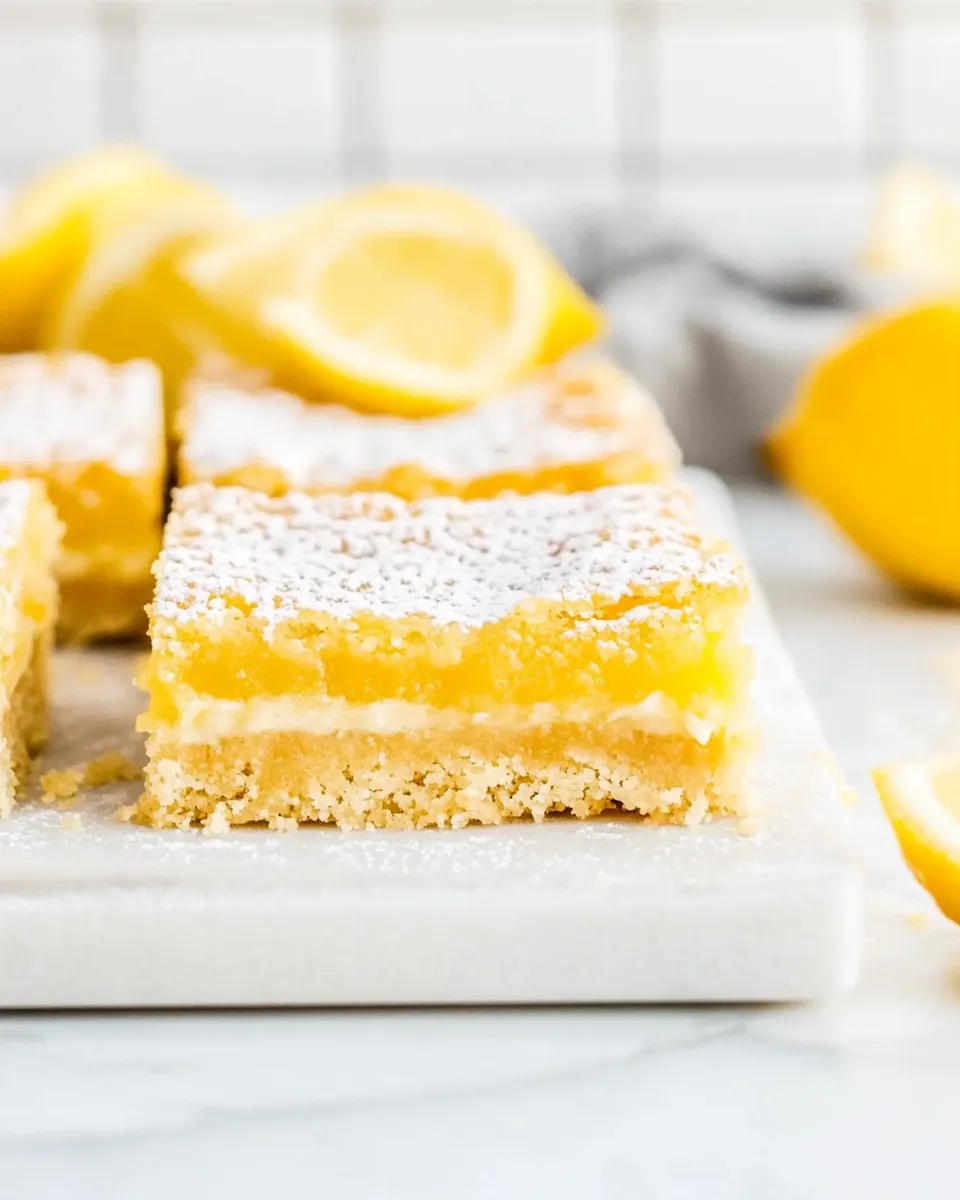
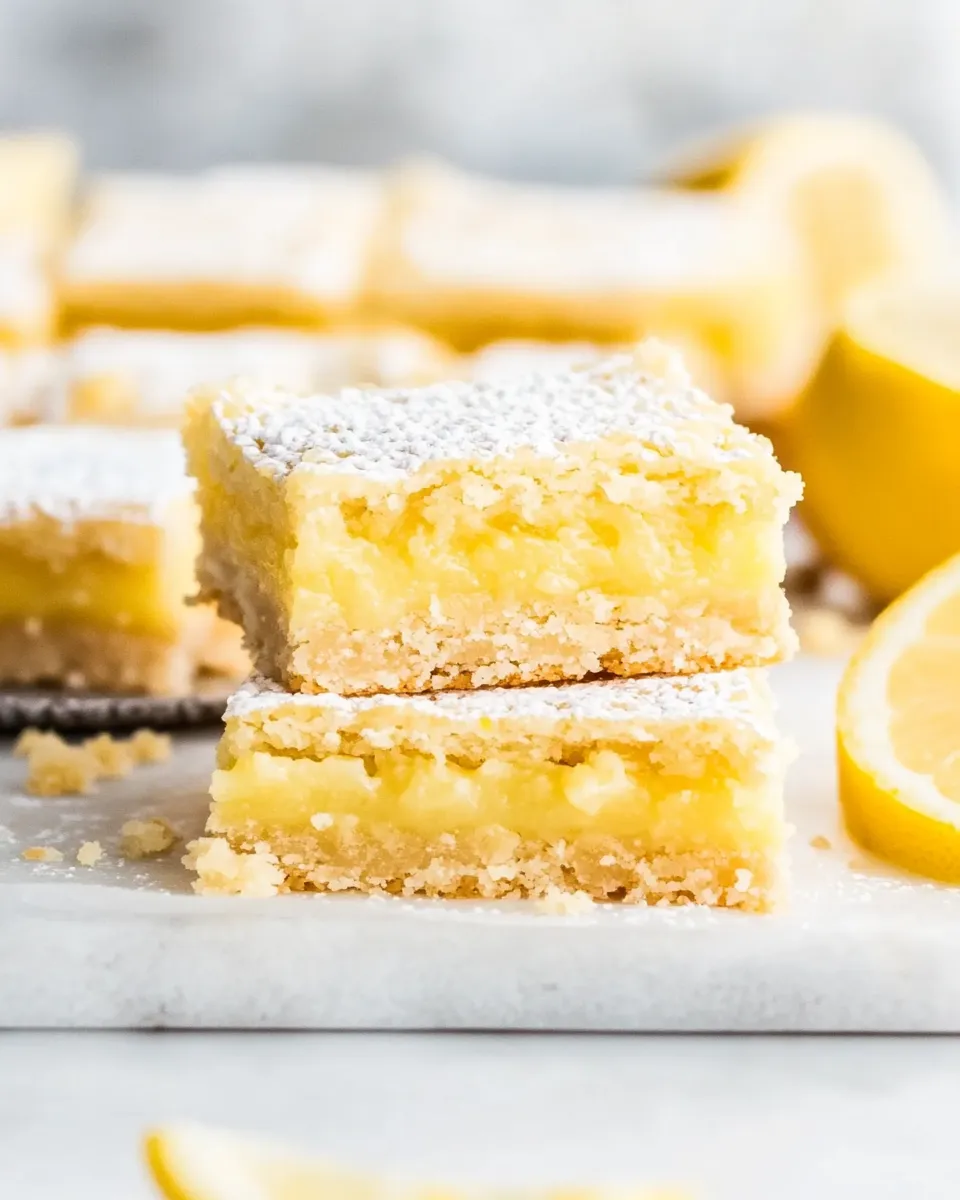
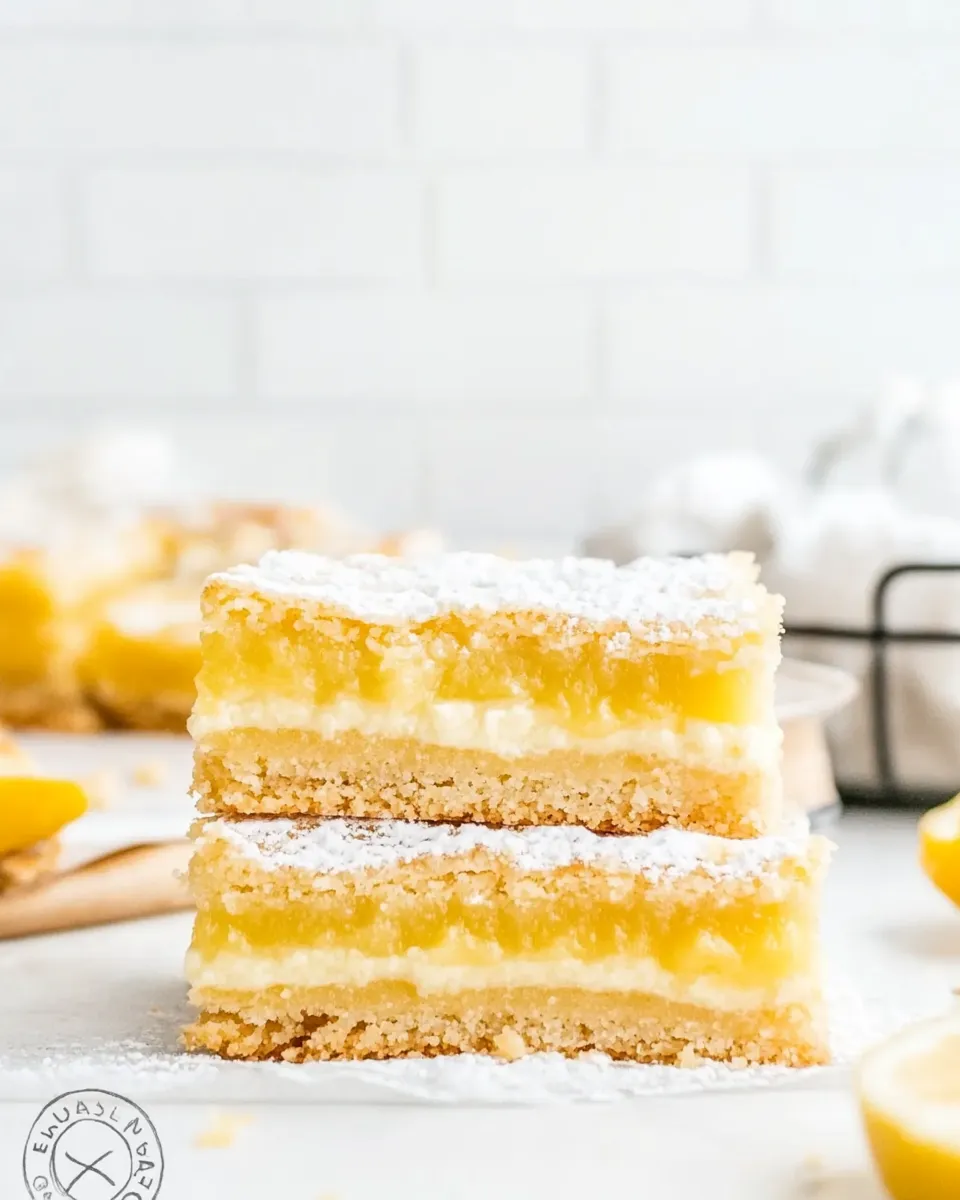
Bright, buttery, and impossibly simple — these lemon bars are one of my go-to desserts when I want something that looks special but comes together with minimal fuss. The crust is tender and shortbread-like; the filling is lemony and set, with just the right balance of sweet and tart. No complicated techniques, just straightforward steps and a predictable, delicious result.
I test this version to be reliable across ovens and for bakers who want a fail-safe finish. There are clear moments that make or break the texture: don’t skip the chilling, and use the right temperature for the crust. Follow the order, clean your knife between cuts, and you’ll be rewarded with neat, glossy squares that slice cleanly.
This post will walk you through precise ingredients, step-by-step instructions taken from a tested source, and practical notes on equipment, swaps, and common pitfalls. If you want a lemon bar that stores well and travels, read the “Save It for Later” section before you bake.
What You’ll Need
Ingredients
- 1 cup unsalted butter — softened (not melted); provides richness and structure to the crust.
- 2 cup all-purpose flour — used in the crust; gives a tender, shortbread texture.
- 1 cup powdered sugar — for the crust’s sweetness and fine crumb; reserve a small amount if you want a dusting.
- ⅛ teaspoon kosher salt — balances the sweetness and enhances flavor in the crust.
- 6 large eggs — the base of the lemon filling; they set the custard-like texture.
- 3 cup granulated sugar — sweetens the filling and helps it set.
- 4 tablespoons grated lemon zest — concentrated lemon flavor; grate from unwaxed lemons if possible.
- ½ cup fresh lemon juice — the primary tart component; fresh is essential for brightness.
- 1 cup all-purpose flour — folded into the filling to help it firm up and keep structure.
All of the ingredients are pantry basics aside from lemons; you can prepare everything on the counter before you start. If you plan to dust with powdered sugar, remember step 2 in the directions and set a little aside before mixing the crust.
Cook Lemon Bars Like This
- Preheat the oven to 350°F (175°C). Lightly spray a 9″ x 13″ glass or ceramic baking pan with cooking spray OR line the pan with parchment paper leaving an overhang on the long sides (this overhang will help lift the bars out for cutting). Set the prepared pan aside.
- (Optional) If you want a powdered-sugar dusting on the finished bars, set aside a small amount of the 1 cup powdered sugar before you mix the crust. Do not add any extra ingredients beyond the list.
- Make the crust: in a medium bowl, combine 1 cup softened (not melted) unsalted butter, 2 cups all-purpose flour, 1 cup powdered sugar, and 1/8 teaspoon kosher salt. Mix with a large spoon, a pastry cutter, or your fingers until well combined and a dough forms.
- Press the crust mixture evenly into the bottom of the prepared 9″ x 13″ pan, smoothing the top so it is level.
- Bake the crust on the middle rack for 15 to 20 minutes, or until the crust is set and just beginning to turn color. Remove the pan from the oven and leave the oven on.
- While the crust is baking (or immediately after removing it), make the filling: in a mixing bowl, use an electric mixer on medium speed to beat together 6 large eggs, 3 cups granulated sugar, 4 tablespoons grated lemon zest, 1/2 cup fresh lemon juice, and 1 cup all-purpose flour. Beat until the mixture is smooth and well combined.
- Pour the filling evenly over the warm baked crust.
- Return the pan to the oven and bake for 30 to 35 minutes, or until the center is set and no longer jiggly when gently shaken; the top should be lightly golden brown. If your oven runs cool, you may need the full 35 minutes.
- Remove the pan from the oven and let the bars cool completely at room temperature (about 2 hours).
- After cooling at room temperature, chill the pan in the refrigerator for 1 to 2 hours to help the filling fully set and make cutting easier.
- To serve: if you lined the pan with parchment, use the parchment overhang to lift the bars from the pan and place them on a cutting board. If not, cut directly in the pan. Use a long non-serrated knife and wipe the blade clean between each cut for neat squares.
- If you reserved powdered sugar in step 2, dust the chilled bars with that powdered sugar before serving.
What Makes This Recipe Special
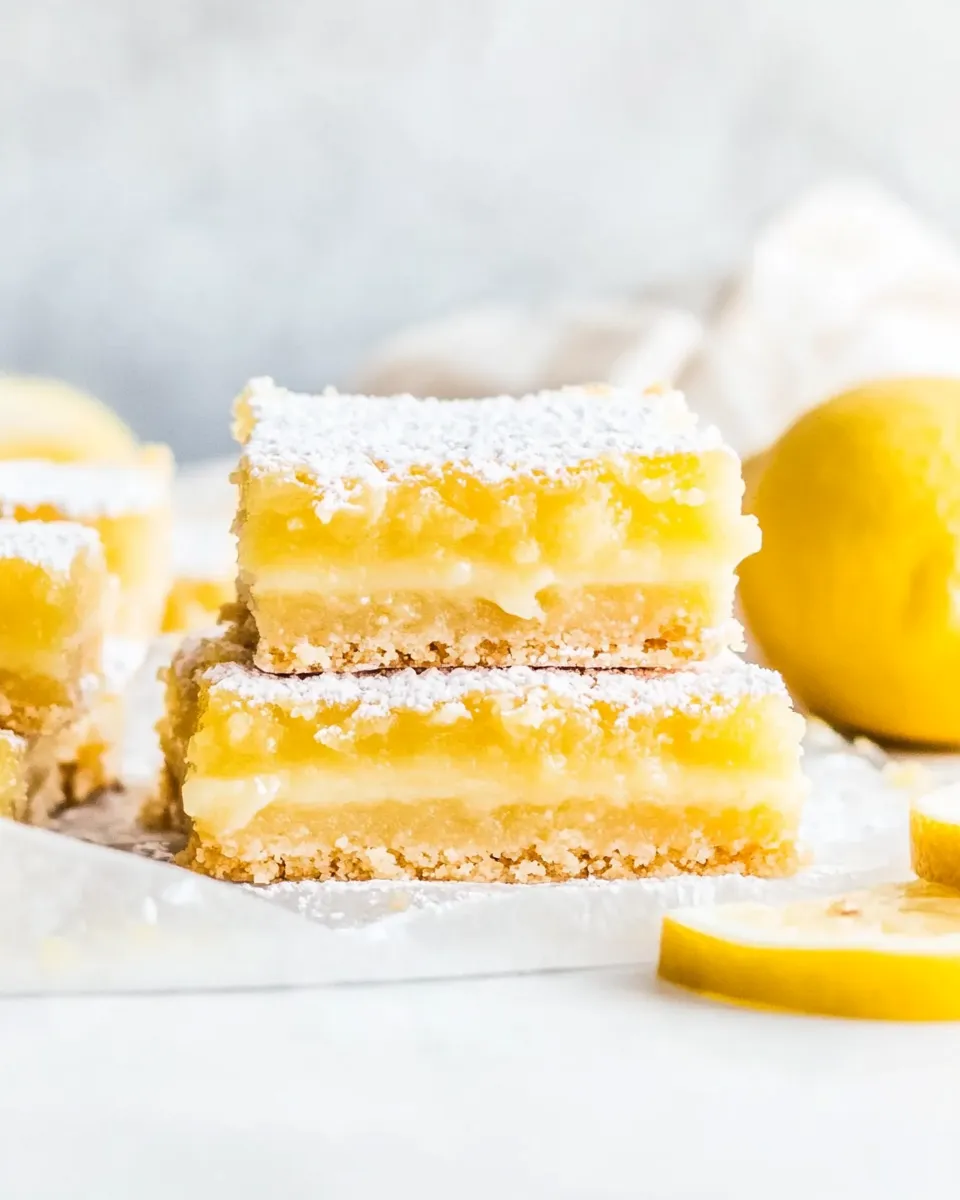
This version leans on straightforward chemistry: a shortbread-style crust for buttery texture and a flour-thickened egg custard for a clean, sliceable filling. It’s not overly fussy—no blind-baking, no individual curds—yet it yields the classic contrast of crisp edge, creamy center, and a bright lemon hit.
The method of pouring the filling over a warm crust is deliberate. The residual heat from the crust helps start the filling’s set, creating a smooth top and reducing air pockets. Chilling after cooling is also critical; it firms the custard so you get tidy squares rather than a messy spoonful.
Vegan & Vegetarian Swaps
Vegetarian: this recipe is already vegetarian-friendly as written (it contains no meat).
Vegan: to make a vegan version you’d need to replace both the butter and the eggs. The instructions and ingredients here rely on eggs for structure and butter for the crust, so a true vegan swap requires a tested alternative recipe rather than one-to-one swaps. If you want a vegan approach, look for vegan shortbread crusts made with coconut oil or margarine and an egg replacer blend specifically formulated for custard-like fillings. Note: changing fats and removing eggs will alter both texture and baking times significantly.
Equipment Breakdown
Pan and Oven
9″ x 13″ glass or ceramic baking pan — this size matches the recipe’s volume for even baking. Glass and ceramic retain heat differently than metal; if you switch to aluminum, watch the crust color and possibly shorten the baking time slightly.
Tools
- Electric mixer — speeds up blending the eggs and sugar to a smooth filling.
- Medium mixing bowl — for the crust and another for the filling, or a large bowl if you prefer washing one less dish.
- Fine grater or microplane — for zesting lemons; zest is concentrated flavor.
- Long non-serrated knife — for clean cuts; wipe between slices.
- Parchment paper — highly recommended for lifting the bars out for tidy cutting.
Easy-to-Miss Gotchas
Softened, not melted butter. If the butter is melted the crust will be greasy and won’t press or bake correctly. Let it sit at room temperature until it gives slightly under your finger but still holds shape.
Reserve powdered sugar before mixing the crust if you want a dusting. The directions call for this optional step for a reason: powdered sugar in the crust is already counted in the ingredient list.
Don’t underbake the filling. The center should be set and not jiggle. It will look subtly puffed and slightly golden on top; underbaked filling will not hold neat squares even after chilling.
Chill before cutting. Even if you’re impatient, the bars need the refrigerator step to fully firm. Cutting too early gives sloppy edges and fills the cutting board with crumbs and filling.
Fresh Seasonal Changes
Late winter and early spring are prime lemon season in many regions; the juice is brighter and the zest is more aromatic. If lemons are out of season where you are, seek the juiciest, firm fruit you can find — taste matters here.
For a seasonal twist, add a light dusting of finely chopped fresh herbs like basil or thyme paired with a smaller lemon zest amount. Use sparingly: the original balance is delicate and not meant to be overpowered.
Behind-the-Scenes Notes
I test this recipe until the timing works across at least three ovens and two pan types. The crust’s 15–20 minutes and the filling’s 30–35 minutes are ranges because oven calibration varies. If your oven runs hot, start checking a few minutes early. If it runs cool, add the extra minutes noted.
Also, I always zest before juicing. It’s easier to get thin, aromatic zest before you cut the lemon open. Use a microplane for the most even, flavorful zest without the bitter white pith.
Save It for Later
Storage: cover the chilled bars tightly and store in the refrigerator for up to 4 days. You can freeze wrapped squares for up to 3 months; thaw in the refrigerator overnight and dust with sugar before serving.
Transport: if you’re taking bars to a picnic, keep them chilled until just before serving and pack them in a cooler. Parchment-lifted bars are easier to move and cut on-site.
Ask & Learn
Q: My filling was still jiggly after 35 minutes. What happened?
A: Ovens vary. If the center is still jiggly, return the pan to the oven for another 5 minutes and recheck. Also confirm your oven temperature with an oven thermometer; some units run cool by 10–25°F.
Q: My crust puffed up in the oven. Is it ruined?
A: If the crust blisters, press it gently while still warm with the back of a spatula to flatten before pouring the filling. Small bubbles are cosmetic; the bars will still be delicious.
Q: Can I halve the recipe?
A: Yes, but use a smaller pan (an 8″ x 8″ square pan works well) and reduce baking times slightly. The ingredient ratios must stay the same.
Make It Tonight
Plan: preheat the oven, make the crust, bake for 15–20 minutes, then while the crust is in the oven mix the filling. Pour the filling over the warm crust and bake 30–35 minutes. After cooling 2 hours at room temperature, chill for 1–2 hours. Total hands-on time is about 30–40 minutes; most of the timeline is passive cooling.
Serve cold or at room temperature, dusted with powdered sugar if you reserved some in step 2. Keep a sharp, clean knife on hand and wipe it between cuts for neat squares. Enjoy: these are the kind of dessert that earns compliments without needing perfection.
Easy Lemon Bars Recipe
Equipment
- Microplane Zester Grater
- Paula Deen & Friends: Living It Up, Southern Style
Ingredients
Ingredients
- 1 cupunsalted buttersoftened not melted
- 2 cupall-purpose flour
- 1 cuppowdered sugar
- 1/8 teaspoonkosher salt
- 6 large eggs
- 3 cupgranulated sugar
- 4 tablespoonsgrated lemon zest – here’s my favorite zester
- 1/2 cupfresh lemon juice
- 1 cupall-purpose flour
Instructions
Instructions
- Preheat the oven to 350°F (175°C). Lightly spray a 9" x 13" glass or ceramic baking pan with cooking spray OR line the pan with parchment paper leaving an overhang on the long sides (this overhang will help lift the bars out for cutting). Set the prepared pan aside.
- (Optional) If you want a powdered-sugar dusting on the finished bars, set aside a small amount of the 1 cup powdered sugar before you mix the crust. Do not add any extra ingredients beyond the list.
- Make the crust: in a medium bowl, combine 1 cup softened (not melted) unsalted butter, 2 cups all-purpose flour, 1 cup powdered sugar, and 1/8 teaspoon kosher salt. Mix with a large spoon, a pastry cutter, or your fingers until well combined and a dough forms.
- Press the crust mixture evenly into the bottom of the prepared 9" x 13" pan, smoothing the top so it is level.
- Bake the crust on the middle rack for 15 to 20 minutes, or until the crust is set and just beginning to turn color. Remove the pan from the oven and leave the oven on.
- While the crust is baking (or immediately after removing it), make the filling: in a mixing bowl, use an electric mixer on medium speed to beat together 6 large eggs, 3 cups granulated sugar, 4 tablespoons grated lemon zest, 1/2 cup fresh lemon juice, and 1 cup all-purpose flour. Beat until the mixture is smooth and well combined.
- Pour the filling evenly over the warm baked crust.
- Return the pan to the oven and bake for 30 to 35 minutes, or until the center is set and no longer jiggly when gently shaken; the top should be lightly golden brown. If your oven runs cool, you may need the full 35 minutes.
- Remove the pan from the oven and let the bars cool completely at room temperature (about 2 hours).
- After cooling at room temperature, chill the pan in the refrigerator for 1 to 2 hours to help the filling fully set and make cutting easier.
- To serve: if you lined the pan with parchment, use the parchment overhang to lift the bars from the pan and place them on a cutting board. If not, cut directly in the pan. Use a long non-serrated knife and wipe the blade clean between each cut for neat squares.
- If you reserved powdered sugar in step 2, dust the chilled bars with that powdered sugar before serving.
Notes
I prefer to store these bars in the refrigerator, pull them out about 10 minutes before serving, and enjoy them with a slight chill. They also freeze well!
Adapted from
Paula Deen & Friends – Living It Up, Southern Style