There’s something wildly satisfying about a crispy, golden-skinned chicken thigh paired with a bright, savory garlic and Parmesan finish. This recipe for Garlic Parmesan Chicken Thighs (Crispy!) is simple, dependable, and built around a crunchy coating that gives way to tender, juicy meat. It uses a handful of pantry staples — Parmesan, baking powder, Italian seasonings, paprika, garlic powder, salt, and pepper — to create maximum flavor with minimal fuss. Whether you’re cooking for a weeknight dinner or plating up for guests, these thighs deliver a crunchy exterior, a cheesy garlicky bite, and a comfort-food vibe that’s impossible to resist.
Below you’ll find everything you need: a clear ingredient list, straightforward steps written in a friendly tone, tips for extra-crispy skin, and serving ideas. The ingredient measurements in the list are exact, and the step-by-step directions are rewritten to be easy to follow while keeping the original recipe order and amounts intact.
Why this method works
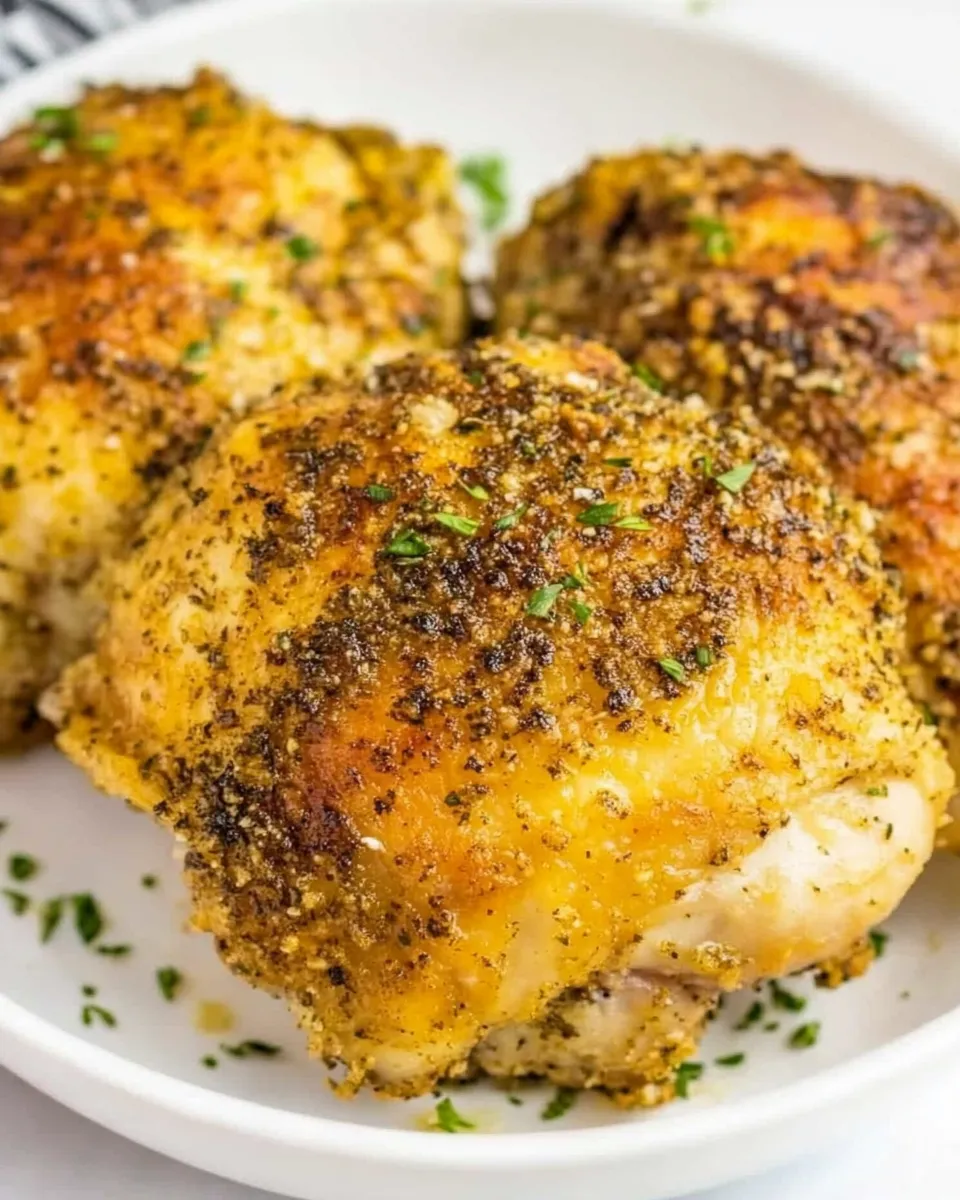
Two techniques make these chicken thighs sing. First, using baking powder in the coating helps dry and dehydrate the skin slightly so it crisps up in the oven. Second, a thin sprinkling of grated Parmesan blends with the seasonings to give a toasty, savory finish without overpowering the chicken. The result is a golden, crackling crust and juicy meat underneath.
Ingredients
- ▢5 pieces chicken thighs bone-in, skin on
- ▢2 tablespoons parmesan cheese grated
- ▢2 teaspoons baking powder
- ▢2 teaspoons Italian seasonings
- ▢½ teaspoon paprika
- ▢½ teaspoon garlic powder
- ▢½ teaspoons salt
- ▢¼ teaspoon pepper
Tools you’ll need
- Baking sheet with a wire rack (a rack is optional but recommended)
- Small bowl for mixing seasonings
- Tongs or clean hands to coat the chicken
- Instant-read thermometer (recommended) or a timer
- Aluminum foil or parchment paper for easier cleanup
Prep and timing
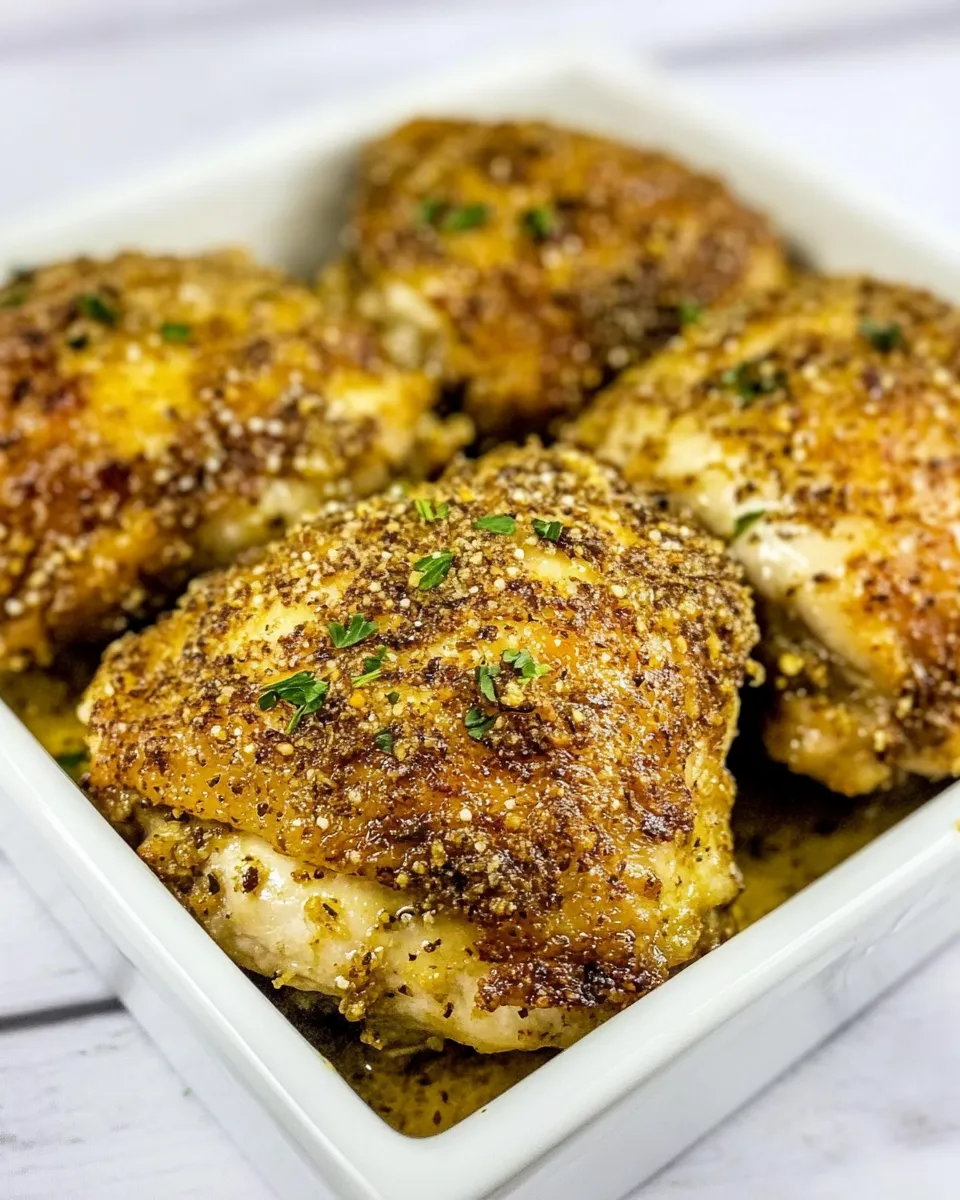
Total time: about 45–55 minutes (including 10 minutes active prep and 35–45 minutes roasting). This recipe serves about 4 people when paired with sides like a simple salad, roasted vegetables, or rice.
Step-by-step directions
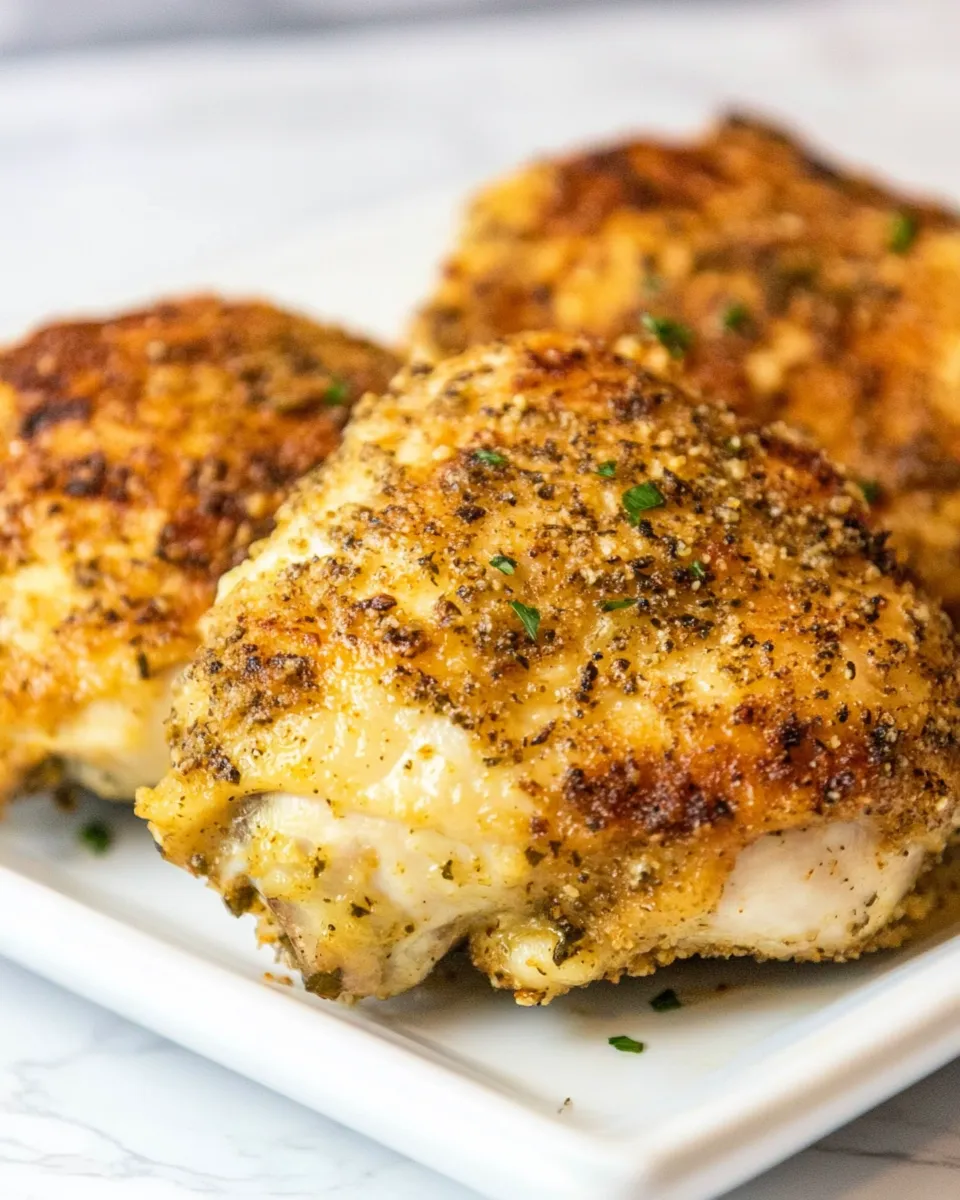
Follow these steps in order. The directions are rewritten for clarity while keeping the original order and ingredient amounts intact.
- Preheat the oven. Set your oven to 425°F (220°C). Position a rack in the middle of the oven so the chicken will roast evenly and the skin will crisp without burning.
- Prepare the baking surface. Line a baking sheet with foil or parchment for easier cleanup. Place a wire rack on top of the baking sheet. The rack lets air circulate beneath the thighs so the skin crisps on all sides. If you don’t have a rack, the chicken will still work directly on the lined sheet—expect a slightly less crisp underside.
- Pat the chicken dry. Pat each of the 5 chicken thighs with paper towels to remove surface moisture. Dry skin is essential for crispiness, so spend an extra moment pressing down to remove as much water as possible.
- Mix the dry coating. In a small bowl, combine 2 tablespoons grated Parmesan cheese, 2 teaspoons baking powder, 2 teaspoons Italian seasonings, ½ teaspoon paprika, ½ teaspoon garlic powder, ½ teaspoons salt, and ¼ teaspoon pepper. Whisk or stir until evenly distributed and the Parmesan is incorporated with the seasonings and baking powder.
- Coat the chicken. Sprinkle the seasoning mixture evenly over each chicken thigh. Use your hands or tongs to rub and press the coating onto the skin and exposed meat surfaces. Aim for an even, light layer on each piece; the baking powder needs direct contact with the skin to create the crisp texture.
- Arrange on the rack. Place the seasoned thighs on the wire rack skin-side up, spacing them at least an inch apart so hot air can circulate and they can crisp evenly. If you’re using the baking sheet without a rack, set them skin-side up directly on the lined sheet and give them a little room as well.
- Roast in the oven. Slide the baking sheet into the preheated oven. Roast the chicken at 425°F (220°C) for 35–45 minutes, or until the skin turns deeply golden and an instant-read thermometer inserted into the thickest part of a thigh (avoiding the bone) reads 165°F (74°C). If you like extra browning, you can switch to the broiler for 1–2 minutes at the end—watch closely to prevent burning.
- Rest before serving. Remove the pan from the oven and let the thighs rest on the rack for 5 minutes. This short rest lets the juices redistribute and keeps the meat tender when you cut into it.
- Serve and enjoy. Transfer the thighs to a serving platter. If desired, grate a little additional Parmesan over the top or add a light squeeze of lemon to brighten the flavors. Serve with your favorite sides and enjoy the contrast between the crunchy coating and juicy interior.
Troubleshooting and tips for success
- Don’t skip drying the skin: Moisture is the enemy of crispiness. Thoroughly pat the thighs dry before adding the seasoning mixture.
- Even coating: Press the seasoning gently into the skin so the baking powder can work directly on the surface. A loose, uneven coating will produce uneven crisping.
- Use a rack if possible: The rack raises the thighs so hot air can move underneath and avoids steaming the underside. If you don’t have one, flip the pieces halfway through cooking to help crisp the bottom.
- Check internal temperature: For safe, juicy chicken, pull the thighs when an instant-read thermometer reads 165°F (74°C). Overcooking dries out the meat, so trust the thermometer rather than appearance alone.
- Easy make-ahead option: Coat the thighs with the seasoning mixture and refrigerate them uncovered on a tray for up to 1 hour before roasting. This air-chills the skin and enhances crispiness.
Flavor variations
The base profile here is garlic-and-Parmesan-forward with Italian herbs and a hint of paprika. Try these small tweaks for variation:
- Add ½ teaspoon lemon zest to the dry mix for a citrus brightness that cuts through the richness.
- Swap smoked paprika for regular paprika for a touch of smoky depth.
- Fold in 1 teaspoon of finely chopped fresh herbs (such as parsley or basil) to the Parmesan mixture before rubbing it on for a fresher finish.
Serving suggestions
This recipe pairs beautifully with simple, clean sides that let the chicken shine. Consider:
- Steamed or roasted vegetables (broccoli, green beans, or Brussels sprouts).
- Garlic butter rice or a light lemon-herb couscous.
- A crisp green salad with a tangy vinaigrette to balance the richness.
- Creamy mashed potatoes or a baked sweet potato for a comforting plate.
Storage and reheating
Store leftover chicken in an airtight container in the refrigerator for up to 3 days. To re-crisp the skin, reheat on a baking sheet in a 375°F (190°C) oven for 10–12 minutes, or until warmed through and the skin has crisped again. Avoid microwaving if you care about texture—microwaves will soften the crust.
Final notes
These Garlic Parmesan Chicken Thighs (Crispy!) hit a delicious balance of crunchy and juicy using a short list of pantry-friendly ingredients and a simple oven method. The coating is intentionally modest so the chicken flavor remains central, while the grated Parmesan and garlic powder add a savory, toasty finish every time. With a few easy steps and sensible tips, you can deliver an impressive dinner that feels both special and totally achievable weeknight fare.
Make it tonight: pat the thighs dry, mix the Parmesan and seasonings, press the coating onto the skin, and roast at 425°F until golden and cooked through. The result is a plate of crispy, flavorful chicken thighs that will have everyone coming back for seconds.
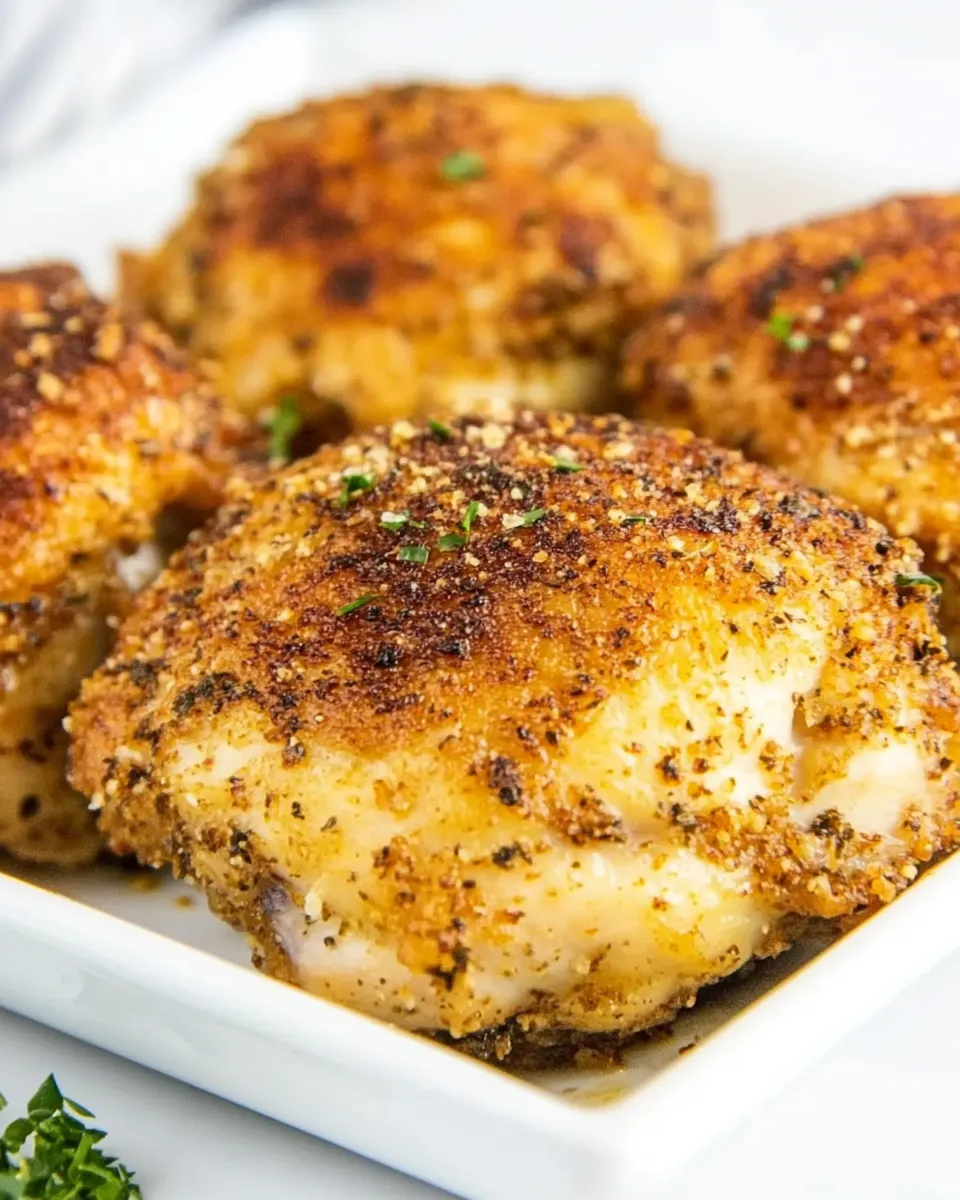
Garlic Parmesan Chicken Thighs (Crispy!)
Equipment
- Oven
- Baking Sheet
- parchment paper or aluminum foil
- Mixing Bowl
- Measuring Spoons
- Paper Towels
- Meat Thermometer
Ingredients
- 5 pieces chicken thighs bone-in, skin on
- 2 tablespoons parmesan cheese grated
- 2 teaspoons baking powder
- 2 teaspoons Italian seasoning
- 1/2 teaspoon paprika
- 1/2 teaspoon garlic powder
- 1/2 teaspoon salt
- 1/4 teaspoon black pepper
Instructions
- Preheat the oven to 425°F (use convection or an air-fryer oven setting if available). Line a baking sheet with parchment paper or spray foil with cooking oil.
- Pat the chicken thighs very dry with paper towels to remove excess moisture.
- In a mixing bowl combine the grated parmesan, baking powder, Italian seasoning, paprika, garlic powder, salt, and black pepper until evenly mixed.
- Rub the seasoning mixture evenly over each chicken thigh, coating all sides.
- Arrange the thighs skin-side up on the prepared baking sheet, leaving a few inches between pieces.
- Bake for 30–40 minutes (30 minutes is typical for average bone-in thighs); if using boneless thighs start checking at about 25 minutes. The chicken is done when the internal temperature reaches 165°F and juices run clear.
- Optionally baste each thigh with pan juices and, for extra crispness, place under the broiler 1–2 minutes—watch closely to avoid burning.
Notes
- Do not use baking soda instead of baking powder because it won't produce crisp skin.
- Keep some fat on the thighs when trimming so the meat stays juicier as it renders during cooking.
- Boneless thighs cook faster; begin checking for doneness at about 25 minutes.
- For extra crispiness, broil for 1–2 minutes while watching carefully to avoid burning.
- Cooking on a wire rack makes the skin slightly crisper, but may reduce juiciness.
- If using a wire rack, line the pan with foil for easier cleanup.