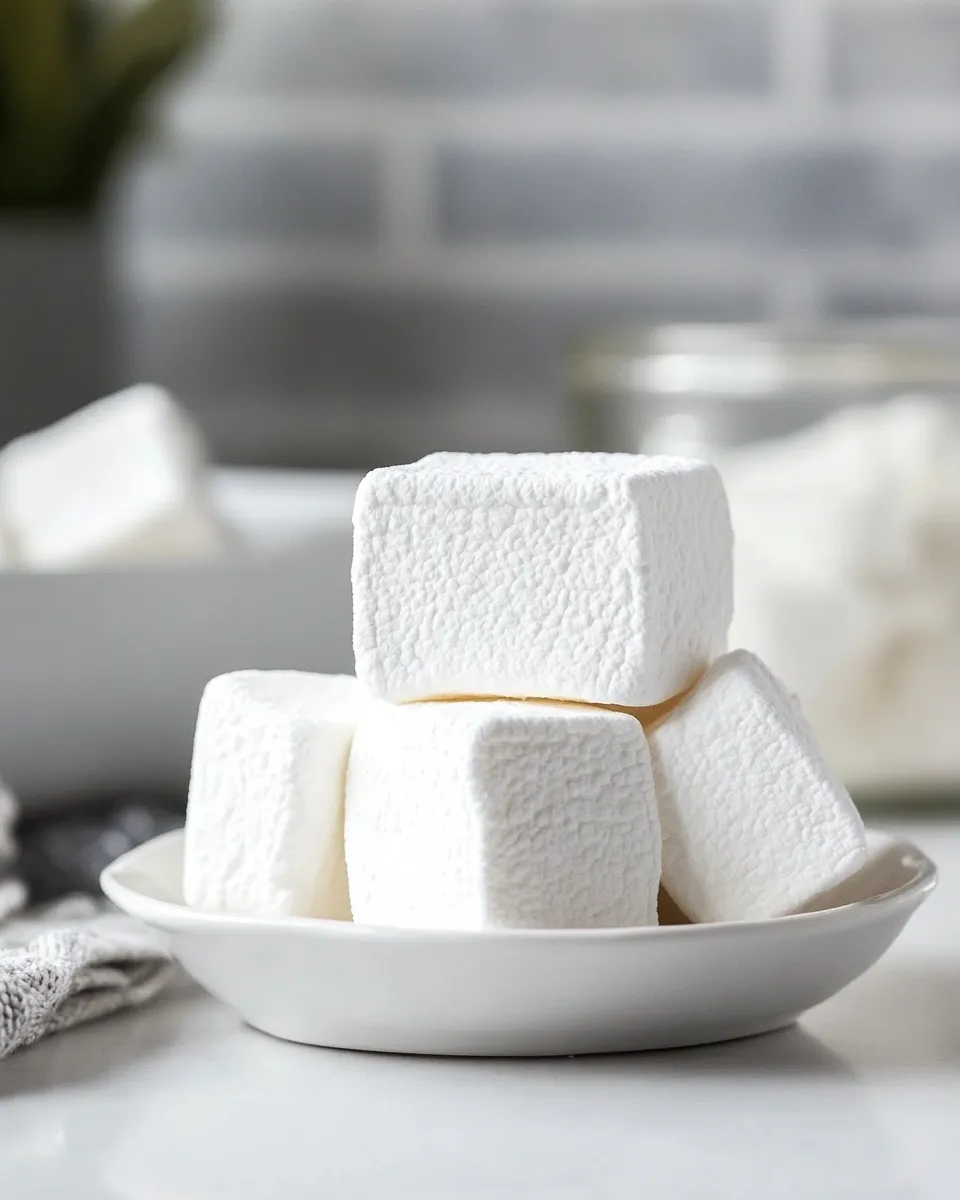
Homemade marshmallows are one of those small kitchen victories that taste like care. They set soft, pillowy, and far fresher than anything from a bag. The technique is straightforward once you understand what each step is doing: bloom gelatin, bring a simple syrup to the soft‑ball stage, combine, whip, and let it set.
This recipe makes a classic, neutral-flavored marshmallow you can cut into squares, toast, or cube for hot chocolate. I’ll walk you through the exact sequence, point out the common traps, and explain why each ingredient matters so you can reproduce reliably every time.
Keep your tools ready and a bit of patience on hand. Follow the steps below and you’ll have clean-cut, well-coated marshmallows that store nicely and behave predictably when toasted or melted.
What Goes Into Marshmallows
Ingredients
- ⅔ cup water, divided — one portion hydrates the gelatin (bloom) and the remainder keeps tools and the knife wet to reduce sticking.
- 3 envelopes (.25 ounce each) unflavored gelatin — provides the structure and that characteristic springy snap (you’ll find this next to the Jell-O at the grocery store).
- 1 cup granulated sugar — the main sweetener and body of the syrup; heats to the soft‑ball stage for proper setting.
- 1 cup light corn syrup — prevents crystallization and keeps the marshmallow smooth and stable.
- 1 pinch of kosher salt — sharpens flavor and balances sweetness.
- 2 teaspoons pure vanilla extract — adds classic flavor; stir in after the hot syrup is added so the flavor stays bright.
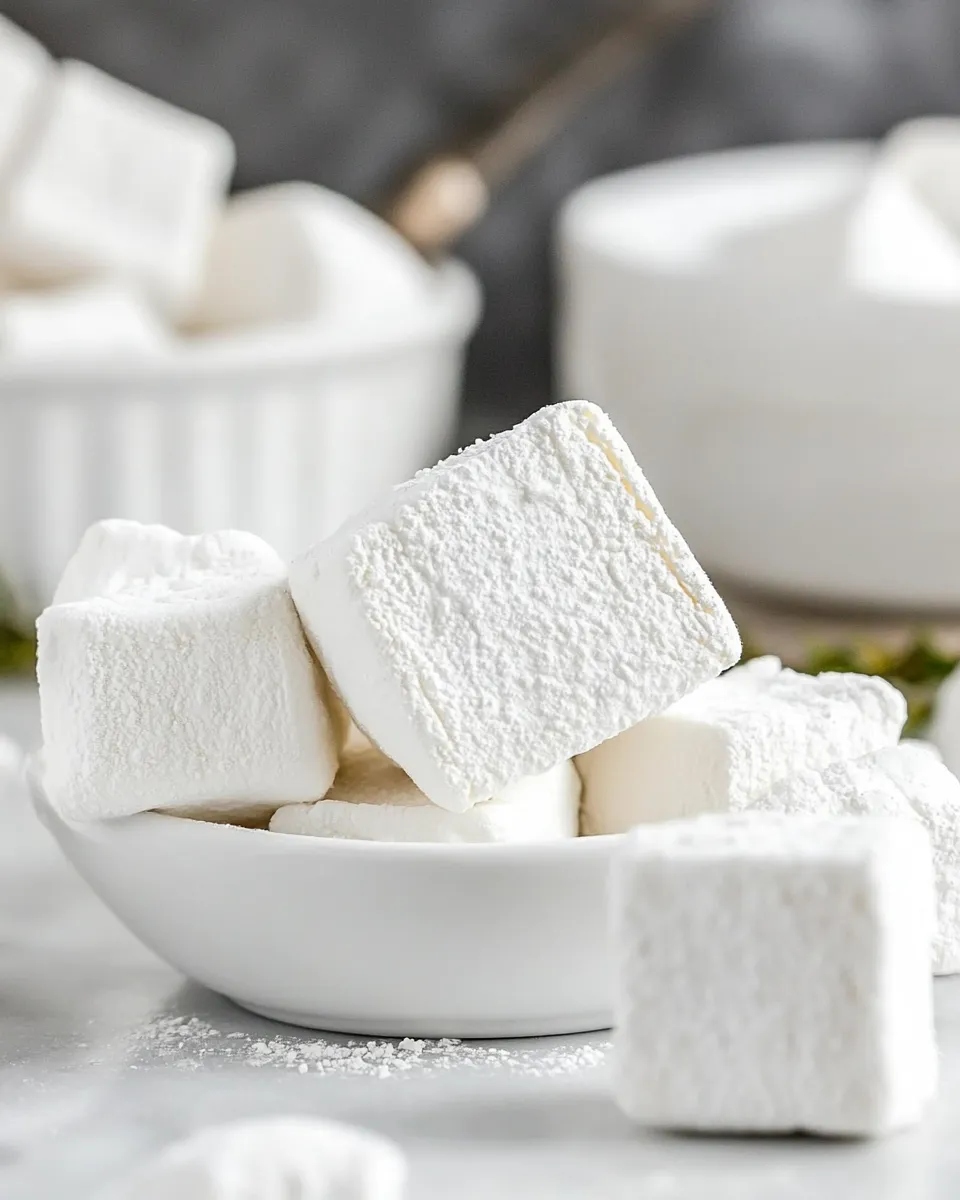
- 1 cup powdered sugar, for dusting the pan and finished marshmallows — prevents sticking and gives the outside a pleasant dry finish for slicing and storage.
Marshmallows Made Stepwise
- Prepare an 8″x8″ pan: thoroughly dust the inside with powdered sugar (use some of the 1 cup reserved for dusting). Tap out any excess and set the pan aside.
- Bloom the gelatin: pour 1/3 cup of the water into the bowl of a stand mixer. Sprinkle the 3 envelopes of gelatin evenly over the water, stir briefly to moisten, and let stand about 10 minutes until the gelatin softens.
- Make the sugar syrup: in a medium saucepan combine the remaining 1/3 cup water, 1 cup granulated sugar, 1 cup light corn syrup, and a pinch of kosher salt. Clip a candy thermometer to the side of the pan, making sure the tip does not touch the bottom. Heat over medium-high and cook without stirring until the syrup reaches 240°F (soft‑ball stage). If sugar crystals form on the sides, brush them down with a pastry brush dipped in water.
- Add the hot syrup to the gelatin: with the mixer running on low speed, very slowly pour the hot syrup into the softened gelatin in a thin, steady stream (aim between the whisk and the bowl to minimize splatter). When all the syrup is added, add 2 teaspoons pure vanilla extract.
- Whip the mixture: increase the mixer speed to medium-high and beat until the mixture turns white, becomes very thick and sticky, and begins to pull away from the sides of the bowl in string-like pieces, about 8 minutes.
- Transfer to the pan and set: using a spatula or wet hands (keep your hands damp with the remaining water to reduce sticking), spread the marshmallow mixture evenly into the prepared pan and press into the corners. Smooth the top as best you can. Let the pan sit uncovered at room temperature until the marshmallow is firm and cool, at least 1 hour.
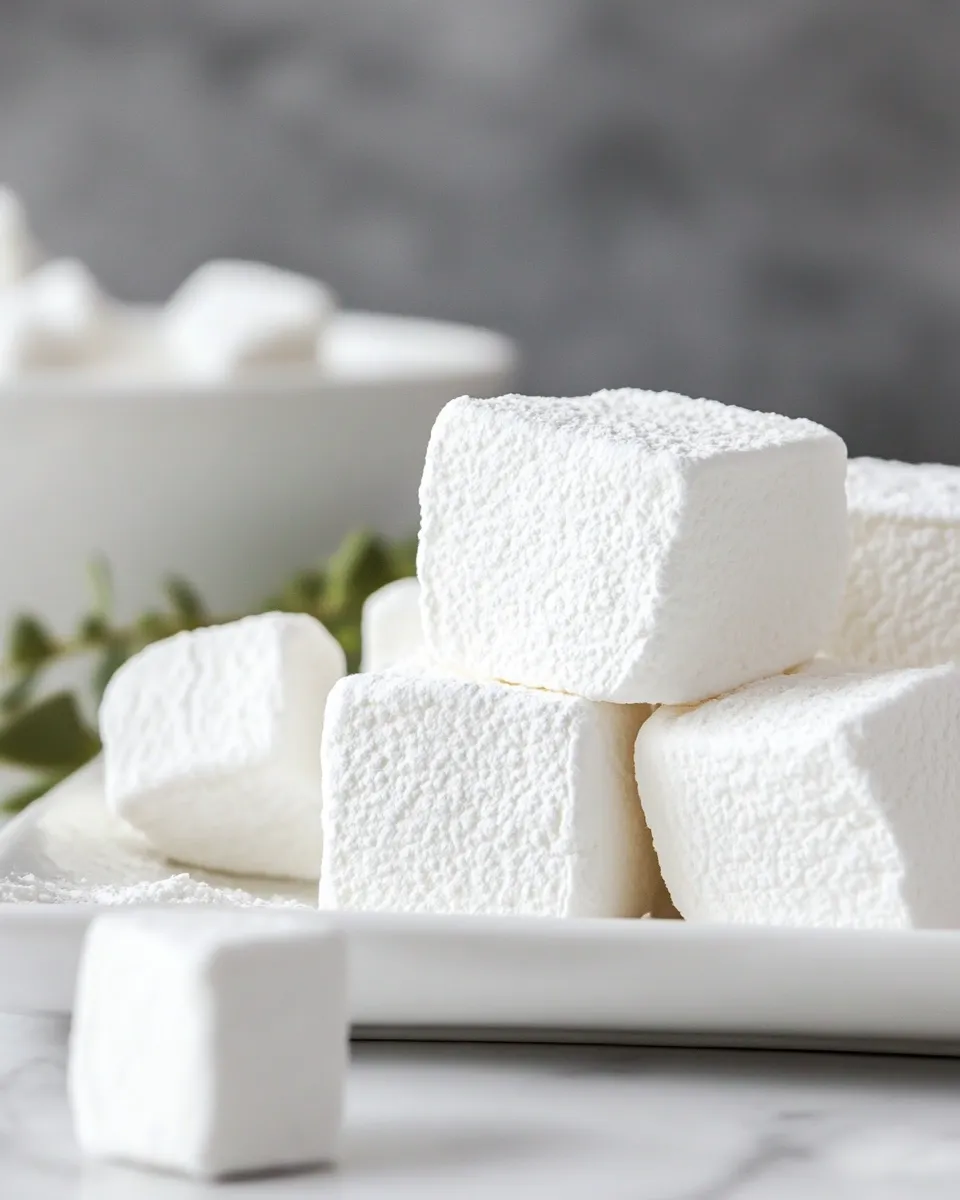
- Cut and coat: sift some powdered sugar into a shallow bowl. Run a wet knife around the edges of the pan to loosen the marshmallow, then turn or lift the marshmallow out onto a cutting board or parchment. Sprinkle the top with powdered sugar. Using a wet knife or pizza cutter, cut into squares. Toss each marshmallow in powdered sugar until fully coated, using more of the reserved powdered sugar as needed.
- Store: keep marshmallows in an airtight container at a cool temperature in a single layer or in layers separated by wax or parchment paper. They will keep well for a couple of weeks.
Why This Recipe Belongs in Your Rotation
Because it reliably produces classic marshmallows with minimal fuss. The ingredient list is short and pantry-friendly, and the technique scales well if you want more. Corn syrup keeps texture smooth, gelatin gives dependable set, and powdered sugar solves the perennial sticking problem.
The process also teaches useful sugar work basics: temperature control, preventing crystallization, and how aeration transforms syrup into an airy confection. Once you’ve made these, you’ll understand how small changes in temperature or timing affect texture—for example, a slightly higher final temperature gives a chewier marshmallow; a little less whipping leaves them softer.
Ingredient Flex Options
This recipe is intentionally simple. If you want to tweak things without changing the core chemistry, focus on how you finish and flavor rather than substituting main ingredients. For example, change the extract you add at the end to vary the aroma, or increase dusting to make edges less sticky. Small handling changes—extra whipping for firmer texture or gentler folding before panning for a softer set—are the safest levers.
Before You Start: Equipment
Gather these tools so the process flows: a stand mixer with a whisk attachment (hand mixers add time but can work), a medium saucepan, a candy thermometer clipped to the pan, an 8″x8″ pan, a pastry brush for cleaning sugar crystals, a spatula, a sifter for powdered sugar, and a sharp knife or pizza cutter for clean slices. Also keep a small bowl of water handy to wet hands and knife when transferring or cutting.
Mistakes That Ruin Marshmallows
There are a few missteps that kill good results. The biggest is under‑bloomed gelatin: if the gelatin doesn’t hydrate fully the marshmallow will be weak and sticky. Another is bringing the syrup to the wrong temperature—below 240°F it won’t set properly; above it becomes too firm or grainy.
Stirring the syrup while it cooks can introduce crystals. If crystals form on the pan sides, brush them down with damp pastry brush as instructed. Pouring the syrup too quickly into the gelatin or stopping the mixer too soon will prevent proper aeration. And cutting before fully set leads to ragged edges; give it at least an hour at room temperature.
Spring to Winter: Ideas
Marshmallows are seasonal but versatile. In spring, cube them into fruit salads or serve lightly toasted with berries. Summer calls for s’mores and campfire toasting—toast once and watch the sugar caramelize. Fall is excellent for spicing them alongside apples or using them in desserts that call for a toasted top. In winter, drop a couple into hot chocolate or fold them into a cozy casserole for guests.
Think beyond snacking: layer into gift jars, skewer with fruit for parties, or use as a soft garnish for coffee drinks. Because these are neutral in flavor, the finishing method—toast, melt, or serve cold—does most of the seasonal work.
Chef’s Rationale
Every ingredient serves a distinct, technical purpose. Gelatin is the only ingredient that creates the elastic network that traps air. Granulated sugar and corn syrup form the syrup matrix; corn syrup’s glucose content prevents sucrose crystallization so the marshmallow stays smooth. The pinch of kosher salt enhances flavor, and the vanilla is added after combining so its delicate aroma doesn’t cook off.
Technique matters. Blooming gelatin gives it the moisture and swell needed to dissolve evenly when the hot syrup is added. Bringing the syrup to the soft‑ball stage ensures the final marshmallow sets but stays tender. Whipping incorporates air and cools the mixture rapidly—this is where volume and texture are created.
Prep Ahead & Store
You can make the marshmallow base and set it in the pan up to 24 hours before cutting; let it sit at room temperature until fully firm. Once cut and coated in powdered sugar, keep them in an airtight container at a cool room temperature. Layer with parchment or wax paper if stacking. Stored this way they will keep well for a couple of weeks.
Do not refrigerate—cold, moist environments can make powdered sugar sticky and cause the marshmallows to weep. Likewise, avoid high humidity when setting or storing; humidity interferes with drying the surface and makes coating harder to keep matte.
Quick Questions
Can I skip the corn syrup? No—corn syrup’s role is to inhibit crystallization and keep the texture smooth. Omitting it raises the chance of a grainy marshmallow.
What if my thermometer is off? Use visual cues: the syrup should reach soft‑ball stage, which is when a small amount of syrup dropped into cold water forms a soft, pliable ball. But a reliable thermometer is the simplest way to consistent results.
How long do they take to set? At least 1 hour at room temperature, often a bit longer if your kitchen is cool. Don’t rush the cutting.
Time to Try It
Set aside an hour and a half start-to-finish, mostly hands-off time. Bloom the gelatin, monitor the syrup, and let your mixer do the heavy lifting. Cut with a wet knife, coat in powdered sugar, and enjoy immediate results that outperform store-bought marshmallows in freshness and texture.
Make a batch this weekend. Keep the steps and temperatures close, and you’ll get consistent, show-off-worthy marshmallows every time.
Marshmallows
Equipment
- 8x8-inch pan
- stand mixer with whisk attachment
- Medium Saucepan
- candy thermometer
- Pastry Brush
- Spatula
- Sifter
- Knife or pizza cutter
- Mixing Bowl
Ingredients
Ingredients
- 2/3 cupwater divided
- 3 envelopes .25 ounce each unflavored gelatin (find this next to the Jell-O at the grocery store)
- 1 cupgranulated sugar
- 1 cuplight corn syrup
- 1 pinchof kosher salt
- 2 teaspoonspure vanilla extract
- 1 cuppowdered sugar for dusting the pan and finished marshmallows
Instructions
Instructions
- Prepare an 8"x8" pan: thoroughly dust the inside with powdered sugar (use some of the 1 cup reserved for dusting). Tap out any excess and set the pan aside.
- Bloom the gelatin: pour 1/3 cup of the water into the bowl of a stand mixer. Sprinkle the 3 envelopes of gelatin evenly over the water, stir briefly to moisten, and let stand about 10 minutes until the gelatin softens.
- Make the sugar syrup: in a medium saucepan combine the remaining 1/3 cup water, 1 cup granulated sugar, 1 cup light corn syrup, and a pinch of kosher salt. Clip a candy thermometer to the side of the pan, making sure the tip does not touch the bottom. Heat over medium-high and cook without stirring until the syrup reaches 240°F (soft‑ball stage). If sugar crystals form on the sides, brush them down with a pastry brush dipped in water.
- Add the hot syrup to the gelatin: with the mixer running on low speed, very slowly pour the hot syrup into the softened gelatin in a thin, steady stream (aim between the whisk and the bowl to minimize splatter). When all the syrup is added, add 2 teaspoons pure vanilla extract.
- Whip the mixture: increase the mixer speed to medium-high and beat until the mixture turns white, becomes very thick and sticky, and begins to pull away from the sides of the bowl in string-like pieces, about 8 minutes.
- Transfer to the pan and set: using a spatula or wet hands (keep your hands damp with the remaining water to reduce sticking), spread the marshmallow mixture evenly into the prepared pan and press into the corners. Smooth the top as best you can. Let the pan sit uncovered at room temperature until the marshmallow is firm and cool, at least 1 hour.
- Cut and coat: sift some powdered sugar into a shallow bowl. Run a wet knife around the edges of the pan to loosen the marshmallow, then turn or lift the marshmallow out onto a cutting board or parchment. Sprinkle the top with powdered sugar. Using a wet knife or pizza cutter, cut into squares. Toss each marshmallow in powdered sugar until fully coated, using more of the reserved powdered sugar as needed.
- Store: keep marshmallows in an airtight container at a cool temperature in a single layer or in layers separated by wax or parchment paper. They will keep well for a couple of weeks.
Notes
adapted from “jam it, pickle it, cure it” by Karen Solomon