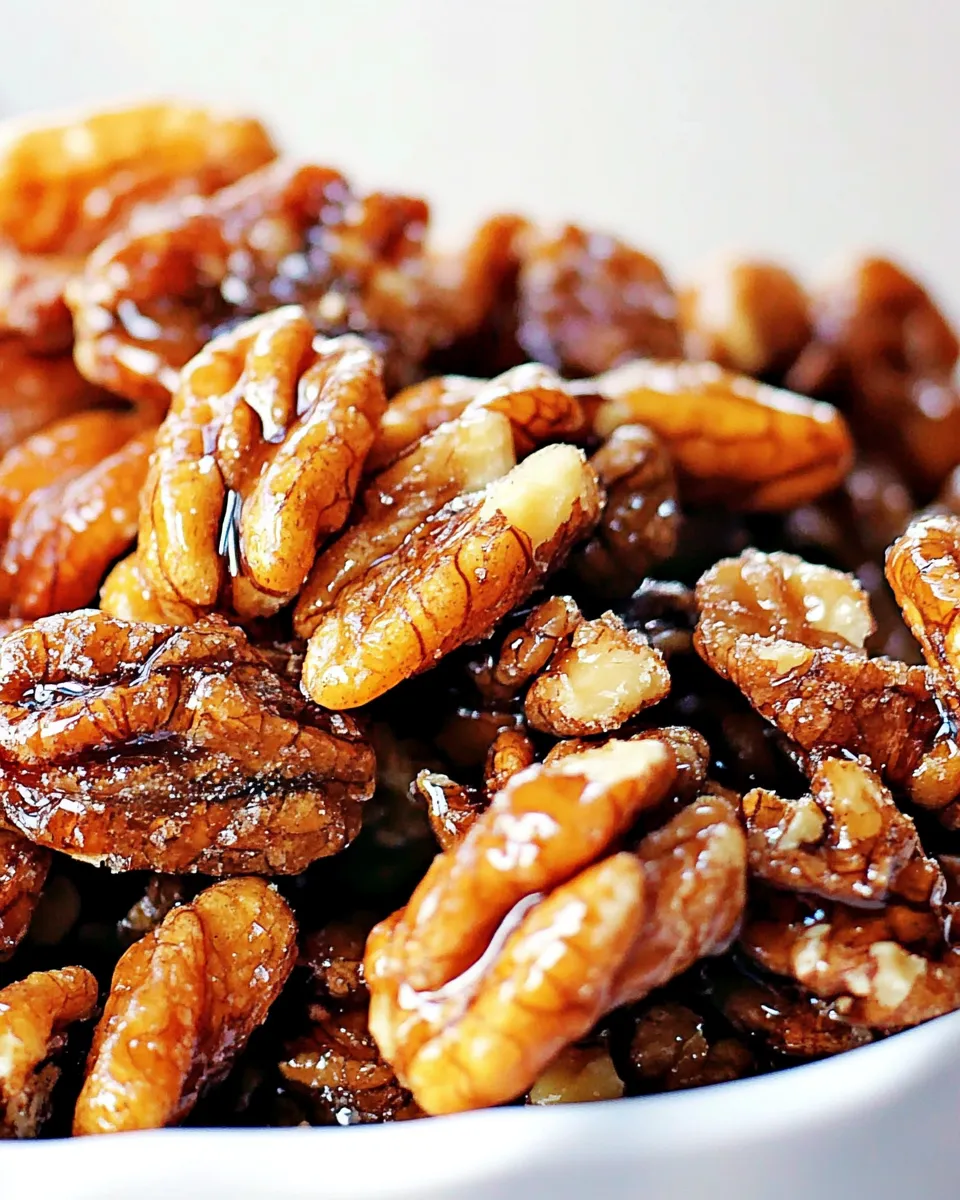
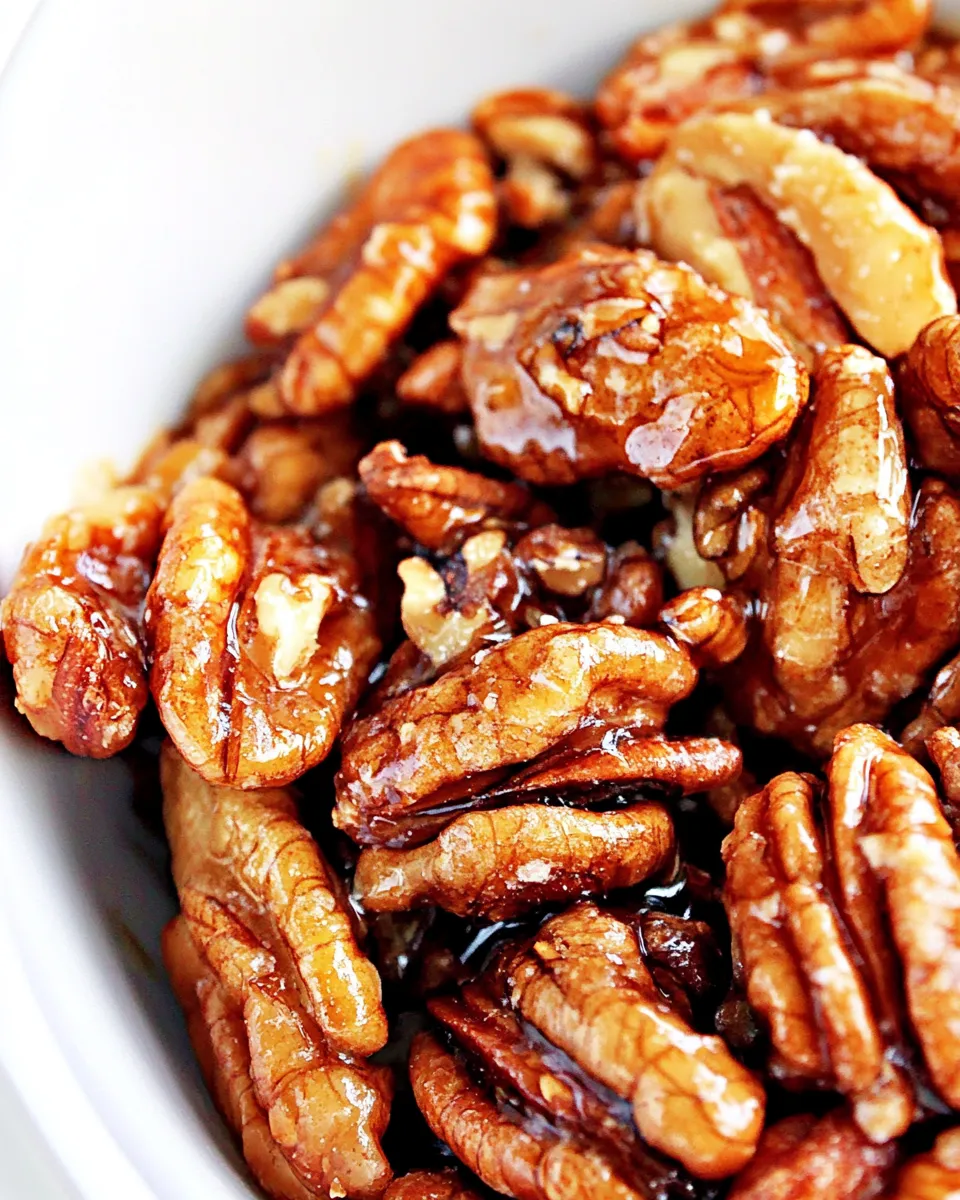
These glazed nuts come together in a flash and make an instant pantry-to-party upgrade. They are glossy, crunchy, and just sweet enough to sit happily next to a bowl of olives or a block of sharp cheese. I reach for this little skillet trick when I want something homemade that feels celebratory but doesn’t eat up my afternoon.
The whole method is straightforward: sugar, butter, and raw nuts seared together until the sugar melts and cloaks each nut in a shiny shell. It’s hands-on for just a few minutes, so you stay in control of the color and crunch. No candy thermometer. No fuss.
I’ll walk you through the exact ingredients and the six simple steps, then share practical tips for storing, tweaking, and turning this recipe into a snack you’ll make again and again. If you like crunchy, sweet snacks with a warm skillet aroma, this is one to keep in your short list.
Shopping List
Buy good raw nuts, not pre-roasted or salted. Raw nuts take the glaze better and let you control the final salt level. One cup is all you need for a single batch, so small packages are fine if you want to try different nut combos.
Choose a neutral granulated sugar. Fine granulated sugar melts quickly; very coarse sugars will take longer and change the texture. Use unsalted butter so you can add salt later to taste, rather than having little salt pockets in the glaze.
Other pantry items: parchment paper or a silicone mat, and a large nonstick skillet. If you don’t have a nonstick pan, make sure your skillet is well-seasoned and monitor the heat closely so the sugar doesn’t stick or burn.
Ingredients
- 1 cup whole raw nuts — the base of the recipe; use almonds, pecans, walnuts, cashews, or a mix. Whole nuts coat more evenly.
- 1/4 cup sugar — provides the glossy, crunchy coating; granulated sugar works best for quick melting.
- 1 tablespoon butter — adds richness and helps the sugar melt into a smooth glaze; unsalted gives you control over seasoning.
Perfect 5 Minute Glazed Nuts: Step-by-Step Guide
- Line a baking sheet with parchment paper or a silicone mat and set aside.
- Add 1 cup whole raw nuts, 1/4 cup sugar, and 1 tablespoon butter to a large nonstick skillet.
- Place the skillet over medium heat and stir constantly with a rubber or heat‑proof spatula. Turn the heat down if the sugar starts browning or smoking.
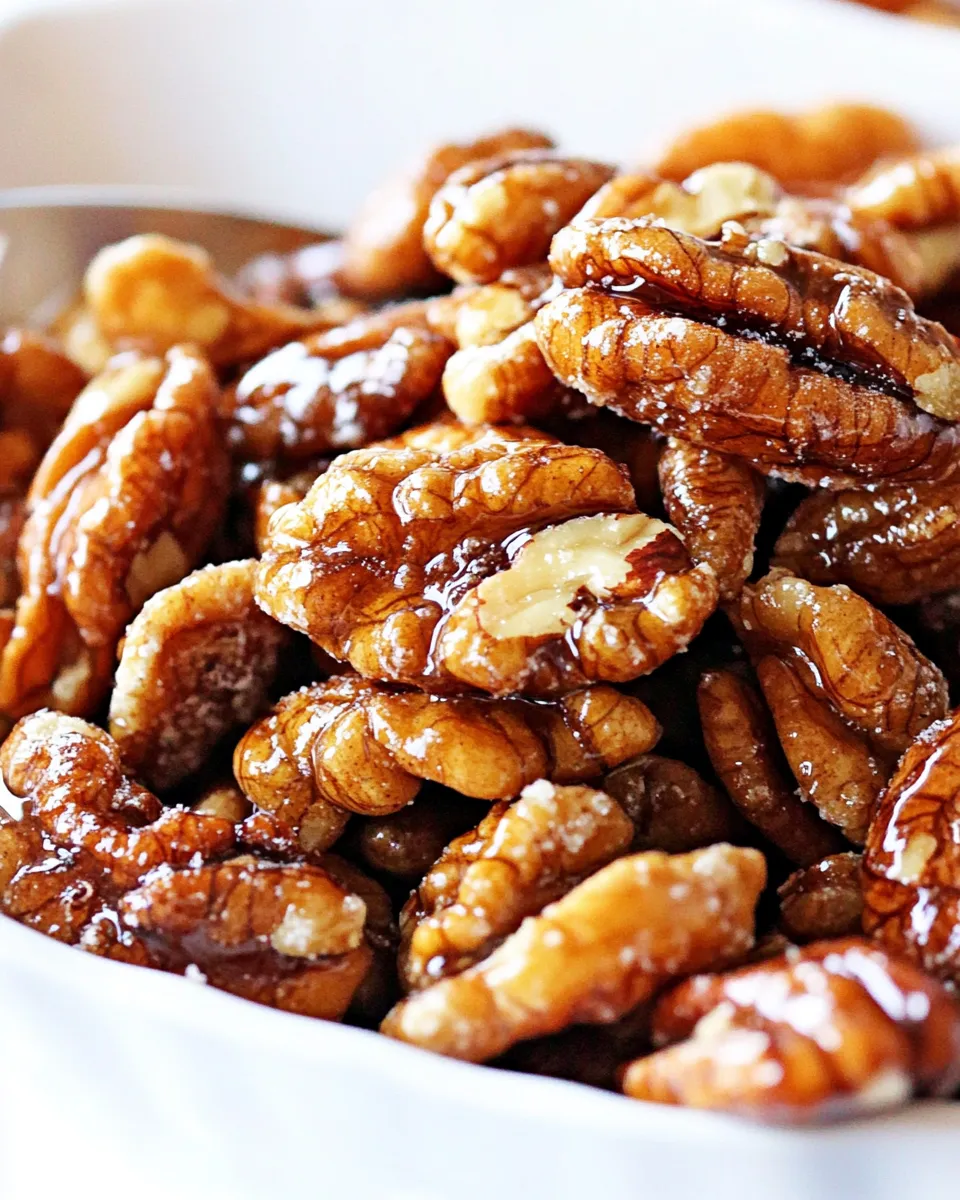
- Continue stirring until the sugar melts into the butter and completely coats the nuts, about 5–7 minutes. The mixture may look grainy until it suddenly melts and becomes glossy at the end.
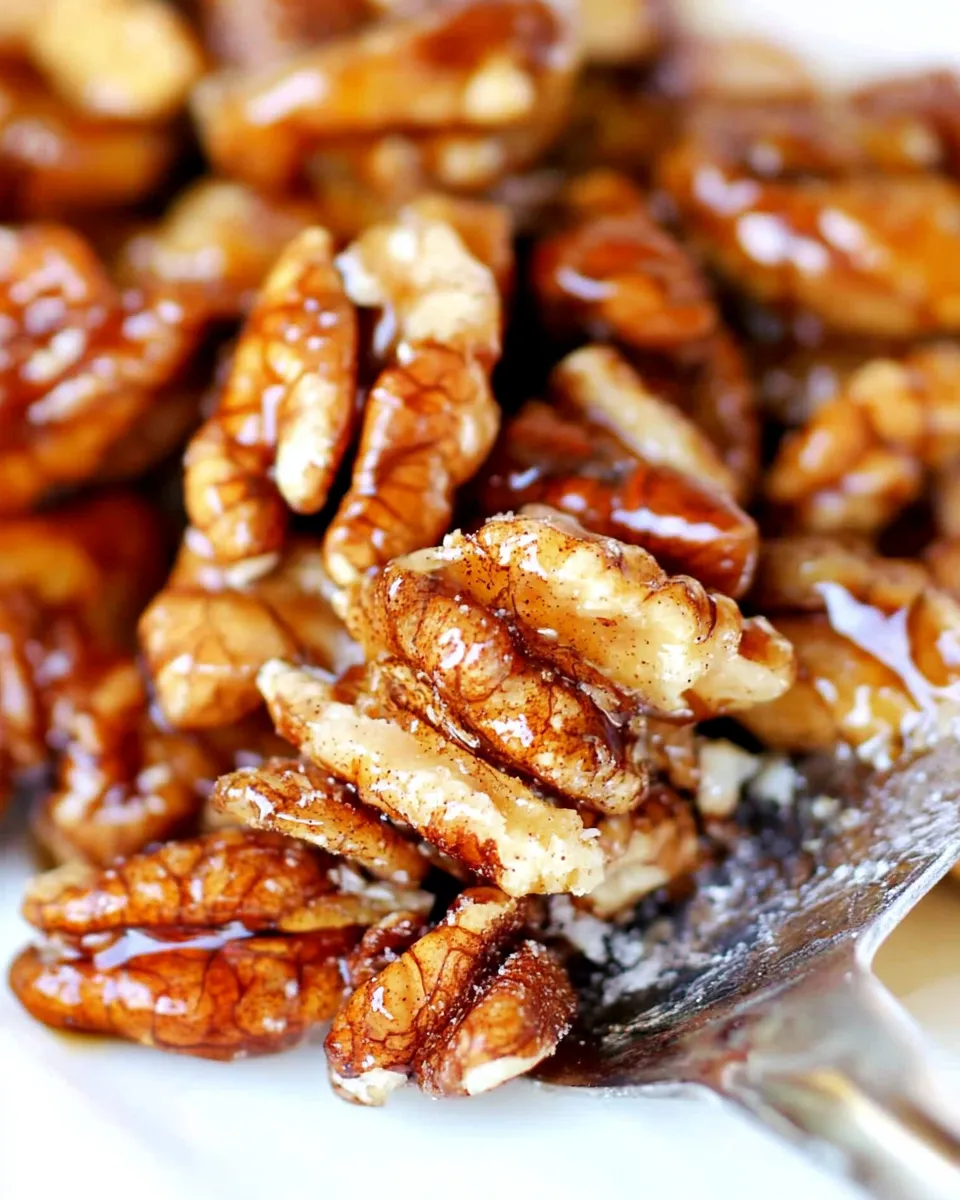
- Immediately pour the coated nuts onto the prepared parchment and use two forks to spread them into a single layer and separate any clusters while the coating is still warm.
- Let the nuts cool undisturbed until the coating hardens, about 5–7 minutes. Once cooled, break apart any remaining clusters or chop the nuts if desired.
Why It Deserves a Spot
This recipe earns a permanent spot in my rotation because it hits several useful marks: speed, texture, and versatility. In about five minutes of active stove time you get nuts that look and taste like they took longer. That’s rare when you want an elevated snack fast.
Texture is the winner here. The sugar melts into a thin, hard shell that gives way cleanly when you bite. The nuts stay toasted but not dry, thanks to the butter. You get crunch without a cloying, thick candy shell.
And then there’s versatility. These are wonderful on a cheese board, mixed into salad, tossed with roasted vegetables, or simply snack-bagged for an afternoon crunch. They travel well and make a thoughtful last-minute hostess gift.
Low-Carb/Keto Alternatives
Want a lower-carb version? Swap the sugar for a brown erythritol blend or another granular erythritol-based sweetener designed for baking. They can mimic the texture of granulated sugar when heated, though results vary by brand. Keep in mind erythritol can recrystallize differently, so the coating may be a bit less glossy.
Use the same method and the same quantities for nuts and butter. Reduce the heat if the alternative sweetener melts faster or differently. Taste and adjust a light sprinkle of flaky salt at the end to balance the sweetness.
What’s in the Gear List
- Large nonstick skillet — crucial for even heat and easy stirring. A wide pan gives you room to move the nuts and prevents crowding.
- Rubber or heat‑proof spatula — for constant stirring without scratching the pan.
- Baking sheet — lined with parchment or a silicone mat to cool the nuts and prevent sticking.
- Two forks — simple and perfect for spreading and separating the nuts while the glaze is warm.
- Measuring cups and spoon — stick to the amounts listed for consistent results.
Steer Clear of These
Do not walk away while the nuts cook. This is a hands-on five-minute process that needs constant stirring to prevent hot spots and burning. Sugar will go from grainy to glossy quickly; missing that moment leads to burnt, bitter sugar.
Avoid high heat. If the skillet gets too hot the sugar will smoke and caramelize too fast, which ruins the flavor. If you see smoking, turn the heat down and continue stirring.
Don’t use pre-roasted or salted nuts unless you want a much saltier end result. The recipe assumes raw nuts so the glaze adheres properly and the final salt level is yours to control.
Health-Conscious Tweaks
If you want to trim sugar without changing the technique much, reduce the sugar to 3 tablespoons. The glaze will be lighter but still present. Keep the butter amount the same for mouthfeel. No new ingredients are required—just less sugar.
To increase healthy fats, choose nuts higher in unsaturated fats like almonds or walnuts. That doesn’t change the recipe, but it shifts the nutrition profile. Add a light sprinkle of sea salt after cooling to enhance flavor while keeping sugar lower.
For dairy-free glazing, swap the butter for an equal amount of coconut oil. The final flavor will be subtly different; coconut oil melts at a lower temperature, so watch the heat and proceed carefully.
Flavor Logic
The structure of this simple glaze is sugar + fat + nut. Sugar provides the crisp shell and sweetness. Butter delivers richness and helps the sugar melt evenly into a glossy coating. Nuts bring the texture and their distinct flavors—almonds are clean and slightly sweet, pecans are buttery, and cashews add creaminess.
Salt is your friend here. A tiny sprinkle of flaky sea salt after cooling wakes the flavors and balances the sweetness. If you like spice, toss the nuts with a pinch of cayenne or smoked paprika during the final stir for a savory-sweet kick.
Acidity plays well if you plan to use these over a salad. A little finely grated orange zest mixed into the nuts after cooling brightens the whole batch. Keep additions light so the crunchy shell remains the star.
Save It for Later
Store cooled glazed nuts in an airtight container at room temperature. They keep well for up to two weeks, depending on the nut type. If you live somewhere humid, add a small desiccant packet or store them in a cool, dry place; humidity will soften the shell over time.
Freezing works, too. Lay them flat in a single layer on parchment inside a freezer-safe bag. Thaw at room temperature; the shell will remain crisp. Avoid refrigeration—cold can introduce condensation when you take them out, which ruins the glaze.
For gifting, pack in small jars or cellophane bags with a ribbon. Label with the nut type and date. Homemade glazed nuts make a quick hostess present that looks fancy but is brilliantly simple.
Ask the Chef
Q: Can I use pre-roasted nuts?
A: Yes, but expect a slightly different texture and flavor. Roasted nuts have less surface moisture and may brown faster, which changes the timing. They also often contain oil or salt that affects how the sugar adheres and the final seasoning.
Q: My sugar crystallized and stayed grainy. What went wrong?
A: Grainy sugar usually means the sugar didn’t fully dissolve into the butter before cooling. Keep stirring and maintain medium heat; the mixture often looks grainy until it suddenly becomes glossy. If you cool too early, the sugar will set grainy. You can return the pan to low heat and stir until it smooths, but do so gently to avoid burning.
Q: How do I make larger batches?
A: Scale the ingredients proportionally, but use a wider pan to avoid crowding. Crowded nuts steam rather than glaze, which leads to a softer shell. Work in batches if needed to keep each nut coated and separated.
Q: Can I add spices?
A: Yes. Add spices like cinnamon, cayenne, or smoked paprika toward the end of cooking, just before pouring the nuts onto the parchment. That helps the spices adhere to the warm glaze without burning them in the pan.
In Closing
This Perfect 5 Minute Glazed Nuts recipe is a tiny, dependable win. It rewards careful attention for a short window with a glossy, crunchy result that feels special. Follow the steps, keep your eye on the pan, and you’ll have a snack that elevates everything from simple afternoons to celebratory gatherings.
Make a batch tonight. Keep the ingredients on hand. With this skillet technique you can turn pantry staples into something memorable in minutes.
Perfect 5 Minute Glazed Nuts
Equipment
- Baking Sheet
- Parchment Paper
- silicone baking mat
- large nonstick skillet
- rubber or heat-proof spatula
- forks
Ingredients
Ingredients
- 1 cupwhole raw nuts
- 1/4 cupsugar
- 1 tablespoonbutter
Instructions
Instructions
- Line a baking sheet with parchment paper or a silicone mat and set aside.
- Add 1 cup whole raw nuts, 1/4 cup sugar, and 1 tablespoon butter to a large nonstick skillet.
- Place the skillet over medium heat and stir constantly with a rubber or heat‑proof spatula. Turn the heat down if the sugar starts browning or smoking.
- Continue stirring until the sugar melts into the butter and completely coats the nuts, about 5–7 minutes. The mixture may look grainy until it suddenly melts and becomes glossy at the end.
- Immediately pour the coated nuts onto the prepared parchment and use two forks to spread them into a single layer and separate any clusters while the coating is still warm.
- Let the nuts cool undisturbed until the coating hardens, about 5–7 minutes. Once cooled, break apart any remaining clusters or chop the nuts if desired.
Notes
*If using chopped nuts, don’t chop them too small or they will burn.