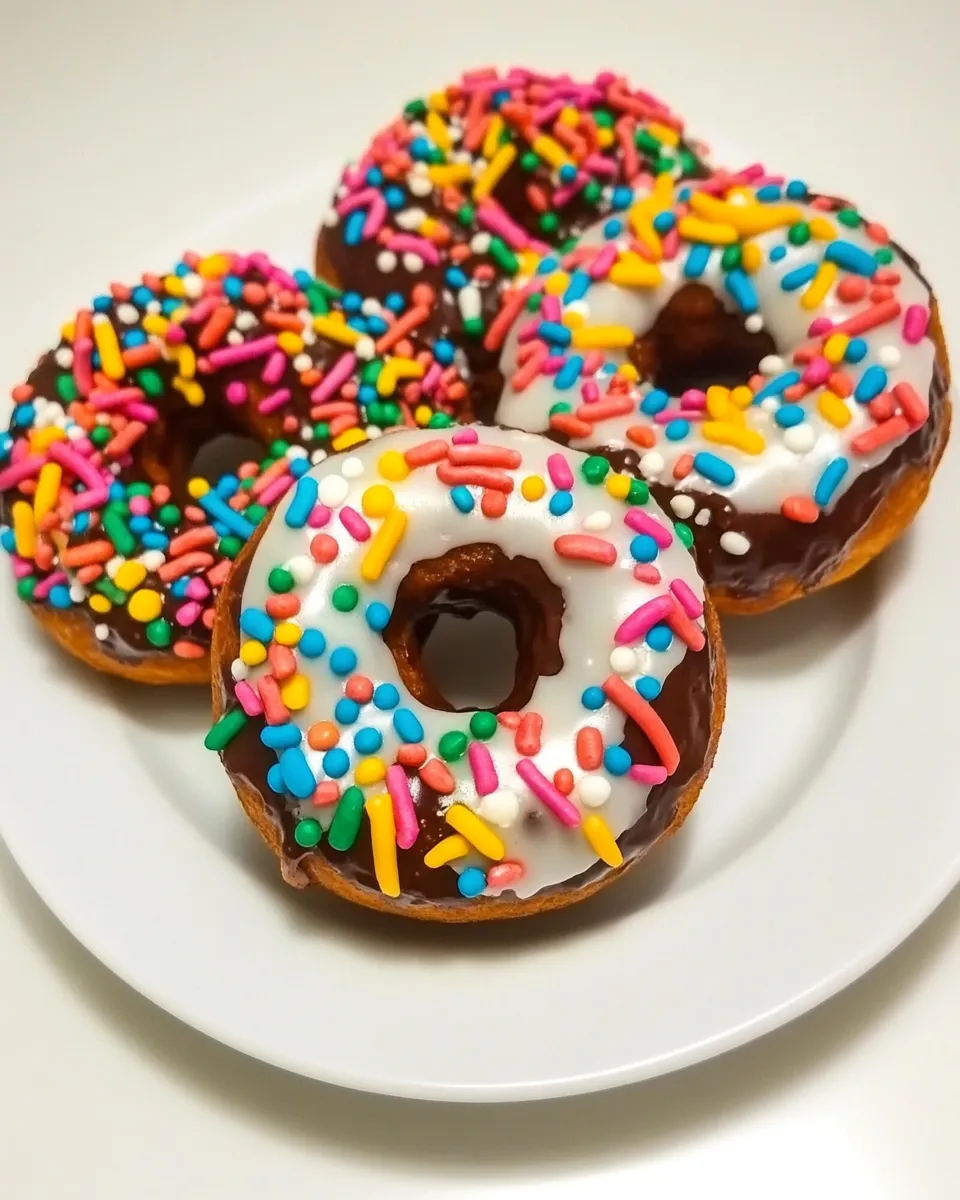
These Protein Donuts are my go-to when I want something that feels indulgent but actually fuels me. They bake quickly, come together with a bowl and a spatula, and hit that chocolatey, peanut-buttery spot without relying on a tray of deep-fried dough. I like them for breakfast, an after-workout snack, or an evening treat with a cup of tea.
They’re forgiving: the batter is thick and easy to portion, and the pan method keeps cleanup minimal. I prefer to frost them once fully cooled, which makes them look bakery-made, but they’re perfectly good plain—dense, tender, and pleasantly cakey.
The recipe is flexible in small ways that don’t change measurements. You can pick yogurt or mashed banana, maple or honey, and a variety of nut butters. Below you’ll find the exact ingredients and the step-by-step bake method I followed during testing, plus troubleshooting and storage tips so your batch comes out right the first time.
What’s in the Bowl
Ingredients
- 3/4 cup flour (90g) — provides the structure and crumb; all-purpose works well.
- 1/4 cup chocolate protein powder (30g) — adds chocolate flavor and a protein boost; choose your preferred blend.
- 2 tbsp cocoa powder (10g) — deepens the chocolate intensity.
- 1 tsp baking powder — the leavening agent that gives these donuts lift.
- 1/4 tsp salt — balances sweetness and enhances flavor.
- 1/2 cup peanut butter (or any nut or seed butter) (120g) — fat and moisture; use smooth for easiest mixing.
- 1/3 cup water (80g) — thins the batter to the right consistency; add a tablespoon at a time if needed.
- 1/4 cup yogurt or mashed banana (60g) — your choice here affects texture: yogurt keeps it tangy and moist; banana adds sweetness and banana flavor.
- 1/4 cup pure maple syrup or honey (60g) — liquid sweetener and binder; pick based on taste and dietary preference.
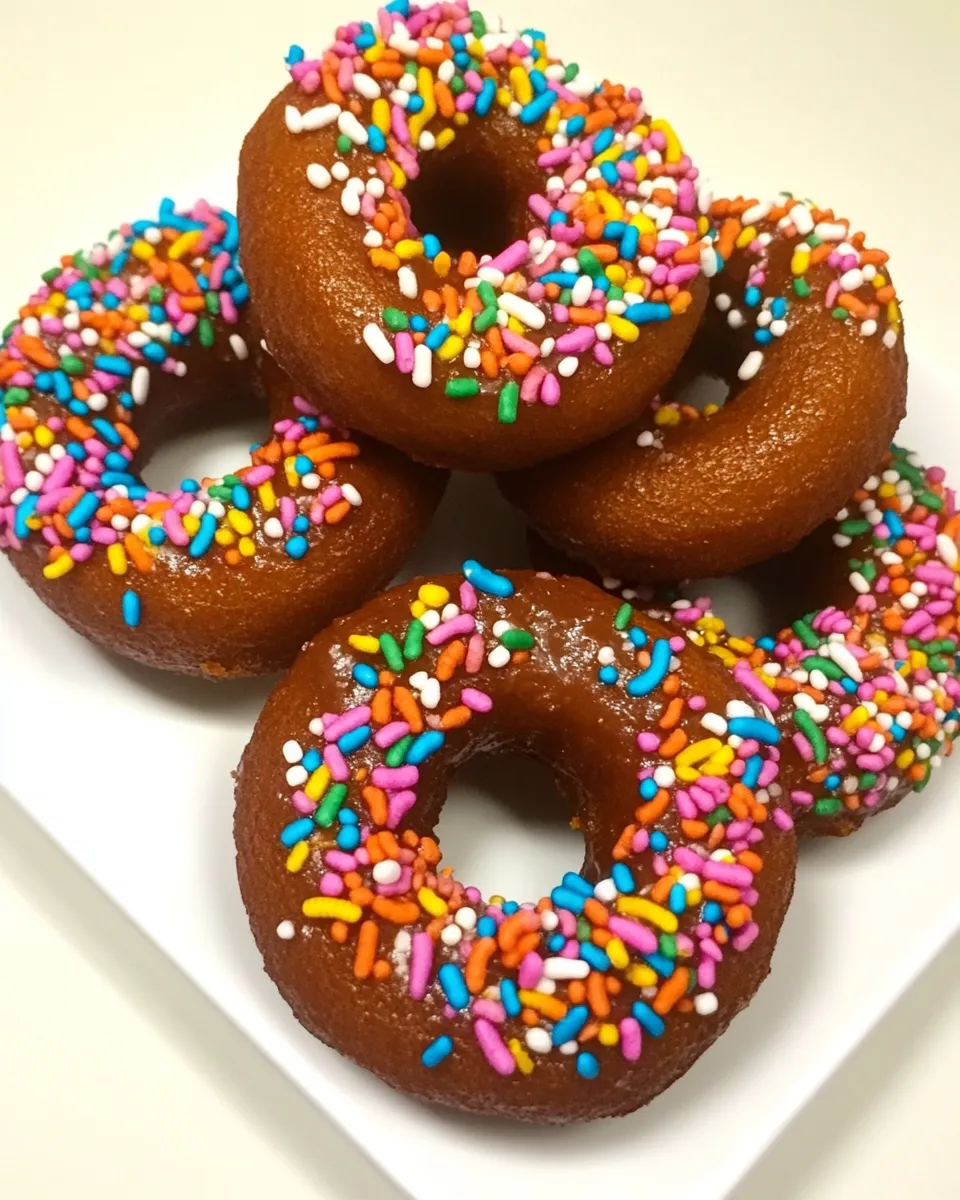
- Optional toppings (see above) — any frosting, sprinkles, nuts, or a drizzle; optional and customizable.
Cook Protein Donuts Like This
- Preheat the oven to 350°F (175°C). Grease a donut pan (or a mini muffin pan if making donut holes).
- In a medium bowl, whisk together the dry ingredients: 3/4 cup flour, 1/4 cup chocolate protein powder, 2 tbsp cocoa powder, 1 tsp baking powder, and 1/4 tsp salt until evenly combined.
- In a separate bowl, stir together the wet ingredients: 1/2 cup peanut butter, 1/3 cup water, 1/4 cup yogurt or mashed banana (whichever you chose), and 1/4 cup pure maple syrup or honey (whichever you chose) until smooth.
- Pour the wet mixture into the dry ingredients and gently stir until just combined and a thick batter forms. Do not overmix.
- Spoon or pipe the batter into the prepared pan, filling each donut cavity about three-quarters full (for mini pans/donut holes, fill about two-thirds full).
- Bake in the preheated oven for about 8 minutes, or until a toothpick inserted into the center of a donut comes out mostly clean.
- Remove the pan from the oven and let the donuts cool in the pan for a few minutes. Carefully run a knife around the edges of each donut and transfer them to a wire rack to cool completely.
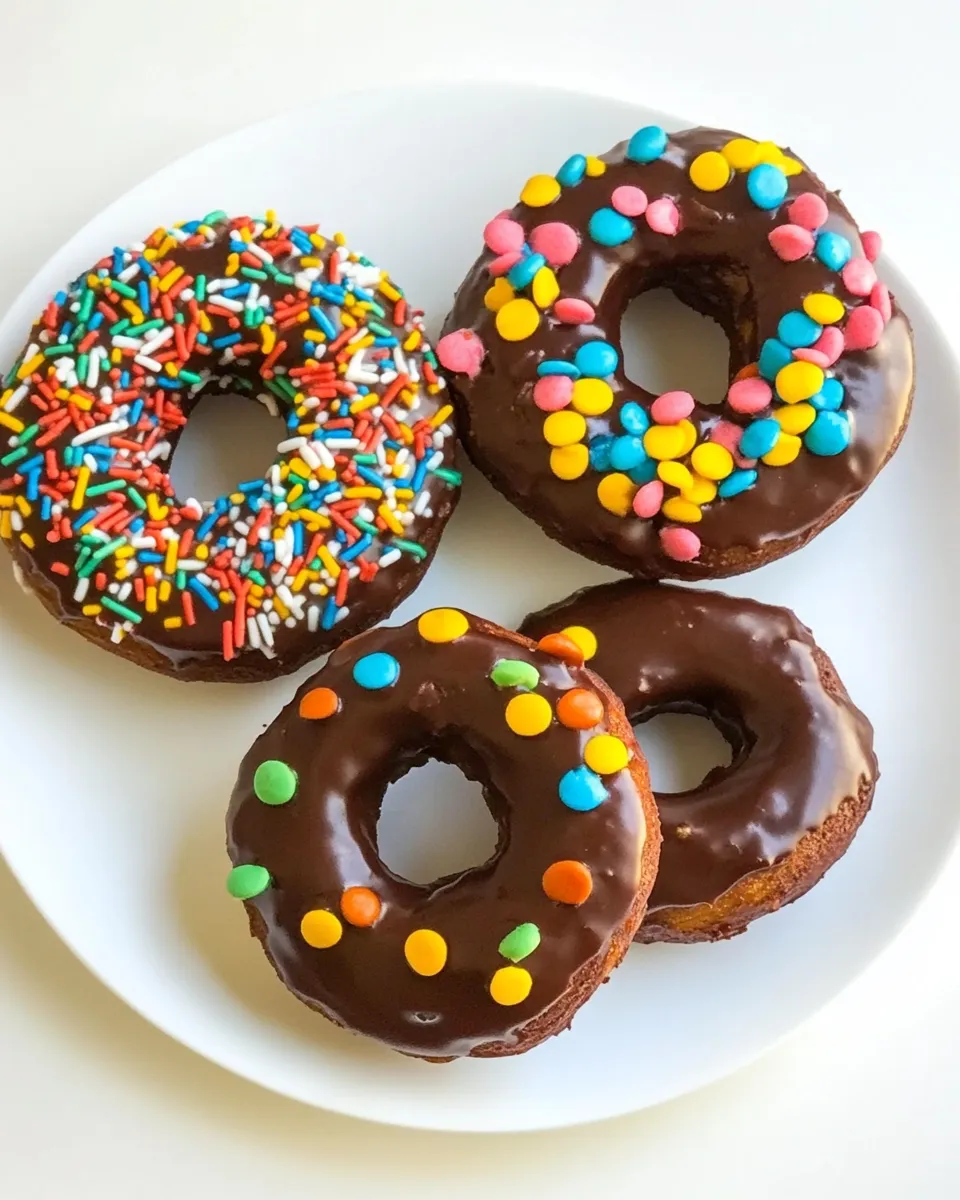
- Once fully cool, add frosting or optional toppings as desired and serve.
Why Protein Donuts is Worth Your Time
They bake in under 10 minutes, so the total hands-on time is minimal. That makes Protein Donuts a realistic option on busy mornings or the afternoon you forgot to pack a snack. Unlike fried donuts, these are baked and portable—packed with protein and significantly less greasy.
They strike a practical balance: sweet enough to feel like a treat, but with real nutrition from the protein powder and nut butter. You can tailor the fat and sweetness to your needs without changing the formula, so they’re a small win for anyone trying to eat intentionally without sacrificing flavor.
International Equivalents
Measurements here are in cups and grams where provided; if you’re outside the U.S., use kitchen scales whenever possible for the most consistent results—3/4 cup flour ≈ 90g, 1/4 cup protein powder ≈ 30g, 2 tbsp cocoa ≈ 10g, 1/2 cup peanut butter ≈ 120g, and so on. Chocolate protein powder is widely available, but if your country labels protein differently (whey, soy, pea), choose a chocolate-flavored option to preserve the intended flavor.
Maple syrup is a classic sweetener in North America; honey or any runny sweetener can be used in its place. Yogurt is broadly available—use plain or Greek depending on desired tang and thickness. If bananas are more common where you bake, mashed banana is a straightforward swap that keeps the recipe true to intent.
Tools of the Trade
- Donut pan — ideal for shape and even baking; a mini muffin pan works for donut holes.
- Mixing bowls — one for dry, one for wet.
- Whisk and spatula — whisk to combine dry ingredients, spatula to fold wet into dry without overmixing.
- Piping bag or large zip-top bag — optional but helpful for neatly filling cavities.
- Wire rack — allows donuts to cool fully without sogginess.
- Toothpick — quick doneness check.
Missteps & Fixes
These are the issues I saw while testing and how to fix them quickly.
- Donuts too dense — likely overmixing. Fold until just combined; any extra stirring makes the protein powder develop a tighter crumb.
- Gummy or underbaked center — oven temperatures vary. If the toothpick comes out wet, give them another 1–2 minutes and check again. For mini tins, reduce bake time if they brown too quickly.
- Pan stickiness — grease the pan well or use a light nonstick spray. Let them cool in the pan for a few minutes before running a knife gently around the edges.
- Batter too thick to pipe — the recipe is meant to be thick, but if it’s unworkable, add a teaspoon of water at a time until it reaches piping consistency.
- Flavor too flat — ensure you use chocolate protein powder or quality cocoa. A pinch more salt can brighten the chocolate notes if needed.
Seasonal Serving Ideas
Think of these as a canvas. In spring or summer, a light yogurt-based frosting with berries brightens the plate. In fall, swap the yogurt for mashed banana and top with a thin maple glaze and crushed nuts for warmth. Around holidays, a dusting of powdered sugar or a chocolate drizzle dresses them up without changing the base recipe.
Serving warm or room temperature changes the experience: warm donuts feel softer and slightly more indulgent; chilled donuts are firmer and more portable. For breakfasts, pair one or two with a latte and fruit. For a post-workout treat, keep them simple—no frosting—so the protein shake and donut combo is balanced.
What I Learned Testing
I tested several permutations: yogurt vs. banana, maple vs. honey, peanut butter vs. other nut butters. Yogurt yielded a cleaner, slightly tangy crumb and consistent texture across batches. Mashed banana added moisture and a banana note that’s delicious but masks some chocolate. Maple syrup feels rounder and more bakery-like; honey is brighter and slightly stickier in the finished donut.
Protein powder matters. A fluffy whey blend gave a lighter texture than denser plant blends. If you use a plant-based powder, expect a slightly firmer crumb and adjust expectations rather than proportions. Also, peanut butter temperature mattered: room-temperature smooth peanut butter mixed best; refrigerated nut butter needed a touch more stirring.
Freezer-Friendly Notes
These freeze beautifully, plain or frosted. Cool completely, then place donuts in a single layer on a tray to freeze for 30–60 minutes. Transfer to an airtight container or resealable bag with layers separated by parchment. Frozen, they keep well for up to 2 months.
To thaw, move to the refrigerator for a few hours or leave at room temperature for 30–60 minutes. If you like them warm, microwave a thawed donut for 10–15 seconds or heat in a 300°F (150°C) oven for a few minutes.
Reader Questions
Q: Can I make these gluten-free?
A: I didn’t change the amount of flour in testing, but you can try a one-to-one gluten-free flour blend in place of the 3/4 cup flour. Expect slight textural differences since gluten-free blends absorb moisture differently.
Q: Can I use a different protein powder?
A: Yes. Chocolate-flavored protein powder is preferred for flavor. Whey tends to give a lighter crumb; plant-based powders may yield a denser texture.
Q: What if I don’t have a donut pan?
A: Use a mini muffin pan for donut holes (fill about two-thirds full) or a regular muffin pan for larger mini-donuts—adjust bake time slightly and test with a toothpick.
Bring It Home
Protein Donuts are a compact, practical solution when you want something sweet that still feels like a sensible choice. They’re fast, adaptable, and unfussy—no frying, no long proofing, and limited equipment. Follow the steps above, choose the wet options that fit your pantry and taste, and you’ll have a batch of reliable, satisfying donuts in under 20 minutes start to finish.
Make a test batch to see which wet ingredient combo you prefer, then scale up. Store them in an airtight container for a few days or freeze extras. If you try them, tell me which variation you liked best—I always want to hear how readers make it their own.

Protein Donuts
Equipment
- Oven
- Donut Pan
- mini muffin pan
- Mixing Bowls
- Whisk
- Spoon
- Piping Bag
- Toothpick
- Knife
- Wire Rack
Ingredients
Ingredients
- 3/4 cupflour or try theseKeto Donuts (90 g)
- 1/4 cupchocolate protein powder 30 g
- 2 tbspcocoa powder 10 g
- 1 tspbaking powder
- 1/4 tspsalt
- 1/2 cuppeanut butter or any nut or seed butter (120 g)
- 1/3 cupwater 80 g
- 1/4 cupyogurtor mashed banana 60 g
- 1/4 cuppure maple syrupor honey 60 g
- Optional toppings see above
Instructions
Instructions
- Preheat the oven to 350°F (175°C). Grease a donut pan (or a mini muffin pan if making donut holes).
- In a medium bowl, whisk together the dry ingredients: 3/4 cup flour, 1/4 cup chocolate protein powder, 2 tbsp cocoa powder, 1 tsp baking powder, and 1/4 tsp salt until evenly combined.
- In a separate bowl, stir together the wet ingredients: 1/2 cup peanut butter, 1/3 cup water, 1/4 cup yogurt or mashed banana (whichever you chose), and 1/4 cup pure maple syrup or honey (whichever you chose) until smooth.
- Pour the wet mixture into the dry ingredients and gently stir until just combined and a thick batter forms. Do not overmix.
- Spoon or pipe the batter into the prepared pan, filling each donut cavity about three-quarters full (for mini pans/donut holes, fill about two-thirds full).
- Bake in the preheated oven for about 8 minutes, or until a toothpick inserted into the center of a donut comes out mostly clean.
- Remove the pan from the oven and let the donuts cool in the pan for a few minutes. Carefully run a knife around the edges of each donut and transfer them to a wire rack to cool completely.
- Once fully cool, add frosting or optional toppings as desired and serve.
Notes
Looking for more protein? Make
Protein Banana Bread
.