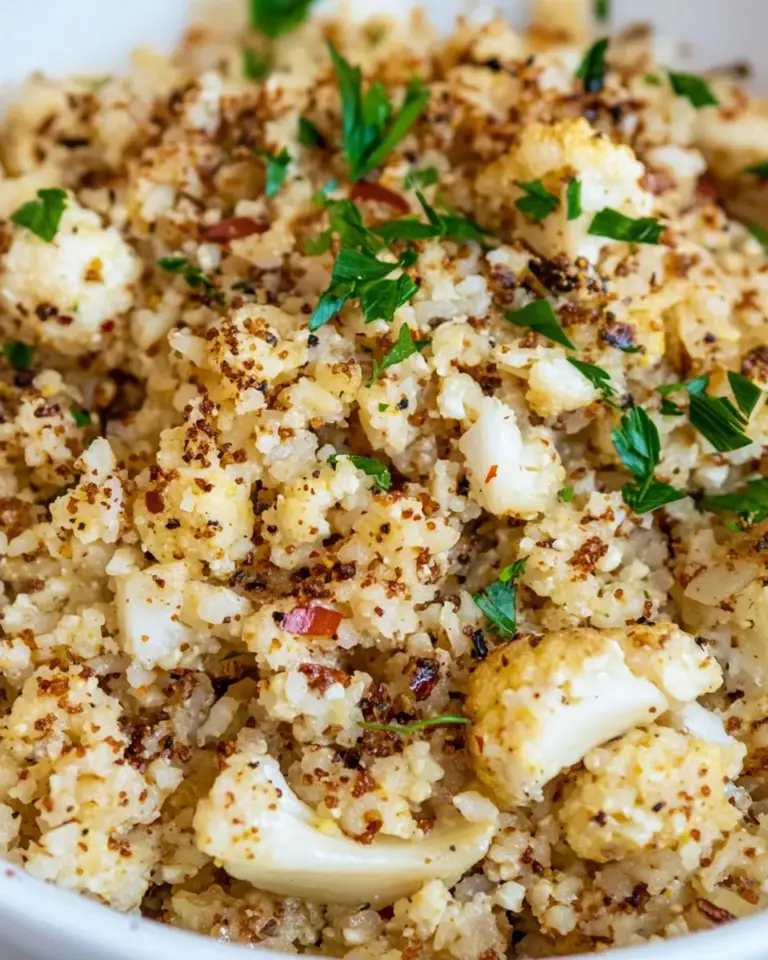
If you’ve been searching for a simple, high-protein loaf that tastes like real bread and keeps your mornings running smoothly, this Protein Bread Recipe is for you. It’s dense in texture, light on carbs, and perfect toasted with nut butter or sliced for sandwiches. The ingredient list is short and straightforward, and the method is forgiving—great for bakers who want consistent results without fuss.
In this post I’ll walk you through why each ingredient matters, offer a few tips for getting the best rise and texture, and provide a clear, step-by-step set of directions so you can pull this loaf from oven to table with confidence. The profile is mild and customizable: feel free to add spices, seeds, or a touch of sweetness once you’re comfortable with the base.
Why this loaf works
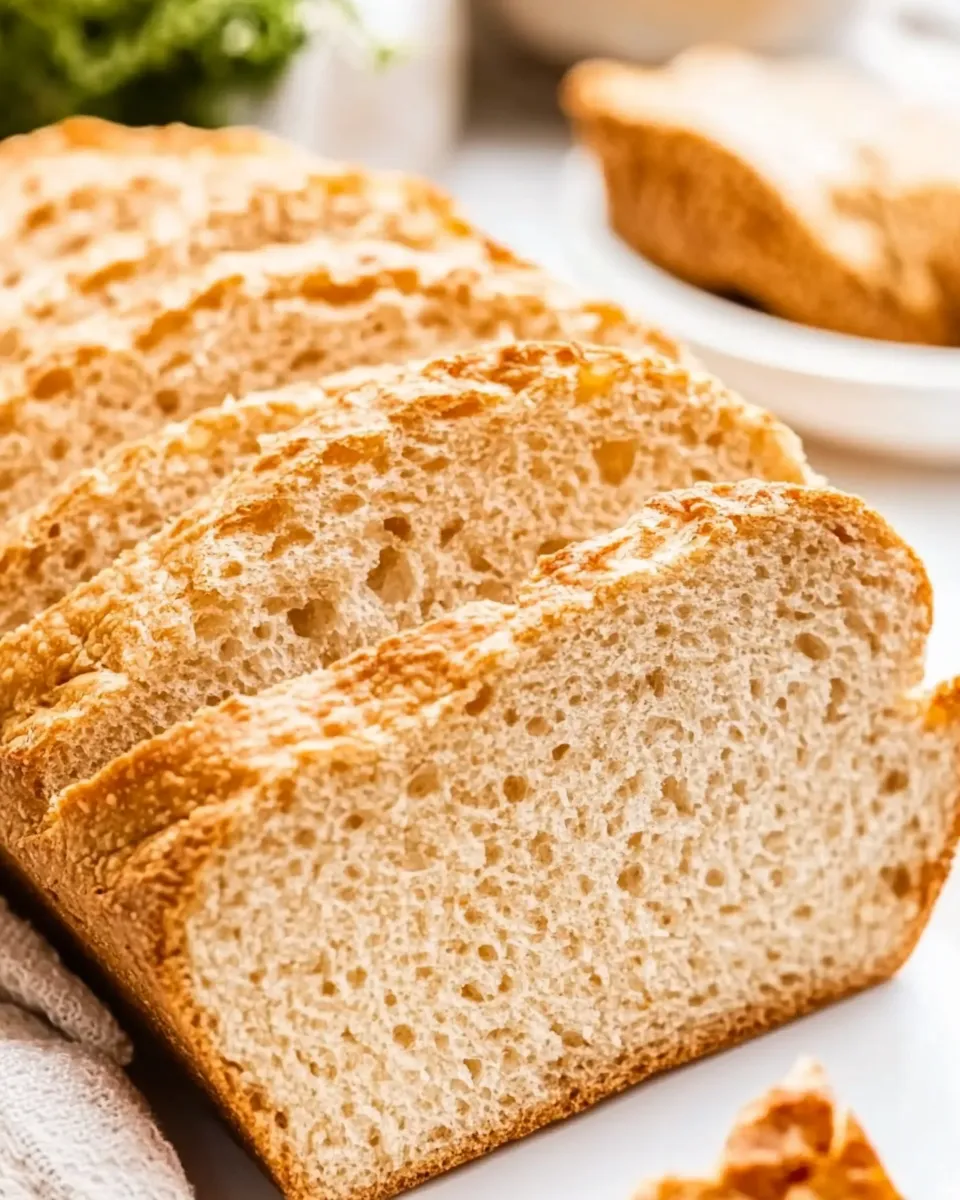
The magic of this Protein Bread Recipe lies in balancing egg whites and protein powder with just enough binder to hold the crumb together. Egg whites whip and trap air, giving lift and a light crumb. Unflavored whey protein provides a neutral, high-protein framework that won’t overpower add-ins. Almond flour contributes a tender crumb and subtle nuttiness, while psyllium husk powder absorbs moisture and mimics the structure you’d usually get from gluten. A small amount of baking powder assures a reliable rise, and a pinch of salt brings everything into balance.
Ingredient notes
- 10 large egg whites — These are the primary structure-builders and leavening agents when beaten. Use room-temperature egg whites for easier whipping and better volume.
- 1/4 teaspoon salt — Enhances flavor; do not omit.
- 1 cup whey protein powder, unflavored — Provides protein and bulk. If you prefer a plant-based swap, a neutral pea protein with similar hydration behavior can be used, but stick to the same amount.
- 1/2 cup almond flour — Adds fat and tenderness. Use finely ground almond flour (not almond meal) for a silkier crumb.
- 1 tablespoon psyllium husk powder — Acts as a binder and moisture-retainer. It’s essential for structure in this gluten-free, low-carb loaf.
- 2 teaspoons baking powder — Gives the loaf lift; ensure it’s fresh for best results.
Tools you’ll need
- Stand mixer or hand mixer (for whipping egg whites)
- Large mixing bowl
- Dry measuring cups and spoons
- Rubber spatula
- 9×5-inch loaf pan, lined with parchment or lightly greased
- Cooling rack
Pre-bake checklist
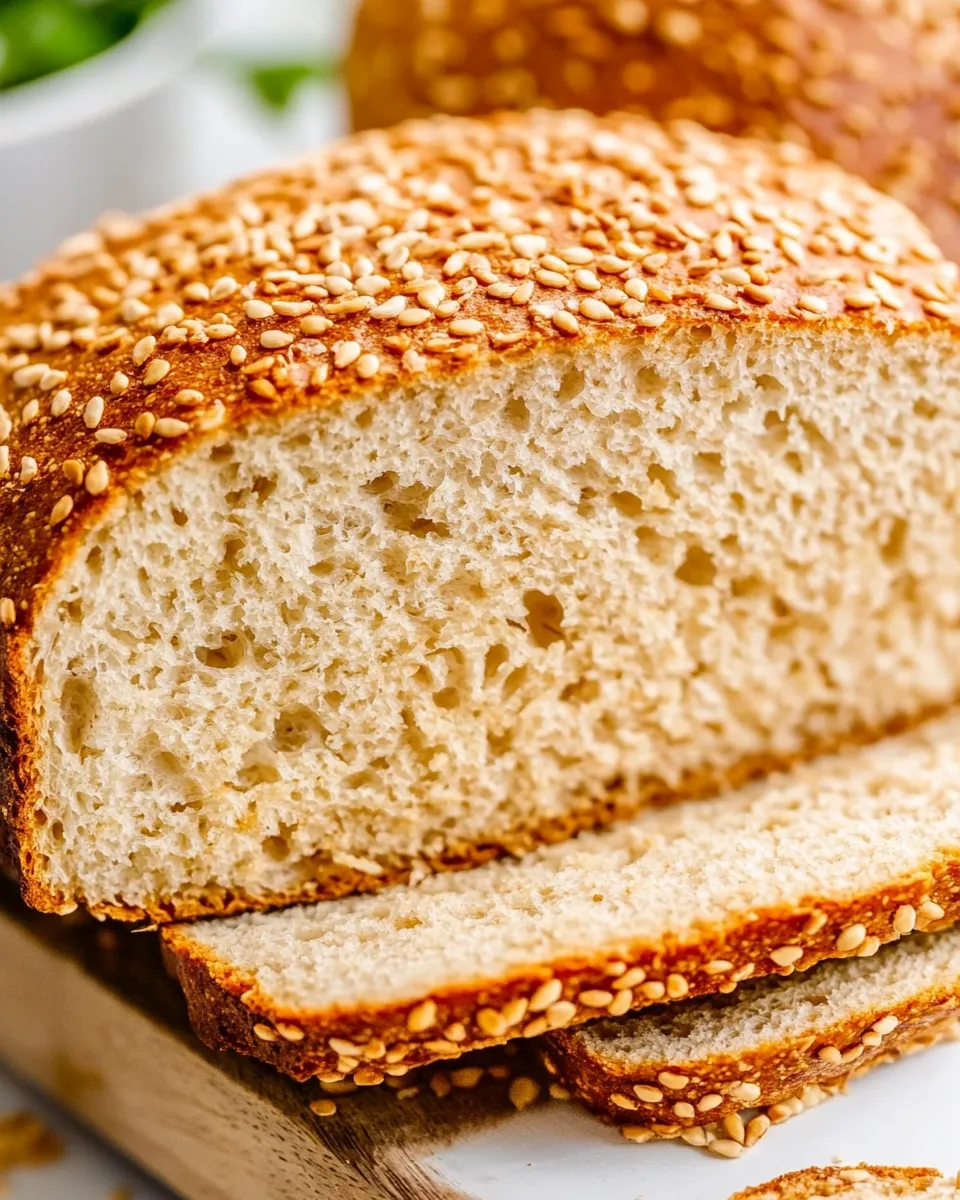
- Preheat the oven to 350°F (175°C).
- Bring egg whites to room temperature if possible; they will whip to greater volume.
- Measure all dry ingredients precisely—accurate proportions are key to texture.
- Grease or line the loaf pan so the finished bread releases cleanly.
Step-by-step directions
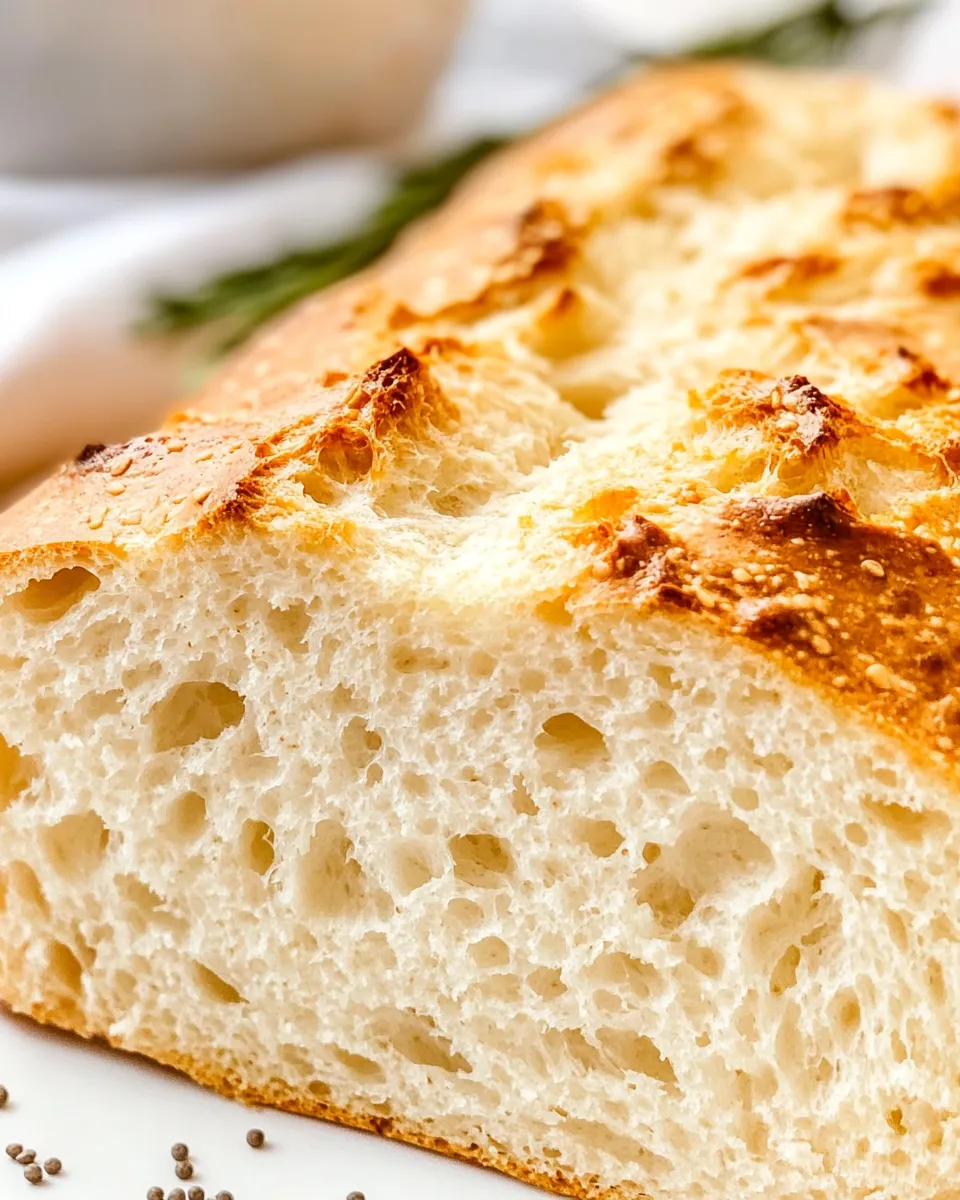
Follow these rewritten directions that preserve the original ingredient amounts and order of preparation while clarifying each step.
- Prepare your pan and oven: Preheat the oven to 350°F (175°C). Line a 9×5-inch loaf pan with parchment paper or lightly grease it so the bread can be removed easily after baking.
- Separate and measure egg whites: Carefully separate 10 large egg whites into a large, clean mixing bowl. Ensure no yolk contaminates the whites, as that will prevent them from whipping properly. If needed, transfer the whites between bowls to remove any stray yolk pieces.
- Add salt to the egg whites: Sprinkle 1/4 teaspoon salt over the egg whites to season and help stabilize the foam.
- Whip the egg whites: Using a stand mixer fitted with the whisk attachment or a hand mixer, beat the egg whites on medium-high speed until they become frothy and then reach firm, glossy peaks. The mixture should hold shape when the beaters are lifted.
- Combine dry ingredients: In a separate bowl, whisk together 1 cup unflavored whey protein powder, 1/2 cup almond flour, 1 tablespoon psyllium husk powder, and 2 teaspoons baking powder. Make sure the powders are evenly distributed and there are no clumps.
- Fold dry ingredients into whipped egg whites: Add about one-third of the dry mixture to the whipped egg whites. Gently fold it in using a rubber spatula to avoid deflating the foam. Continue adding the remaining dry mixture in two more additions, folding just until incorporated. Scrape the bottom and sides of the bowl to make sure there are no streaks of dry flour. The batter should be thick but still slightly airy.
- Transfer batter to the pan: Pour or spoon the batter into the prepared loaf pan, spreading the top evenly with the spatula. Tap the pan gently on the counter once to release any large air pockets without collapsing the mixture.
- Bake the loaf: Place the pan in the center of the preheated oven. Bake for about 30–40 minutes, or until the top is golden and a toothpick inserted into the center comes out mostly clean with a few dry crumbs. Ovens vary, so begin checking at 30 minutes.
- Cool the bread: Remove the loaf from the oven and place the pan on a cooling rack. Allow the bread to cool in the pan for 10–15 minutes, then lift it out using the parchment paper or invert the pan to release. Transfer the loaf to the rack and let it cool completely before slicing. Cooling fully helps the crumb set and prevents the slices from crumbling.
- Store or serve: Once cooled, slice the loaf with a serrated knife. Store any leftovers in an airtight container in the refrigerator for up to 5 days, or freeze slices for up to 2 months. Toast before serving if desired.
Troubleshooting and tips
- If your egg whites won’t whip: Ensure the bowl and beaters are completely clean and dry. Even a small amount of fat will prevent whipping. Room-temperature whites whip to greater volume.
- Dense center: Underbaking can cause a gummy center. If the top browns quickly but the center remains moist, tent the loaf loosely with foil and bake a little longer until the center tests done.
- Crumb falls apart: Make sure you use psyllium husk powder as listed. It’s essential for binding. Overmixing the batter after folding can also deflate the egg whites and weaken the structure.
- Flavor variations: Stir in spices like cinnamon or garlic powder depending on whether you want sweet or savory. Add 1–2 tablespoons of seeds (sesame, poppy, flax) to the top before baking for texture.
Serving suggestions
This Protein Bread Recipe is versatile. For breakfast, toast a slice and top it with nut butter, banana, or a smear of ricotta and honey. For lunch, use it for open-faced sandwiches with smoked salmon, cucumber, and a squeeze of lemon, or keep it simple with avocado and sprouts. It also makes great French toast—dip slices briefly in an egg-milk mixture and cook until golden for a protein-rich treat.
Nutritional considerations
The loaf is high in protein and lower in carbohydrates than traditional wheat bread, thanks to the protein powder and almond flour. It’s a satisfying option when you want bread-like texture without a heavy carb load. Exact nutrition will depend on the specific brands you use, especially the whey protein powder and almond flour. For a calorie and macronutrient breakdown, plug your ingredient labels into your preferred nutrition calculator.
Make-ahead and storage
- Refrigerate: Store in an airtight container in the refrigerator for up to 5 days.
- Freeze: Slice and freeze between layers of parchment to prevent sticking; store in a freezer bag for up to 2 months. Toast slices straight from frozen.
- Reheat: For a crisp exterior, pop slices under the broiler or in a toaster. For gentle warming, microwave briefly.
Final notes
This Protein Bread Recipe is an approachable, everyday loaf that rewards precise measurement and gentle handling. It’s a smart base recipe to experiment with once you’re comfortable with the texture. Add-ins, toppings, and seasonings will all work, but the structure relies on maintaining the ratio of egg whites to dry ingredients and preserving the air you fold in. Follow the steps above, and you’ll have a reliable, protein-packed loaf that keeps well and satisfies like real bread.
If you try this loaf, I’d love to hear how you customized it—did you add spices, seeds, or a sweet swirl? Leave a note about what worked best for your oven and taste preferences. Happy baking!
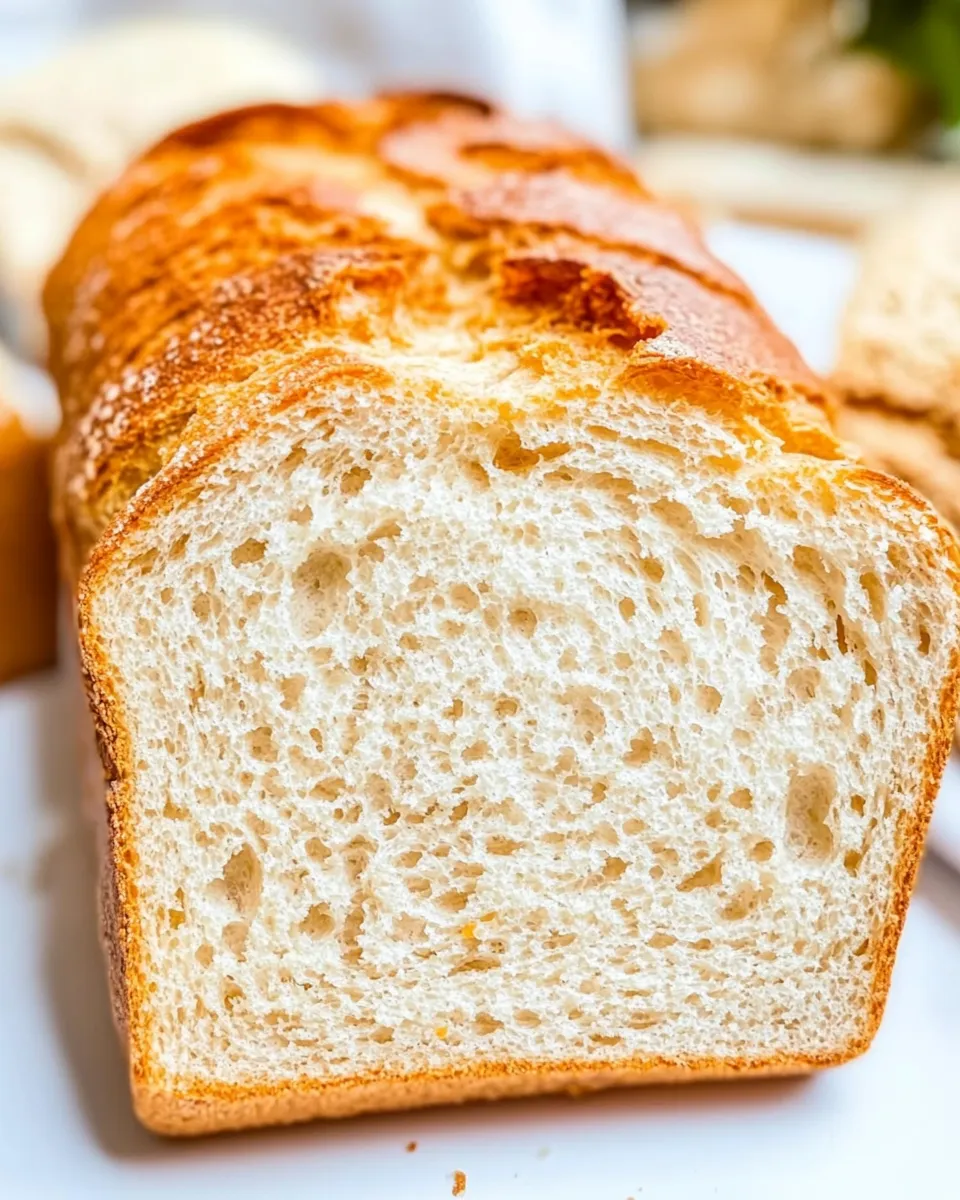
Protein Bread Recipe
Equipment
- loaf pan (8 x 4 inch) lined with parchment
- Large Mixing Bowl
- Electric Hand mixer or Stand mixer
- Spatula
- Measuring cups and spoons
Ingredients
- 10 large egg whites
- 1/4 teaspoon salt
- 1 cup whey protein powder (unflavored)
- 1/2 cup almond flour
- 1 tablespoon psyllium husk powder
- 2 teaspoons baking powder
Instructions
- Preheat the oven to 160°C (325°F) and line an 8 x 4-inch loaf pan with parchment paper.
- In a large dry mixing bowl, combine the egg whites and 1/4 teaspoon salt.
- Using an electric hand mixer or stand mixer, beat the egg whites on medium-high until stiff peaks form, about 5–7 minutes.
- Add the whey protein powder, almond flour, psyllium husk powder, and baking powder to the whipped egg whites and fold or whisk on low speed until just combined and uniform.
- Transfer the batter to the prepared loaf pan and smooth the top with a spatula so it is even.
- Bake for 30 minutes. After 30 minutes, turn the oven off and prop the oven door open slightly to allow the bread to cool slowly inside.
- Leave the loaf to cool in the oven for another 30 minutes, then remove it from the oven, take it out of the pan, and slice to serve.
Notes
- Room temperature egg whites whip faster than cold.
- An 8 x 4-inch loaf pan helps the bread rise and hold shape.
- Line the pan with parchment for easy removal.
- Do not overmix once dry ingredients are added to preserve volume.
- Allow the loaf to cool fully before slicing for cleaner slices.