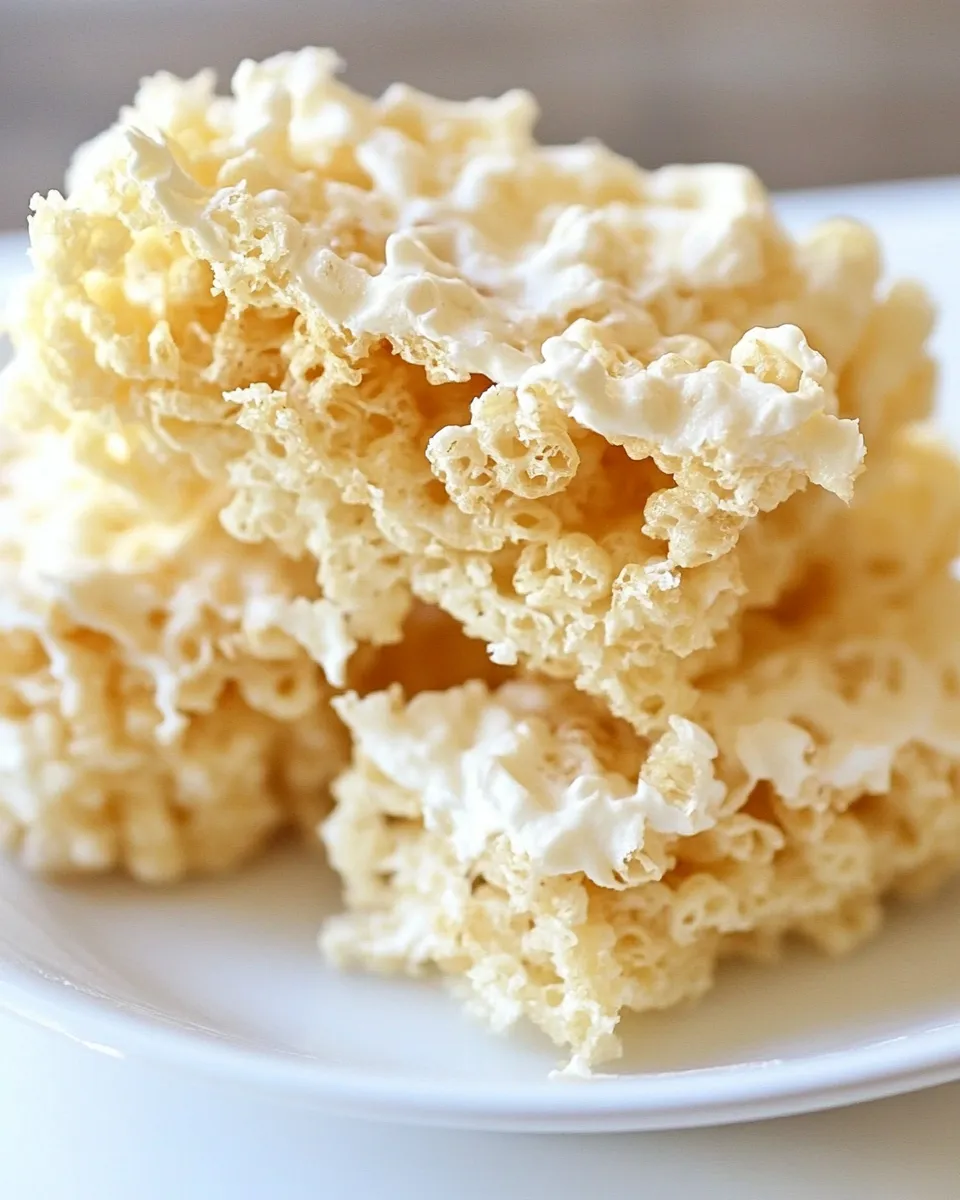
When it comes to indulgent treats that spark joy, Ruffles Krispie Treats hold a special place in my heart. They are the perfect blend of crispy, gooey, and salty-sweet flavors that will have you reaching for seconds—if not thirds. Imagine the classic rice krispie treat reimagined with a crunchy twist from Ruffles potato chips. It’s a nostalgic favorite with a delightful crunch that makes it unique and utterly irresistible. Whether you’re throwing a party, looking for an easy snack, or just craving something sweet, these Ruffles Krispie Treats are sure to impress.
Why This Ruffles Krispie Treats Stands Out
What sets Ruffles Krispie Treats apart from traditional treats is the surprising depth of flavor and texture. The iconic ridged potato chips add a satisfying crunch that perfectly complements the gooey marshmallows and buttery goodness. Each bite is a delightful contrast of sweet and salty, making these treats a crowd-pleaser. They are not just a dessert; they are a conversation starter, a nostalgic trip down memory lane, and a comfort food that everyone loves. Plus, they’re super easy to whip up, requiring minimal ingredients and time.
What We’re Using
To create these delicious Ruffles Krispie Treats, you’ll need the following ingredients:
- 3 tablespoons butter – This will give our treats a rich flavor and help bind the ingredients together.
- 4 1/2 cups mini marshmallows – These sweet, fluffy marshmallows are the heart of the recipe, adding that classic gooeyness.
- 1 teaspoon vanilla extract – A splash of vanilla elevates the overall flavor, making each bite even more delightful.
- 6 cups crushed original Ruffles chips – The star of the show! The ridges and saltiness of these chips add an incredible crunch and flavor.
Kitchen Gear Checklist
To make the process smooth and enjoyable, gather the following kitchen tools:
- Large mixing bowl – For combining all the ingredients.
- Cooking pot – To melt the butter and marshmallows.
- Wooden spoon or spatula – For stirring the mixture together.
- 9×13 inch baking dish – To set and shape your Ruffles Krispie Treats.
- Parchment paper – Optional, but helps with easy cleanup.
Ruffles Krispie Treats — Do This Next
Now that we have our ingredients and tools ready, let’s dive into the step-by-step process of making these delicious treats!
Step 1: Prepare Your Baking Dish
Start by greasing your 9×13 inch baking dish lightly with butter or line it with parchment paper for easier removal later on.
Step 2: Melt the Butter
In a large cooking pot over low heat, add the 3 tablespoons of butter. Allow the butter to melt completely, stirring occasionally to prevent burning.
Step 3: Add the Marshmallows
Once the butter is melted, add the 4 1/2 cups of mini marshmallows to the pot. Stir continuously until the marshmallows are completely melted and smooth. This should take about 3-5 minutes.
Step 4: Incorporate Vanilla
Once the marshmallows are melted, remove the pot from heat and stir in the 1 teaspoon of vanilla extract. This will enhance the sweetness and flavor of your treats.
Step 5: Mix in the Ruffles Chips
Slowly add the 6 cups of crushed Ruffles chips into the melted marshmallow mixture. Gently fold the chips into the mixture until they are well coated. Be careful not to crush them too much—some crunch is essential!
Step 6: Transfer to Baking Dish
Pour the mixture into your prepared baking dish. Using a spatula, gently press the mixture into an even layer. Make sure it’s compact but not overly pressed down, or you’ll lose that delightful texture.
Step 7: Let it Set
Allow your Ruffles Krispie Treats to cool at room temperature for about 30 minutes. Once set, cut into squares or rectangles and enjoy!
Customize for Your Needs
One of the best things about Ruffles Krispie Treats is their versatility. Here are some ways you can customize them:
- Add chocolate: Drizzle melted chocolate over the top for an extra layer of indulgence.
- Mix in fun toppings: Consider adding sprinkles, nuts, or even M&Ms to the marshmallow mixture.
- Use different chips: Experiment with flavored Ruffles or even other brands of potato chips for a unique twist.
- Spice it up: Add a pinch of cinnamon or a dash of cayenne pepper for a surprising kick.
Troubleshooting Tips
Even the best recipes can have their hiccups. Here are some tips to ensure your Ruffles Krispie Treats turn out perfectly:
- If the mixture is too sticky, try greasing your hands or spatula with a little butter to help spread it.
- If the treats are too hard, they may have been pressed down too firmly. Gently press them the next time.
- For a softer treat, consider reducing the amount of Ruffles chips slightly and adding more marshmallows.
Storing, Freezing & Reheating
To keep your Ruffles Krispie Treats fresh and delicious, follow these simple storage tips:
- Storing: Store in an airtight container at room temperature for up to a week.
- Freezing: You can freeze the treats for up to 3 months. Wrap them tightly in plastic wrap and then place them in a freezer bag.
- Reheating: If you prefer them warm, gently microwave a piece for about 10-15 seconds. Be careful not to overheat!
Quick Questions
Can I use regular marshmallows instead of mini marshmallows?
Yes, you can! Just make sure to use the same volume, but keep in mind that they may take a little longer to melt.
What can I substitute for Ruffles chips?
Feel free to experiment with other ridged potato chips or even pretzels for a unique flavor and texture.
How do I know when my treats are set?
Once they have cooled for about 30 minutes, they should be firm to the touch but still soft enough to cut easily.
Can I make these treats ahead of time?
Absolutely! These treats can be made a day or two in advance. Just store them in an airtight container to maintain freshness.
If you enjoyed making Ruffles Krispie Treats, you might also love these delicious recipes:
Final Thoughts
Ruffles Krispie Treats are a delightful twist on a classic dessert that brings together sweet and salty flavors in a most enjoyable way. They’re perfect for gatherings, parties, or simply as a fun treat to whip up on a lazy afternoon. With their crunchy Ruffles chips and gooey marshmallow goodness, these treats are sure to become a favorite in your household. So gather your ingredients, follow the steps, and enjoy this delectable snack that’s as fun to make as it is to eat!
Ruffles Krispie Treats
Equipment
- Large Mixing Bowl
- Cooking pot
- Wooden Spoon or Spatula
- 9x13 inch Baking Dish
- Parchment Paper
Ingredients
- 3 tablespoons butter
- 4 1/2 cups mini marshmallows
- 1 teaspoon vanilla extract
- 6 cups crushed original Ruffles chips
Instructions
- Start by greasing your 9x13 inch baking dish lightly with butter or line it with parchment paper for easier removal later on.
- In a large cooking pot over low heat, add the 3 tablespoons of butter. Allow the butter to melt completely, stirring occasionally to prevent burning.
- Once the butter is melted, add the 4 1/2 cups of mini marshmallows to the pot. Stir continuously until the marshmallows are completely melted and smooth, about 3-5 minutes.
- Remove the pot from heat and stir in the 1 teaspoon of vanilla extract to enhance the flavor.
- Slowly add the 6 cups of crushed Ruffles chips into the melted marshmallow mixture. Gently fold until well coated, being careful not to crush them too much.
- Pour the mixture into your prepared baking dish. Using a spatula, gently press the mixture into an even layer without pressing too hard.
- Allow the treats to cool at room temperature for about 30 minutes until set. Cut into squares or rectangles and enjoy.
Notes
- Grease your hands or spatula with butter if the mixture feels too sticky to spread easily.
- For softer treats, use fewer Ruffles chips and more marshmallows.
- Store treats in an airtight container at room temperature for up to a week.
- Freeze wrapped treats for up to 3 months and thaw before serving.
- Customize by adding melted chocolate drizzle, sprinkles, nuts, or a pinch of cinnamon for extra flavor.