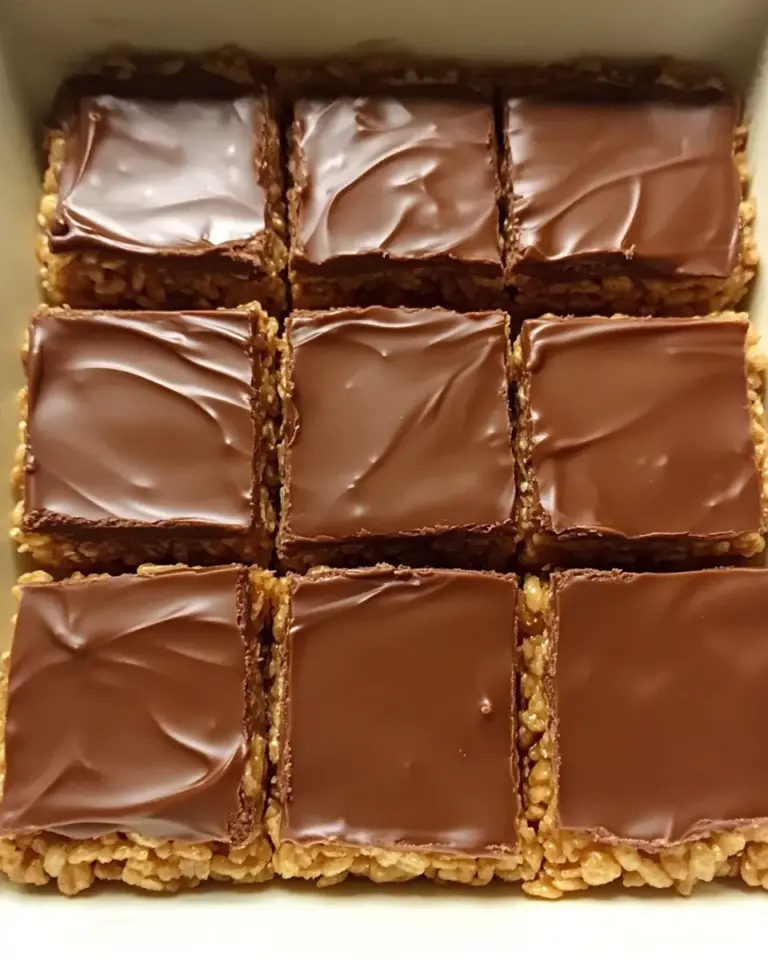
These bars are the kind of thing I make when I want something fast, nostalgic, and just a touch grown-up. The browned butter gives a toasty, almost caramel note that deepens the peanut butter, and the flaky salt on top turns a simple childhood snack into something worth making for adults and kids alike.
They come together in about 20–30 minutes of active work and then sit for a half hour to set. No complicated techniques, just attention to temperature while you brown the butter and patience to let the bars cool before slicing. If you can stir, press, and resist cutting too early, you’re set.
I like to keep a batch on hand for last-minute dessert needs, bake sales, or when friends drop by. They store well, freeze beautifully, and travel without drama—everything I look for in a reliable sweet treat.
Ingredients
- ½ cup unsalted butter — browns quickly; unsalted lets you control the final seasoning.
- 20 ounces mini marshmallows, this is usually 2 bags worth — the bulk of the binding and sweetness; we reserve a small portion to fold in later for texture.
- ¾ cup creamy peanut butter — adds richness and structure; creamy melts smoothly into the marshmallow.
- 1 teaspoon vanilla extra — brightens the flavor; a small amount goes a long way.
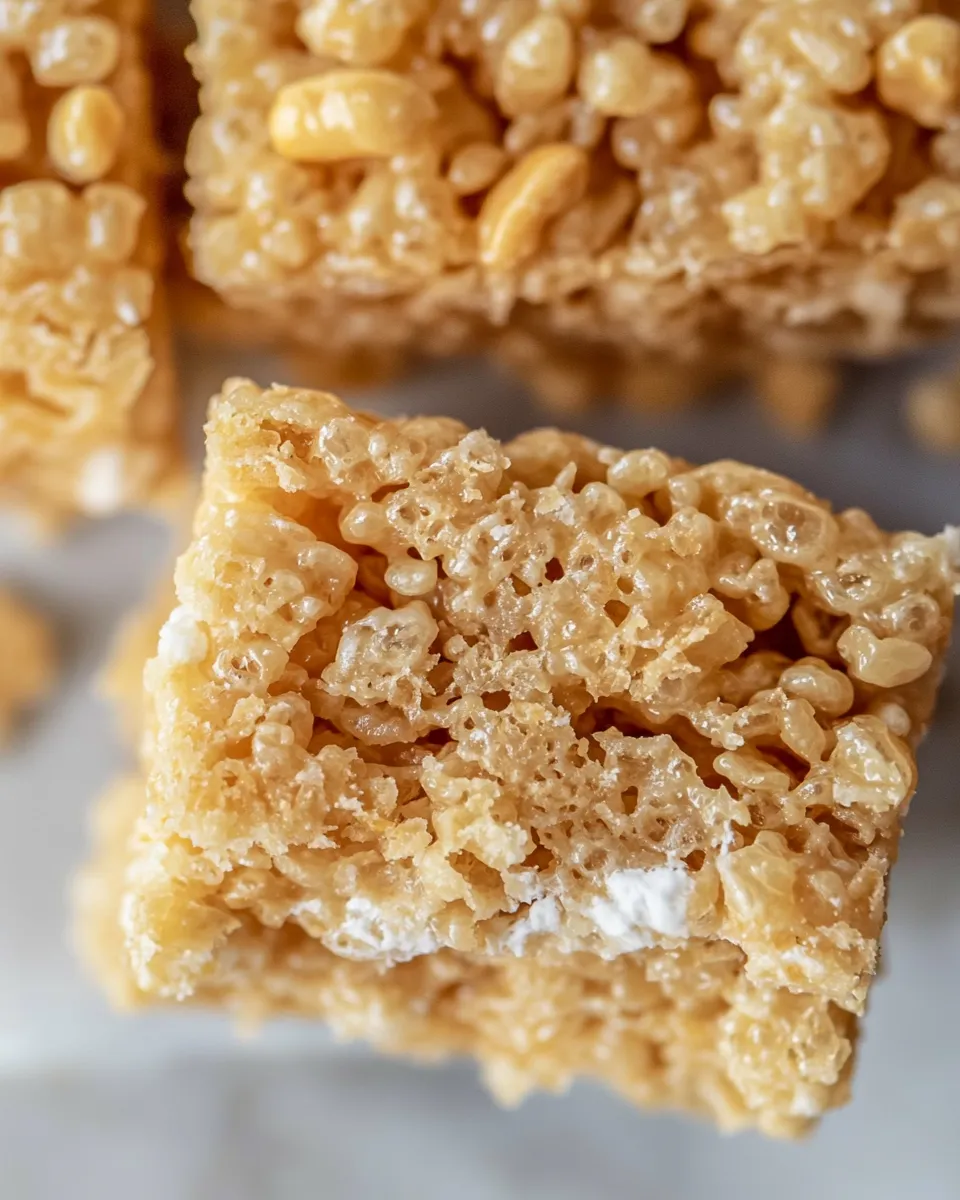
- 8 cups crisped rice cereal — the crunchy backbone; measure loosely so the bars stay tender.
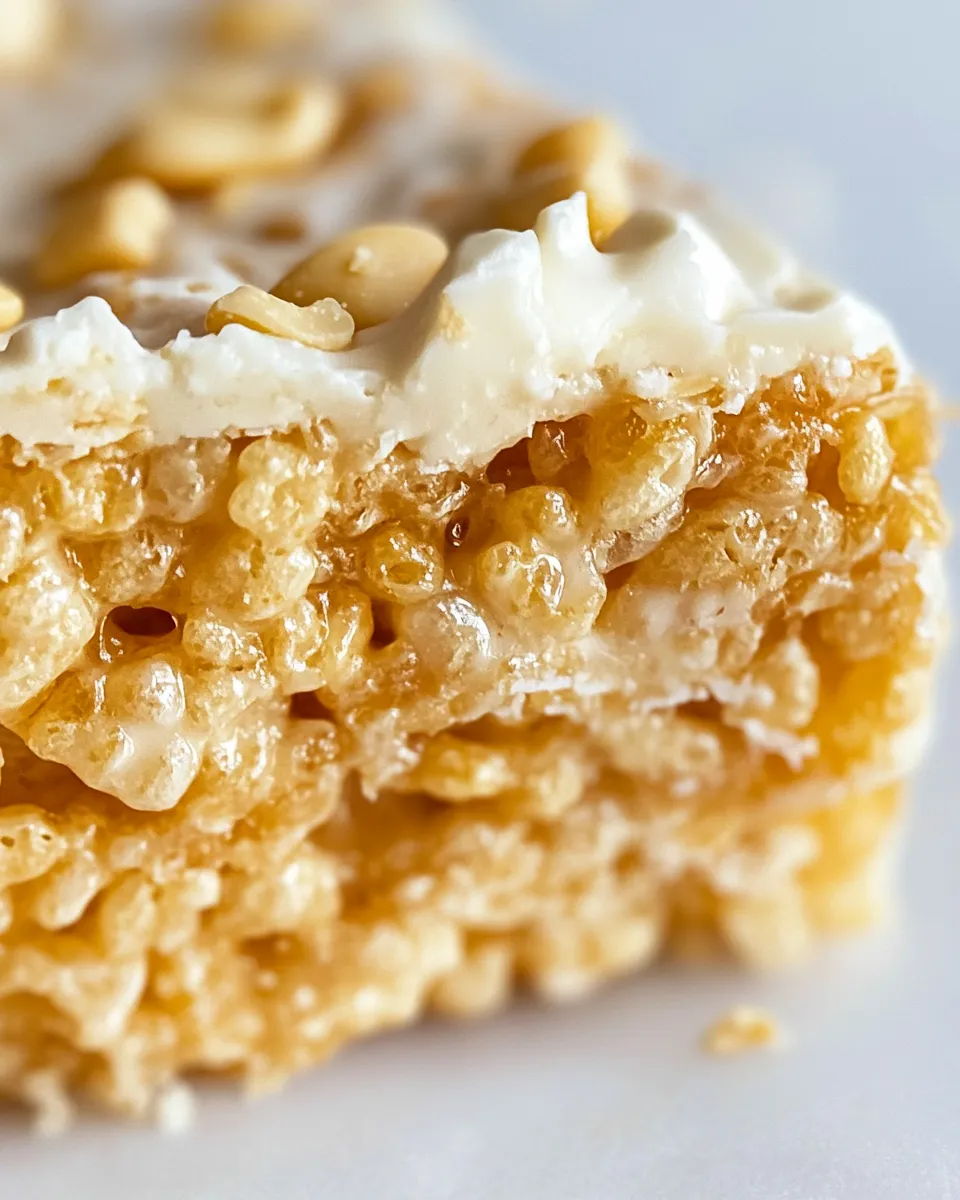
- flaky salt, for topping — sprinkle while warm to balance the sweetness and highlight the peanut butter.
Your Shopping Guide
Start in the baking aisle and take your time with the peanut butter. For this recipe, creamy peanut butter is called for because it blends into the marshmallow mixture without leaving pockets of oil or chunks. You don’t need a premium jar—just one you like to eat straight from the spoon. If you prefer, check the label for minimal additives: fewer stabilizers makes for a cleaner flavor.
Pick mini marshmallows—two standard 10-ounce bags usually total the 20 ounces named in the recipe. Mini marshmallows melt faster and mix more uniformly than large ones, which helps keep the cooking time short and prevents overheating the peanut butter. Buy crisped rice cereal labeled as “crisped rice” or “puffed rice”; most mainstream brands work fine. If you want gluten-free bars, verify the cereal’s packaging for a gluten-free label.
Butter and vanilla are standard pantry items. The recipe uses unsalted butter so you can control salt at the end with flaky salt—buy a small container of coarse or flaky finishing salt if you don’t already have it. Finally, have a 9×13-inch baking dish on hand; glass or metal works. Spray or line it before you start so the mixture slides out easily.
Salted Peanut Butter Rice Krispie Treats Made Stepwise
- Spray a 9×13-inch baking dish with nonstick baking spray and set aside.
- Place ½ cup unsalted butter in a large pot over medium heat. Melt the butter, then continue to cook (watching constantly) until brown bits form on the bottom and the butter takes on a nutty aroma. Reduce the heat to low.
- From the 20 ounces mini marshmallows, measure out and set aside 5 ounces; add the remaining 15 ounces to the pot. Stir the marshmallows into the butter until they begin to melt.
- Add ¾ cup creamy peanut butter to the pot and stir continuously over low heat until the marshmallows and peanut butter are fully melted and smooth. Stir in 1 teaspoon vanilla extra. Remove the pot from the heat.
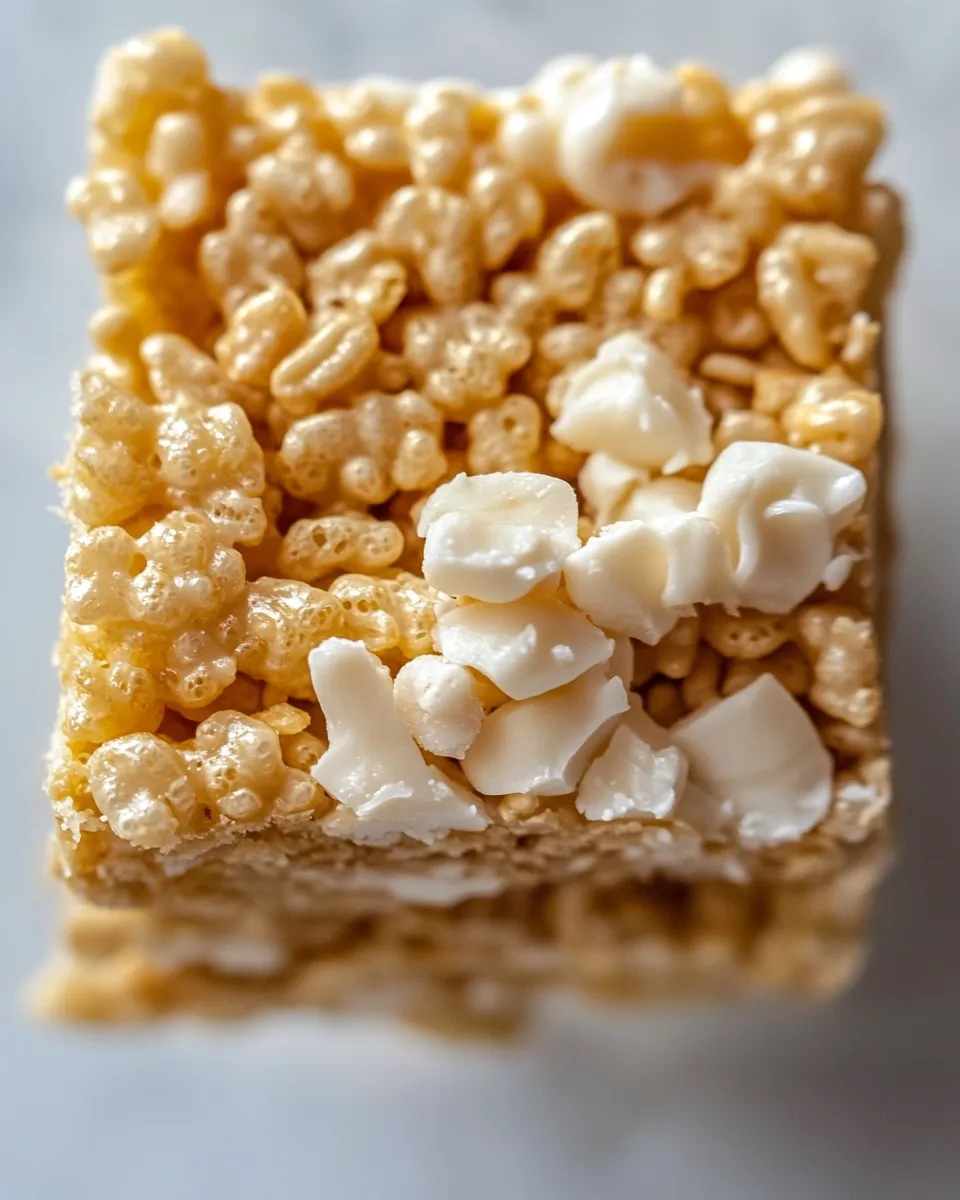
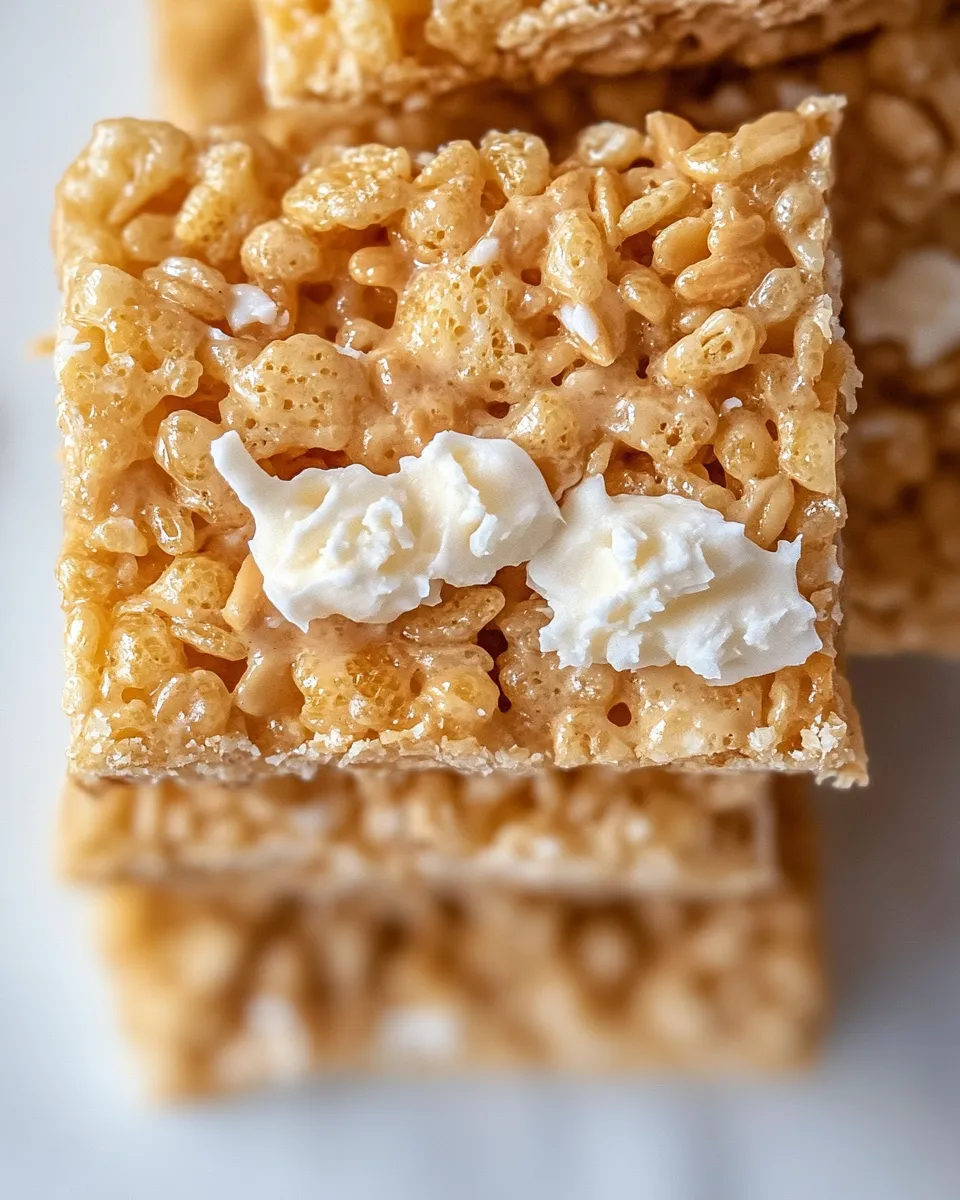
- Add 8 cups crisped rice cereal to the pot and stir until the cereal is about halfway coated with the marshmallow mixture. Add the reserved 5 ounces mini marshmallows and continue folding/stirring until the marshmallows and cereal are evenly distributed.
- Pour the mixture into the prepared 9×13-inch dish and press it down firmly and evenly using a spatula or the back of a spoon.
- Sprinkle flaky salt evenly over the top while warm. Let the bars cool and set at room temperature for about 30 minutes before cutting into pieces.
Why Salted Peanut Butter Rice Krispie Treats is Worth Your Time
These treats take a nostalgic classic and elevate it with two smart moves: brown butter and flaky salt. Browned butter adds depth; it’s nutty and slightly sweet, which complements the peanut butter rather than competing with it. The flaky salt at the end cuts through the sugar and highlights the peanut flavor so the bars aren’t cloying.
They’re also dependable. You can make them in a single pot, with minimal cleanup, and they’re forgiving to intermediate mistakes. Overcook the marshmallows a bit and they’ll still set; under-press slightly and they’ll still hold together. For busy home cooks who want something homemade without a lot of drama, these are a perfect go-to.
Healthier Substitutions
- Swap creamy peanut butter for a natural, no-sugar-added version to reduce added oils and stabilizers—expect a slightly different texture but similar flavor.
- Use reduced-butter by cutting the butter to ⅓ cup if you prefer less fat; bars will be somewhat firmer and less glossy.
- Look for a lower-sugar crisped rice cereal or a whole-grain puffed rice to increase fiber slightly, though the bars will still be a sweet treat.
- For a lighter sweet profile, reduce the flaky salt only if you’re watching sodium; it’s the balance that makes the bars taste less sugary, so tread carefully.
Toolbox for This Recipe
- Large pot — wide base helps you brown butter and melt marshmallows evenly.
- Measuring cups and spoons — accuracy matters with the butter and peanut butter quantities.
- 9×13-inch baking dish — the recipe is scaled to this size for proper thickness.
- Rubber spatula or wooden spoon — you’ll need something sturdy to fold cereal without breaking it up too much.
- Nonstick baking spray or parchment — for easy removal and clean-up.
- Heatproof spatula or the back of a spoon — for pressing the mixture into the pan.
Don’t Do This
Don’t walk away while the butter is browning. The line between nutty brown and burnt is short. Keep the pot in sight and stir as needed. Also, don’t skip reserving the 5 ounces of mini marshmallows called for in the directions; folding them in last gives pockets of soft marshmallow that lighten texture and help the pieces hold together.
Don’t cut the bars while they’re still hot. They’ll crumble and lose shape. Wait the recommended 30 minutes at room temperature or a bit longer; they firm up as they cool. And don’t use crunchy peanut butter if you don’t want unexpected chunks—this recipe specifies creamy peanut butter so the mixture remains smooth and easy to press.
Variations for Dietary Needs
- Nut-free: Replace peanut butter with sunflower seed butter. The flavor will shift, but texture and structure remain similar.
- Gluten-free: Use a certified gluten-free crisped rice cereal; most are naturally gluten-free but check labeling to be safe.
- Vegan-ish: This one’s tricky because of the marshmallows (usually gelatin-based) and butter. Use vegan butter and vegan marshmallows labeled as such; keep in mind melting behavior may differ slightly.
- Lower sugar: Choose a no-sugar-added peanut butter and a reduced-sugar rice cereal; final bars will still be sweet because of the marshmallows.
Cook’s Commentary
I pull this recipe out when I want a fast crowd-pleaser that feels a little special. Browning the butter is a two-minute extra step with a huge payoff. It gives the whole bar a richer aroma and a deep color without changing the quick, friendly nature of the original Rice Krispie treat.
Pressing the mixture into the pan is where technique shows. Press too lightly and the bars fall apart; press too hard and they become dense. I aim for firm, even pressure—enough that the surface looks compact but not compressed into a brick. Finally, the flaky salt at the end is my favorite flourish: a few pinches across the surface makes every bite more interesting.
Meal Prep & Storage Notes
Store bars in an airtight container at room temperature for up to 3 days. To prevent sticking, layer parchment between pieces. For longer storage, wrap individually and freeze in a sealed container for up to 1 month. Thaw at room temperature; they soften slightly as they come to temperature and are easy to slice after thawing.
If you want to make ahead for a party, I recommend making them the day before and storing them in a single layer at room temperature overnight. Add flaky salt right before serving if you’re worried about moisture softening the texture.
Helpful Q&A
- Can I use crunchy peanut butter? Yes, but expect small peanut pieces in every bite that change the smooth texture.
- Why brown the butter? It adds a nutty depth that pairs with peanut butter and balances the sweetness—skip it only if you’re in a real hurry.
- My marshmallows seized up—what went wrong? That usually happens if the heat is too high. Keep the pot on low when you add marshmallows and stir constantly.
- Can I speed up cooling? You can refrigerate briefly to set faster, but rapid cooling can make the bars firmer and slightly chewier. Room-temperature setting gives the best texture.
- How do I get neat squares? Wait until fully set, then use a sharp knife and a firm, single motion. Wiping the knife clean between cuts helps.
Bring It Home
These Salted Peanut Butter Rice Krispie Treats are approachable, quick, and a little bit clever. A simple tweak—browning the butter—turns a childhood favorite into something you’d be happy to bring to a grown-up gathering without apology. Make them when you want something comforting and shareable that doesn’t demand a lot of time or special skills.
Try the basic version first, then experiment with a small batch swap: sunflower seed butter for nut-free, or a reduced-sugar cereal if you want to tone it down. No matter the tweak, keep the flaky salt at the end—it’s the small thing that makes these bars sing.
Salted Peanut Butter Rice Krispie Treats.
Equipment
- 9x13 inch Baking Dish
- Large Pot
- Spatula
- Measuring Cups
- Measuring Spoons
Ingredients
Ingredients
- 1/2 cupunsalted butter
- 20 ouncesmini marshmallows this is usually 2 bags worth
- 3/4 cupcreamy peanut butter
- 1 teaspoonvanilla extra
- 8 cupscrisped rice cereal
- flaky salt for topping
Instructions
Instructions
- Spray a 9x13-inch baking dish with nonstick baking spray and set aside.
- Place ½ cup unsalted butter in a large pot over medium heat. Melt the butter, then continue to cook (watching constantly) until brown bits form on the bottom and the butter takes on a nutty aroma. Reduce the heat to low.
- From the 20 ounces mini marshmallows, measure out and set aside 5 ounces; add the remaining 15 ounces to the pot. Stir the marshmallows into the butter until they begin to melt.
- Add ¾ cup creamy peanut butter to the pot and stir continuously over low heat until the marshmallows and peanut butter are fully melted and smooth. Stir in 1 teaspoon vanilla extra. Remove the pot from the heat.
- Add 8 cups crisped rice cereal to the pot and stir until the cereal is about halfway coated with the marshmallow mixture. Add the reserved 5 ounces mini marshmallows and continue folding/stirring until the marshmallows and cereal are evenly distributed.
- Pour the mixture into the prepared 9x13-inch dish and press it down firmly and evenly using a spatula or the back of a spoon.
- Sprinkle flaky salt evenly over the top while warm. Let the bars cool and set at room temperature for about 30 minutes before cutting into pieces.
Notes
Let bars cool and set at room temperature, about 30 minutes, before cutting.