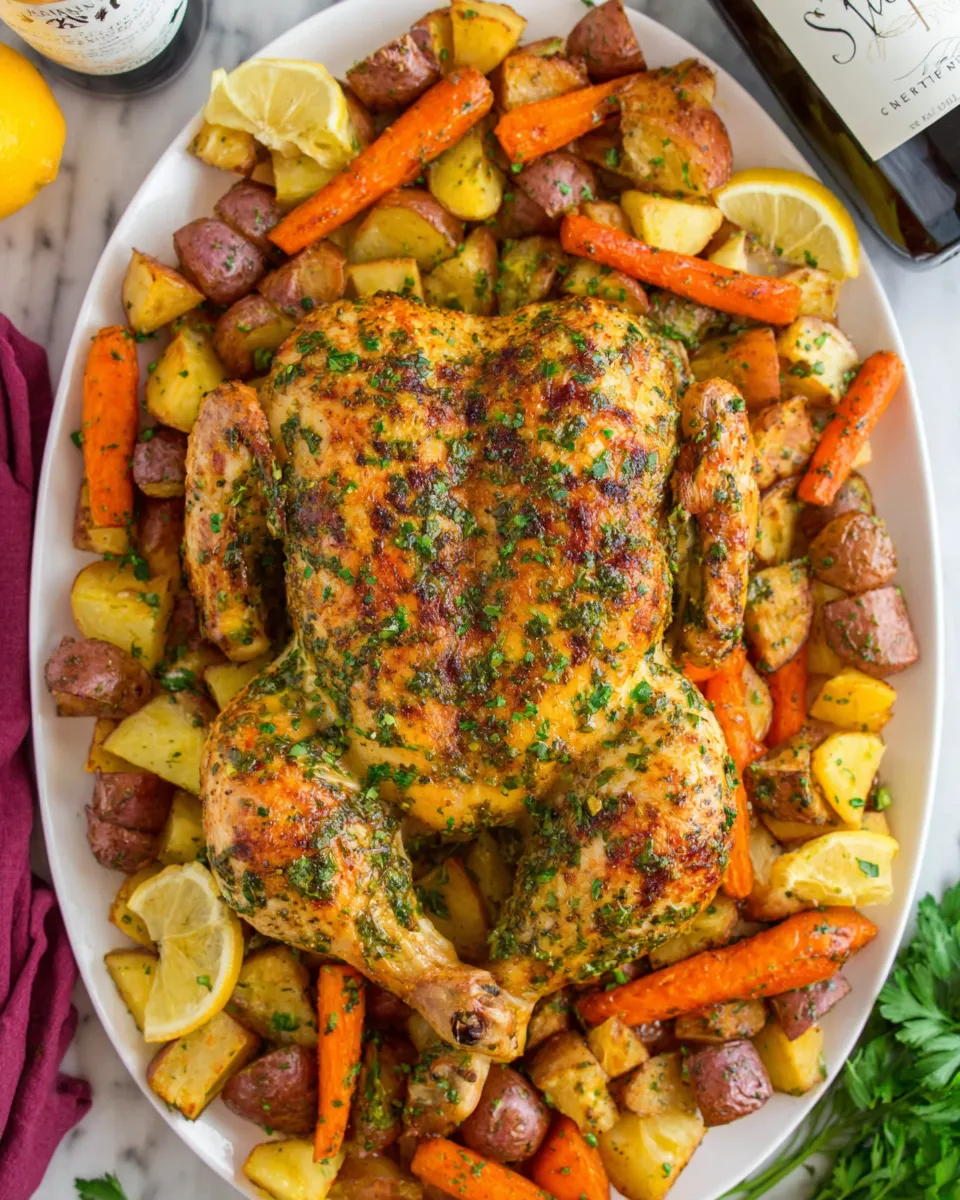
There’s something deeply satisfying about a whole bird roasted flat: quicker cooking, crispier skin, and perfectly even browning from edge to edge. Today I’m sharing a straightforward, flavor-forward Spatchcock Chicken recipe that uses just a few everyday ingredients—1 whole fryer chicken, canola oil, salt, and your favorite BBQ sauce. It’s an effortless weeknight winner or a low-fuss centerpiece for weekend gatherings. The technique unlocks fast roasting and reliably juicy meat, and the sauce adds a glossy, tangy finish that everyone will love.
Why spatchcock?
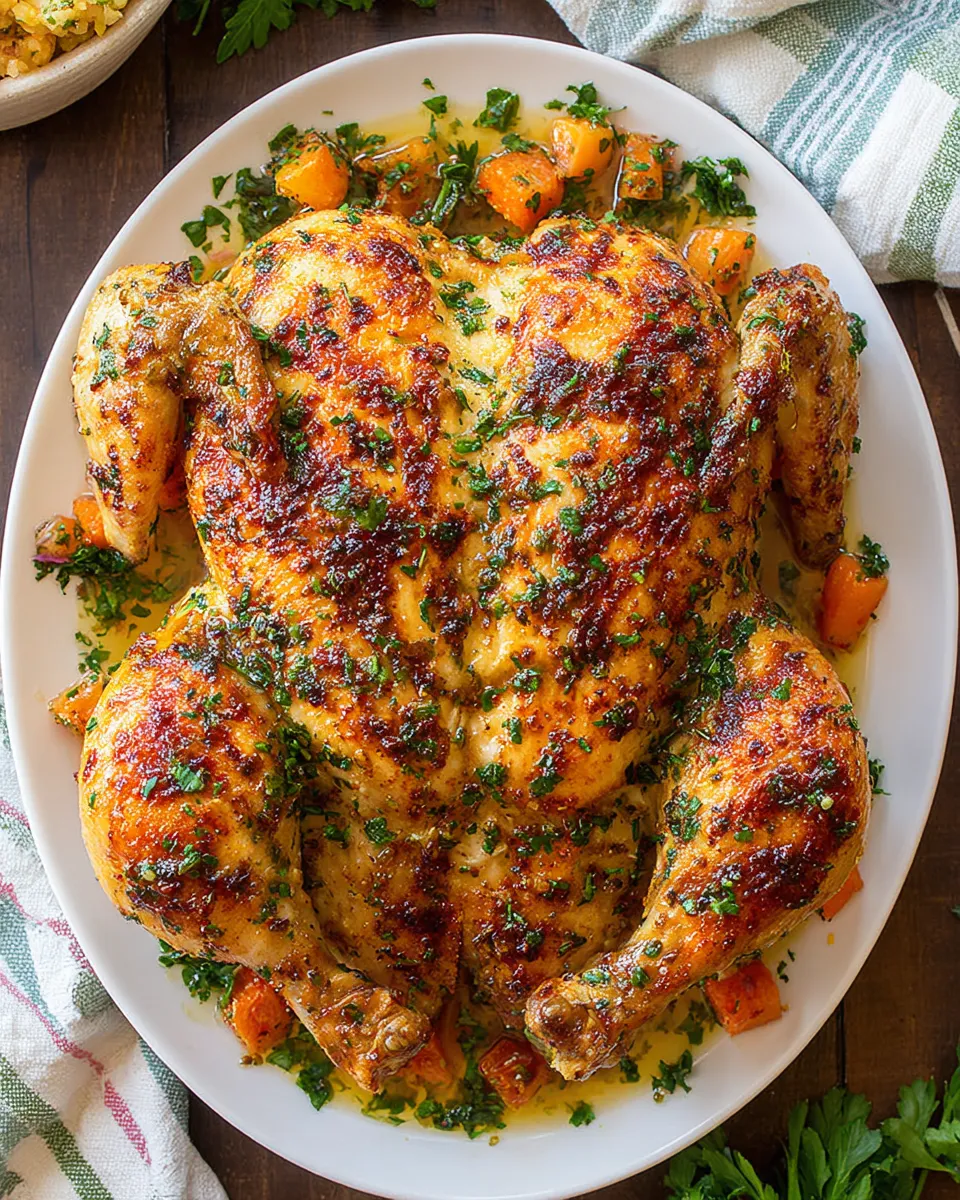
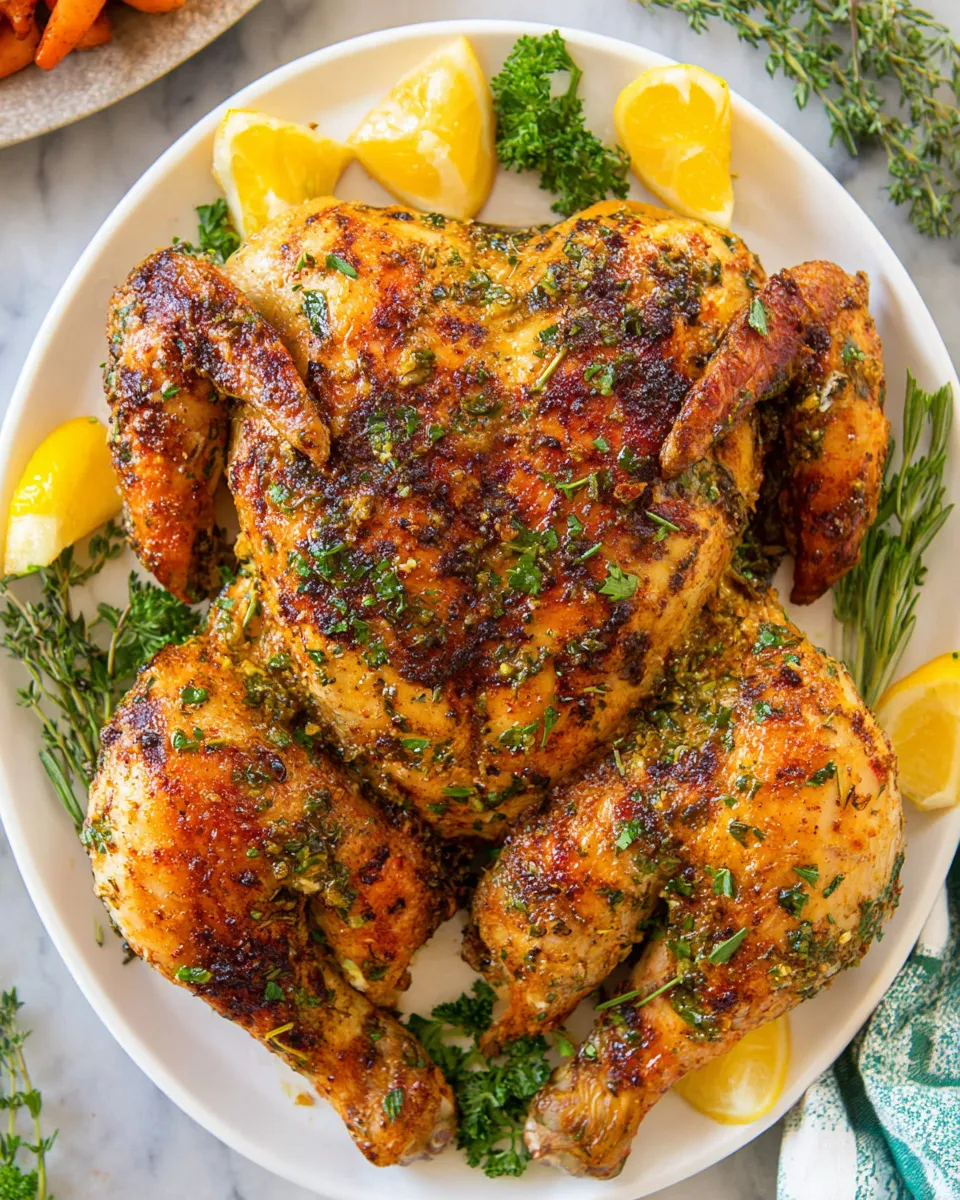
Spatchcocking (butterflying) a chicken is a simple trick that flattens the bird so it cooks quickly and evenly. The exposed skin crisps up beautifully, white and dark meat finish at roughly the same time, and the cook time drops dramatically compared to a whole roasted bird. If you’ve never tried it, this recipe is a great place to start. Using minimal seasonings keeps the natural flavor of the chicken front and center while the final slather of BBQ sauce adds an irresistible sweet-savory glaze.
Ingredients
- 1 whole fryer chicken
- 2 tablespoons canola oil
- 1 1/2 teaspoons salt
- 1/2 cup BBQ sauce
Equipment
- Large cutting board
- Sharp kitchen shears or a butcher’s knife
- Baking sheet or roasting pan
- Wire rack (optional, but helpful for air circulation)
- Meat thermometer
Prep and timing
Total active time is about 20 minutes for prep and 30–40 minutes in the oven, depending on the size of your fryer chicken. Resting time adds another 10 minutes. The flattened bird roasts fast, so keep an eye on skin color and internal temperature to avoid overcooking.
Step-by-step directions
Below is a clear, stepwise version of the recipe directions. I kept the order and amounts exactly as listed in the ingredient section and rewrote each step to be precise and easy to follow.
- Preheat your oven to 425°F (220°C). Position a rack in the center of the oven so the chicken cooks evenly.
- Prepare the chicken: Place the 1 whole fryer chicken breast-side down on a large cutting board. Using sharp kitchen shears or a heavy knife, cut along both sides of the backbone and remove it. Turn the bird over so the breast side faces up, press down firmly on the breastbone to flatten the chicken. You should hear a small crack as it flattens and the bird will lie flat.
- Pat the flattened chicken dry with paper towels. Dry skin is essential for crisping.
- Drizzle 2 tablespoons of canola oil over the chicken and rub it all over, coating both the skin and the underside. Make sure the oil reaches the edges and the joint areas so the chicken browns evenly.
- Sprinkle 1 1/2 teaspoons of salt over the chicken, distributing it evenly across the skin. Rub the salt into the oil-coated skin so it sticks and seasons the meat.
- Set up your pan: If you have a wire rack, place it on a baking sheet and set the chicken on the rack, skin-side up. If you don’t have a rack, place the chicken directly on a lightly oiled baking sheet or in a roasting pan with the skin-side up.
- Roast the chicken in the preheated oven at 425°F (220°C). Start checking the color at 25 minutes. The chicken will need about 30–40 minutes total, depending on size. You want deeply golden, crisp skin.
- Check for doneness: Insert a meat thermometer into the thickest part of the thigh without touching bone. The internal temperature should read 165°F (74°C). If it isn’t there yet, return the bird to the oven and check every 5 minutes until it reaches temperature.
- When the chicken reaches 165°F (74°C), remove it from the oven. Brush 1/2 cup of BBQ sauce over the skin generously, letting some sauce drip into the pan. Return the chicken to the oven for 3–5 minutes to set the glaze and make it glossy. Watch carefully so the sauce doesn’t burn.
- Transfer the chicken to a cutting board and let it rest for 10 minutes. Resting lets the juices redistribute and makes for juicier slices.
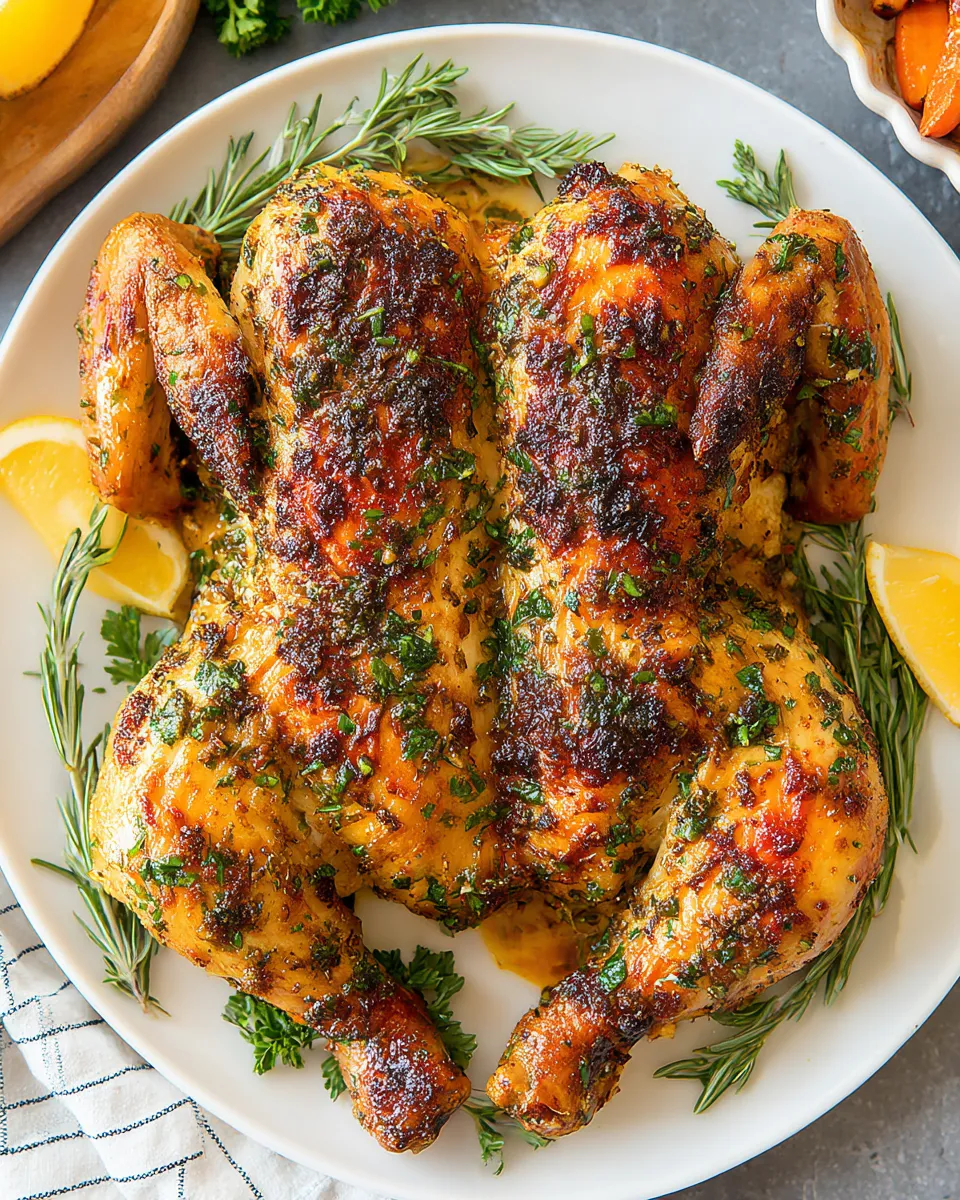
- Carve the spatchcock chicken into pieces: slice off the legs and thighs, then remove the wings, and finally cut through the breast to create generous slices. Serve with any extra BBQ sauce on the side.
Troubleshooting and tips
- If the skin starts to darken too quickly but the internal temperature isn’t reached, tent the chicken loosely with foil and continue roasting until done.
- Use a meat thermometer for reliable results. Visual cues alone can be misleading with different oven variances and bird sizes.
- For extra-crisp skin, pat the chicken very dry before oiling and let it sit uncovered in the refrigerator for an hour (or overnight) to dry out further.
- Brush the BBQ sauce in the last few minutes of roasting so it caramelizes but doesn’t burn. If you prefer a less intense glaze, serve some sauce on the side instead.
Serving suggestions
This Spatchcock Chicken pairs beautifully with bright and simple sides. A crisp green salad, roasted root vegetables, or a creamy mashed potato all complement the rich, caramelized skin and tangy sauce. For lighter fare, serve it alongside herbed couscous or a crunchy cabbage slaw—the contrast of textures keeps every bite interesting.
Flavor variations
Although this recipe relies on just salt and a final BBQ glaze, you can personalize the seasoning before roasting. Try a sprinkle of smoked paprika, garlic powder, or a pinch of cayenne for heat. If you like a herbaceous note, tuck a few sprigs of rosemary or thyme under the skin after oiling and salting. Whatever you choose, keep the amounts modest so the succulent chicken flavor remains the star.
Why this method works
Flattening the bird increases the surface area exposed to heat, which improves Maillard browning and crisps skin without overcooking the meat. The higher oven temperature creates a quick crisp while the relatively short roast time prevents dry breast meat. The final sauce step adds a glossy, flavorful finish that melts into the browned skin without masking the chicken’s natural taste.
Make-ahead and leftovers
You can spatchcock the chicken a day ahead and keep it wrapped in the refrigerator until you’re ready to roast. Cooked leftovers store well: refrigerate in an airtight container for up to 3 days. Reheat gently in a 350°F (175°C) oven to help maintain crisp skin—about 10–15 minutes depending on portion size. Leftover meat is excellent sliced on sandwiches, tossed into salads, or flaked into grain bowls.
Nutrition and portioning
A single fryer chicken typically serves 3–4 people, depending on appetites and side dishes. Roasting the bird flat encourages even portions: halve the breasts, separate thighs from legs, and remove wings for tasting plates or kids’ portions. If you need more protein per person, add a robust salad or a grain side to stretch the meal.
Final thoughts
This easy, minimal-ingredient Spatchcock Chicken is perfect when you want a whole-roasted bird without the long oven time or fussy prep. With a quick technique, basic pantry staples, and a sticky BBQ finish, you get crispy skin, juicy meat, and a crowd-pleasing presentation every time. Keep the ingredients simple: 1 whole fryer chicken, canola oil, salt, and BBQ sauce—then enjoy the results.
Ready to try it? Put your cutting board out, sharpen those shears, and let the chicken flatten and brown to perfection. You’ll be amazed how quickly a whole bird turns into a show-stopping, flavorful meal.
Spatchcock Chicken
Equipment
- kitchen shears or sharp knife
- Grill
- Basting brush
- Instant Read Thermometer
- Aluminum Foil
Ingredients
- 1 whole fryer chicken (about 3–4 lb) backbone removed and bird spatchcocked
- canola oil for brushing
- salt to taste
- BBQ sauce for brushing
Instructions
- Rinse the whole chicken and pat dry with paper towels.
- Using kitchen shears or a very sharp knife, cut out the backbone from the chicken and open the bird flat; optionally cut a small notch in the breastbone so it lays flat.
- Brush both sides of the chicken with canola oil and sprinkle evenly with salt.
- Preheat the grill with a hot side and a cooler side (if using charcoal, push coals to one side). Place the chicken skin-side down over direct heat to brown the skin.
- When the skin is browned, flip the chicken and brush the skin side with BBQ sauce; move to the cooler side of the grill if needed so it cooks through without burning.
- Continue grilling until the thickest part of the breast or thigh reaches an internal temperature of 165°F (74°C) when checked with an instant-read thermometer.
- Remove the chicken from the grill, tent loosely with foil, and let rest for 10 minutes before cutting and serving.
Notes
- Pat the chicken dry for better browning.
- Use a two-zone fire to control browning and cooking.
- Check temperature at the thickest part for doneness.
- Let the chicken rest to retain juices.