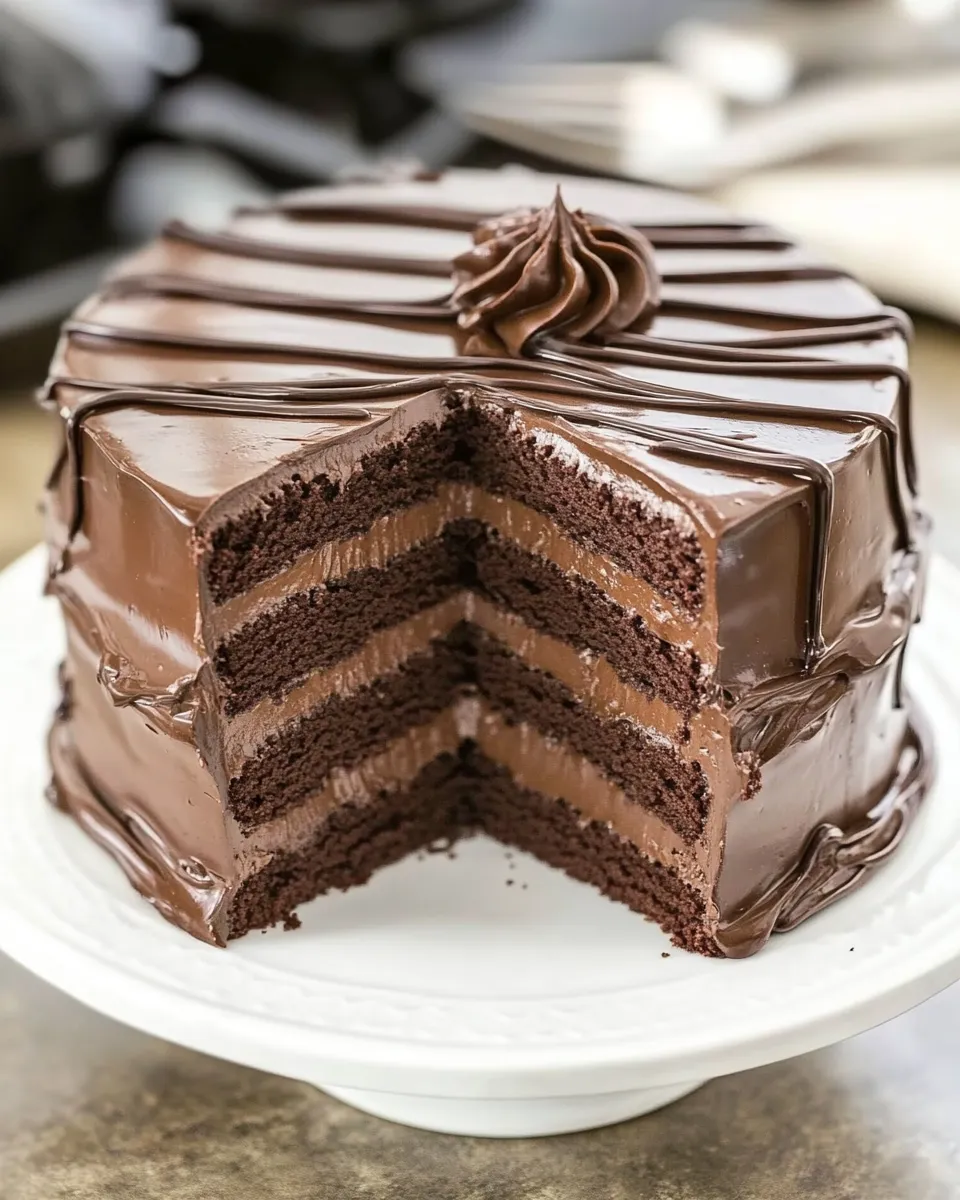
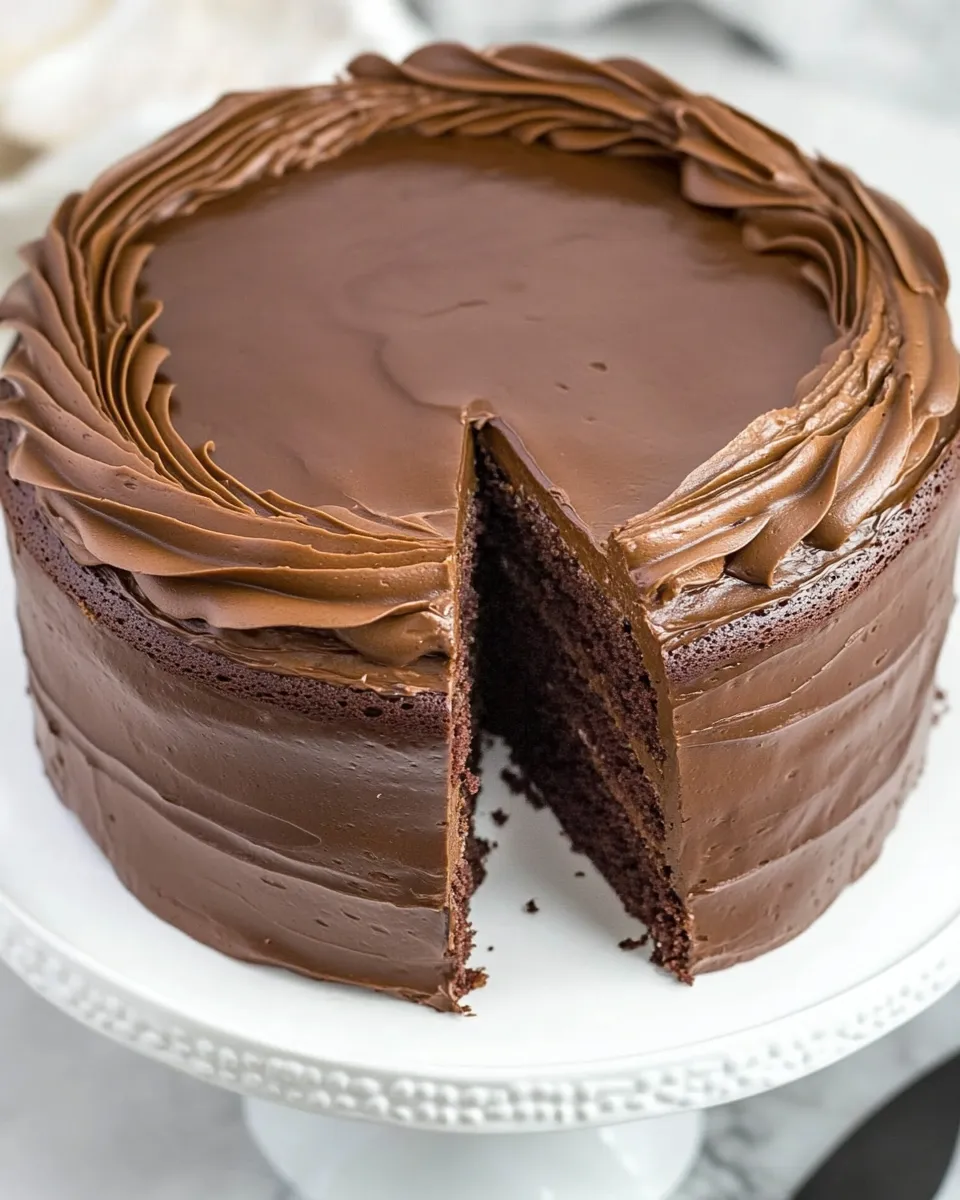
This is the kind of cake I make when I want something impressive without a ton of drama. Three tender layers, a glossy cocoa-butter frosting, and a straightforward method that stays reliable from the first bite to the last slice. It’s chocolate-forward but balanced—no heavy ganache required—and it comes together with pantry-friendly staples.
I like to think of this as a weeknight-showstopper: simple steps, short bake time, and a frosting that gets its depth from browned sugar and cocoa rather than a mountain of butter or long whipping. The technique rewards attention to temperature and timing more than technique—room-temperature eggs, warmed liquids, and a chilled frosting that’s still spreadable.
Below you’ll find clear ingredient notes, the recipe steps in order, troubleshooting tips, and sensible swaps for dietary needs. Read through once before you start, then follow the steps steadily—this cake trusts you to be precise, but it’s very forgiving.
Ingredient Notes
A quick rundown of what each item contributes so you know what to watch for when assembling the batter and the frosting.
Ingredients
- ½ cup unsweetened cocoa powder — provides the chocolate flavor and structure; use unsweetened for balanced sweetness.
- 1 cup lukewarm water (divided) — hydrates the cocoa and buttermilk; lukewarm helps dissolve cocoa and warms the batter slightly.
- ½ cup buttermilk — adds acidity and tenderness; reacts with the baking soda for lift.
- 1 ½ cups cake flour — gives a lighter, finer crumb than all-purpose flour; handle gently when folding in.
- ¾ teaspoon baking soda — the leavening agent; measure carefully for the right rise.
- 1 cup sugar — primary sweetener and contributes to browning and structure.
- ½ cup packed brown sugar — adds moisture and a caramel note; some is used in the frosting for depth.
- 1 stick (8 tablespoons butter, at room temperature) — provides richness and tenderness in the cake and is also used to build the frosting’s base.
- 2 large eggs (at room temperature) — bind the batter and add structure and moisture; room temperature eggs emulsify better.
From Start to Finish: Triple Layer Cocoa Cake
- Preheat the oven to 350°F (175°C). Butter three 9-inch cake pans, line the bottoms with parchment rounds, and butter the top of the parchment. Set the pans aside.
- In a small bowl or liquid measuring cup, whisk ½ cup unsweetened cocoa powder with ½ cup lukewarm water until smooth.
- In a separate small bowl or measuring cup, whisk ½ cup buttermilk with the remaining ½ cup lukewarm water until combined.
- Sift 1 ½ cups cake flour and ¾ teaspoon baking soda together into a medium bowl; set aside.
- In the bowl of a mixer, beat 1 stick (8 tablespoons) butter (room temperature), 1 cup sugar, and ½ cup packed brown sugar on medium-high speed until pale yellow and fluffy, about 5 minutes.
- With the mixer running, add the 2 large eggs one at a time, beating well after each addition and scraping down the bowl as needed.
- With the mixer on low, add the cocoa–water mixture and mix until just combined.
- Add the flour mixture in three additions, alternating with the buttermilk mixture in two additions (begin and end with the flour). Mix on low and stop as soon as each addition is incorporated, scraping the bowl as necessary; do not overmix.
- Divide the batter evenly among the three prepared pans (about 1 ½ cups batter per pan) and smooth the tops.
- Bake the cakes for 16–18 minutes, rotating the pans halfway through baking, until the cakes spring back lightly when pressed or a toothpick inserted near the center comes out clean.
- Cool the cakes in their pans on a wire rack for 10 minutes. Run a knife around the edges, invert each cake onto the rack, peel off the parchment, and let the layers cool completely on the racks.
- Make the frosting: in a medium saucepan over medium-low heat, melt the remaining butter. Stir in the ½ cup packed brown sugar and ½ cup unsweetened cocoa powder (use the amounts from the ingredient list as written) until the sugar dissolves and the mixture becomes smooth and glossy. Continue stirring and cook until the mixture is hot and begins to bubble, then cook for 1 additional minute. Remove from heat.
- Transfer the frosting to a bowl and chill in the refrigerator until thickened but still spreadable, about 1 to 1 1/2 hours, stirring occasionally to check consistency.
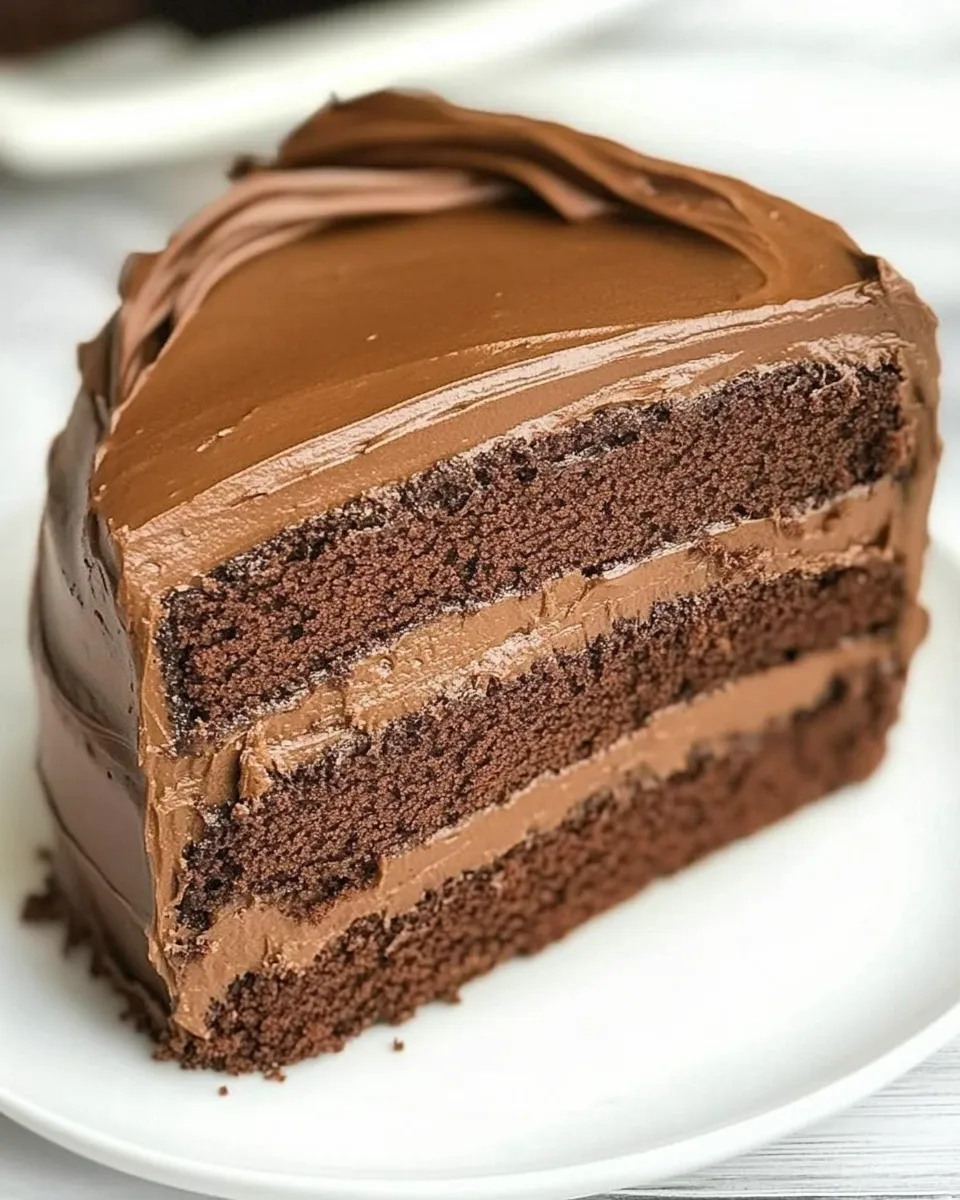
- To assemble the cake, place one cooled layer right-side-up on your serving plate. Spread about ½ cup of the chilled frosting evenly to the edges. Place the second layer on top and spread another ~½ cup frosting evenly. Place the third layer on top and use the remaining frosting to cover the top and sides of the cake. If the frosting is too firm while assembling, let it sit at room temperature briefly and stir to soften.
- Chill the assembled cake briefly to set the frosting if desired, then slice and serve.
Why Triple Layer Cocoa Cake is Worth Your Time
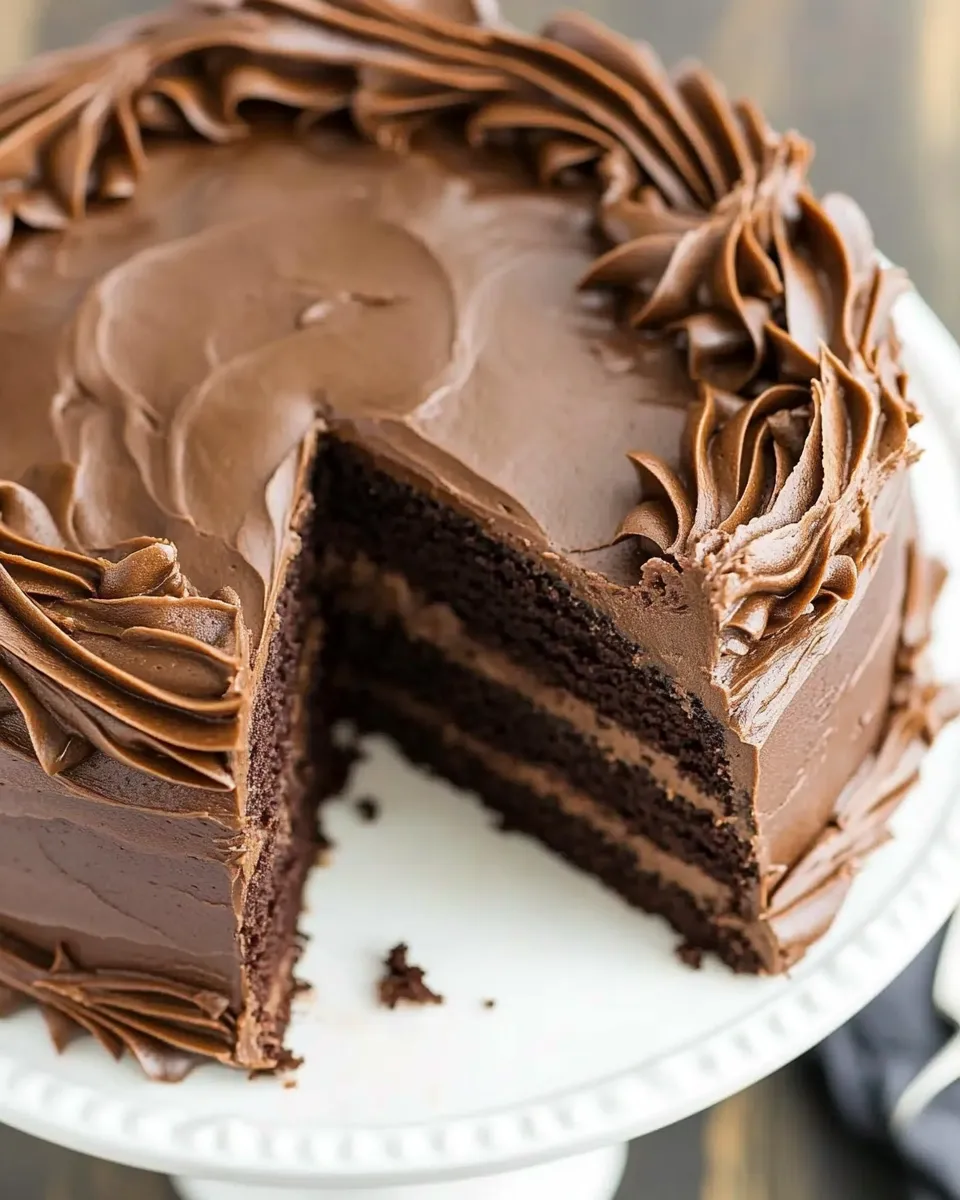
This cake delivers a lot for relatively little work. The batter mixes quickly, the bake time is short, and you get three uniform layers without complicated steaming or long chilling. The frosting is a standout: it’s glossy and buttery with a caramelized brown-sugar note that elevates simple cocoa. Instead of relying solely on powdered sugar and butter, this frosting adds warmth and depth.
It’s also versatile. The crumb is tender enough to please those who dislike dense chocolate cakes, yet sturdy enough to hold up to filling or a light soak if you choose to add one. Because the recipe uses cake flour and a modest amount of butter, the texture is delicate but not crumbly—perfect for guests, gifts, or a birthday when you want something classic and dependable.
Quick Replacement Ideas
- Unsweetened cocoa powder — use Dutch-process cocoa if you prefer a smoother, less acidic flavor; reduce or omit baking soda if using mostly Dutch-process (watch the rise).
- Buttermilk — swap with plain yogurt thinned with water (equal volume) or milk plus 1 tsp vinegar/lemon juice left to sit for 5 minutes.
- Cake flour — if you don’t have it, make a substitute by removing 2 tablespoons from each cup of all-purpose flour and replacing with 2 tablespoons cornstarch; sift before measuring.
- Butter — for the cake you can use a neutral oil (same weight, not volume) for a moister texture, but the frosting relies on butter to set properly.
- Brown sugar — light or dark brown sugar both work; dark gives a deeper molasses note.
Tools & Equipment Needed
- Three 9-inch cake pans — for even layers.
- Parchment rounds and butter or nonstick spray — prevents sticking and keeps layers intact.
- Stand mixer or hand mixer — for creaming butter and sugar thoroughly.
- Sifter or fine-mesh sieve — for cake flour and baking soda.
- Medium saucepan — to prepare the frosting.
- Wire racks — for cooling the cakes completely.
- Offset spatula or flexible spatula — for smooth frosting application.
Mistakes Even Pros Make
- Not warming the water enough when mixing with cocoa—cold water can leave lumps; lukewarm dissolves it and helps disperse flavor.
- Overbeating after adding the flour—this develops gluten and toughens the crumb; mix only until incorporated.
- Using cold eggs—they don’t emulsify as well and can cause the batter to split; bring eggs to room temperature first.
- Skipping the parchment or not buttering it—the cake can stick and tear when inverted.
- Assembling with frosting that’s too cold—cold frosting will crack and resist spreading; let it soften slightly for smooth coverage.
Allergy-Friendly Swaps
- Dairy-free: Replace the butter in the cake with a plant-based stick margarine for baking and use a dairy-free butter substitute sparingly in the frosting—note that flavor and set will vary.
- Egg-free: Use a commercial egg replacer or a flax egg (1 tbsp ground flax + 3 tbsp water per egg, chilled) as a tester; texture may be slightly denser.
- Gluten-free: Replace cake flour with a high-quality 1:1 gluten-free flour blend that contains xanthan gum; expect adjustments to moisture and a slightly different crumb.
Recipe Notes & Chef’s Commentary
Batter handling
When you’re alternating flour and buttermilk, begin and end with the flour. This minimizes the number of times the batter is disturbed and helps keep the crumb tender. Scrape the bowl between additions so there’s no streak of dry flour left behind.
Frosting timing
The frosting must cool and thicken before you use it. If you try to frost while it’s hot, it will slide off; if it’s rock-hard, let it sit at room temperature and stir until spreadable. Chilling the assembled cake briefly sets the frosting for clean slices—about 20–30 minutes in the refrigerator works well.
Layering tips
Trim only if necessary. If the layers domed a bit, level them with a serrated knife or cake leveler for neat stacking. Use a crumb coat (a thin initial layer of frosting) if you want the cleanest finish, then chill and apply the final coat.
Scaling and timing
This recipe is calibrated for three 9-inch pans. If you halve it, use an 8-inch pan and reduce bake time; if you double, bake in batches or use deeper pans and adjust time until a toothpick comes out clean.
How to Store & Reheat
Stored properly, the cake stays moist and tasty.
- Room temperature: Keep the cake covered on a cake stand or under a dome for up to 2 days if your kitchen is cool; frost contains butter so avoid long unrefrigerated storage in warm climates.
- Refrigerator: Wrap loosely with plastic wrap or place in an airtight container for up to 5 days. The chill can firm the frosting and deepen flavors; bring slices to room temperature before serving (about 30 minutes).
- Freezing: Slice and freeze individual slices wrapped tightly in plastic and foil for up to 2 months. Thaw overnight in the refrigerator, then bring to room temperature before serving to restore texture.
- Reheating a slice: For a single serving, microwave on medium power for 12–20 seconds to take the chill off—this softens the crumb without making it soggy. Use caution; don’t overheat.
Top Questions & Answers
- Can I use unsalted or salted butter? — Unsalted is preferred so you control salt levels. If you use salted, taste other components and omit added salt elsewhere if present.
- Why does the recipe use both cocoa and brown sugar in the frosting? — The cocoa gives chocolate depth while the brown sugar melts and caramelizes a bit, making the frosting glossy with a toffee-like note.
- Can I make the layers a day ahead? — Yes. Cool them completely, wrap in plastic, and store at room temperature for one day or refrigerate for up to two days. Bring back to room temperature before frosting.
- My frosting is grainy—what happened? — The sugar should dissolve as it melts in the butter and cocoa. If the brown sugar didn’t fully dissolve or the mixture crystallized when cooling, warm gently and stir until smooth, then chill again to the right spreadable consistency.
- Can I double the frosting for a thicker coat? — You can, but the recipe as written is balanced for a thin, glossy coat between layers and around the outside. Increasing frosting will change the cake-to-frosting ratio.
Ready, Set, Cook
If you’ve read through the notes, preheated the oven, and set out your pans and ingredients, you’re ready. Follow the steps in order, watch for timing rather than fear it, and treat the frosting like a tiny science experiment—warm to combine, cool to thicken, and gentle to spread. This Triple Layer Cocoa Cake rewards patience with a tender crumb and a rich, caramel-cocoa frosting that’s always a hit. Happy baking—slice generously and save me a piece.
Triple Layer Cocoa Cake
Equipment
- three 9-inch cake pans
- Parchment Paper
- Mixer
- Medium Bowl
- Small Bowl
- Medium Saucepan
- Wire Rack
- Knife
- Measuring cups and spoons
Ingredients
Ingredients
- 1/2 cup unsweetened cocoa powder
- 1 cup lukewarm water divided
- 1/2 cup buttermilk
- 1 1/2 cups cake flour
- 3/4 teaspoon baking soda
- 1 cup sugar
- 1/2 cup packed brown sugar
- 1 stick 8 tablespoons butter, at room temperature
- 2 large eggs at room temperature
Instructions
Instructions
- Preheat the oven to 350°F (175°C). Butter three 9-inch cake pans, line the bottoms with parchment rounds, and butter the top of the parchment. Set the pans aside.
- In a small bowl or liquid measuring cup, whisk ½ cup unsweetened cocoa powder with ½ cup lukewarm water until smooth.
- In a separate small bowl or measuring cup, whisk ½ cup buttermilk with the remaining ½ cup lukewarm water until combined.
- Sift 1 ½ cups cake flour and ¾ teaspoon baking soda together into a medium bowl; set aside.
- In the bowl of a mixer, beat 1 stick (8 tablespoons) butter (room temperature), 1 cup sugar, and ½ cup packed brown sugar on medium-high speed until pale yellow and fluffy, about 5 minutes.
- With the mixer running, add the 2 large eggs one at a time, beating well after each addition and scraping down the bowl as needed.
- With the mixer on low, add the cocoa–water mixture and mix until just combined.
- Add the flour mixture in three additions, alternating with the buttermilk mixture in two additions (begin and end with the flour). Mix on low and stop as soon as each addition is incorporated, scraping the bowl as necessary; do not overmix.
- Divide the batter evenly among the three prepared pans (about 1 ½ cups batter per pan) and smooth the tops.
- Bake the cakes for 16–18 minutes, rotating the pans halfway through baking, until the cakes spring back lightly when pressed or a toothpick inserted near the center comes out clean.
- Cool the cakes in their pans on a wire rack for 10 minutes. Run a knife around the edges, invert each cake onto the rack, peel off the parchment, and let the layers cool completely on the racks.
- Make the frosting: in a medium saucepan over medium-low heat, melt the remaining butter. Stir in the ½ cup packed brown sugar and ½ cup unsweetened cocoa powder (use the amounts from the ingredient list as written) until the sugar dissolves and the mixture becomes smooth and glossy. Continue stirring and cook until the mixture is hot and begins to bubble, then cook for 1 additional minute. Remove from heat.
- Transfer the frosting to a bowl and chill in the refrigerator until thickened but still spreadable, about 1 to 1 1/2 hours, stirring occasionally to check consistency.
- To assemble the cake, place one cooled layer right-side-up on your serving plate. Spread about ½ cup of the chilled frosting evenly to the edges. Place the second layer on top and spread another ~½ cup frosting evenly. Place the third layer on top and use the remaining frosting to cover the top and sides of the cake. If the frosting is too firm while assembling, let it sit at room temperature briefly and stir to soften.
- Chill the assembled cake briefly to set the frosting if desired, then slice and serve.