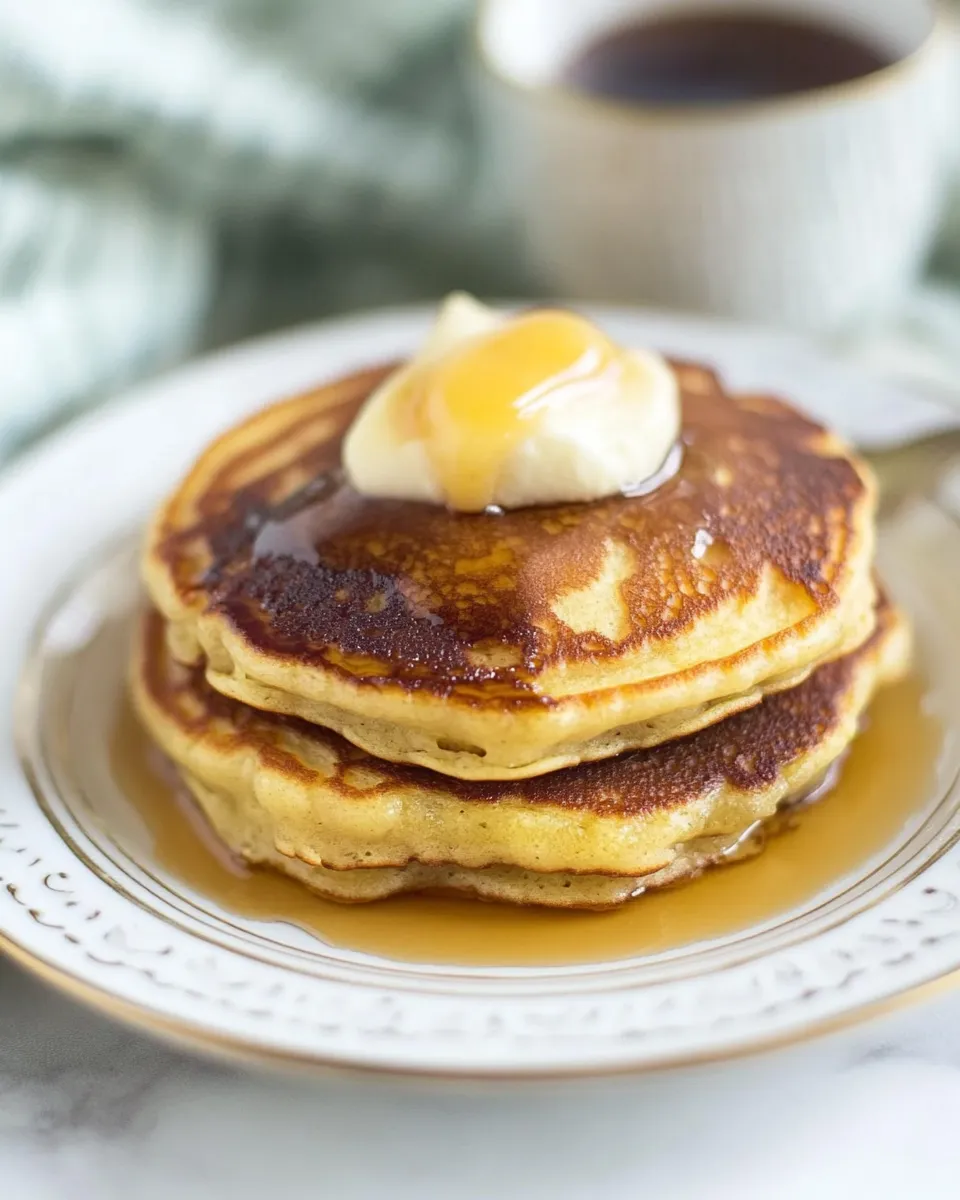
Keto Pancakes (Moist, Fluffy, Made with Coconut Flour)
Quick keto-friendly pancakes made with coconut flour, eggs, and full-fat coconut milk. Moist and fluffy with a very thick batter; cook in avocado oil and serve with your favorite low-carb toppings.
Equipment
- Mixing Bowl
- Whisk
- Measuring cup
- Measuring Spoons
- nonstick skillet
- Spatula
Ingredients
Ingredients
- 4 large eggs
- 1 cupfull-fat canned coconut milk
- 4 Tbspbutteror coconut oil melted
- 1 tsppure vanilla extractoptional
- 2/3 cupcoconut flour
- 1 Tbspsugar-free granulated sweeteneroptional
- 1/4 tspbaking soda
- Pinchsea salt
- Avocado oil for cooking
Instructions
Instructions
- In a mixing bowl, whisk together 4 large eggs, 1 cup full‑fat canned coconut milk, and 4 Tbsp melted butter or coconut oil. Whisk in 1 tsp pure vanilla extract only if using it. Mix until uniform and slightly combined.
- Add 2/3 cup coconut flour, 1 Tbsp sugar‑free granulated sweetener if using, 1/4 tsp baking soda, and a pinch of sea salt to the wet mixture. Whisk vigorously until the batter is fully combined and there are no visible dry clumps. The batter will be very thick.
- Heat a large nonstick skillet over medium heat. Add 1–2 Tbsp avocado oil and swirl to coat the pan. Allow the skillet and oil to heat until the oil is shimmering and the pan is warm.
- Measure a scant 1/4 cup of batter for each pancake and spoon it onto the skillet. The batter will be thick; use the back of the spoon, a small spatula, or your finger to gently shape each mound into a round.
- Cook each pancake 3 to 5 minutes, until the edges appear set and the bottom is golden. Carefully flip and cook 2 to 3 minutes more, until the pancake is cooked through and both sides are golden.
- Transfer cooked pancakes to a plate and repeat with the remaining batter, adding more avocado oil to the skillet as needed and adjusting the heat to prevent burning.
- Serve with desired toppings and enjoy.