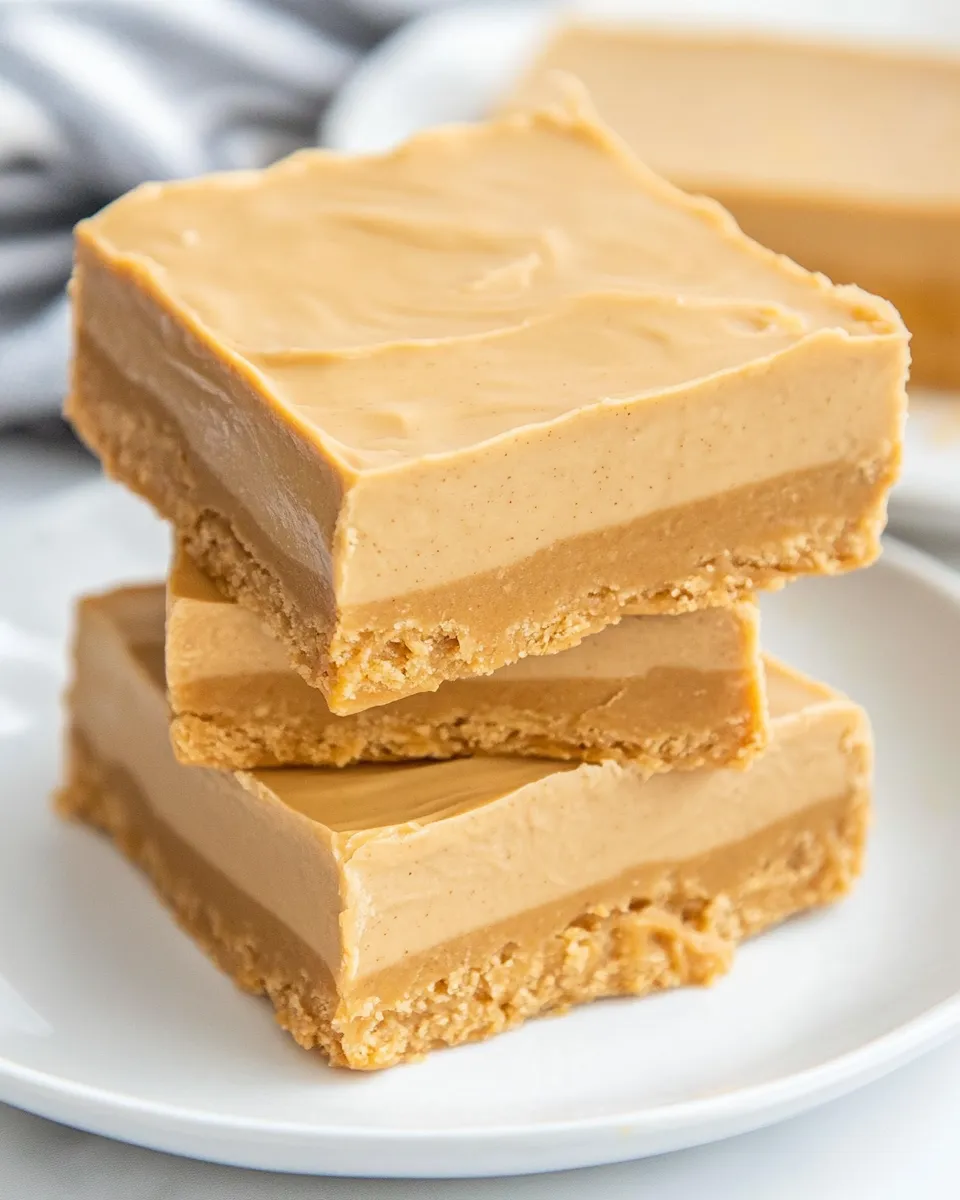
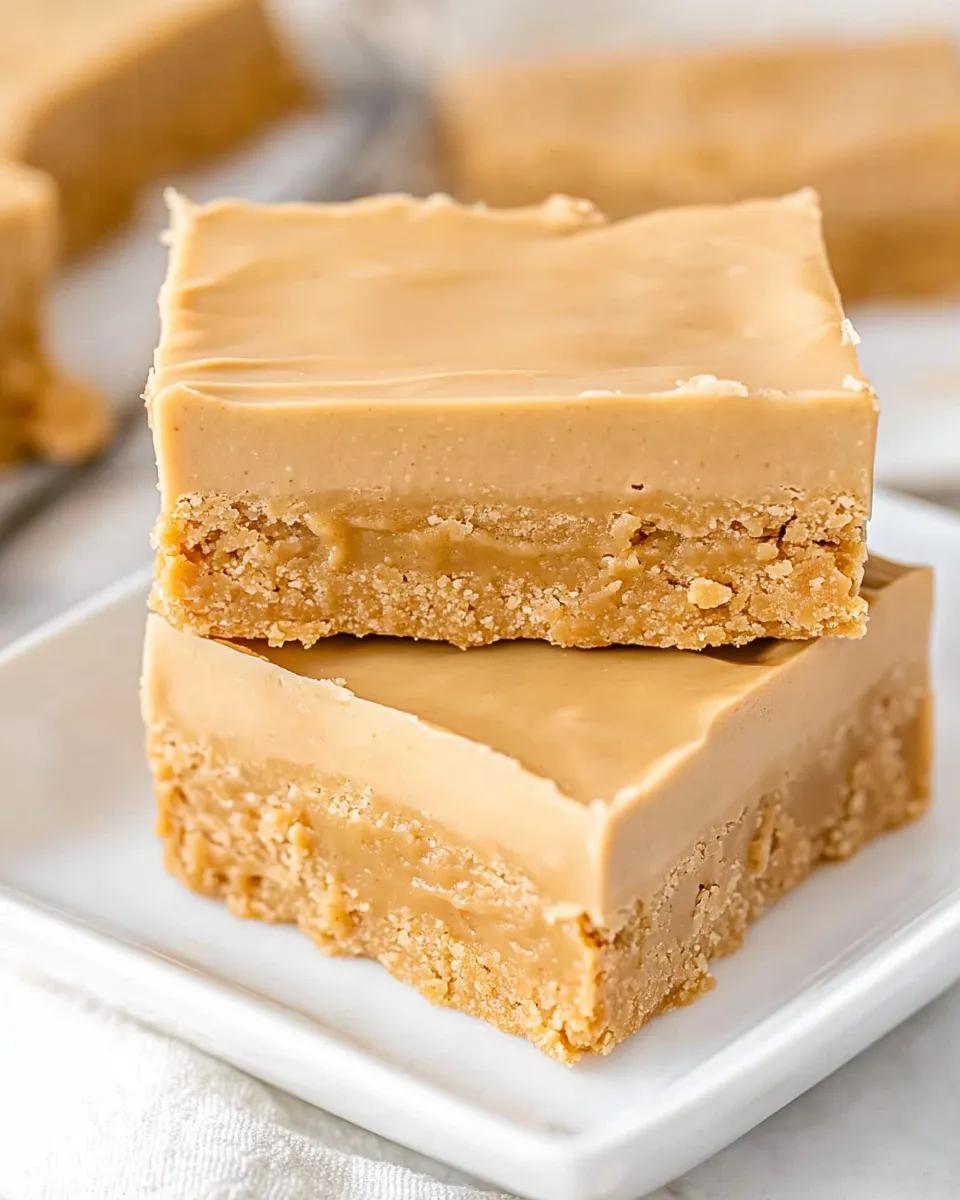
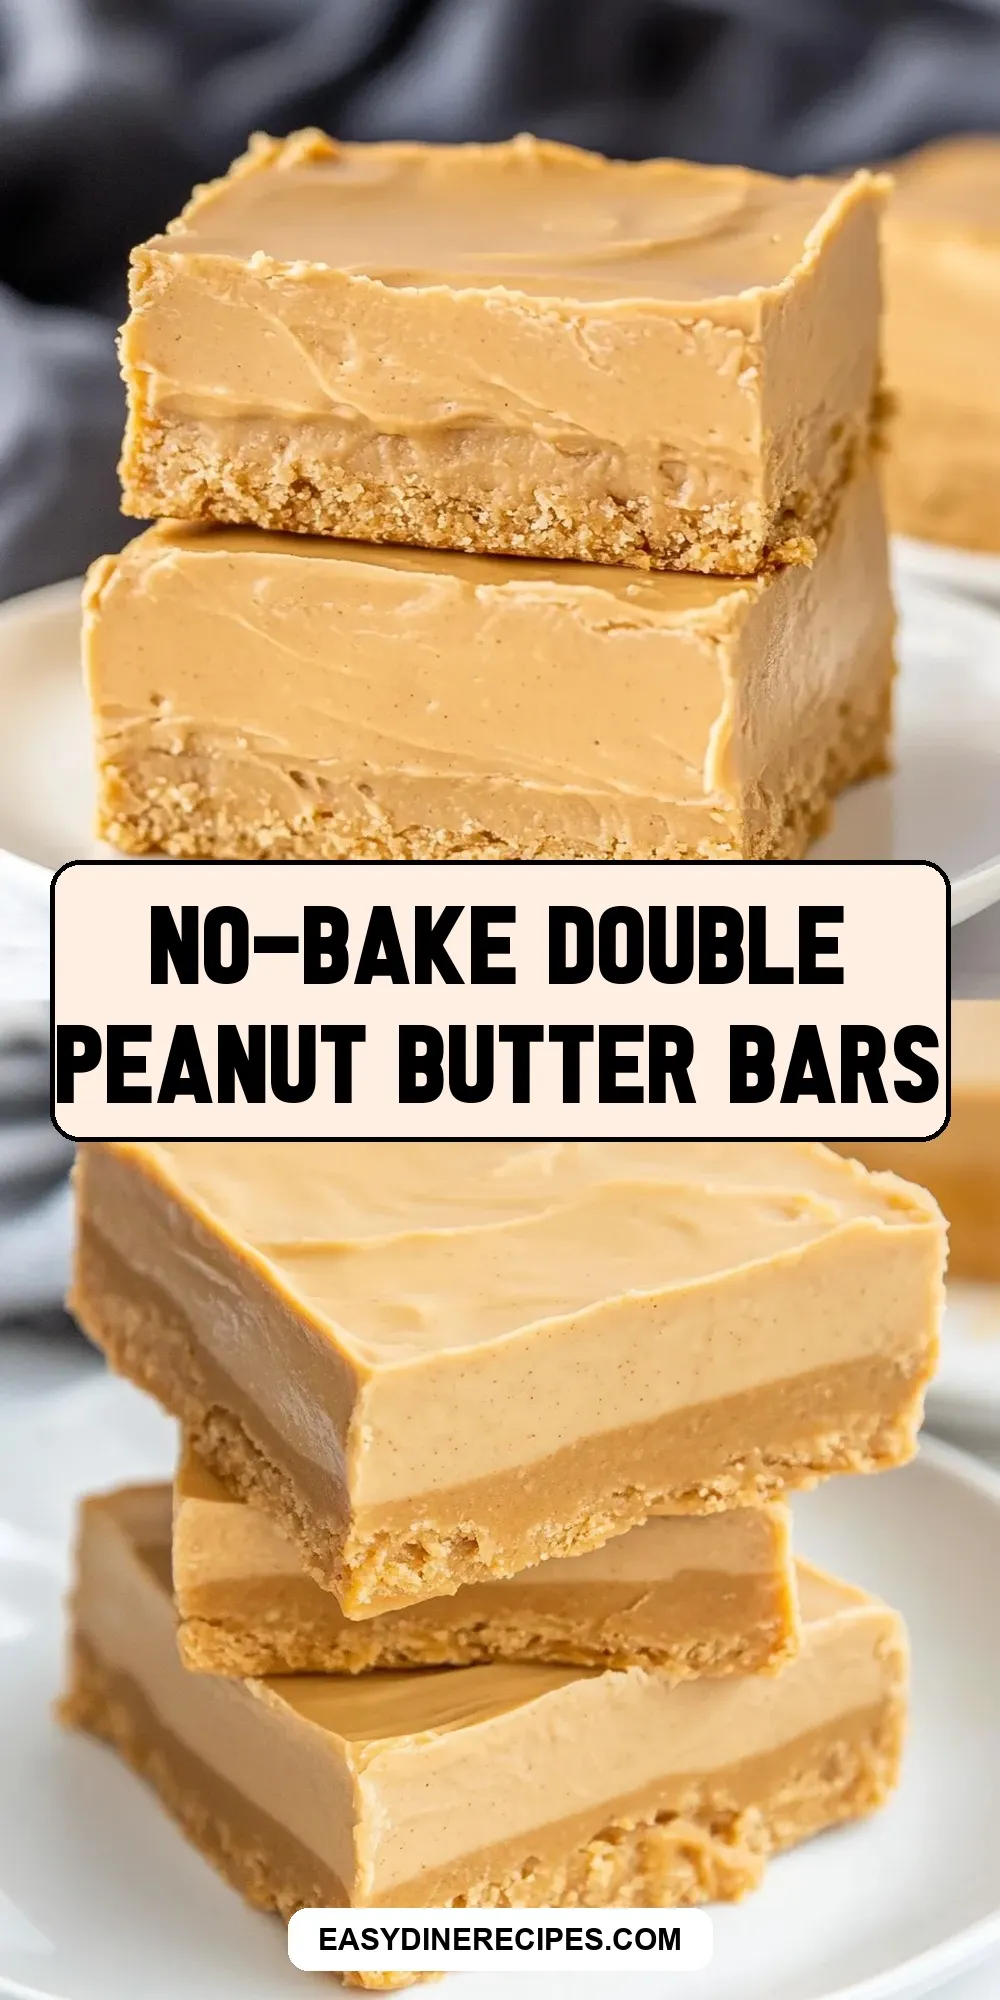
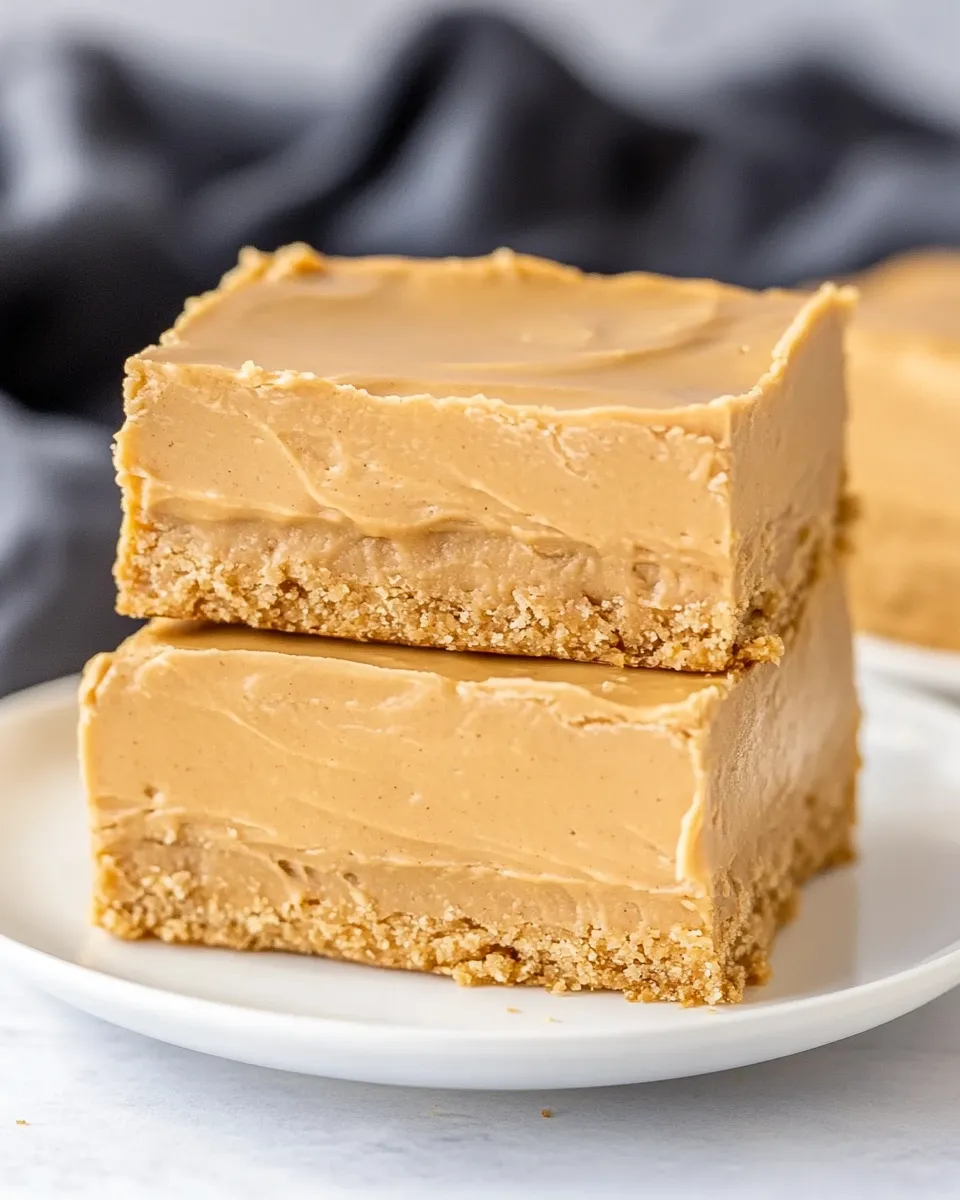
These bars are exactly what they sound like: a dense, buttery peanut butter base topped with a glossy white chocolate–peanut butter layer. They come together fast, require no oven, and travel well. If you like simple cookies and candy hybrids, this one will be on repeat.
I tested the texture until the base held together firmly and the topping set cleanly. The recipe relies on a few pantry staples and straightforward technique: press, melt, chill, slice. No tempering, no complicated steps.
You’ll find clear timing cues below so you can plan — make them the day before, chill while you run errands, and slice just before serving for the cleanest edges. Let’s get to the checklist and step-by-step so you can skip the guesswork.
Ingredient Checklist
Ingredients
- 8 tablespoons (113g) unsalted butter, melted — provides richness and helps bind the graham cracker base so it compresses firmly.
- 1¾ cups (168g) graham cracker crumbs — the structural body of the base; use finely crushed crumbs for a smooth, compact texture.
- 1 ¼ cups (142g) powdered sugar — sweetens and stabilizes the base; sift if you notice lumps from storage.
- ¾ cup (197g) creamy peanut butter — mixed into the base for deep peanut flavor and chew; creamy gives the smoothest finish.
- 1 cup (170g) white chocolate chips — melts into the glossy top layer that contrasts the peanut base; use chips designed for melting.
- 2 tablespoons (32g) creamy peanut butter — stirred into the melted white chocolate to echo the peanut flavor on top.
Step-by-Step: No-Bake Double Peanut Butter Bars
- Line a 9×13″ pan with foil, leaving an overhang for easy removal, and spray the foil with cooking spray.
- In a large bowl, combine the melted unsalted butter (8 tablespoons), graham cracker crumbs (1¾ cups), powdered sugar (1¼ cups), and ¾ cup creamy peanut butter. Mix by hand until evenly combined and the mixture holds together when pressed.
- Press the mixture firmly and evenly into the bottom of the prepared pan to form the base.
- Place the white chocolate chips (1 cup) and the remaining 2 tablespoons creamy peanut butter in a microwave-safe bowl. Heat at 50% power in 30-second intervals, stirring thoroughly between each interval, until the mixture is completely melted and smooth.
- Pour the melted white chocolate mixture over the pressed base and spread it into an even layer with a spatula.
- Chill the pan in the refrigerator for at least 1 hour, or until the topping is set.
- For cleaner slices and to prevent the chocolate from shattering, remove the pan from the refrigerator and let it sit at room temperature until the chocolate softens slightly (about 10–15 minutes). Use the foil overhang to lift the block from the pan, transfer to a cutting board, and slice into bars with a sharp knife, wiping the knife clean between cuts if desired.
Why This Recipe Belongs in Your Rotation
This is a real weeknight or weekend hero: quick to assemble, no baking, and reliably satisfying. The base is dense but tender; the white chocolate layer sets smooth and gives a creamy contrast to the peanut butter underneath. It’s the kind of recipe you make when you want something homemade that still feels a little indulgent.
The equipment needs are minimal and most steps are passive — chilling does the heavy lifting. That makes these bars perfect for batch prep, potlucks, or last-minute dessert needs. They also travel well because the chilled topping holds shape better than pure chocolate alone.
Finally, the flavor profile is crowd-pleasing and adaptable. If you want more salt, add a sprinkle of flaky sea salt on top. Prefer a deeper cocoa note? Swap the topping for dark chocolate (see variations). Either way, the method stays the same, so you can tweak confidently.
Allergy-Friendly Substitutes
- Nut allergy: Use sunflower seed butter in place of the creamy peanut butter for both the base and the topping. The texture and binding properties are similar, though the flavor will be different. Taste and adjust if you like a touch of extra powdered sugar to balance.
- Dairy sensitivity: Replace the unsalted butter with a melted dairy-free stick or solid coconut oil if you tolerate coconut. Note that coconut oil firms differently at cool temperatures, so chill time may need adjustment.
- White chocolate swap: If white chocolate is a problem, use dairy-free white compound chips or a pale-colored carob chip that melts cleanly. Expect small flavor differences but similar structure.
Gear Checklist
- 9×13″ baking pan (for shape and even thickness)
- Aluminum foil (for lining and easy removal)
- Cooking spray (to prevent sticking)
- Large mixing bowl and spatula or wooden spoon (to combine the base)
- Measuring cups and spoons (accurate scaling matters for texture)
- Microwave-safe bowl (for melting white chocolate and peanut butter)
- Sharp knife and cutting board (for slicing bars cleanly)
- Rubber spatula (for smoothing the top layer)
Frequent Missteps to Avoid
- Not pressing the base firmly enough. A loose base crumbles when you cut. Use the bottom of a measuring cup or a flat glass to press it down evenly and compactly.
- Overheating the white chocolate. Chips scorch easily. Heat at 50% power and stir between 30-second bursts until fully melted and smooth.
- Slicing straight from the fridge. Cold chocolate can shatter and leave ragged edges. Let the block sit 10–15 minutes at room temperature before slicing.
- Skipping the foil overhang. Without it, removing the bars intact is fiddly. The overhang is there to lift the whole block cleanly out of the pan.
- Using chunky crumbs. Coarser graham crumbs make a crumbly base. Use finely crushed crumbs for a cohesive texture.
Holiday-Friendly Variations
- Chocolate-peanut swirl: Melt 1 cup semisweet chocolate chips with 2 tablespoons peanut butter (instead of white chocolate), pour over the base, and swirl with a skewer for a darker, more classic peanut butter cup vibe.
- Crunch & salt: Press 2–3 tablespoons chopped roasted peanuts into the top layer before chilling, then finish with a light sprinkle of flaky sea salt after the topping sets.
- Pretzel crunch: Press crushed pretzel pieces into the base before adding the topping for a salty-sweet Pretzel Peanut Bar.
- Festive drizzle: Add a contrasting drizzle (melted dark chocolate or colored candy melts) across the chilled topping for a holiday look. Warm the drizzle slightly so it flows in thin lines.
Behind the Recipe
This recipe riffs on the classic no-bake bar format — a pressed crumb base topped with a chocolate layer — but doubles down on peanut butter. The idea is simple: reinforce the peanut flavor in both the base and the topping so every bite delivers it. White chocolate keeps the finished bars bright and slightly sweet without overpowering the peanut notes.
I developed the technique to prioritize clean slicing and a firm base. That’s why the recipe calls for tightly pressing the base and a short rest after chilling. The small timing step of letting the bar sit at room temperature before slicing makes an outsize difference in presentation.
Leftovers & Meal Prep
Store bars in an airtight container in the refrigerator for up to 1 week. The chilled environment keeps the topping firm and the base stable. For longer storage, wrap individual bars in plastic and freeze for up to 2 months; thaw in the refrigerator overnight before serving.
If you plan to transport them, keep a shallow cooler or insulated bag with an ice pack handy. That prevents the topping from getting soft in warm conditions. Slice right before serving when you want the sharpest edges and cleanest presentation.
Popular Questions
- Can I use crunchy peanut butter? Yes, though the base will be slightly more textured. Crunchy will add pleasant bite but may not pack as tightly as creamy.
- Can I halve the recipe? Yes. Use a smaller pan (8×8″ will work) and adjust chilling time slightly since the layer will be shallower.
- Why melt the white chocolate at 50% power? White chocolate burns quickly. Lower power heats it gently and the stirring distributes heat evenly, preventing graininess.
- Is powdered sugar necessary? It helps the base bind and keeps the texture smooth. Granulated sugar will not dissolve and will make the base gritty.
Ready, Set, Cook
Line your pan, press the peanut butter base, melt the topping, chill, rest, and slice. Follow the steps in order, and you’ll have a tray of tidy, peanut-forward bars in about an hour and a half door-to-door time, most of which is chilling. Make them for a party, a lunchbox treat, or a keeper on your dessert rotation. Enjoy — and store any extras in the fridge so they stay neat and slice-ready.
No-Bake Double Peanut Butter Bars
Equipment
- 9x13 inch Pan
- Aluminum Foil
- Large Bowl
- Microwave-safe Bowl
- Spatula
- Sharp Knife
- Cutting Board
- Refrigerator
Ingredients
Ingredients
- 8 tablespoons 113 g unsalted butter, melted
- 1 3/4 cups 168 g graham cracker crumbs
- 1 1/4 cups 142 g powdered sugar
- 3/4 cup 197 g creamy peanut butter
- 1 cup 170 g white chocolate chips
- 2 tablespoons 32 g creamy peanut butter
Instructions
Instructions
- Line a 9×13" pan with foil, leaving an overhang for easy removal, and spray the foil with cooking spray.
- In a large bowl, combine the melted unsalted butter (8 tablespoons), graham cracker crumbs (1¾ cups), powdered sugar (1¼ cups), and ¾ cup creamy peanut butter. Mix by hand until evenly combined and the mixture holds together when pressed.
- Press the mixture firmly and evenly into the bottom of the prepared pan to form the base.
- Place the white chocolate chips (1 cup) and the remaining 2 tablespoons creamy peanut butter in a microwave-safe bowl. Heat at 50% power in 30-second intervals, stirring thoroughly between each interval, until the mixture is completely melted and smooth.
- Pour the melted white chocolate mixture over the pressed base and spread it into an even layer with a spatula.
- Chill the pan in the refrigerator for at least 1 hour, or until the topping is set.
- For cleaner slices and to prevent the chocolate from shattering, remove the pan from the refrigerator and let it sit at room temperature until the chocolate softens slightly (about 10–15 minutes). Use the foil overhang to lift the block from the pan, transfer to a cutting board, and slice into bars with a sharp knife, wiping the knife clean between cuts if desired.
Notes
Be sure to melt white chocolate at 50% power and stir every 30 seconds so it doesn’t burn.