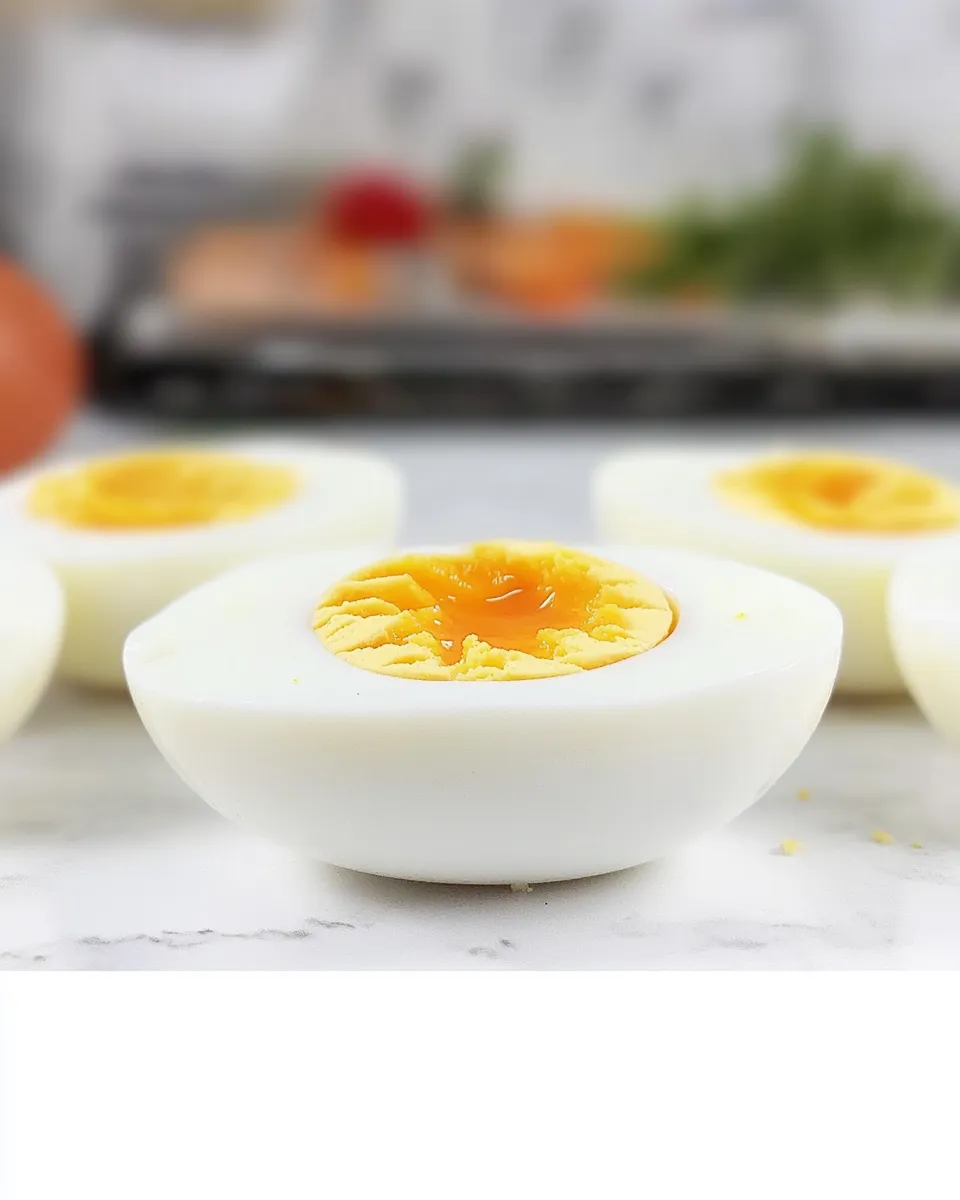
I’ve tried every trick in the book for cooking eggs: the stovetop dance of timing, the gentle simmer, the guesswork that follows. Baking eggs in the oven changed everything for me. It’s predictable, hands-off, and makes a dozen perfect eggs without fiddling with pots of boiling water.
This method is about steady heat and a quick cool-down. You’ll use a standard muffin tin so each egg has its own little oven pocket. The timing is the most important part — and it’s delightfully simple: choose the number that matches the doneness you want and follow through with an ice bath. That final plunge stops carryover cooking and gives you clean, easy-to-peel eggs.
Below I walk you through the exact steps, tools, common pitfalls, and how to make these fit into weekday meal prep or a weekend brunch spread. It’s practical, direct, and exactly the sort of technique you’ll keep coming back to.
Ingredients at a Glance
- 12eggslarge — The only ingredient. Eggs are the whole point here; the count and size match the muffin tin method and the timing in the directions.
Directions: Hard Boiled Eggs in the Oven
- Preheat the oven to 325°F.
- Place the 12 large eggs, one egg per cup, into a standard muffin tin.
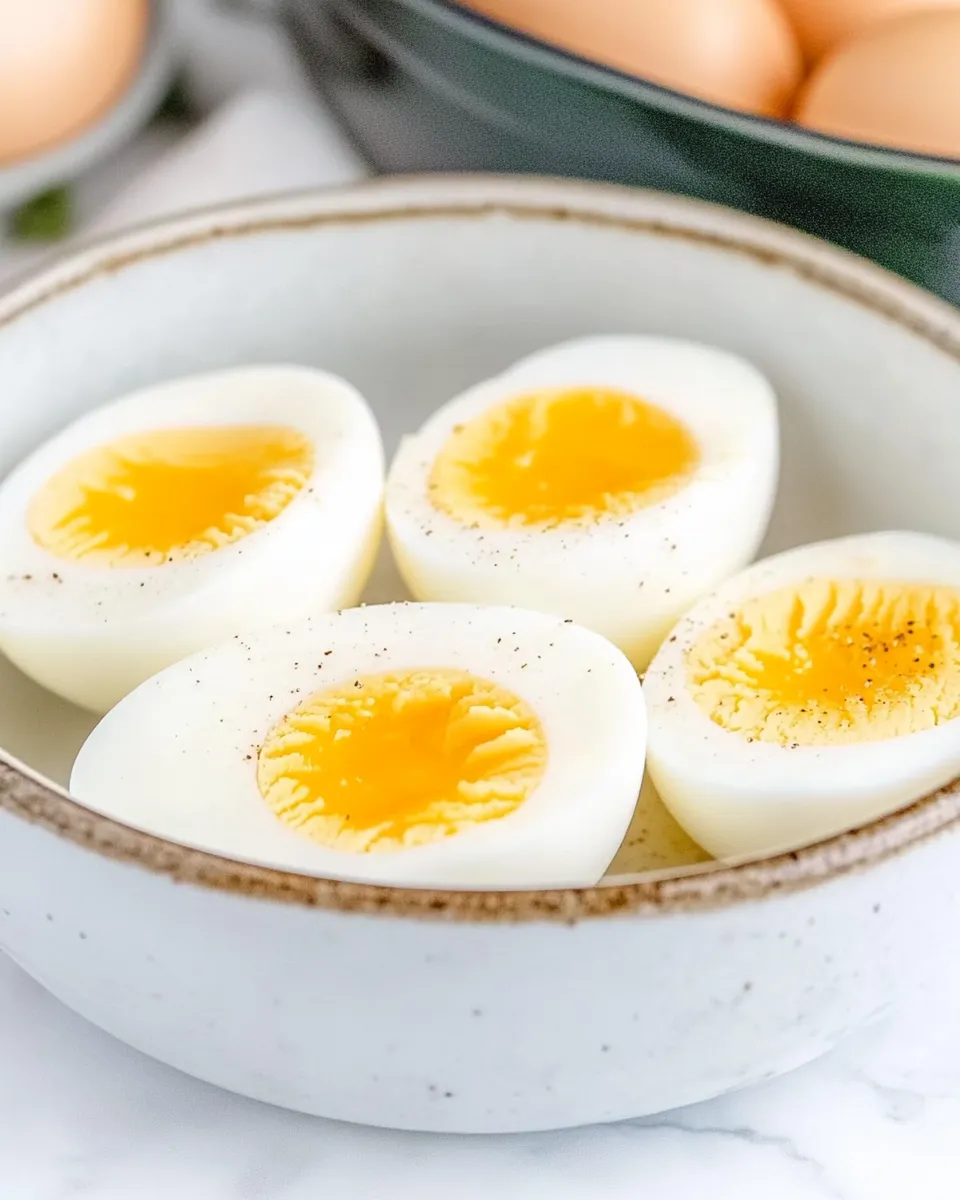
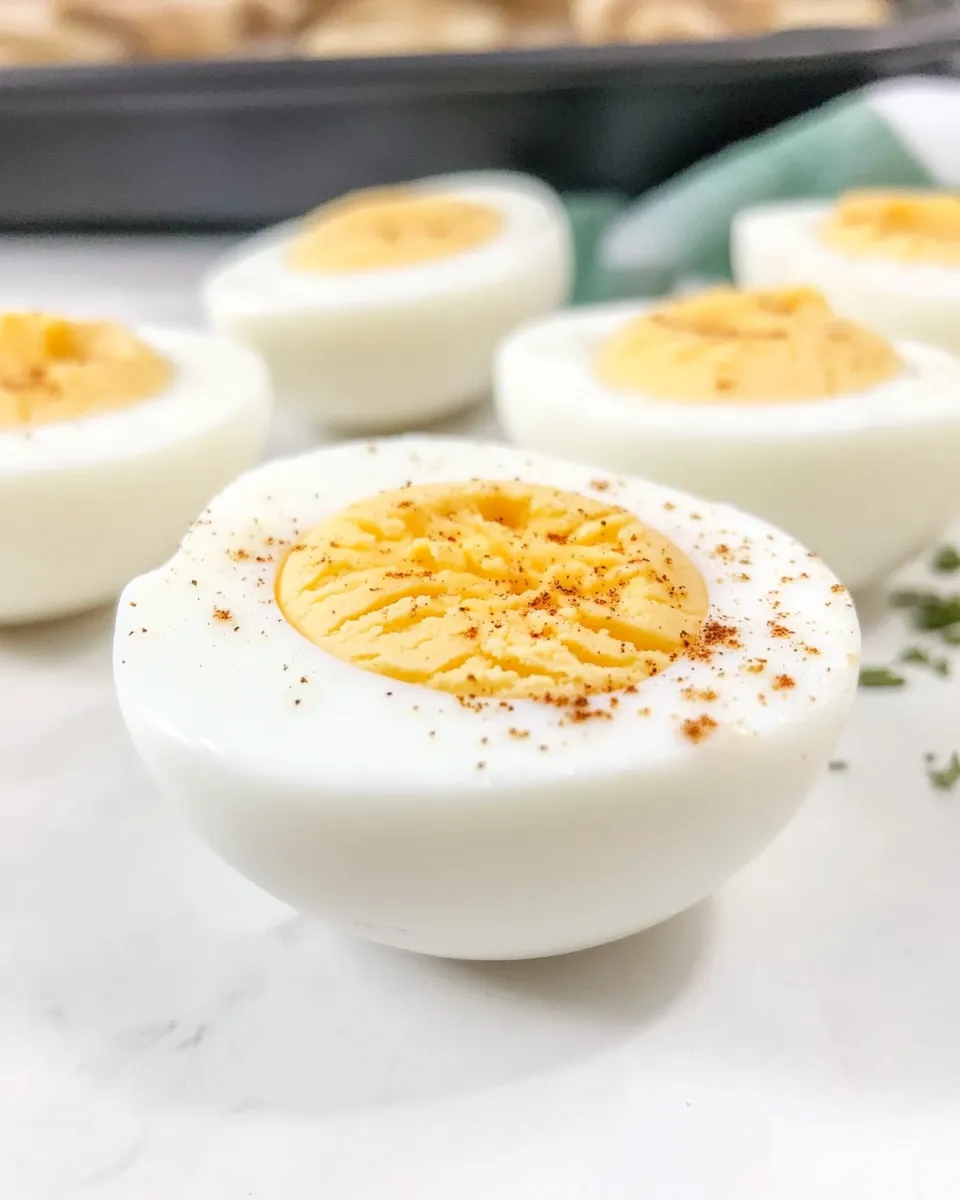
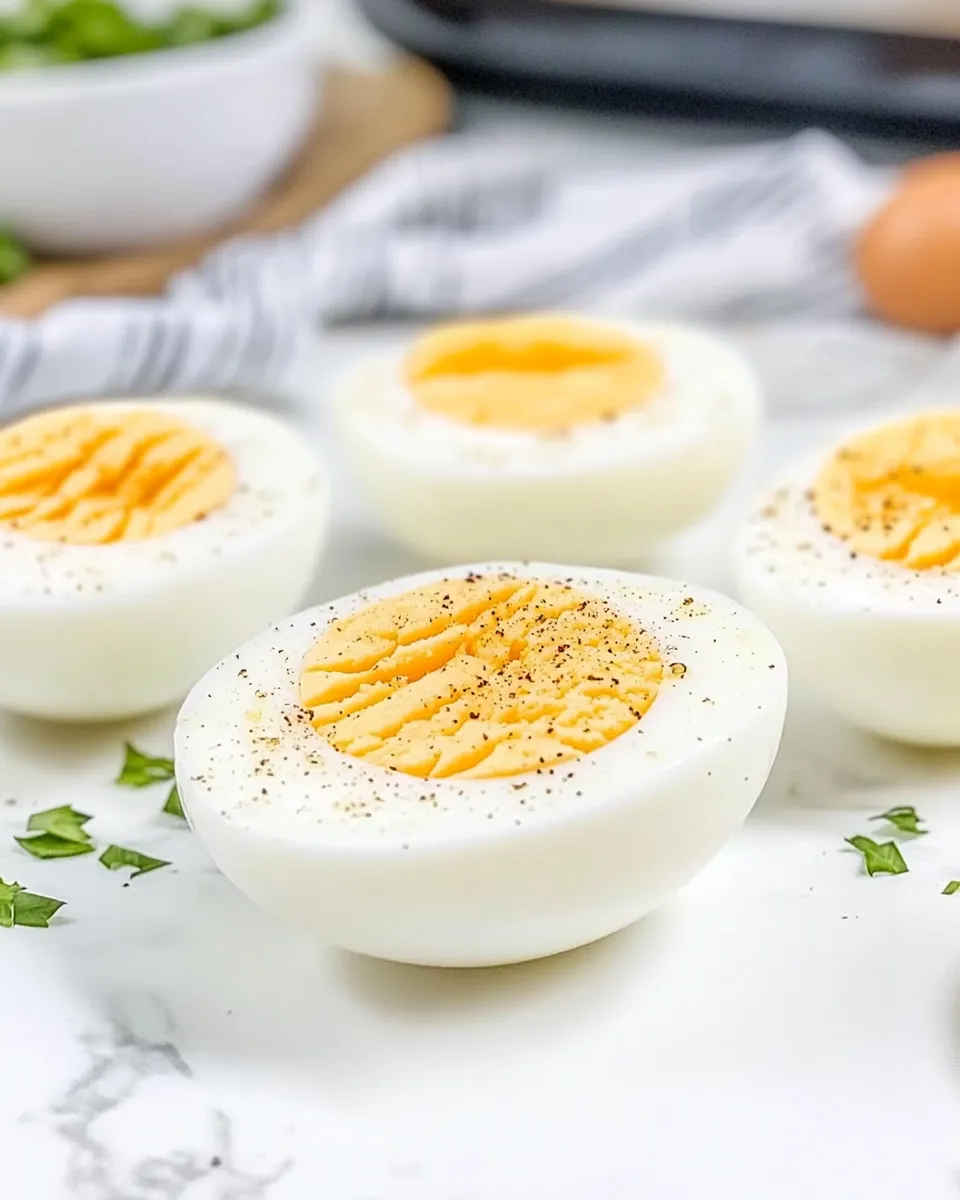
- Set the muffin tin on the middle oven rack and bake. Choose your timing for doneness: 22 minutes for soft-boiled, 26 minutes for medium, or 30 minutes for hard-boiled (30 minutes for hard boiled).
- While the eggs bake, prepare an ice bath: fill a large bowl about 3/4 full with ice and cold water.
- When the eggs finish baking, use oven mitts to remove the muffin tin and immediately transfer the eggs from the tin into the ice bath (use tongs or a slotted spoon to avoid burns).
- Let the eggs sit in the ice bath for 10 minutes to cool, then remove, dry, and store or peel as desired.
What You’ll Love About This Recipe
This technique is quietly brilliant because it removes the constant watching. No pot to simmer, no fiddly timing once the water comes to a boil. Set the timer and walk away. The muffin tin keeps eggs upright so they cook evenly on all sides. The oven environment is consistent, meaning you get uniform results from the first try.
It’s also wonderfully scalable. If you’re feeding a crowd or prepping for a week of breakfasts and lunches, this gives you a clean way to bake a full dozen at once with minimal effort. The ice bath afterward is the key to clean peels and an ideal texture. Do not skip it.
Finally, the texture is reliable. If you usually get a rubbery yolk or a gray ring from overcooking on the stove, you’ll notice a difference. The yolks are measured and steady; the whites stay tender.
Flavor-Forward Alternatives
Without changing the core method or introducing new ingredients here, think in terms of finishes and pairings rather than rewrites. Turn these eggs into a savory snack with a bright finishing touch, or break them into warm grain bowls as a protein boost. Mash or dice them and combine with a creamy binder for spreads. Add a little heat or a briny counterpoint when you plate — simple finishing choices take these from plain to restaurant-level fast.
In short: keep the oven method; vary how you finish and serve. That keeps the technique universal and flexible for whatever flavors you already like to use at home.
Prep & Cook Tools
- Muffin tin — one egg per cup keeps eggs upright and evenly exposed to heat.
- Oven — preheated to 325°F for predictable results.
- Large bowl — for the ice bath to stop cooking quickly.
- Ice and cold water — for chilling; make the bath before the eggs finish so it’s ready.
- Oven mitts — safety first when handling hot pans.
- Tongs or slotted spoon — to move eggs safely from pan to ice bath without burning your fingers.
- Kitchen timer — the method is all about minutes; use a reliable timer for consistency.
Easy-to-Miss Gotchas
Temperature matters. Preheat the oven fully to 325°F. An oven that hasn’t reached the right temperature will change textures and timing. Place the muffin tin on the middle rack so eggs cook evenly; too close to the top or bottom can brown the shells or change the internal doneness.
Transfer speed matters. The instant you pull the tin from the oven, move the eggs to the ice bath. Carryover cooking can firm up yolks faster than you expect while the eggs sit in a hot pan. Use tongs or a slotted spoon to avoid delays and prevent burns.
Don’t skip the ice bath or shorten its time. The 10-minute chill is not an arbitrary number. It stops cooking, firms up the white for easier peeling, and cools eggs to safe handling temperature. If you under-chill them, you’ll end up with overcooked centers or peeling frustration.
Warm & Cool Weather Spins
In warmer months, keep a stash of these eggs chilled and ready for quick salads, sandwiches, or picnic bowls. They’re a protein that keeps well in the fridge and doesn’t require reheating for many uses. In cooler months, use them straight from the fridge in warm grain bowls; their creamy yolks add richness without extra cooking steps.
For outdoor or travel-friendly serving, peel and pack the eggs in an airtight container with a paper towel to absorb excess moisture. That keeps them tidy for sandwiches or finger foods. If you’re serving at a brunch, slice them and arrange on a platter with little costume touches from your pantry—this method frees you to focus on presentation because the cook time is hands-off.
Notes on Ingredients
There’s only one ingredient in this method: eggs. Their size and temperature will affect final texture slightly. Large eggs are the basis for the timing, so using eggs significantly larger or smaller than “large” will introduce minor variation. Room-temperature eggs will heat through more evenly than straight-from-the-fridge eggs, but the method is forgiving; the ice bath corrects for small differences.
Freshness plays a role mainly in peeling. Very fresh eggs can be a little harder to peel cleanly. If peeling is an important part of your plan, letting eggs sit refrigerated a few days can make them peel more predictably. That said, the cooling step here does help a lot with peelability compared to some stovetop methods.
One more practical note: the shells may come out with a slightly warm tint or faint spotting depending on your oven and the egg batch. That’s cosmetic and does not affect taste or safety.
Make Ahead Like a Pro
Bake a batch and keep them refrigerated, unpeeled, in a covered container for up to a week. They’re a dream for fast breakfasts, packed lunches, and last-minute salads. If you plan to peel ahead, do that the same day you’ll use them; peeled eggs lose moisture faster and are best stored in a covered container with a damp paper towel to retain texture.
For hosting, bake earlier in the day and keep eggs chilled until service. If you want them warm for serving, let them come up to room temperature briefly or reheat gently for a few minutes in a warm oven — but avoid extended reheating, which can dry them out.
Common Qs About Hard Boiled Eggs in the Oven
Can I bake fewer than 12 eggs?
Yes. Use as many eggs as fit comfortably in your muffin tin, one per cup. The method scales down easily; just maintain the same timing and the ice bath routine.
What if my yolks look slightly different than pictured online?
Yolk color and texture depend on the egg and exact timing. Stick to the recommended minutes for your preferred doneness. The oven method gives consistent results, but small variations in egg size or oven calibration can shift color and creaminess slightly.
Do I need to grease the muffin tin?
No. The eggs sit in the tin just to keep them upright; you’ll remove them promptly into the ice bath. Greasing isn’t necessary and can make handling messier.
Is this safe? Are oven eggs as safe as boiled?
Yes. The eggs reach safe internal temperatures during the bake and then are rapidly cooled in an ice bath. As with any cooked egg product, refrigeration and prompt chilling are important if not serving immediately.
Can I use different cookware?
A standard muffin tin is recommended for even results. If you use another vessel, ensure eggs are secure and upright so they cook uniformly. Avoid methods that crowd or tip eggs.
See You at the Table
This oven method is one of the simplest changes that makes weekday cooking feel smarter. It’s reliable, low-effort, and gives you a dozen handy eggs for meals all week long. Try it once with the 30-minute timing if you want classic, firm yolks — then experiment with the shorter times for jammy centers. Come back to this post as your reference and tweak slightly to match your oven. I’ll be at my kitchen table, shelling a few and making something quick and delicious with the rest. Happy baking.
How to Make Hard Boiled Eggs in the Oven
Equipment
- Muffin Tin
- Oven
- Large Bowl
- Ice
Ingredients
Ingredients
- 12 eggslarge
Instructions
Instructions
- Preheat the oven to 325°F.
- Place the 12 large eggs, one egg per cup, into a standard muffin tin.
- Set the muffin tin on the middle oven rack and bake. Choose your timing for doneness: 22 minutes for soft-boiled, 26 minutes for medium, or 30 minutes for hard-boiled (30 minutes for hard boiled).
- While the eggs bake, prepare an ice bath: fill a large bowl about 3/4 full with ice and cold water.
- When the eggs finish baking, use oven mitts to remove the muffin tin and immediately transfer the eggs from the tin into the ice bath (use tongs or a slotted spoon to avoid burns).
- Let the eggs sit in the ice bath for 10 minutes to cool, then remove, dry, and store or peel as desired.
Notes
Large eggs are about 72 calories each and 0.06 grams of carbs.