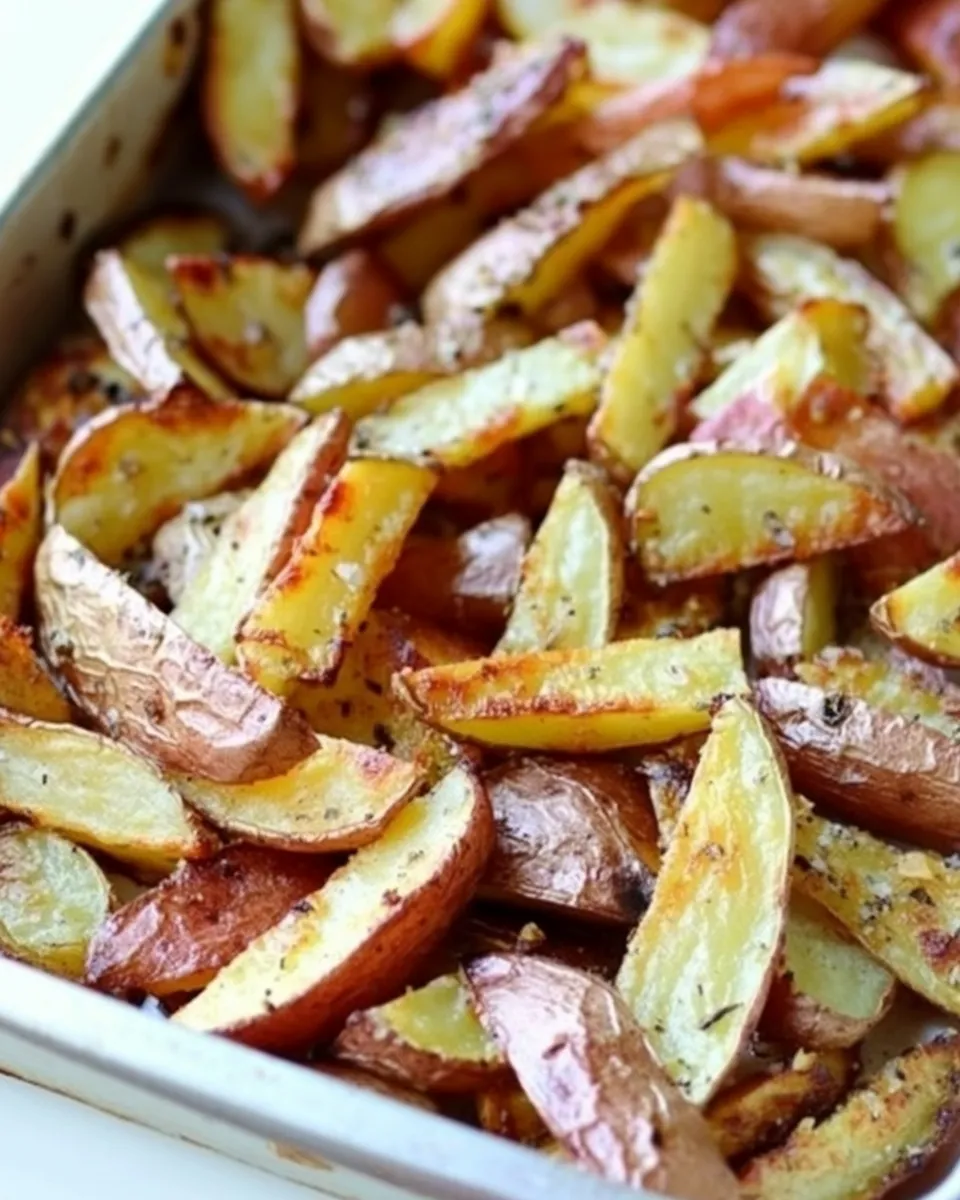
I love a simple potato side that feels like comfort food but doesn’t take over the whole meal. These baked red potato fries give you crisp edges, tender centers, and the kind of easy rhythm in the kitchen that makes weeknight dinners calmer. You don’t need special skills; just a little time, a hot oven, and a good baking sheet.
Red potatoes have thin skins and a slightly sweet, earthy flavor that crisps beautifully when baked. The method below keeps things straightforward—minimal oil, straightforward seasoning, and regular tossing so every wedge gets a turn in the heat. That tossing step makes all the difference for even color and texture.
Expect a recipe that’s forgiving. If you like a more rustic fry with skins on, these are for you. If you prefer them extra crisp, there are a few practical tweaks later on. Either way, this is a reliable companion to everything from roasted chicken to a big green salad.
Ingredient List
- 2poundsred potatoes(washed, dried, and cut into cut into 1/2-inch wedges) — the main ingredient; the skins add texture and flavor and the wedges give a good balance of exterior crisp and tender interior.
- 2tablespoonsolive oil — helps browning and crisping; toss evenly so the heat reaches each wedge without using too much oil.
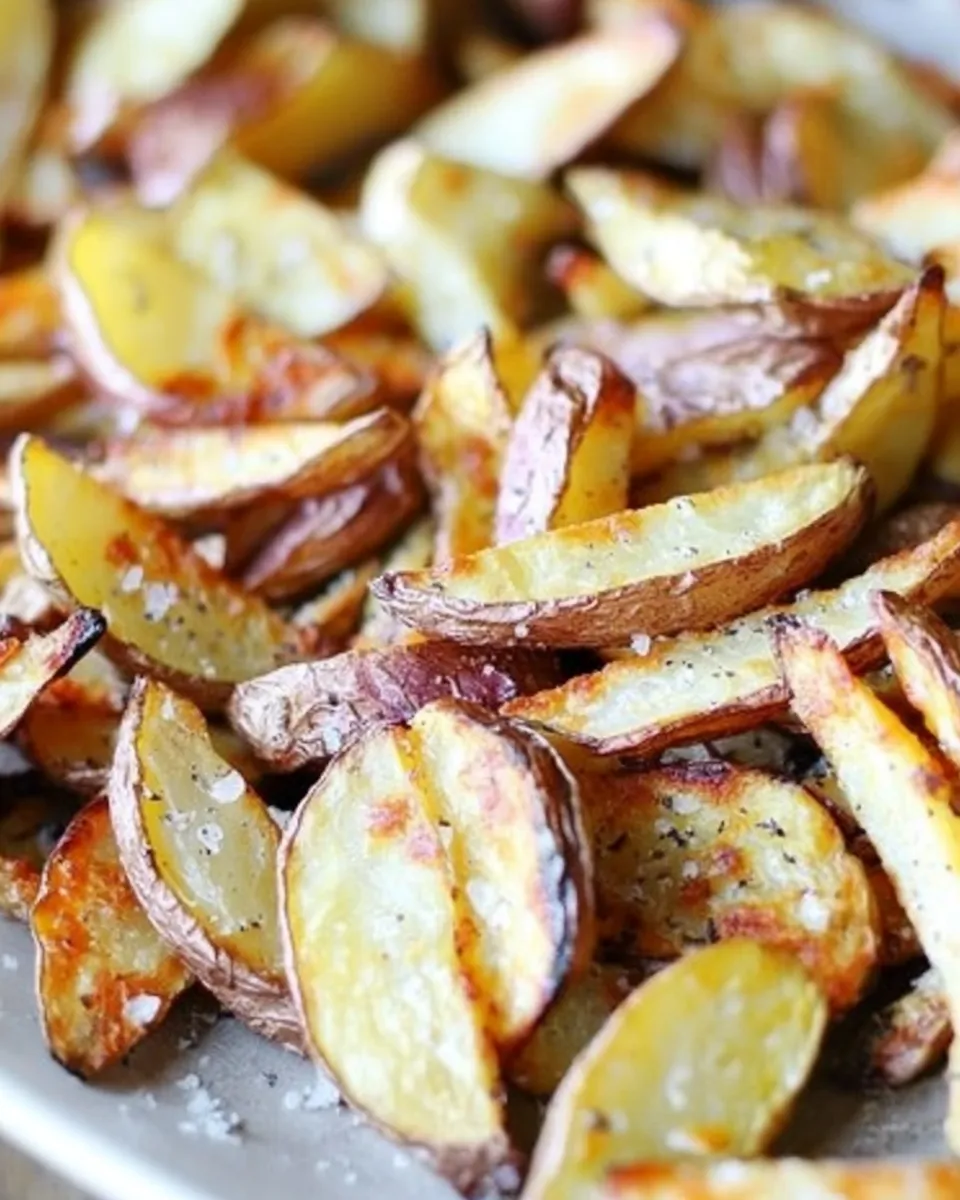
- Salt and pepper to taste — basic seasoning to finish; season right after baking so it sticks to the hot potato surface.
Baked Red Potato French Fries Recipe, Made Easy
- Preheat the oven to 400 degrees Fahrenheit.
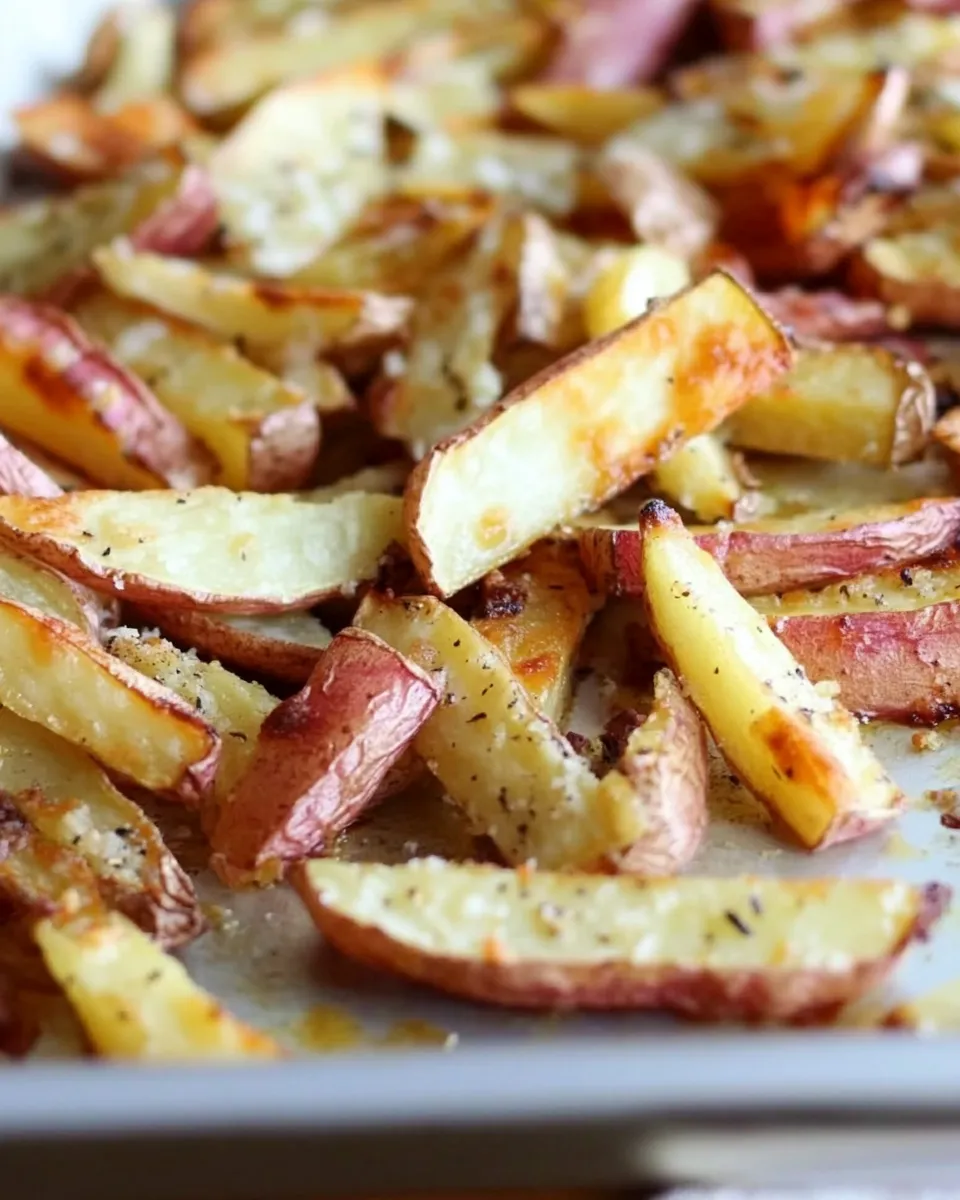
- Place the 2 pounds red potatoes (washed, dried, and cut into 1/2-inch wedges) in a single layer on a baking sheet.
- Drizzle 2 tablespoons olive oil over the potatoes and toss with your hands until the wedges are evenly coated.
- Bake for about 40 minutes, tossing the potatoes after the first 15 minutes and then again every 5–10 minutes, until the wedges are tender and golden brown.
- Remove from the oven, season with salt and pepper to taste, and serve.
The Upside of Baked Red Potato French Fries Recipe
First, this method is straightforward and forgiving. The oven does the heavy lifting; you don’t need a deep fryer or constant attention. The 40-minute bake with periodic tossing lets the wedges develop color and stay tender inside. Tossing every 5–10 minutes after the initial 15 keeps the potatoes from steaming on one side and ensures even caramelization.
Second, red potatoes are naturally versatile. Their thin skins crisp without peeling, and they hold their shape when roasted, so you get a pleasing texture contrast. They also take flavors well—rosemary, smoked paprika, garlic, or a squeeze of lemon after baking all pair beautifully.
Third, it’s weekday-friendly. Hands-on time is minimal: washing, cutting, tossing, and a few quick turns in the oven. That makes this recipe a go-to when you want something homemade without a lot of prep stress. Finally, cleanup is easy—one baking sheet, a bowl or your hands to toss, and you’re done.
Healthier Substitutions
If you want to shave calories or change the fat source, there are sensible swaps. Use a light spray of oil or 1 tablespoon of oil instead of 2 if you’re watching fat; it’ll still brown if the wedges are well spaced. Avocado oil is a good alternative with a high smoke point and a neutral taste. For lower sodium, skip the salt while baking and finish with a light sprinkle only at the table.
For a flavor-forward but low-calorie option, skip additional fat entirely and toss the wedges in a spice rub—smoked paprika, garlic powder, and black pepper—then roast on a nonstick or parchment-lined sheet. The texture won’t be as deep brown, but you still get the potato’s natural comfort with fewer calories.
Hardware & Gadgets
Must-haves
- Sturdy baking sheet — a rimmed sheet with even heat conduction helps the wedges brown uniformly.
- Oven — accurate temperature matters; an oven thermometer is a small investment that pays off if your oven runs hot or cold.
- Sharp knife and cutting board — consistent 1/2-inch wedges cook evenly; uneven sizes mean a mix of undercooked and overcooked fries.
Nice-to-haves
- Parchment paper or silicone baking mat — makes cleanup easier and lowers the chance of sticking.
- Large bowl or your hands for tossing — hands work fine and are efficient for coating each wedge.
Watch Outs & How to Fix
Soggy fries: The most common issue. Causes are overcrowding and not drying the potatoes well after washing. Fix it by spreading the wedges in a single layer with space between them. If necessary, roast in two batches. Pat the potatoes thoroughly dry before oiling so moisture doesn’t steam them.
Uneven browning: This usually means inconsistent wedge sizes or not tossing enough. Cut wedges as uniformly as you can. Toss after 15 minutes, then every 5–10 minutes as the recipe instructs so the sides rotate and expose fresh surfaces to the heat.
Burnt edges: Too high a temperature for an over-crowded pan can burn tips before centers are done. Lower the oven by 25 degrees if the edges char quickly, or use a heavier pan that distributes heat more evenly. You can also move the sheet to a higher or lower rack mid-bake to control how brown the surface gets.
Adaptations for Special Diets
Gluten-free: These fries are naturally gluten-free. Avoid any spice blends with fillers if you have a severe sensitivity.
Vegan: This recipe is vegan as written—olive oil and salt are the only additions. For a savory dip, try a cashew-based aioli or a simple mustard vinaigrette.
Lower fat: Reduce oil, use an oil spray, or roast on a nonstick surface. Keep in mind lower oil can slightly reduce the crispness, but you’ll still get a satisfying result.
Keto/low-carb: Potatoes are high in carbs, so they’re not suitable for strict ketogenic diets. If you want a similar presentation, try the same method with parsnips or rutabaga for lower carb content, but note the texture and flavor differ.
If You’re Curious
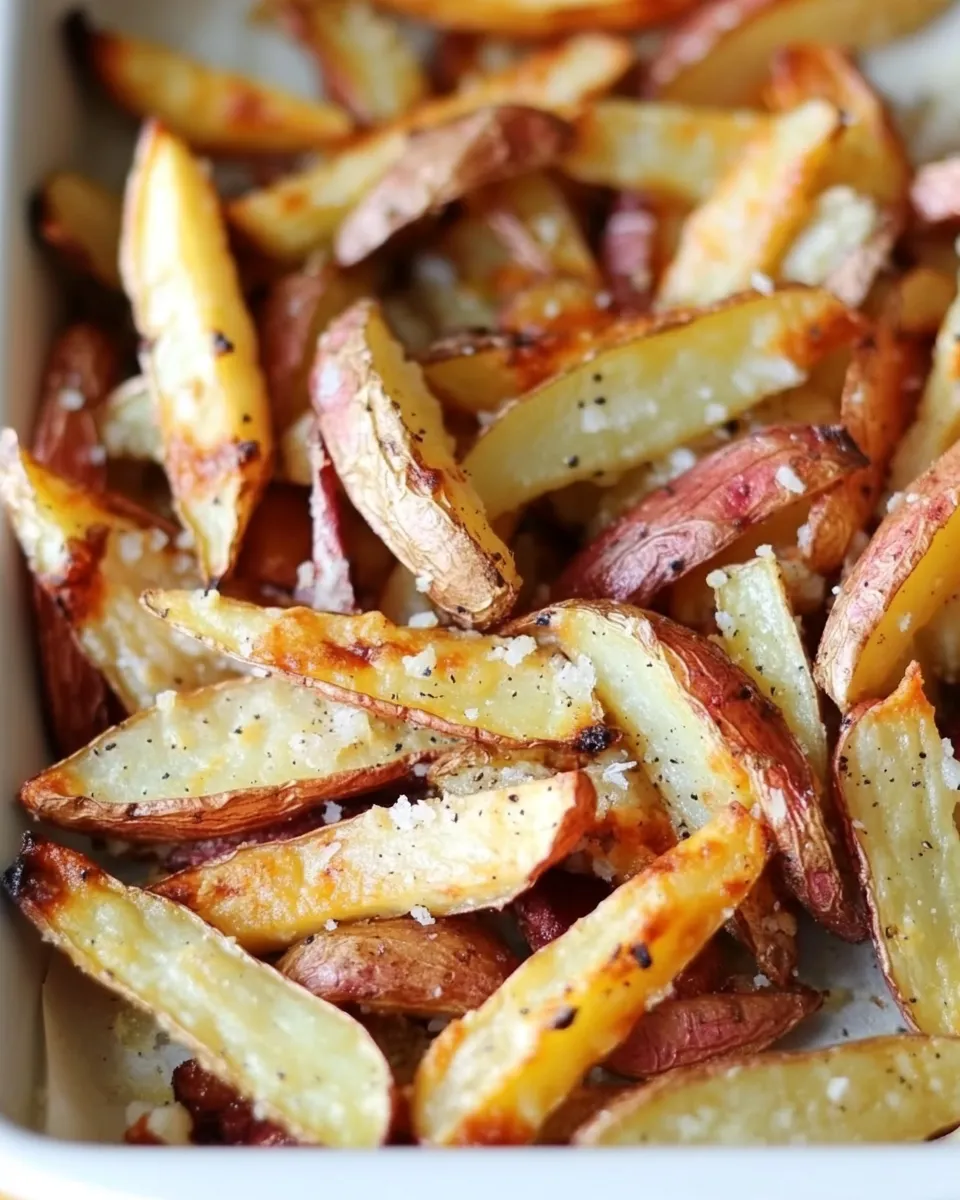
Want to experiment? Try tossing the wedges with a teaspoon of cornstarch before oiling for a crunchier crust. Or sprinkle a tablespoon of grated Parmesan over the fries in the last 5 minutes of baking for a salty, crisp finish. If you like heat, add cayenne or chili flakes to the oil.
Pairings: These fries are perfect alongside grilled or roasted proteins—chicken, fish, or steak. They also play well with robust salads and dipping sauces like ketchup, garlic aioli, or chimichurri. A squeeze of lemon or a sprinkle of fresh herbs right before serving can brighten them up.
Storage and reheat: Store leftovers in an airtight container for up to 3 days. Reheat in a 400°F oven for 8–10 minutes to revive the crispness. Avoid microwaving if you care about texture; it will make them soggy.
Save It for Later
To make this recipe again, scale by weight rather than cup measurements—potatoes vary in size. If you double, use two baking sheets and rotate them halfway through. You can freeze baked wedges on a sheet tray until firm, then transfer to a bag; reheat from frozen in a 425°F oven until hot and crisp. Frozen reheats take longer and will be slightly less crisp but still convenient.
Pin or save the steps: Preheat, single layer, oil-toss, 40 minutes with scheduled tossing, and finish with salt and pepper. That’s your reliable short version when you’re busy and want consistent results.
Popular Questions
Q: Can I peel the potatoes? Yes, you can. The recipe works with peeled potatoes, but you’ll lose the additional texture and nutrients in the skins. If you peel them, be careful with cutting so wedges still have consistent thickness.
Q: Can I use a different potato? Absolutely. Russets will give you a fluffier interior and can get very crisp, but they’re starchier and may fall apart if overhandled. Yukon Gold is another great option for a creamier interior and nice browning.
Q: How do I make them extra crispy? Dry the potatoes well after washing, cut wedges uniformly, don’t crowd the pan, and toss regularly. A light dusting of cornstarch before oiling helps create extra crust. Bake a bit hotter for the last 5–10 minutes if needed, watching closely.
Q: Can I season before baking? You can, but salt draws moisture out. Lightly seasoning before baking is fine if you want the flavor infused, but a lot of cooks prefer to season right after baking so the salt adheres to the hot surface.
Before You Go
Make this recipe when you want dependable comfort without a lot of fuss. The steps are short and practical: preheat, arrange in a single layer, toss with oil, bake with attention, and season. It’s the small touches—the tossing schedule, drying the potatoes—that turn a good batch into a great one.
If you try variations, note which change made the biggest difference for you and keep that in your mental recipe box. Share it with friends or keep it as your reliable side that always hits the mark. Happy baking—and enjoy those wedges straight out of the oven.
Baked Red Potato French Fries Recipe
Equipment
- Oven
- Baking Sheet
Ingredients
Ingredients
- 2 poundsred potatoes washed, dried, and cut into cut into 1/2-inch wedges
- 2 tablespoonsolive oil
- Salt and pepper to taste
Instructions
Instructions
- Preheat the oven to 400 degrees Fahrenheit.
- Place the 2 pounds red potatoes (washed, dried, and cut into 1/2-inch wedges) in a single layer on a baking sheet.
- Drizzle 2 tablespoons olive oil over the potatoes and toss with your hands until the wedges are evenly coated.
- Bake for about 40 minutes, tossing the potatoes after the first 15 minutes and then again every 5–10 minutes, until the wedges are tender and golden brown.
- Remove from the oven, season with salt and pepper to taste, and serve.
Notes
You can also substitute Yukon Golds – they’re also creamy, delicious, and no need to peel!