I love a good shortcut that actually improves the result. Baking eggs on a sheet pan gives you hands-off consistency and the ability to cook a crowd at once — no babysitting, no fiddly stovetop pans, and less cleanup. This method is simple, predictable, and fast, and it frees up the stove for other dishes.
In this post I’ll walk you through everything: the exact ingredients, the step-by-step bake, what tools make the job easier, common mistakes to avoid, swaps for allergies, and how I adjusted timing through testing. Expect practical tips you can use the first time you try it, plus answers to the questions readers always ask.
What We’re Using
Ingredients
- 1 tablespoon butter, melted — greases the sheet pan so the eggs don’t stick and adds a little flavor.
- 12 eggs — the main event; spacing matters so yolks don’t run into each other.
- Salt and pepper — basic seasoning; salt helps the whites set and pepper adds bite.
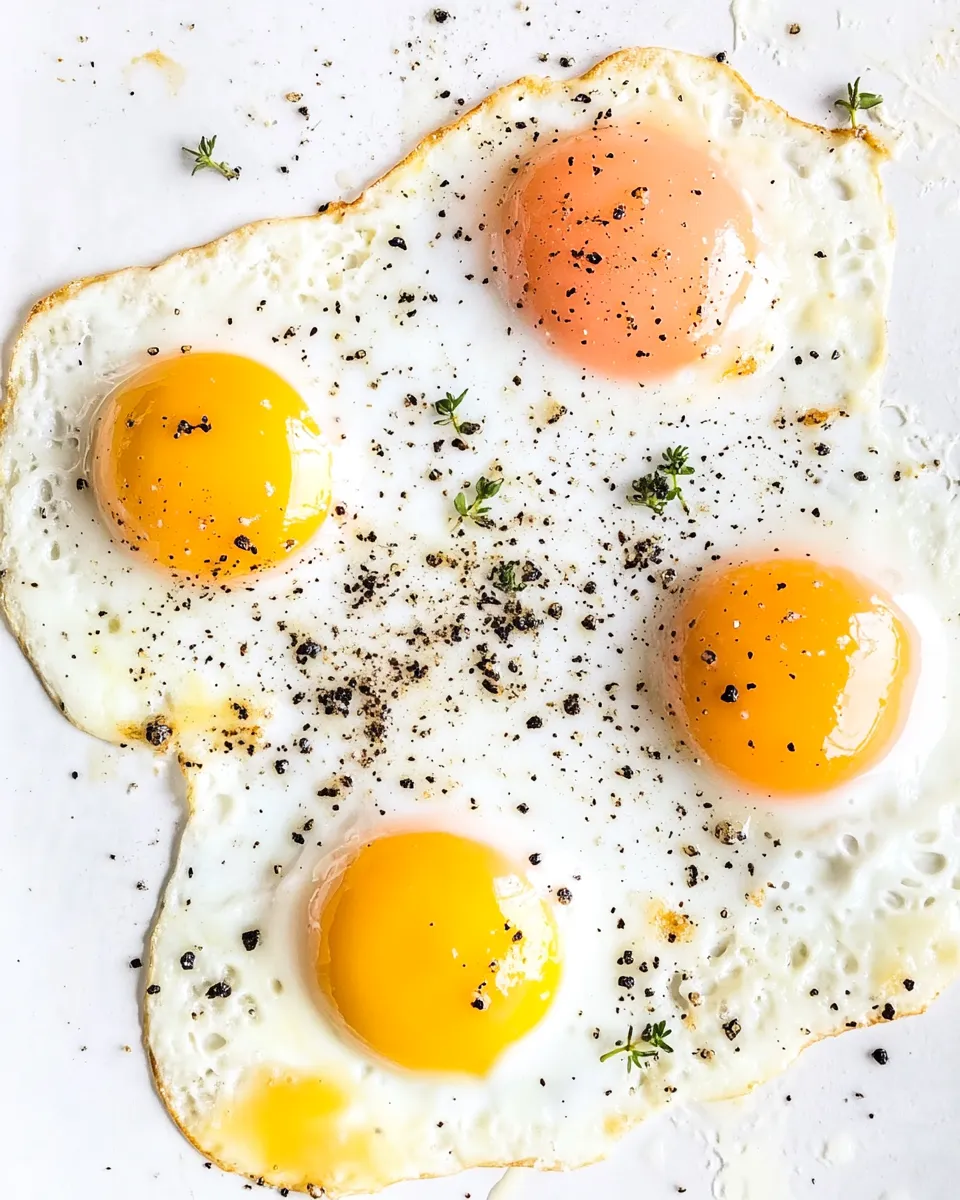
Step-by-Step: Fried Eggs In The Oven (Sheet Pan)
- Preheat the oven to 350°F and place a rack in the middle position.
- Brush a sheet pan with the 1 tablespoon melted butter so the bottom (and a little up the sides) is thoroughly greased.
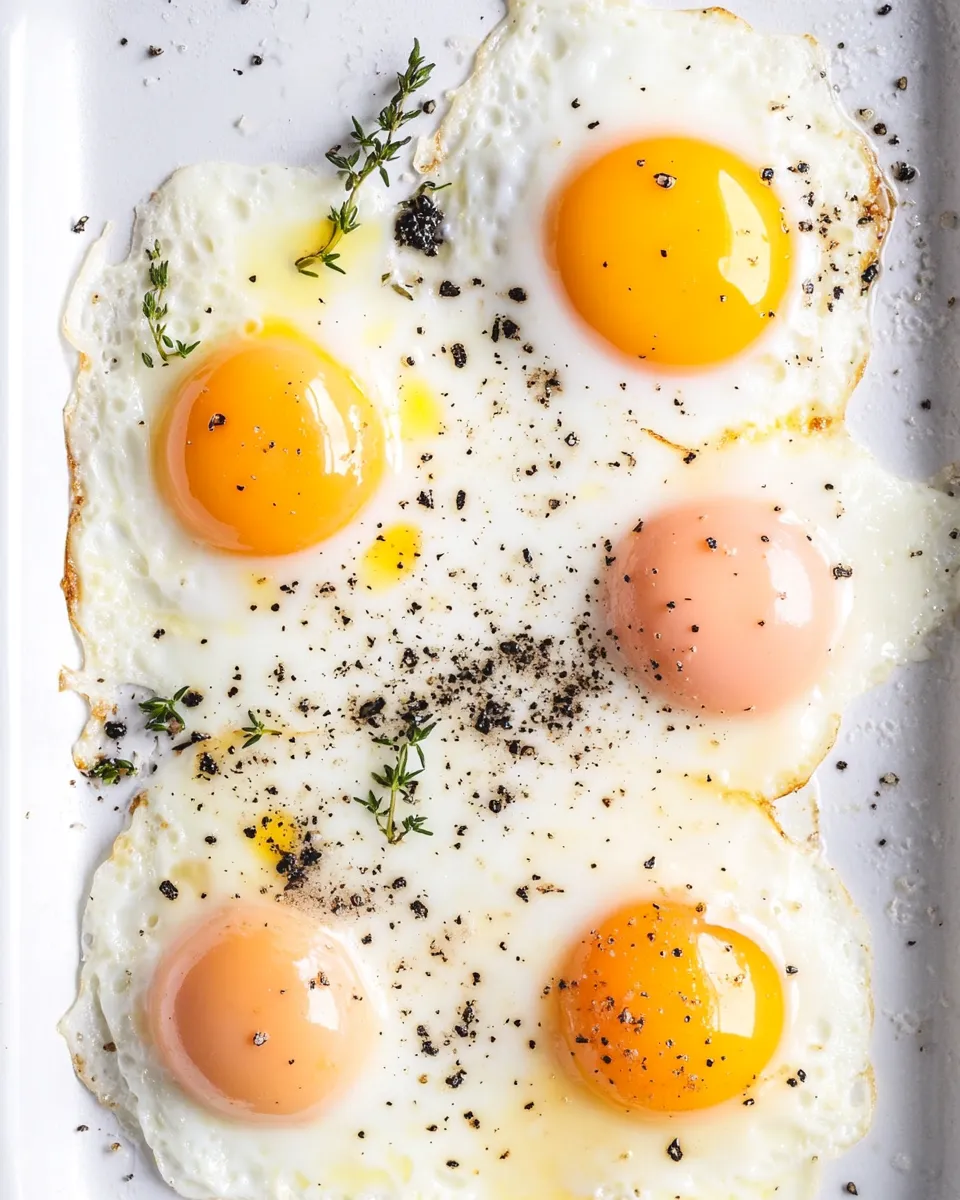
- Crack the 12 eggs into the sheet pan, spacing them evenly so the yolks are not next to each other.
- Season the eggs evenly with salt and pepper.
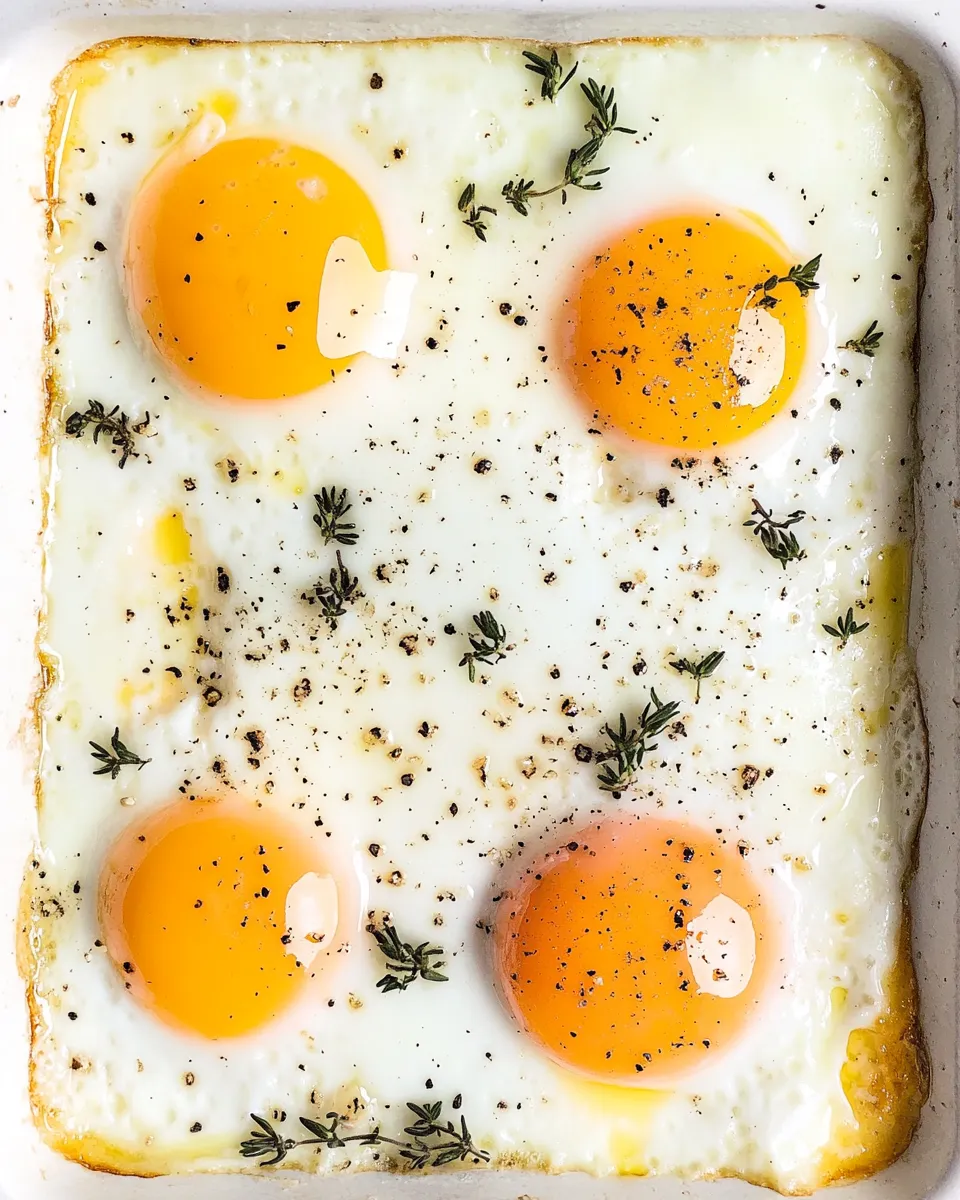
- Bake in the preheated oven for 12–15 minutes, until the whites are set and the yolks reach your desired doneness.
- Remove the sheet pan from the oven carefully, let the eggs rest briefly, then serve.
Why Fried Eggs In The Oven (Sheet Pan) is Worth Your Time
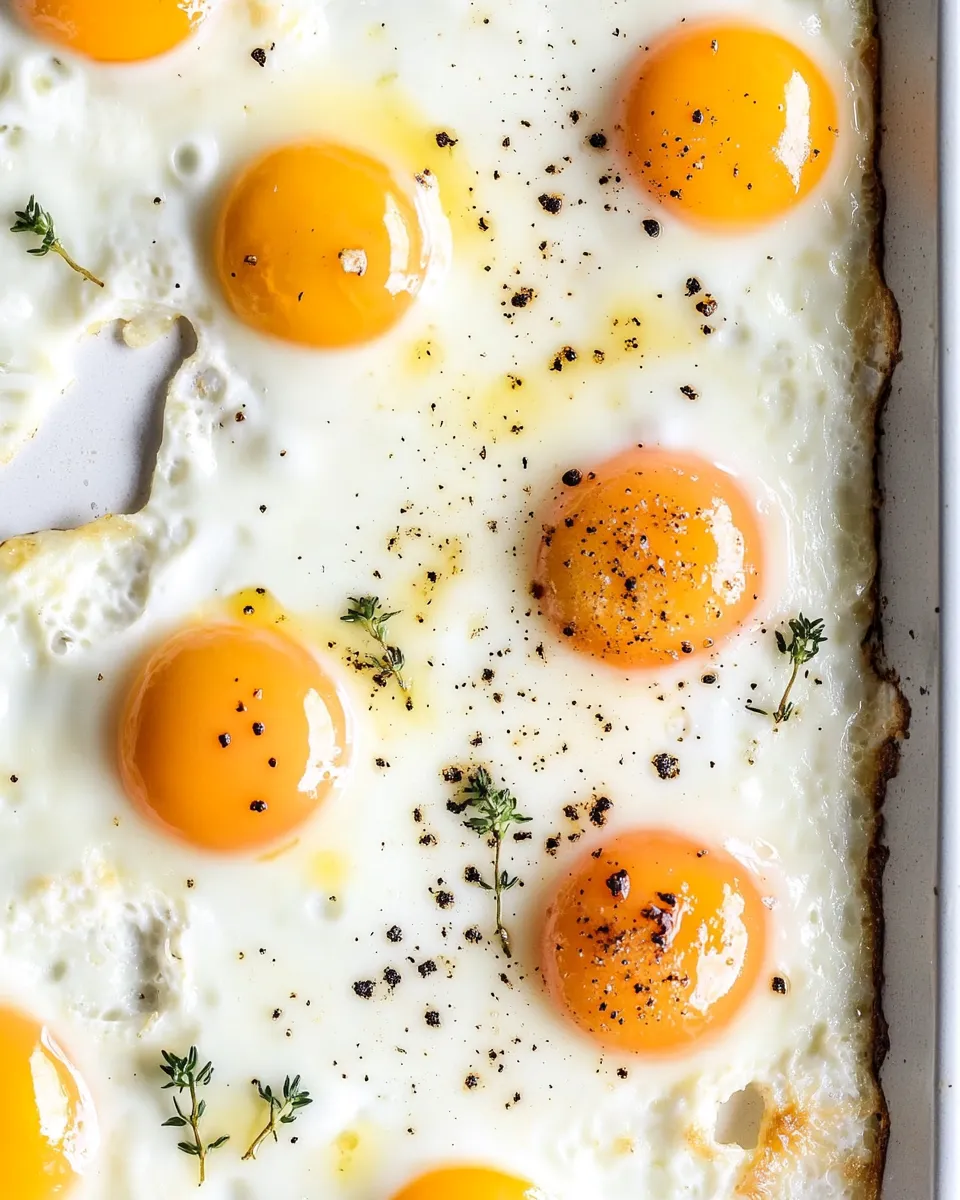
This technique scales effortlessly. If you’re feeding more than two people, frying eggs on the stovetop becomes a juggling act — multiple pans, broken yolks, uneven heat. A sheet pan solves that: put the eggs in, set the timer, and they come out uniformly cooked.
It’s also forgiving. Ovens provide steady, even heat; you’ll get whites that are set without aggressively overcooking the yolks, and you can control yolk firmness by a few minutes of oven time. Finally, cleanup is minimal when you grease the pan properly, and you avoid hot oil splatters that come with pan-fried eggs.
What to Use Instead
- Butter substitute: Clarified butter or cooking oil (neutral oils like canola or vegetable) can be used if you prefer. They won’t change the method, only the flavor.
- Smaller batch: Use a quarter sheet pan or an oven-safe baking dish if you only need a few eggs. Keep spacing in mind so yolks don’t touch.
- Individual portions: Use a muffin tin for single-serving cups; eggs will take a similar time but shape and presentation differ.
Hardware & Gadgets
Must-haves
- Full-size sheet pan: The recipe is written for a standard rimmed sheet pan. It provides enough room to space 12 eggs.
- Oven thermometer: Ovens vary; an oven thermometer helps you confirm your oven hits 350°F reliably.
- Pastry brush or folded paper towel: For spreading the melted butter to grease the pan evenly.
Nice-to-haves
- Silicone spatula or offset spatula: Helpful for loosening any eggs that cling to the pan when you serve.
- Sheet pan with a light nonstick coating: Makes release easier, but not required; the butter does the main job.
Mistakes That Ruin Fried Eggs In The Oven (Sheet Pan)
- Overcrowding the pan — placing yolks too close causes them to merge and makes serving messy. Keep space between eggs.
- Skipping the grease — not greasing the pan results in stuck whites and ragged edges.
- Wrong rack position — too close to the top browns and bubbles the whites; too low can slow cooking. Middle rack gives even heat.
- Not checking oven temperature — relying on the oven dial alone can lead to uneven doneness. Use an oven thermometer if your oven runs hot or cold.
- Opening the oven repeatedly — each peek drops the oven temp and can extend cooking time unpredictably.
Allergy-Friendly Swaps
- Dairy-free: Replace the melted butter with an equal amount of neutral oil (canola, vegetable, or light olive oil) if you’re avoiding dairy. The oil prevents sticking just as well.
- Egg alternatives: If someone is allergic to eggs, this exact method doesn’t translate directly to plant-based substitutes because the structure and cooking behavior differ. Consider baked tofu slices seasoned and baked on a sheet pan instead.
- Salt sensitivity: Reduce or omit the added salt and rely on other finishing flavors (fresh herbs, a squeeze of lemon) for interest.
What I Learned Testing
I tested this method across three ovens and adjusted timing. Convection ovens cook faster — I recommend checking at the 10-minute mark if using convection. Conventional ovens tended to be right in the 12–15 minute window for medium-set yolks. If you want runnier yolks, aim closer to 12 minutes; for set but still creamy yolks, 14–15 minutes works well.
Spacing the eggs made a measurable difference in how tidy they looked when served. If yolks touch, they flatten into one another and the whites can fuse, making portions awkward. I also found that a thin, even layer of melted butter is enough — heavy pooling can make whites spread too thin and cook faster at the edges, so brush it on instead of pouring.
How to Store & Reheat
- To store: Cool completely, then arrange eggs in a single layer in an airtight container. Refrigerate for up to 3 days.
- To reheat: For best texture, reheat gently in a 300°F oven on a sheet pan for 6–8 minutes, or until warmed through. Microwave works in a pinch: cover with a damp paper towel and microwave on medium power in 20–30 second bursts until heated.
- Freezing: Not recommended — whites become rubbery and yolks change texture.
Top Questions & Answers
- Q: Can I bake more than 12 eggs at once?
A: Yes, if you have another sheet pan and enough oven space. Keep eggs on a single layer per pan with good spacing. If pans are stacked you’ll need to rotate them midway and expect longer cooking time. - Q: Will the yolks stay intact when cracking directly onto the pan?
A: Usually yes, but if you’re nervous about shells or broken yolks, crack each egg into a small bowl first and pour onto the pan. That also lets you remove any shell fragments. - Q: Can I use nonstick spray instead of butter?
A: Yes — nonstick spray or oil works fine. I prefer melted butter for flavor, but spray is convenient. - Q: How do I get runny yolks versus firm yolks?
A: Shorter time in the oven (around 12 minutes) produces runnier yolks; 14–15 minutes gives firmer but still creamy yolks. Exact time depends on your oven and the thickness of the whites. - Q: Does elevation affect cook time?
A: Yes. Higher elevation may require slightly longer cooking. Keep a close eye and check texture rather than relying strictly on time.
Final Thoughts
This sheet-pan method is a small change with a big payoff: consistent eggs, less hands-on time, and a simple way to feed a group. It’s especially handy for meal prep breakfasts, brunches, or when you want to free stovetop space for other dishes. Follow the simple greasing and spacing rules, watch the clock, and you’ll have reliable results every time.
Try it once exactly as written, then tweak butter, seasoning, or timing to fit your taste. Once you get the hang of it, you’ll appreciate how reliable and flexible this approach is — and how much easier mornings can be when the eggs are already handled.
Fried Eggs In The Oven (Sheet Pan)
Equipment
- Sheet Pan
- Oven
- Pastry Brush
Ingredients
Ingredients
- 1 tablespoonbuttermelted
- 12 eggs
- Salt and pepper
Instructions
Instructions
- Preheat the oven to 350°F and place a rack in the middle position.
- Brush a sheet pan with the 1 tablespoon melted butter so the bottom (and a little up the sides) is thoroughly greased.
- Crack the 12 eggs into the sheet pan, spacing them evenly so the yolks are not next to each other.
- Season the eggs evenly with salt and pepper.
- Bake in the preheated oven for 12–15 minutes, until the whites are set and the yolks reach your desired doneness.
- Remove the sheet pan from the oven carefully, let the eggs rest briefly, then serve.