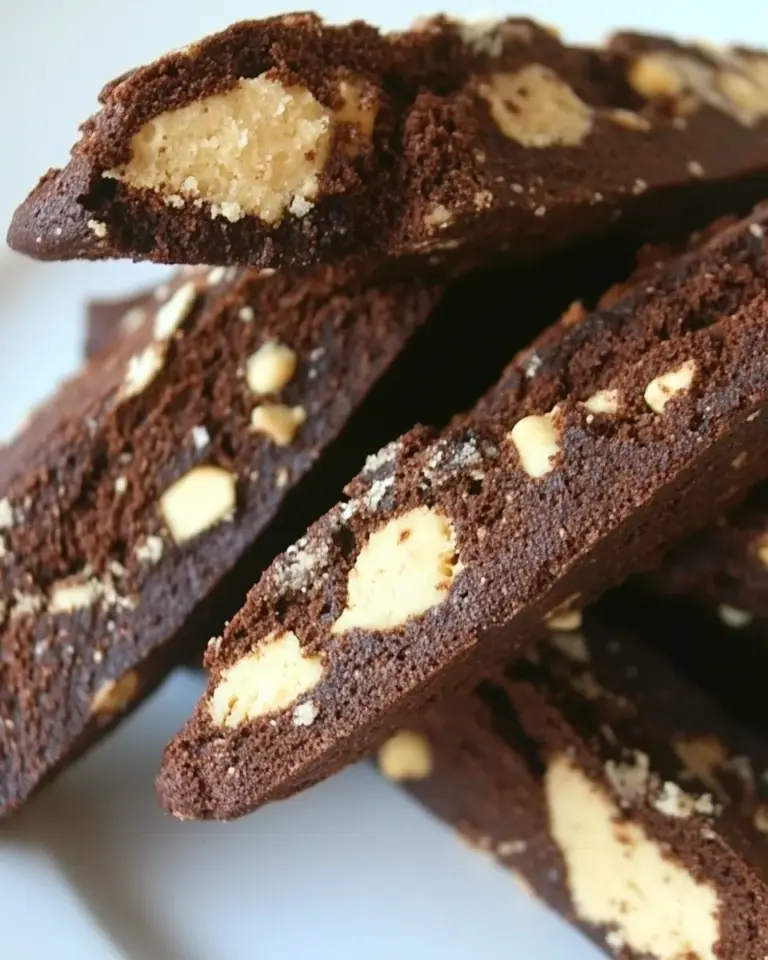
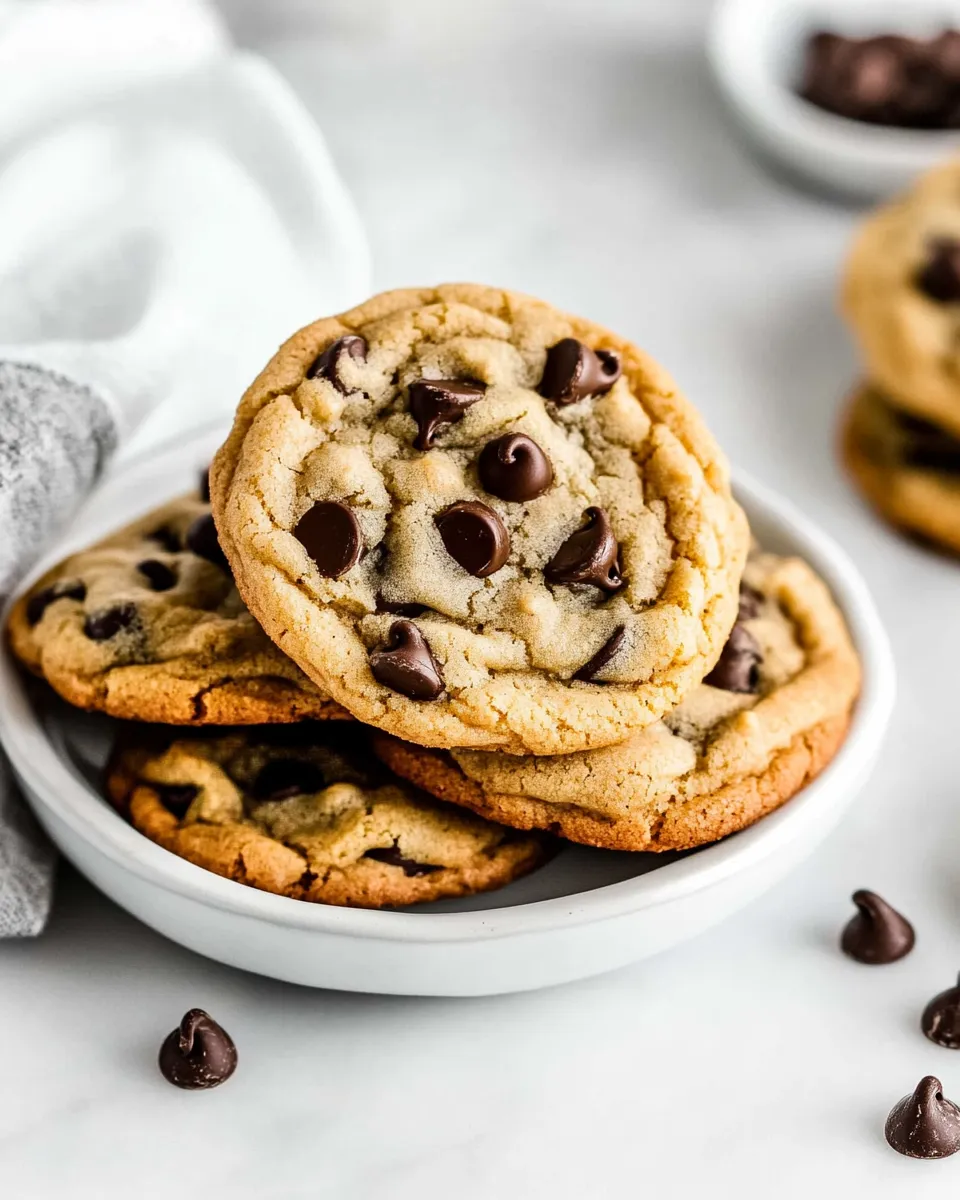
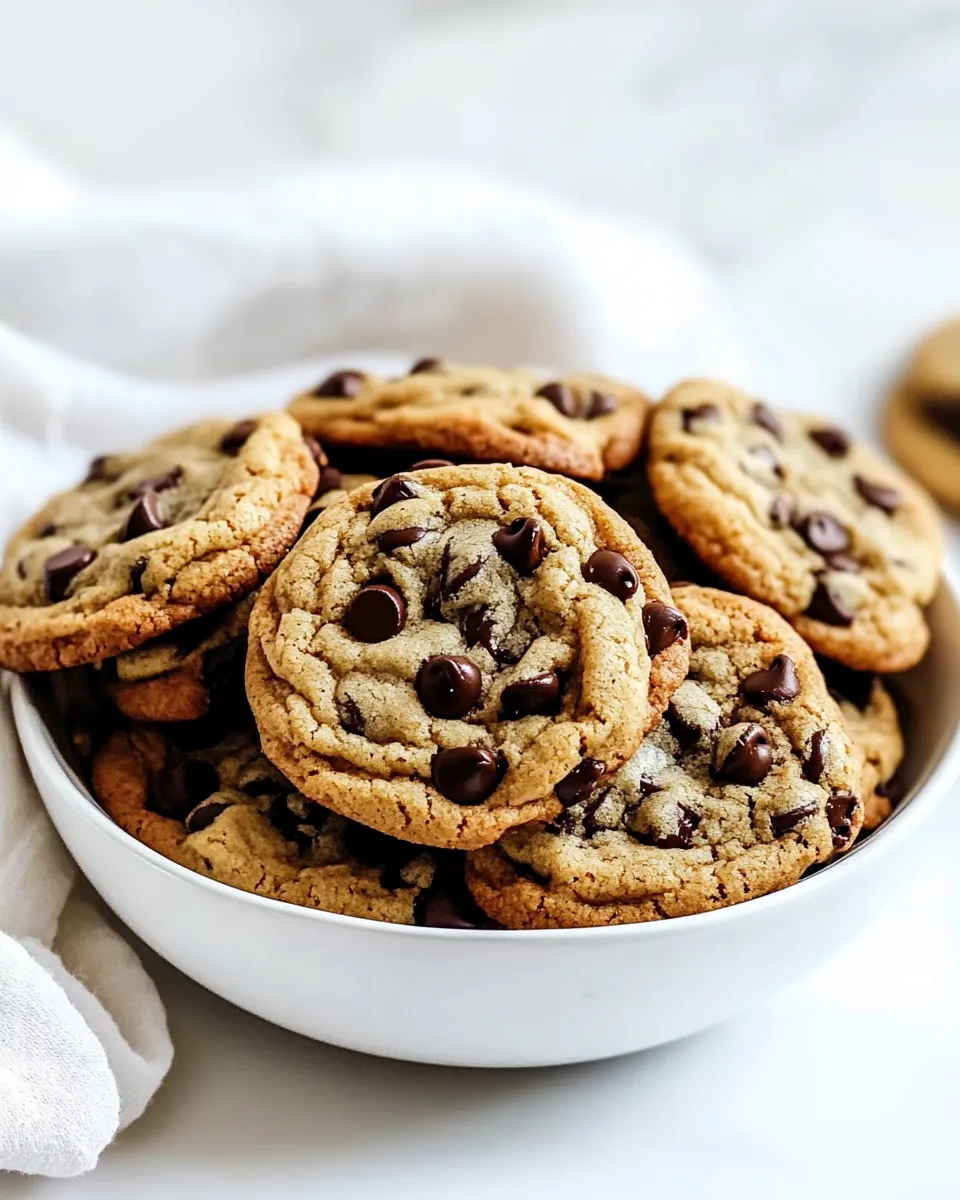
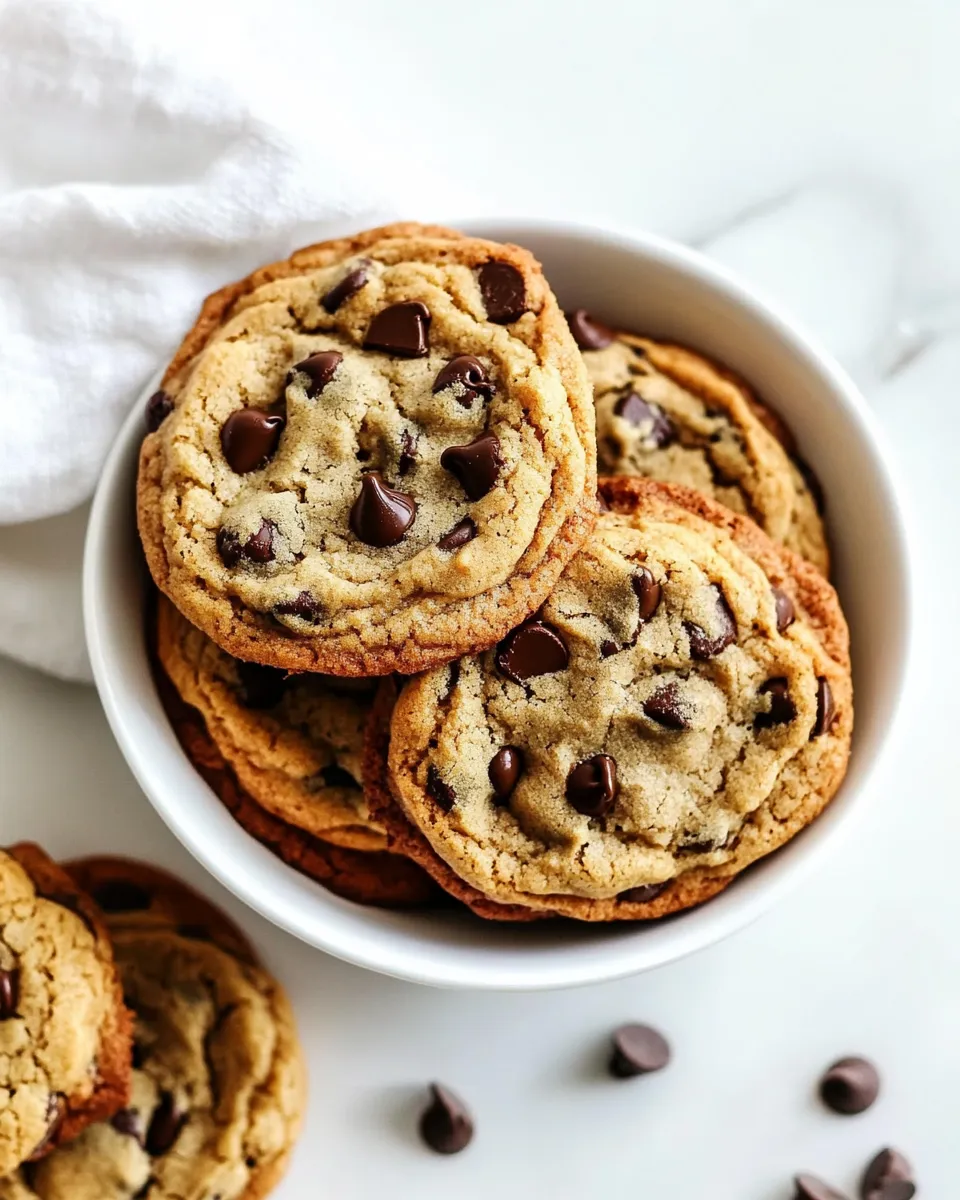
These cookies are the ones I bake when I want something reliable, comforting, and impressive without drama. They come from a method that balances chew, crisp edge, and glossy chocolate pockets. A little patience with chilling and a simple set of techniques deliver cookies that look bakery-bought and taste even better.
I keep the tone practical because time in the kitchen should be productive. You’ll find the exact ingredient list below (use it as written) and a step-by-step bake schedule to follow. Small habits—like turning exposed chocolate disks sideways before baking—make a big visual difference and are easy to add to your routine.
Read through the timeline, follow the instructions exactly when you bake the first batch, and then adapt from there. Notes on shopping, equipment, common mistakes, and storage appear after the recipe so you can reference them while the oven is cooling.
Ingredients
- 2 cups minus 2 tablespoons cake flour — provides a tender structure; sifting helps remove lumps.
- 1 2/3 cups bread flour — adds chew and structure for a slightly crisp edge.
- 1 1/4 teaspoons baking soda — gives lift and spread control.
- 1 1/2 teaspoons baking powder — works with baking soda to balance rise and texture.
- 1 1/2 teaspoons coarse salt — essential for flavor contrast; kosher or sea salt both work.
- 1 1/4 cups unsalted butter — creamed with sugars; room temperature but not melty.
- 1 1/4 cups packed light brown sugar — brings moisture and caramel notes.
- 1 cup plus 2 tablespoons granulated sugar — for crispness and balance with brown sugar.
- 2 large eggs — binders and give richness; add one at a time as instructed.
- 2 teaspoons pure vanilla extract — flavor foundation; use good quality for best results.
- 1 1/4 pounds bittersweet disks or fèves at least 60 percent cacao content — chunky chocolate pockets; add gently so disks stay intact.
- Sea salt — sometimes I add this, sometimes I don’t; a small pinch on top highlights the chocolate.
What to Buy
Shop for the right flours and a good-quality bittersweet chocolate. Cake flour and bread flour are the backbone of the texture here; they’re not interchangeable with all-purpose without changing the cookie’s character. If your grocery doesn’t carry fèves or disks, look for thick chopped bittersweet chocolate or bakery chocolate that holds shape in the dough.
Buy unsalted butter so you control the salt level. Two large eggs and pure vanilla extract are pantry basics you’ll use frequently; get the best vanilla you can afford. If you like a finishing crunch, have flaky sea salt on hand, but it’s optional.
Finally, pick up parchment paper or a silicone baking mat if you don’t already have one. They’re inexpensive and make cleanup and release simple.
My Favorite Chocolate Chip Cookies: From Prep to Plate
- Sift together 2 cups minus 2 tablespoons cake flour, 1 2/3 cups bread flour, 1 1/4 teaspoons baking soda, 1 1/2 teaspoons baking powder, and 1 1/2 teaspoons coarse salt into a bowl. Set the dry mixture aside.
- In the bowl of a stand mixer fitted with the paddle attachment, cream 1 1/4 cups unsalted butter, 1 1/4 cups packed light brown sugar, and 1 cup plus 2 tablespoons granulated sugar on medium speed until the mixture is very light in color and texture, about 5 minutes.
- Add 2 large eggs to the butter-sugar mixture one at a time, mixing well after each addition. Stir in 2 teaspoons pure vanilla extract.
- Reduce the mixer speed to low. Add the sifted dry ingredients to the wet ingredients and mix just until combined, about 5 to 10 seconds. Do not overmix.
- Add 1 1/4 pounds bittersweet disks or fèves (at least 60% cacao) to the dough and incorporate them gently so they do not break.
- Press plastic wrap directly against the surface of the dough to cover it completely. Refrigerate the dough for 24 to 36 hours. (Dough may be refrigerated up to 72 hours if needed.)
- When ready to bake, preheat the oven to 350°F. Line a baking sheet with parchment paper or a nonstick baking mat.
- Portion the chilled dough into six mounds of about 3.5 ounces each (the size of generous golf balls) per baking sheet. Leave space between mounds for spreading.
- Turn any chocolate pieces that are poking up so they lie horizontally on the top of each mound for a more attractive cookie. If using, lightly sprinkle a small pinch of sea salt on each mound.
- Bake the cookies at 350°F until the edges are golden brown but the centers remain soft, about 18 to 20 minutes.
- Remove the baking sheet from the oven and transfer it to a wire rack. Let the cookies rest on the sheet for 10 minutes, then transfer the cookies to another rack to finish cooling.
- Repeat steps 8–11 with remaining dough, or keep remaining refrigerated dough for baking the next day.
Why It Deserves a Spot
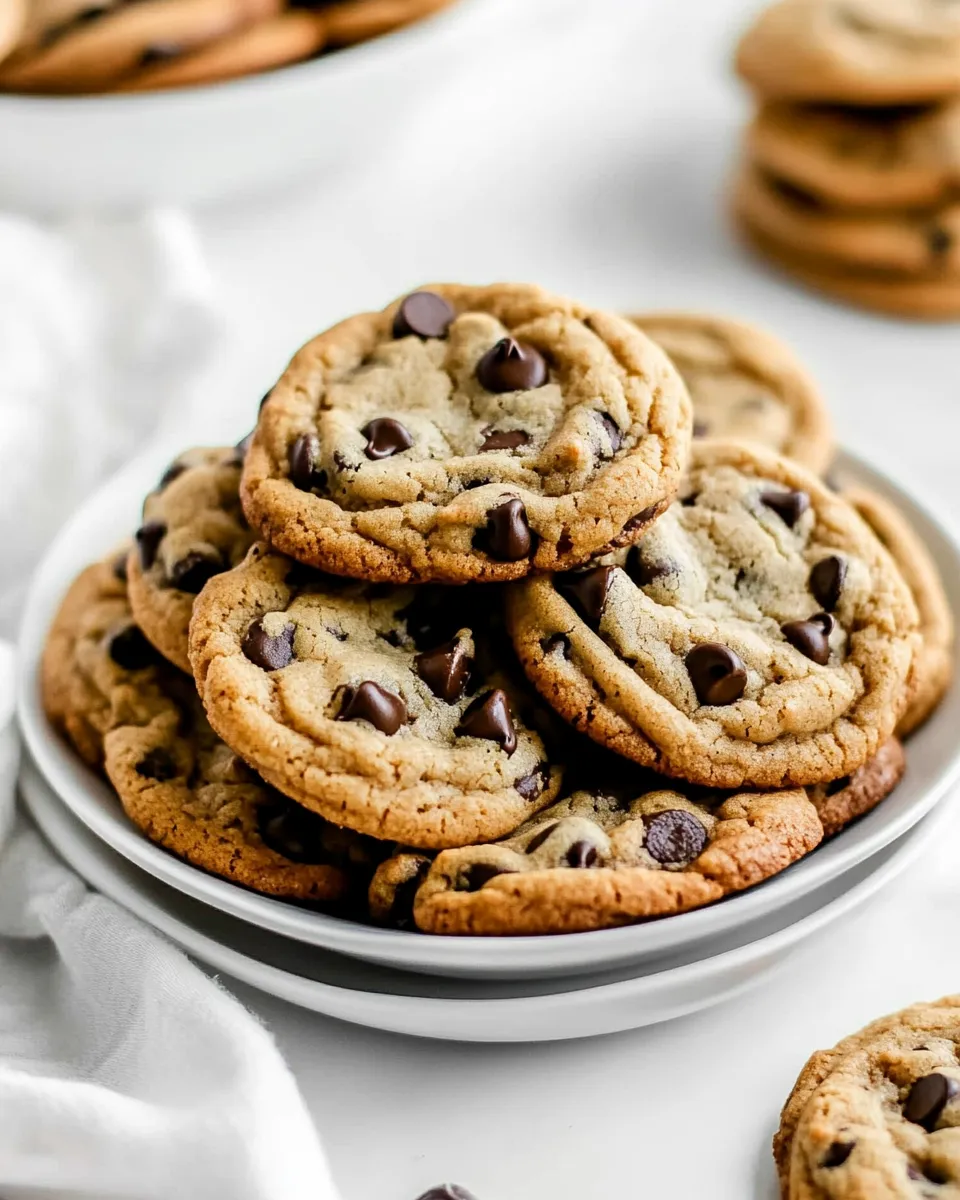
These cookies sit in my rotation because they reliably deliver the trio most of us chase: crisp edges, tender crumb, and gooey chocolate centers. The flour combination—a bit of cake flour to soften and bread flour to strengthen—creates contrast in the same bite. The long chill time develops flavor and controls spread so the cookies bake up with structure and shine.
The method is straightforward but intentional. Creaming the butter and sugars until very light gives lift, adding dry ingredients slowly prevents overdevelopment of gluten, and the gentle folding of chocolate preserves enticing islands of chocolate instead of shavings mixed into the dough.
Healthier Substitutions
If you want to lighten things without reinventing the cookie, consider these small swaps. None will replicate the original exactly, but they help nudge the recipe in a different direction while keeping the flavor profile.
- Swap half the brown sugar for a bit less to reduce sugar, but expect slightly less chew and color.
- Use a high-quality dark chocolate with slightly less sugar (70% instead of 60%) to cut sugar while adding intensity.
- Replace one egg with a flax “egg” (1 tbsp flaxseed + 3 tbsp water) for a lower-cholesterol version—texture will be a touch different.
What’s in the Gear List
A short, useful set of tools keeps this simple:
- Stand mixer with paddle attachment (or a handheld mixer and sturdy bowl).
- Sieve for sifting flours and leaveners.
- Kitchen scale (recommended) or measuring cups; the dough is heavy and weight yields consistency.
- Scoop or scale to portion 3.5-ounce mounds (generous golf-ball size).
- Baking sheets, parchment paper or silicone mats, and a wire cooling rack.
- Plastic wrap for pressing directly onto the dough surface while chilling.
Easy-to-Miss Gotchas
These are the small mistakes that change the result.
- Not chilling the dough long enough: the recipe relies on 24–36 hours to develop flavor and control spread. Baking the dough too soon gives thin cookies.
- Overmixing after adding the dry ingredients: the instruction is explicit—mix just 5–10 seconds. Overworking makes denser cookies.
- Using finely chopped chocolate instead of disks or fèves: small chips can melt into the dough rather than remaining pockets; if you must chop, make chunks and fold gently.
- Ignoring oven temperature and rack position: middle rack and an accurate oven thermometer prevent over-browning or underbaking.
Allergy-Friendly Swaps
For common allergies, here are practical alternatives. They’ll change texture and sometimes flavor, but they’ll allow folks with restrictions to enjoy a close cousin to the original.
- Dairy/Butter: Use a cup-for-cup vegan butter that is solid at room temperature. Expect slightly different spreading and flavor; chill time is still important.
- Eggs: Use commercial egg replacers or a flax egg (1 tbsp ground flaxseed + 3 tbsp water per egg). Baking results will be denser and less crisp.
- Gluten: For gluten-free, use a tested cup-for-cup gluten-free blend designed for cookies and include a binder like xanthan gum if your blend lacks it. Texture will be different; chill and baking times may vary.
- Chocolate: For nut-sensitive households, confirm the chocolate’s allergen statement. Use allergen-free chocolate discs where labeled.
What Could Go Wrong
Here’s how to diagnose common failures and fix them.
- Cookies spread too thin: likely causes are under-chilled dough, butter too soft, or oven temperature too low. Chill the dough longer, refirm butter in the fridge before creaming, and verify oven temp.
- Cookies are cakey or dense: overmixing the dough after adding flour develops gluten; reduce mixing time. Also check measuring—too much flour can make cookies heavy.
- Chocolate melts into the dough: use thicker disks or larger chunks and fold in gently. Reserve some chocolate to press on top before baking for that signature look.
- Edges burn before centers set: oven too hot or baking sheet too dark. Use a light-colored sheet and monitor oven; rotate sheet halfway if your oven has hot spots.
Store, Freeze & Reheat
Storage is straightforward and keeps cookies near-fresh.
- Room temperature: Store cooled cookies in an airtight container for up to 4 days. Place a slice of bread in the container to help maintain chewiness if desired.
- Freezing baked cookies: Freeze in a single layer on a sheet, then transfer to a freezer bag for up to 3 months. Thaw at room temperature or warm slightly in a low oven to refresh texture.
- Freezing dough: Dough can be portioned and frozen on a sheet, then transferred to a bag for up to 3 months. Bake from chilled or slightly thawed; add a couple extra minutes to the bake if starting from frozen.
- Reheat: A 300°F oven for 4–6 minutes or a quick 8–10 second zap in the microwave (on a plate) brings back that fresh-from-the-oven softness.
Common Qs About My Favorite Chocolate Chip Cookies
Q: Can I use all-purpose flour instead of cake and bread flour?
A: You can, but the texture will change. The original relies on cake and bread flour to balance tenderness and chew. If using all-purpose, expect a slightly different crumb and adjust chilling time if the dough spreads too much.
Q: Do I have to chill the dough for 24 hours?
A: The 24–36 hour chill improves flavor and control of spread. If you’re short on time, a shorter chill will still produce cookies, but they may spread more and be less flavored.
Q: Why press chocolate pieces horizontal before baking?
A: Turning the chocolate disks horizontally creates an attractive top view and gives larger chocolate surfaces to melt into glossy pockets rather than edge-out chips. It’s a simple step that elevates presentation.
Q: Can I make smaller or larger cookies?
A: Yes. If you scale size, adjust bake time. Smaller cookies will need less time; larger ones more. Watch for edges to be golden and centers still soft as the indicator.
Save & Share
If you try this recipe, save it in a place you visit often—your baking becomes consistent when you repeat the same method. Share the recipe with friends who bake; they’ll appreciate the technique tips more than a laundry list of tweaks. A note to self: use a timer and label refrigerated dough with the date so you bake within the 72-hour recommended window.
Happy baking. These cookies reward patience and small details—chill the dough, treat the chocolate gently, and you’ll have bakery-style cookies from your own oven.
My Favorite Chocolate Chip Cookies
Equipment
- Nordic Ware Aluminum Half Sheet Pans
- Pre-Cut Parchment Paper Baking Sheets
- OXO Good Grips Medium Cookie Scoop
Ingredients
Ingredients
- 2 cups minus2 tablespoonscake flour
- 1 2/3 cupsbread flour
- 1 1/4 teaspoonsbaking soda
- 1 1/2 teaspoonsbaking powder
- 1 1/2 teaspoonscoarse salt
- 1 1/4 cupsunsalted butter
- 1 1/4 cupspacked light brown sugar
- 1 cup plus2 tablespoonsgranulated sugar
- 2 largeeggs
- 2 teaspoonspure vanilla extract
- 1 1/4 poundsbittersweet disks or fèvesat least 60 percent cacao content see note below
- Sea saltsometimes I add this sometimes I don't
Instructions
Instructions
- Sift together 2 cups minus 2 tablespoons cake flour, 1 2/3 cups bread flour, 1 1/4 teaspoons baking soda, 1 1/2 teaspoons baking powder, and 1 1/2 teaspoons coarse salt into a bowl. Set the dry mixture aside.
- In the bowl of a stand mixer fitted with the paddle attachment, cream 1 1/4 cups unsalted butter, 1 1/4 cups packed light brown sugar, and 1 cup plus 2 tablespoons granulated sugar on medium speed until the mixture is very light in color and texture, about 5 minutes.
- Add 2 large eggs to the butter-sugar mixture one at a time, mixing well after each addition. Stir in 2 teaspoons pure vanilla extract.
- Reduce the mixer speed to low. Add the sifted dry ingredients to the wet ingredients and mix just until combined, about 5 to 10 seconds. Do not overmix.
- Add 1 1/4 pounds bittersweet disks or fèves (at least 60% cacao) to the dough and incorporate them gently so they do not break.
- Press plastic wrap directly against the surface of the dough to cover it completely. Refrigerate the dough for 24 to 36 hours. (Dough may be refrigerated up to 72 hours if needed.)
- When ready to bake, preheat the oven to 350°F. Line a baking sheet with parchment paper or a nonstick baking mat.
- Portion the chilled dough into six mounds of about 3.5 ounces each (the size of generous golf balls) per baking sheet. Leave space between mounds for spreading.
- Turn any chocolate pieces that are poking up so they lie horizontally on the top of each mound for a more attractive cookie. If using, lightly sprinkle a small pinch of sea salt on each mound.
- Bake the cookies at 350°F until the edges are golden brown but the centers remain soft, about 18 to 20 minutes.
- Remove the baking sheet from the oven and transfer it to a wire rack. Let the cookies rest on the sheet for 10 minutes, then transfer the cookies to another rack to finish cooling.
- Repeat steps 8–11 with remaining dough, or keep remaining refrigerated dough for baking the next day.
Notes
I have used regular chocolate chips in this recipe and they turn out just fine. Nestle recently released Dark Chocolate Morsels that work beautifully in this recipe.
I have baked these before the full 24 hour chill time and they simply just aren’t as good.