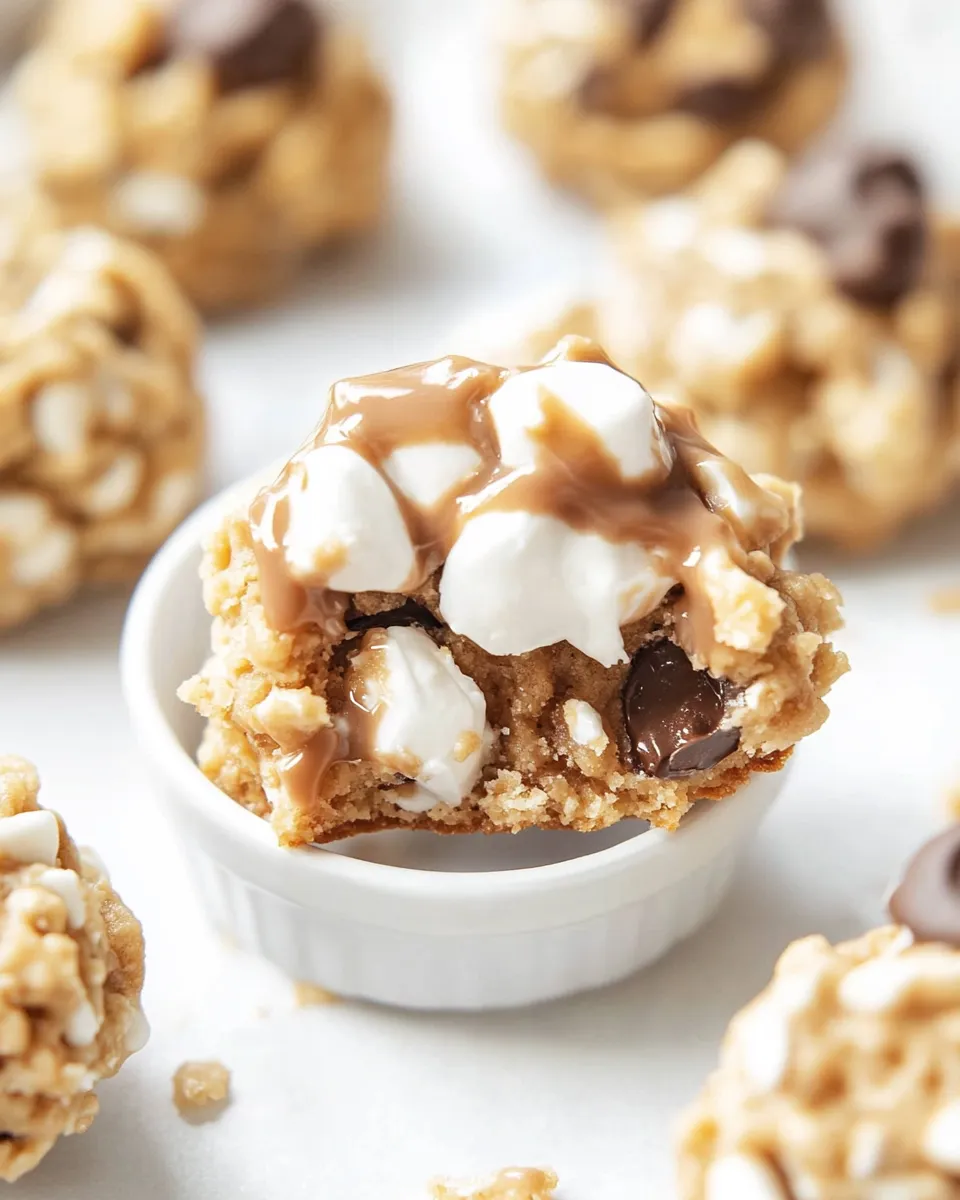
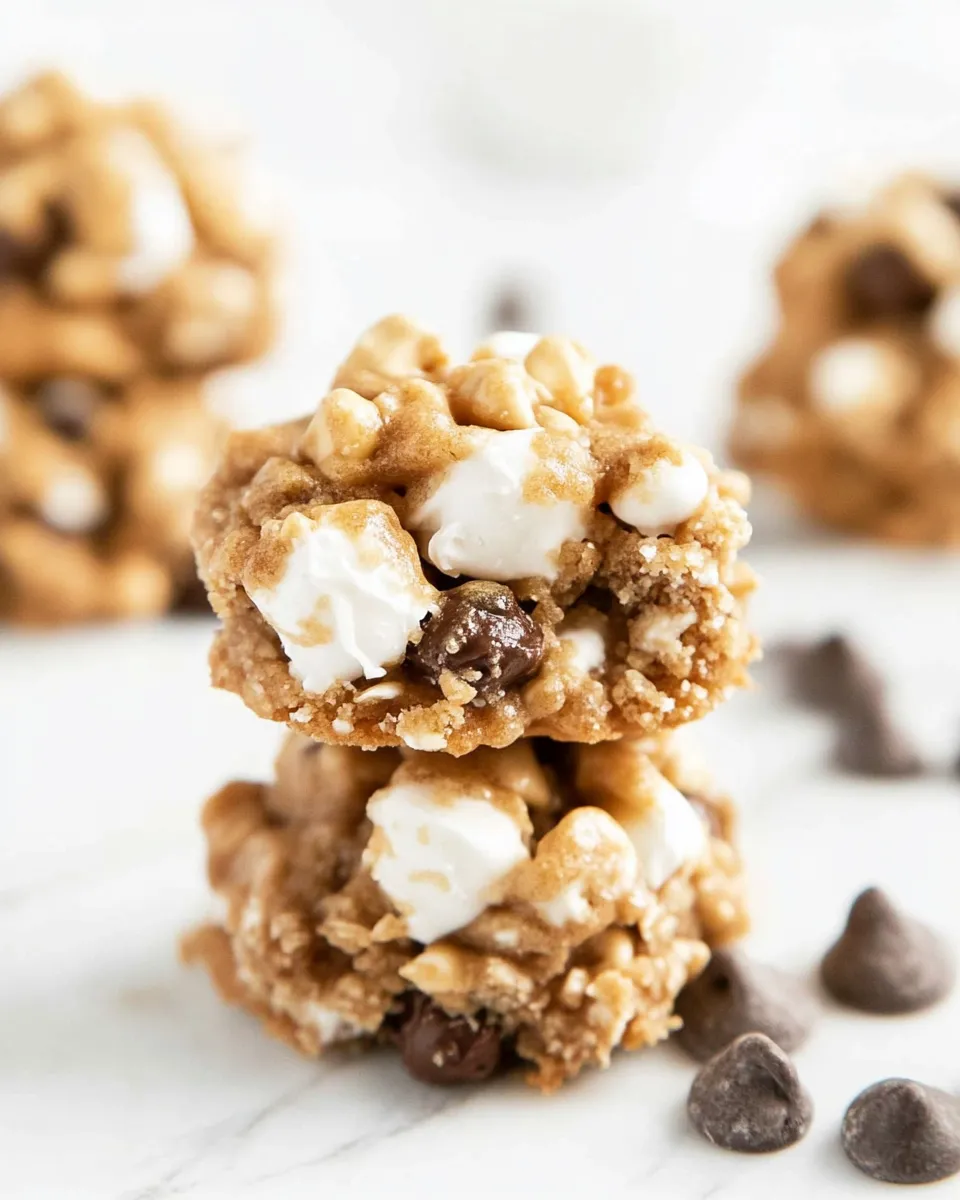
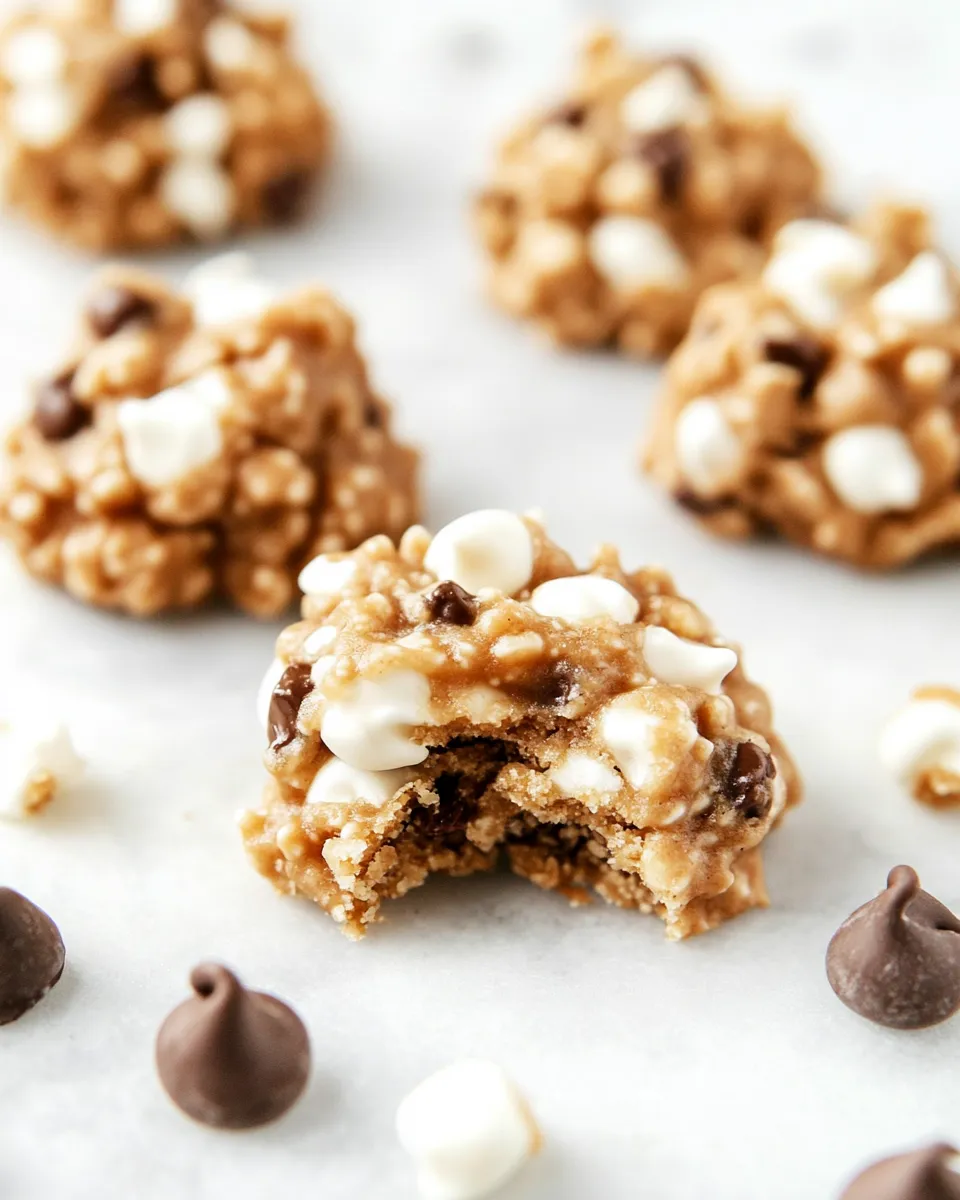
These No Bake Avalanche Cookies are my go-to when I need a quick, crowd-pleasing snack without firing up the oven. They come together in under 30 minutes, rely on a handful of pantry staples, and give you that addictive mix of chewy marshmallow, crisp cereal, and pockets of chocolate. No special skills required.
I test small batches first—then scale up when everything checks out. The texture is forgiving: a little more cereal for crunch, a little less for fudgier clusters. The white chocolate and peanut butter melt into a glossy coating that holds everything together while the mini chocolate chips add the occasional melty bite.
Below you’ll find the ingredient list (straight from the recipe), step-by-step directions exactly as written, troubleshooting notes, and ways to adjust these cookies to suit timing, texture, and diet preferences. Practical tips, not fluff.
What You’ll Need
- 2-3 cups Rice Krispies cereal — the crunchy backbone; start with 2 cups and add more up to 3 cups if you like a firmer cookie.
- 2 cups mini marshmallows — provide chew, sweetness, and help bind the cereal when coated.
- 2 cups white chocolate chips or melting wafers, 1 (12-ounce) bag — melts into the sticky coating that holds the cluster together; use the full bag amount called for.
- 1 cup creamy peanut butter — adds richness, salt balance, and structure to the melted chocolate mix.
- ½ cup mini chocolate chips, reserve 1/4 cup for tops — half goes into the mixture for pockets of chocolate; reserve 1/4 cup to sprinkle on top before the coating sets.
No Bake Avalanche Cookies, Made Easy
- Line a baking sheet with parchment paper and set aside.
- Measure the mini chocolate chips (1/2 cup) and divide into two equal portions: place one 1/4 cup portion in the freezer (to help them stay firm when mixed) and reserve the other 1/4 cup for sprinkling on top later.
- In a large bowl combine 2 cups Rice Krispies cereal and 2 cups mini marshmallows. (If you prefer a crunchier cookie, you may later add up to 1 cup more Rice Krispies for a total of 3 cups.)
- In a microwave-safe bowl or in a double boiler, combine 2 cups white chocolate chips (or melting wafers) and 1 cup creamy peanut butter. Melt together until smooth: in the microwave heat at 50% power in short intervals (stirring between) until fully melted and combined, or melt over low heat on the stove, stirring constantly.
- Immediately pour the melted white chocolate–peanut butter mixture over the bowl with the Rice Krispies and marshmallows. Stir until the cereal and marshmallows are evenly coated.
- Add the frozen 1/4 cup mini chocolate chips to the coated mixture and stir quickly to distribute. If desired, stir in up to 1 cup more Rice Krispies (to a maximum total of 3 cups) to reach your preferred texture.
- Drop spoonfuls (or use a cookie scoop) of the mixture onto the prepared baking sheet. Quickly sprinkle the reserved 1/4 cup mini chocolate chips on top of each cookie before the coating sets.
- Let the cookies set at room temperature until firm, or place the baking sheet in the refrigerator until fully set.
Why This Recipe is a Keeper
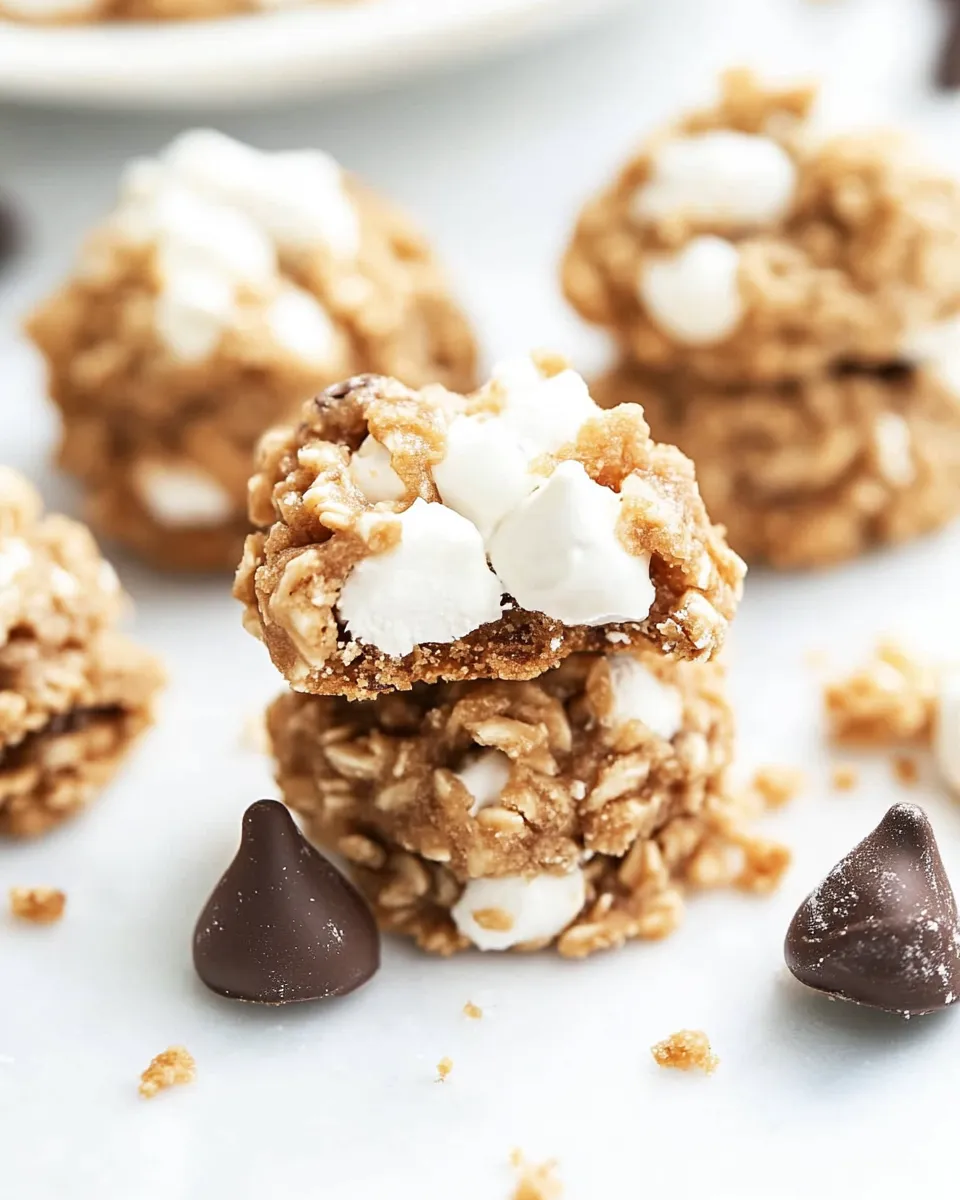
First, it’s fast. You don’t need to preheat an oven or wait for pans to cool. The whole assembly is about melting, mixing, and scooping. Second, the flavor profile hits several satisfying notes: sweet white chocolate, nutty peanut butter, toasty crunch, and soft marshmallow pockets. That contrast keeps these cookies from ever feeling one-note.
They’re also extremely forgiving. Small timing differences in melting or small variations in cereal amount only change texture slightly. That makes this recipe ideal for last-minute parties, school bake sales, or pocket snacks. And because everything sets quickly in the fridge, you can make them ahead and bring them to room temperature before serving.
Ingredient Flex Options
Want to tweak without guessing quantities? Keep these rules: preserve the balance of binder (white chocolate + peanut butter), the cereal volume (2 cups minimum), and the mini chocolate chips total (1/2 cup). Swap within categories and keep volumes the same.
- For the binder: use another creamy nut or seed butter with a similar texture in place of the peanut butter, using the same 1 cup measurement.
- For the chocolate: replace white chocolate chips or melting wafers with another melting chip at an equal volume (2 cups) if desired; treat melting instructions the same.
- For texture: stick to the 2–3 cup Rice Krispies range—start with 2 cups for chewier clusters and add up to 1 cup more for crunchier cookies.
Tools & Equipment Needed
- Baking sheet — a rimmed sheet works best to keep cookies contained.
- Parchment paper — prevents sticking and makes cleanup fast.
- Large mixing bowl — roomy enough to stir without spills.
- Microwave-safe bowl or double boiler — for melting the white chocolate and peanut butter.
- Spoon or cookie scoop — consistent portion sizes make a neater tray and even set times.
- Measuring cups — for accurate ratios, especially the 1/2 cup and 1 cup measurements.
- Small bowl for freezing reserved mini chips — keeps them separate and easy to grab.
Frequent Missteps to Avoid
- Melting chocolate too hot: heat gently. Overheating white chocolate makes it grainy. Use 50% power in short bursts in the microwave and stir between intervals.
- Skipping the frozen chips: the frozen 1/4 cup mini chips help keep little pockets of chocolate from fully melting into the coating. Skip them and you’ll lose that contrast.
- Waiting to mix: pour the melted mixture over the cereal and marshmallows immediately. If you delay, the melted chocolate can firm up and won’t coat evenly.
- Adding too much cereal up front: start with 2 cups, taste, and then add up to 1 cup more if you want crunch. Adding all 3 cups at once can make clusters dry and hard to hold together.
Tailor It to Your Diet
These cookies are flexible if you need to adapt for allergies or preferences, but keep the core idea: a melted binding mixture that coats a puffed cereal and marshmallows. For nut allergies or dietary restrictions, choose substitutes that match texture rather than invent new ratios. If you follow specific diets (vegan, nut-free), swap to compatible binders or chocolate and confirm marshmallows meet your needs—then use the same measurements and method.
Notes from the Test Kitchen
When I tested this, the timing between melting and mixing made the biggest difference. Warm, fluid chocolate-peanut butter spreads evenly and makes glossy clusters. If it gets too cool, the mixture becomes thick and lumps form. Keep your stirring moving and your mixing bowl ready.
Room temperature setting gives a slightly softer finish. Refrigerating the cookies produces a firmer bite and speeds up serving readiness. If you plan to transport them, chilling briefly helps keep them intact.
Save It for Later
Store cooled cookies in an airtight container at room temperature for up to 3 days. For longer storage, layer parchment between the cookies and freeze in a sealed container for up to 1 month. Thaw at room temperature before serving; avoid microwaving frozen clusters as they can melt unevenly.
Top Questions & Answers
- Can I use crunchy peanut butter? — Yes, but crunchy peanut butter will add bits of crunch in the binder. Use the same 1 cup measurement; texture will be slightly different.
- Do the mini chocolate chips have to be frozen? — Freezing 1/4 cup of the mini chips keeps them more intact when stirred into warm coating, creating little chocolate pockets. You can skip this step, but expect more melt-through.
- How long do they take to set? — At room temperature, expect 30–60 minutes depending on room temperature. In the refrigerator, plan 15–30 minutes.
- Can I make them ahead? — Yes. Store in an airtight container for a few days, or freeze for longer storage as described above.
Bring It to the Table
These cookies travel well and hold up in a tin or on a platter. Arrange them in single layers separated by parchment if you’re serving a crowd. They make a great addition to a dessert table alongside brownies and cookies because they offer a different texture and look—bright white coating with chocolate specks.
If you’re gifting them, a simple treat bag tied with baker’s twine looks homemade and festive. For parties, make a double batch and set them out with coffee or milk. They’re small, approachable, and disappear fast—especially when kids are around.
No Bake Avalanche Cookies
Equipment
- Baking Sheet
- Parchment Paper
- Microwave-safe Bowl
- Double boiler
- Spoon or cookie scoop
- refrigerator (optional)
Ingredients
Ingredients
- 2-3 cupsRice Krispies cereal
- 2 cupsmini marshmallows
- 2 cupswhite chocolate chips or melting wafers 1 (12-ounce) bag
- 1 cupcreamy peanut butter
- 1/2 cupmini chocolate chips reserve 1/4 cup for tops
Instructions
Instructions
- Line a baking sheet with parchment paper and set aside.
- Measure the mini chocolate chips (1/2 cup) and divide into two equal portions: place one 1/4 cup portion in the freezer (to help them stay firm when mixed) and reserve the other 1/4 cup for sprinkling on top later.
- In a large bowl combine 2 cups Rice Krispies cereal and 2 cups mini marshmallows. (If you prefer a crunchier cookie, you may later add up to 1 cup more Rice Krispies for a total of 3 cups.)
- In a microwave-safe bowl or in a double boiler, combine 2 cups white chocolate chips (or melting wafers) and 1 cup creamy peanut butter. Melt together until smooth: in the microwave heat at 50% power in short intervals (stirring between) until fully melted and combined, or melt over low heat on the stove, stirring constantly.
- Immediately pour the melted white chocolate–peanut butter mixture over the bowl with the Rice Krispies and marshmallows. Stir until the cereal and marshmallows are evenly coated.
- Add the frozen 1/4 cup mini chocolate chips to the coated mixture and stir quickly to distribute. If desired, stir in up to 1 cup more Rice Krispies (to a maximum total of 3 cups) to reach your preferred texture.
- Drop spoonfuls (or use a cookie scoop) of the mixture onto the prepared baking sheet. Quickly sprinkle the reserved 1/4 cup mini chocolate chips on top of each cookie before the coating sets.
- Let the cookies set at room temperature until firm, or place the baking sheet in the refrigerator until fully set.
Notes
Bars:
You could also press then into a buttered 8×8 pan and cut into 9 bars.
Storage:
The treats will keep in an airtight container up to 3 days.