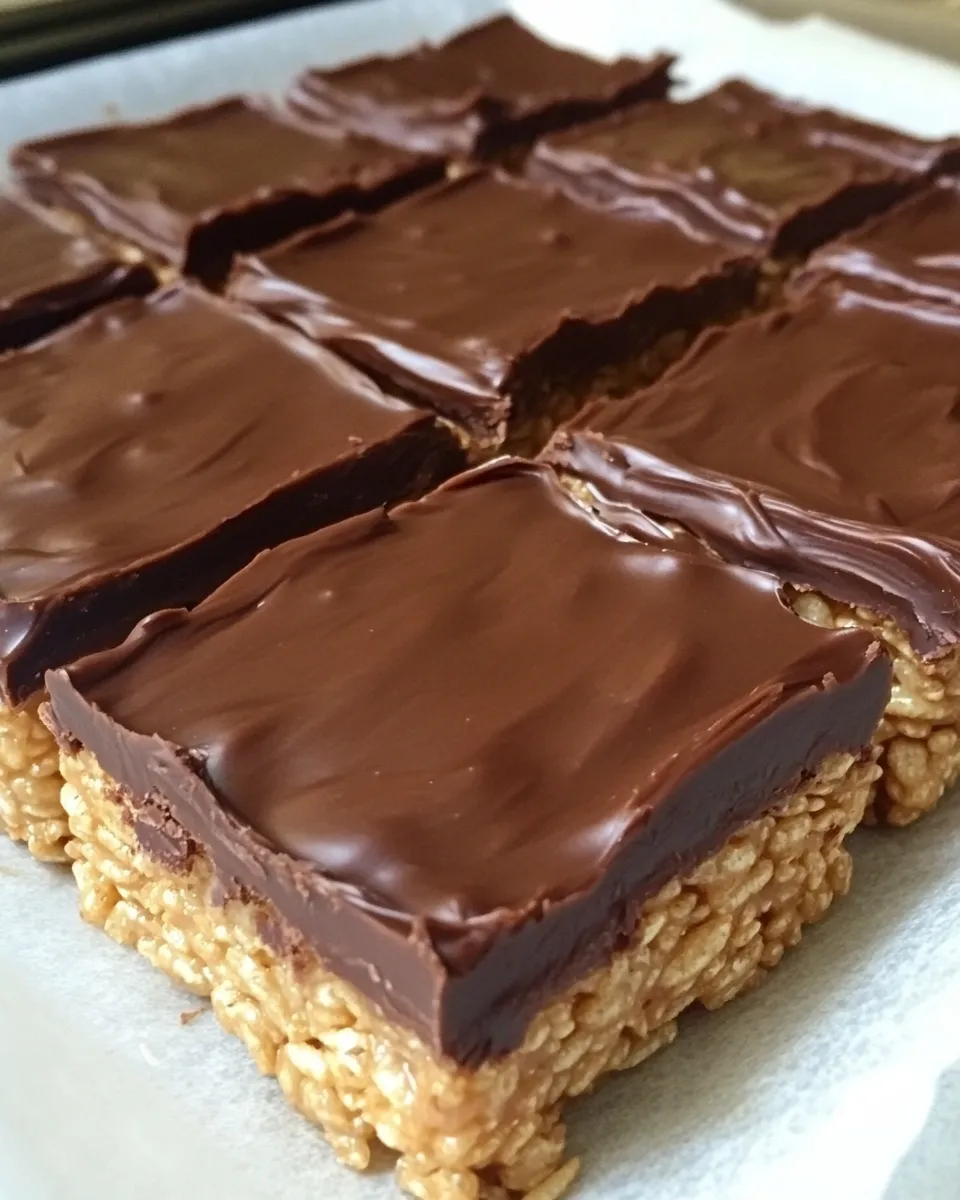
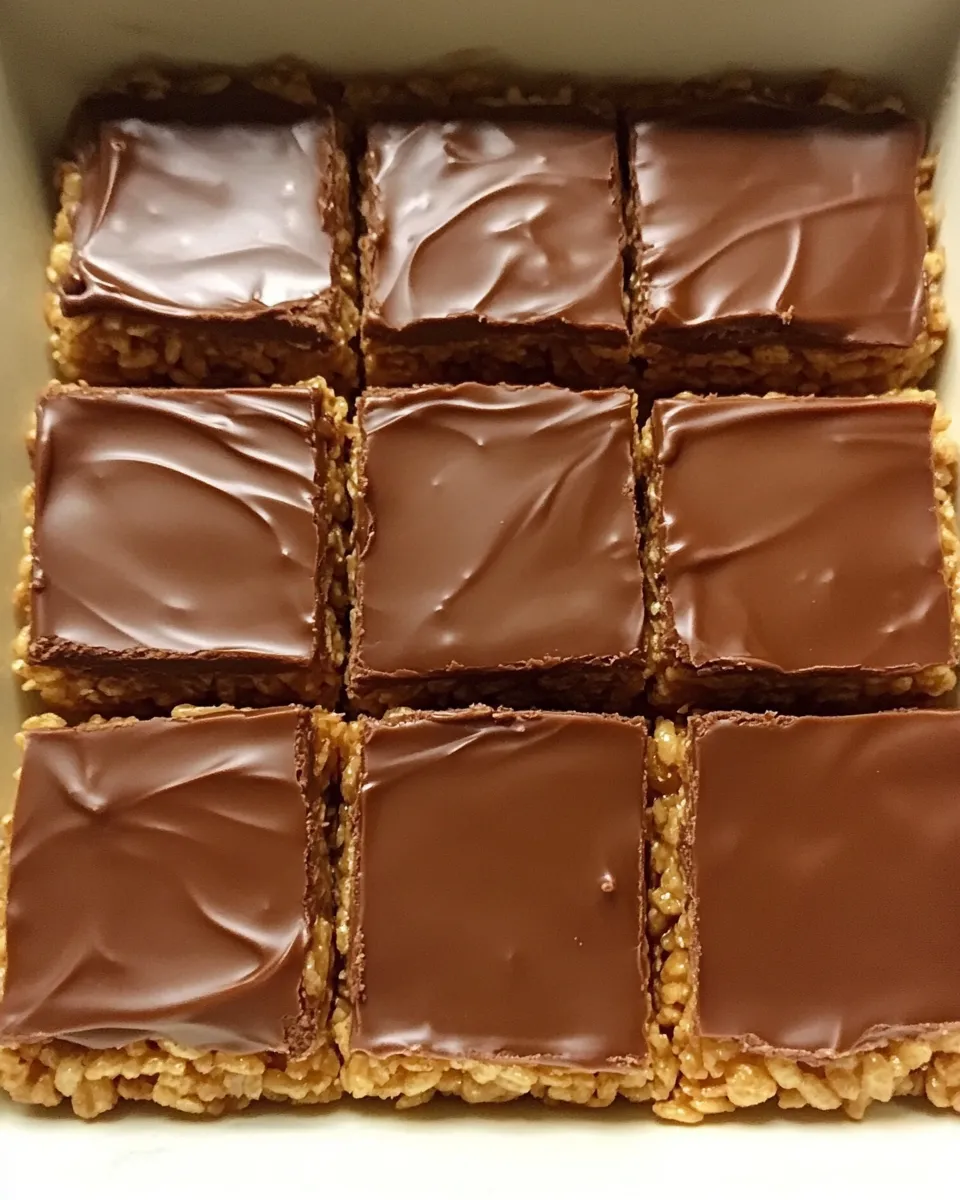
Peanut Butter Rice Crispy Treats are the ultimate no-bake dessert that combines the nostalgic crunch of rice cereal with the creamy, nutty goodness of peanut butter. Perfectly chewy, sweet, and utterly delightful, these treats are a hit with both kids and adults alike. Not only are they super easy to whip up, but they also make a great snack for on-the-go, lunchboxes, or even a sweet treat for your next gathering. With a few simple ingredients, you’ll have a delicious dessert that’s sure to please!
The Upside of Peanut Butter Rice Crispy Treats
These treats are not only fun to make, but they also come with a host of benefits:
– Quick and Easy: With just a few minutes of prep time, you can have a delicious dessert ready to enjoy.
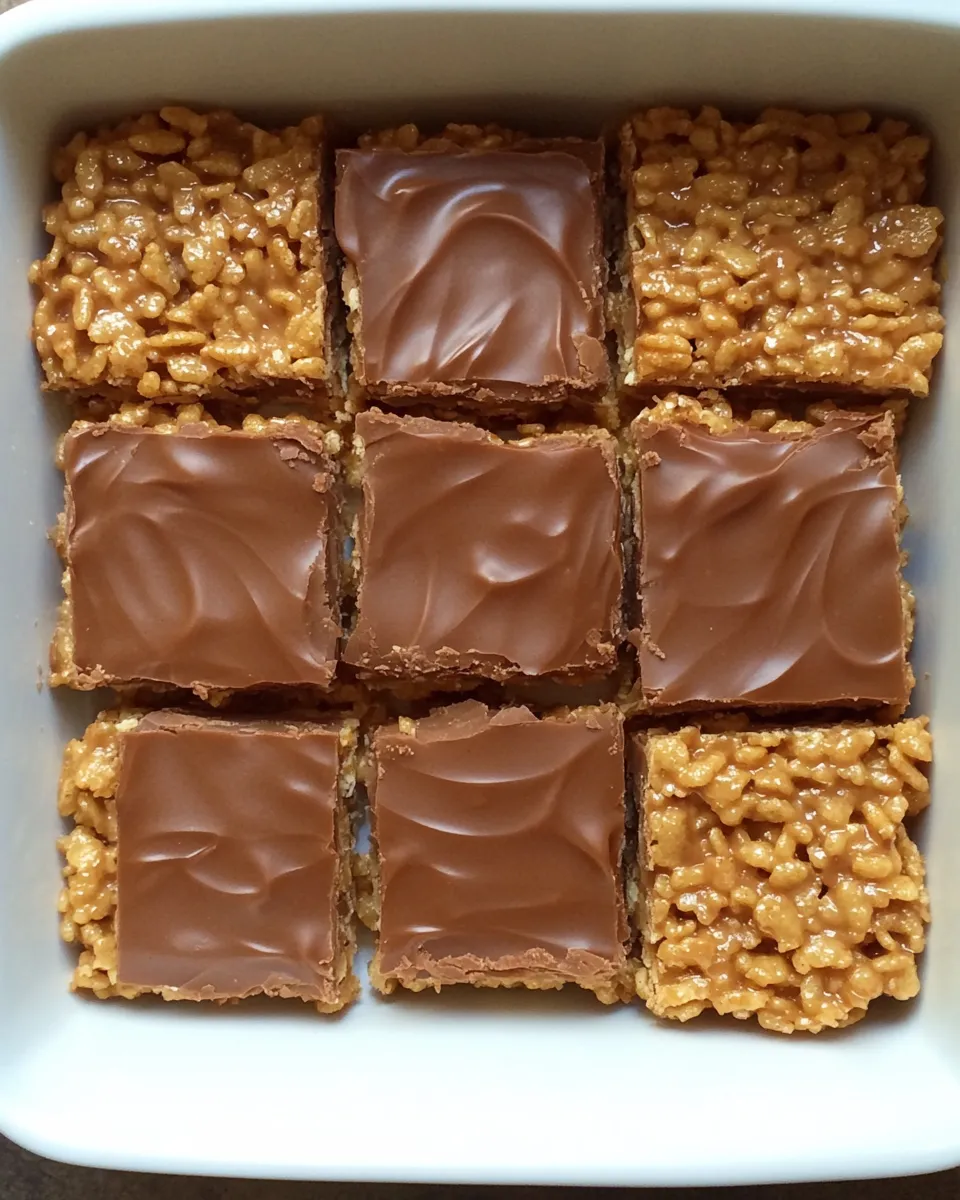
– Customizable: Add in your favorite mix-ins like chocolate chips, nuts, or dried fruit for an extra touch.
– Nutritious Boost: With the option to add protein powder, you can turn these treats into a more wholesome snack.
– Kid-Friendly: Kids will love helping mix and press the ingredients together, making it a fun family activity.
The Ingredient Lineup
To create these delightful Peanut Butter Rice Crispy Treats, you’ll need the following ingredients:
- 3 cups rice crispies cereal: The base of your treats, providing that satisfying crunch.
- 2/3 cup nut butter: Use your favorite nut butter or an allergy-friendly substitute.
- 1/2 cup agave or honey: For natural sweetness, choose agave for a vegan option.
- 2 tsp pure vanilla extract: Adds rich flavor to your treats.
- 1/2 tsp salt: Enhances the overall flavor and balances the sweetness.
- Optional: 2-3 tbsp protein powder for a nutritional boost.
Equipment Breakdown
To make your Peanut Butter Rice Crispy Treats, gather the following equipment:
- Large mixing bowl: For combining your ingredients.
- Spatula: To mix everything together and press the mixture into the pan.
- 9×9 inch baking dish: The perfect size for setting your treats.
- Parchment paper: Helps with easy removal and cleanup.
Peanut Butter Rice Crispy Treats: Step-by-Step Guide
Creating these Peanut Butter Rice Crispy Treats is a breeze. Just follow these simple steps:
Step 1: Prepare Your Dish
Start by lining a 9×9 inch baking dish with parchment paper. This will make it easy to lift the treats out later.
Step 2: Mix the Wet Ingredients
In a large mixing bowl, combine 2/3 cup of nut butter, 1/2 cup of agave or honey, 2 teaspoons of pure vanilla extract, and 1/2 teaspoon of salt. Stir until well blended and smooth.
Step 3: Add the Rice Crispies
Once your wet ingredients are combined, gently fold in 3 cups of rice crispies cereal. If you’re using protein powder, add it in at this stage. Mix until all the cereal is coated with the nut butter mixture.
Step 4: Press into the Dish
Pour the mixture into your prepared baking dish. Using a spatula, press the mixture down firmly and evenly into the dish. Make sure it’s packed tightly for the best texture!
Step 5: Chill and Set
Refrigerate the mixture for about 30 minutes to an hour, or until firm. This helps the treats hold their shape.
Step 6: Cut and Serve
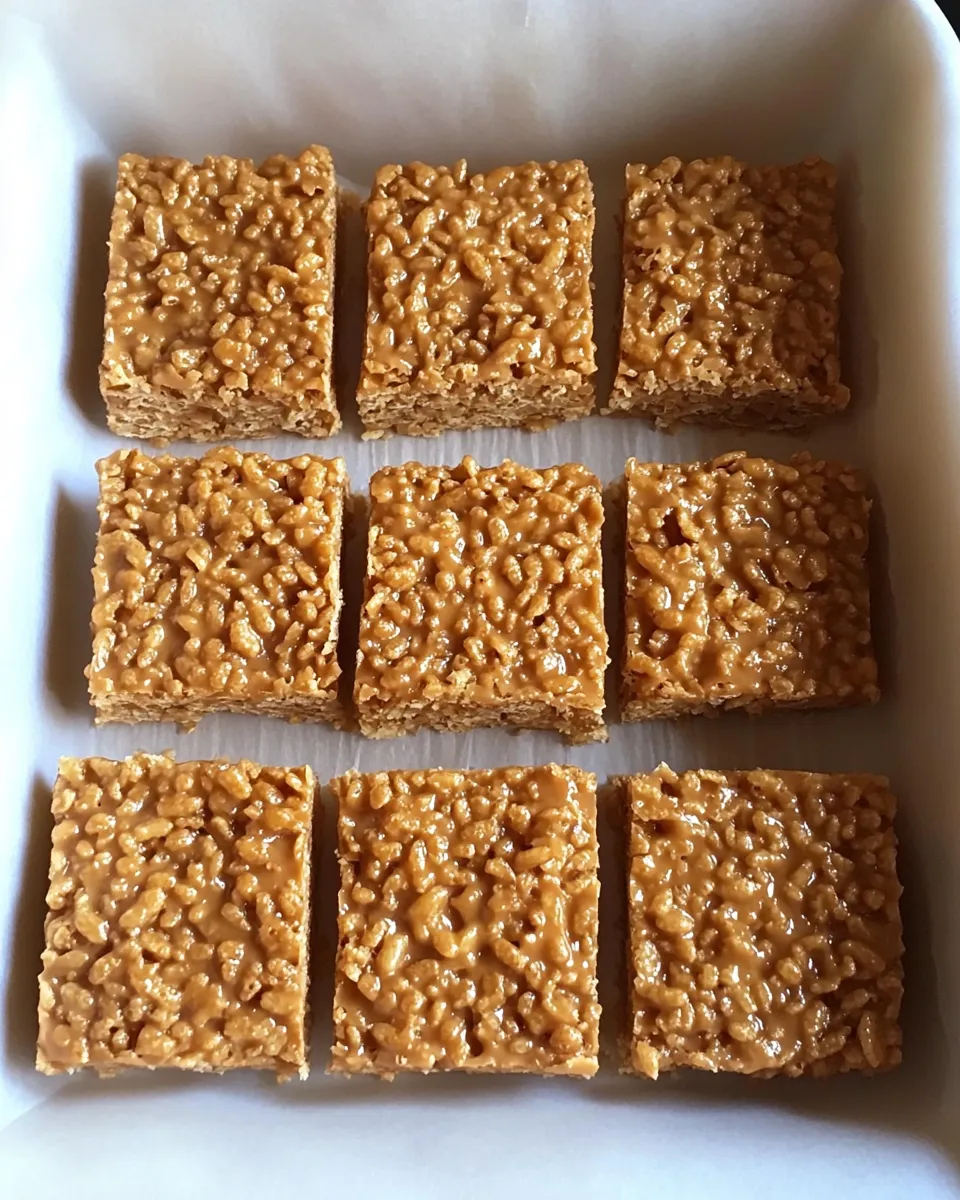
Once set, lift the treats out of the dish using the parchment paper. Cut into squares or rectangles and enjoy your delicious Peanut Butter Rice Crispy Treats!
Better-for-You Options
Want to make your Peanut Butter Rice Crispy Treats even healthier? Consider these options:
- Use Whole Grain Rice Crispies: Opt for whole grain cereal for added fiber.
- Natural Sweeteners: Use pure maple syrup or coconut nectar instead of agave or honey.
- Add Superfoods: Mix in chia seeds, flaxseeds, or hemp hearts for an extra nutritional boost.
- Nut Butter Alternatives: Try sunflower butter or almond butter for different flavors and allergy considerations.
Steer Clear of These
When making your Peanut Butter Rice Crispy Treats, avoid these common pitfalls:
- Overmixing: Be gentle when combining the ingredients to maintain that lovely crunch.
- Using Too Much Sweetener: Too much honey or agave can make the treats overly sticky.
- Skipping the Cooling Step: Don’t skip refrigeration; it’s key for setting the treats properly.
Freezer-Friendly Notes
Peanut Butter Rice Crispy Treats can be made ahead of time and stored in the freezer. Here are some tips:
- Wrap Individually: Wrap each treat in plastic wrap or foil to prevent freezer burn.
- Store in an Airtight Container: Place wrapped treats in a container for added protection.
- Thaw Before Enjoying: Let them sit at room temperature for a few minutes before enjoying.
Reader Q&A
Can I use a different type of cereal?
Absolutely! Feel free to experiment with different cereals. Just keep in mind that the texture and flavor may vary slightly.
How long do these treats last?
Stored in an airtight container at room temperature, they can last for about a week. In the freezer, they can last for up to three months.
Can I make these treats vegan?
Yes! Simply use agave syrup instead of honey and choose a nut butter that is free from added sugars or other animal products.
Can I add chocolate or other mix-ins?
Definitely! Mini chocolate chips, dried fruit, or nuts can be folded in after the cereal. Just be mindful of the moisture these ingredients may add.
If you enjoyed making Peanut Butter Rice Crispy Treats, check out these other delicious recipes:
Ready to Cook?
Gather your ingredients and get ready to create some delicious Peanut Butter Rice Crispy Treats! With their simple preparation and delightful flavor, these treats are sure to become a favorite in your household. Whether you’re enjoying them as an afternoon snack or serving them at a gathering, they are a guaranteed hit. Happy cooking!
Peanut Butter Rice Crispy Treats
Equipment
- Large Mixing Bowl
- Spatula
- 9x9-inch baking dish
- Parchment Paper
Ingredients
- 3 cups rice crispies cereal The base of your treats, providing that satisfying crunch
- 2/3 cup nut butter Use your favorite nut butter or an allergy-friendly substitute
- 1/2 cup agave or honey For natural sweetness, choose agave for a vegan option
- 2 tsp pure vanilla extract Adds rich flavor to your treats
- 1/2 tsp salt Enhances the overall flavor and balances the sweetness
- 2-3 tbsp protein powder Optional, for a nutritional boost
Instructions
- Start by lining a 9x9 inch baking dish with parchment paper. This will make it easy to lift the treats out later.
- In a large mixing bowl, combine 2/3 cup of nut butter, 1/2 cup of agave or honey, 2 teaspoons of pure vanilla extract, and 1/2 teaspoon of salt. Stir until well blended and smooth.
- Once your wet ingredients are combined, gently fold in 3 cups of rice crispies cereal. If you're using protein powder, add it in at this stage. Mix until all the cereal is coated with the nut butter mixture.
- Pour the mixture into your prepared baking dish. Using a spatula, press the mixture down firmly and evenly into the dish. Make sure it's packed tightly for the best texture!
- Refrigerate the mixture for about 30 minutes to an hour, or until firm. This helps the treats hold their shape.
- Once set, lift the treats out of the dish using the parchment paper. Cut into squares or rectangles and enjoy your delicious Peanut Butter Rice Crispy Treats!
Notes
- Wrap treats individually before freezing to prevent freezer burn.
- Use whole grain rice crispies for added fiber and nutrition.
- Be gentle when mixing to keep the cereal crunchy.
- Customize with mix-ins like chocolate chips, nuts, or dried fruit for variety.
- Refrigeration is key for the treats to set properly and hold their shape.