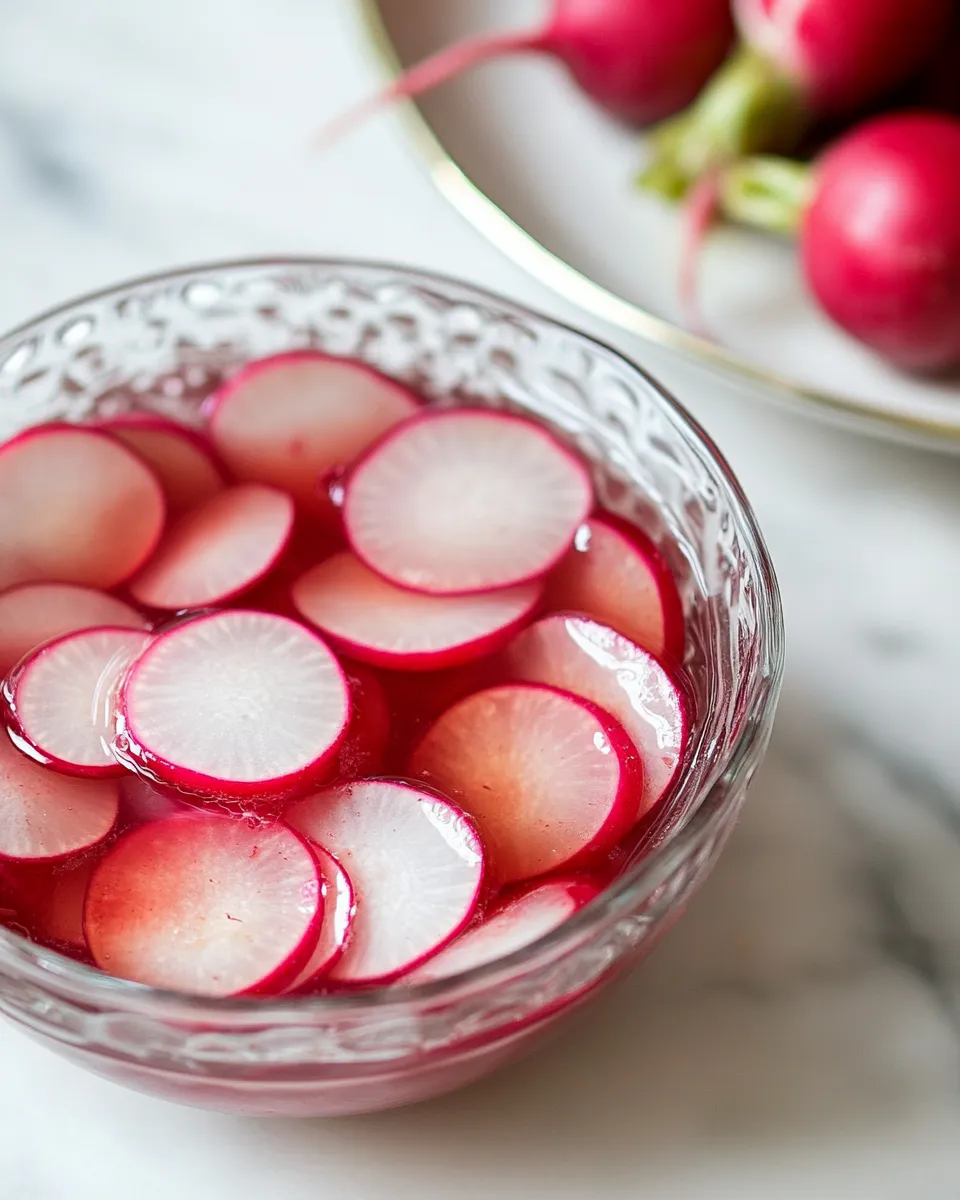
Bright, snappy, and impossibly simple, these pickled radishes are the kind of small pantry project that pays back all week. They cut through rich foods, lift sandwiches, and add a fast, crunchy contrast to bowls and salads. The brine is straightforward and forgiving: white vinegar, water, a touch of sugar or honey, and salt. Everything else is optional but welcome.
I make a jar of these whenever I have a bunch of radishes that need to be used. They require almost no hands-on time: slice, heat the brine, pack a jar, pour, and chill. In about an hour they’ll be bright and tangy; overnight they mellow and deepen. The recipe below is built to be reproduced exactly, so you’ll get consistent results every time.
Read through the notes before you start. There are quick tips on packing the jar, what each ingredient does, and small adjustments you can make without changing the structure of the recipe. If you want a quick reference for gear, storage, or troubleshooting, those sections are further down—easy to scan when you’re in the kitchen.
Ingredient Notes
Ingredients
- 1 bunch or 4 long radishes, (about 1 pound, 400g of radishes) — crisp base for pickling; thicker slices hold texture best.
- 1 cup water — dilutes the vinegar so the brine isn’t overpowering and helps transfer heat evenly.
- 1 cup white vinegar — the primary acid that preserves and flavors the radishes; white vinegar gives a clean, bright tang.
- 2 teaspoons sea salt — seasons the radishes and helps extract a little moisture for crunch retention.
- 2 teaspoons sugar or honey — balances the acid with a touch of sweetness; sugar or honey are interchangeable in this recipe.
- 1/2 teaspoon crushed peppercorns — adds warm, gentle heat and aromatic complexity to the brine.
- 1 to 2 cloves garlic, peeled — optional aromatic; tuck whole cloves among the radishes for a mild garlicky note.
- optional: 1 chile pepper, split lengthwise — optional heat; split and tuck among radishes to infuse the brine without overpowering.
Cook Pickled Radishes Like This
- Wash the radishes, trim the tops and root ends, and slice the radishes into rounds.
- In a non-reactive saucepan combine 1 cup water, 1 cup white vinegar, 2 teaspoons sea salt, and 2 teaspoons sugar or honey. Bring to a boil over medium-high heat, stirring until the salt and sugar are dissolved.
- Remove the saucepan from the heat and stir in 1/2 teaspoon crushed peppercorns.
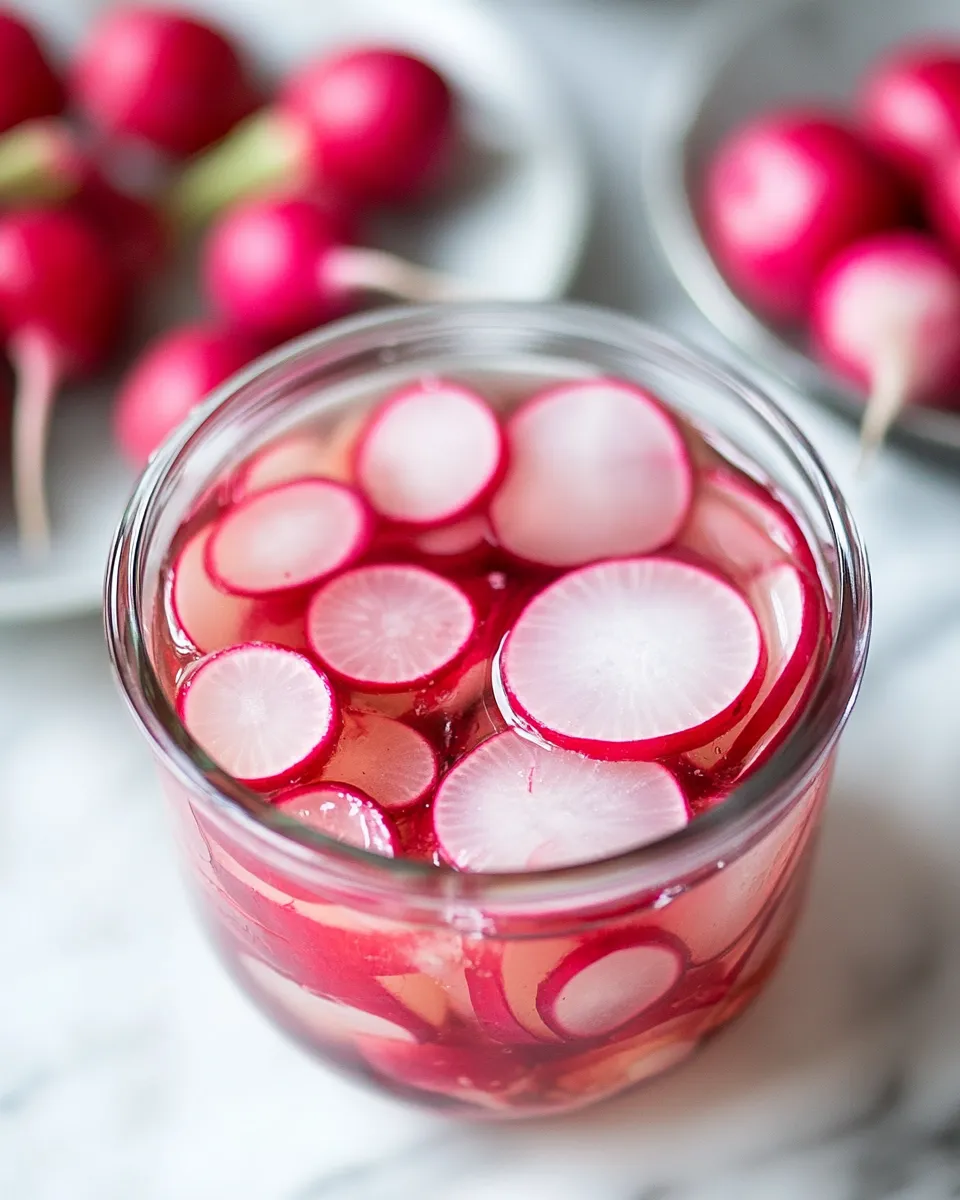
- Pack the sliced radishes into a clean pint-sized jar. Add 1 to 2 cloves garlic (peeled) and the optional 1 chile pepper split lengthwise, tucking them among the radishes. Pack tightly without crushing.
- Pour the hot liquid from the saucepan over the radishes, making sure they are fully submerged and leaving about 1/2 inch headspace at the top of the jar.
- Seal the jar, let it cool to room temperature, then refrigerate.
Top Reasons to Make Pickled Radishes
- Speed: They come together in about 10–15 minutes of active time and are ready to eat the same day.
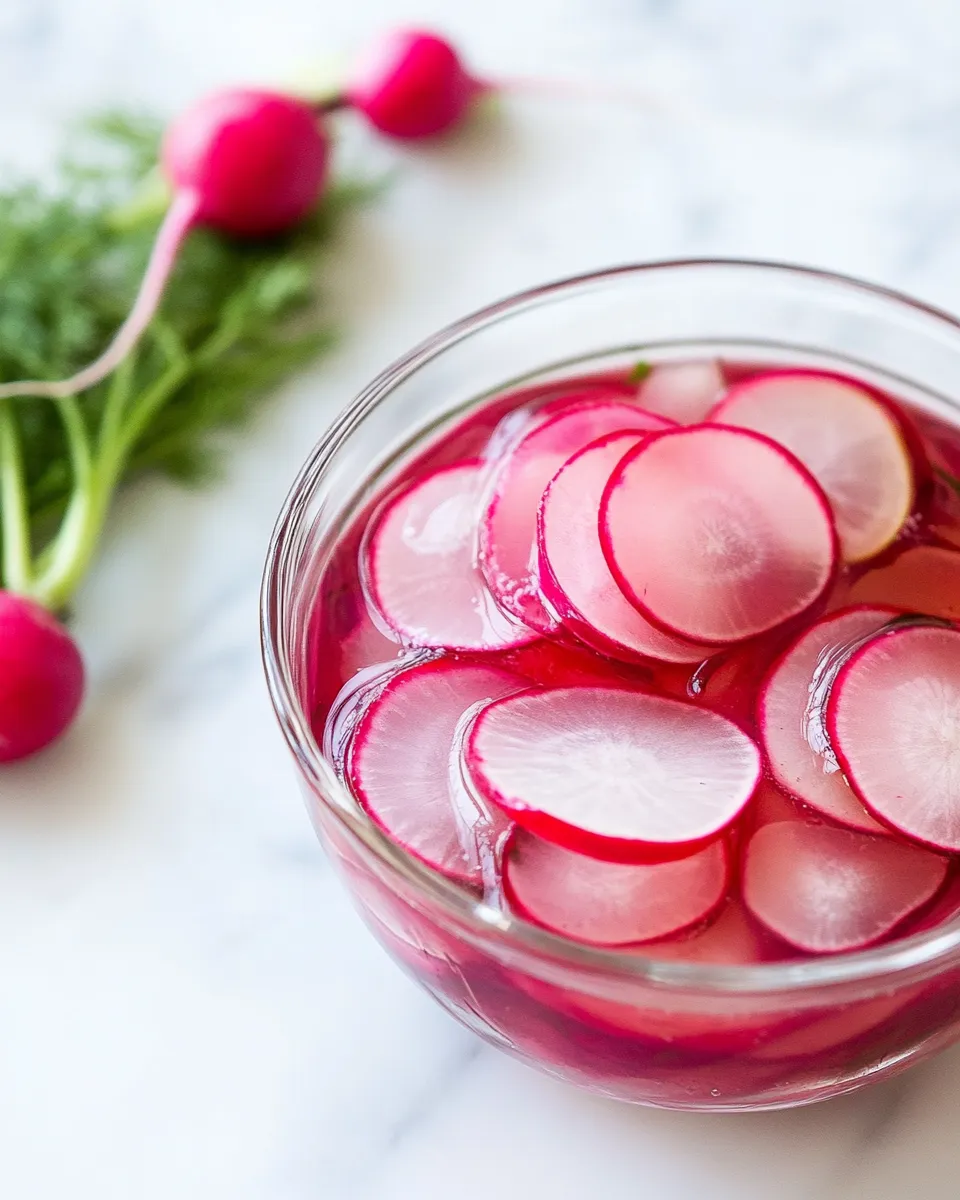
- Texture: Radishes keep a satisfying crunch after pickling, so they brighten dishes rather than becoming soft.
- Versatility: Use them on sandwiches, tacos, grain bowls, salads, or alongside roasted meats to cut richness.
- Low barrier to entry: Minimal ingredients and equipment—no canning necessary—just a clean jar and a pot.
- Make-ahead advantage: They store in the fridge and improve in flavor after a day, so they’re perfect to prep in advance.
Substitutions by Category
- Sweetener — The recipe already lists 2 teaspoons sugar or honey; either works. Use what you have on hand from that pair.
- Heat — The recipe includes an optional chile pepper and 1/2 teaspoon crushed peppercorns; include one, both, or neither depending on your preference.
- Aromatics — 1 to 2 cloves garlic are optional. Use none for a cleaner brine or the full two for a subtle garlic note.
- Salt — The recipe calls for 2 teaspoons sea salt. If you only have a different salt, measure by taste and awareness of salinity, keeping the same total volume as a guideline.
What You’ll Need (Gear)
- Non-reactive saucepan — to heat the brine without altering flavor.
- Pint-sized glass jar with a lid — a clean jar works; mason or similar jars are ideal.
- Sharp knife and cutting board — to trim and slice the radishes evenly.
- Tongs or a spoon — for packing radishes and tucking aromatics in place.
- Measuring cups and spoons — to keep the brine ratio consistent.
Problems & Prevention
Cloudy brine
A cloudy brine can result from minerals in your water or particulate from the radishes. Use filtered water if clarity matters, and rinse radishes well before slicing. Cloudiness doesn’t necessarily mean spoilage—smell and appearance of the radishes are better indicators than brine cloudiness alone.
Mushy radishes
Over-slicing into very thin pieces or leaving them in hot liquid too long can soften the texture. Slice into reasonably thick rounds and pack without crushing. Pour the hot brine over them as instructed, but don’t simmer the radishes in the brine—heat the brine separately and then remove it from the heat before pouring.
Too salty or too sharp
If you find the pickles too salty or vinegary, reduce the sea salt slightly next batch or increase water a little while keeping the vinegar the same. For less sharpness immediately after making, give the jar a night in the fridge—flavors mellow as they rest.
Holiday-Friendly Variations
Holiday menus ask for small, bright bites that cut rich main dishes. These Pickled Radishes fit that role without needing extra ingredients beyond the recipe.
- Serve thin slices alongside rich pâté or terrine; their acidity resets the palate between bites.
- Make a small platter with pickles, olives, and crusty bread for an easy holiday appetizer—place the jar on the board for a bright color pop.
- For a festive look, slice radishes a bit thinner and layer them in the jar to show alternating colors; the presentation is simple but striking.
Behind the Recipe
This is a straightforward refrigerator pickle rather than a full water-bath canned product. The acid in the white vinegar preserves the radishes sufficiently for chilled storage and flavor development, while the brief heat step dissolves the seasonings and helps distribute aromatics.
The quantity—1 cup water to 1 cup white vinegar—creates a balanced, bright brine that isn’t overwhelmingly sharp. Two teaspoons of sugar or honey softens the bite just enough without making the pickles sweet. The crushed peppercorns add a warm note that plays nicely with the radish’s peppery character.
I chose pint jars because the recipe quantity fits neatly and because a smaller jar encourages frequent use. It also cools and chills quickly, getting the radishes into the fridge faster so they hold their crunch.
Storage Pro Tips
- Refrigerate after the jar cools to room temperature. These are refrigerator pickles, not shelf-stable canned goods.
- They keep well for 2–3 weeks in the fridge; flavor develops after the first 24 hours and peaks around 3–7 days. Use clean utensils to remove pickles to avoid contamination.
- If you plan to prep multiple jars, label them with the date. That helps you rotate and use the oldest jar first.
- If you notice off smells, sliminess, or visible mold, discard the jar. Normal signs of ready-to-eat pickles are tangy aroma and crisp texture.
Popular Questions
How long until I can eat them?
They’re edible within an hour, but their flavor improves after several hours or overnight in the fridge. For best balance and depth, wait at least 4–6 hours before serving.
Can I reuse the brine?
Technically you can, but the strength and clarity decrease each use. For safety and best flavor, make a fresh brine when pickling another batch.
Are these shelf-stable?
No. This recipe is intended for refrigeration. Because it’s not processed in a water bath for shelf stability, keep the jar in the fridge.
What if I don’t like garlic or chiles?
Simply omit them. The base brine still provides bright, tangy flavor. They’re listed as optional in the recipe for that reason.
Bring It to the Table
Pickled Radishes are terrific on tacos—especially pork or fish tacos—where their crunch and acidity brighten each bite. Toss a few on an open-faced sandwich or use them to top grain bowls for contrast. They’re also a quick garnish for roasted meats or simply a crunchy side with cheese and charcuterie.
When serving, spoon out with a fork and arrange on a small dish next to the main components so guests can add as much or as little as they like. If you’re gifting jars for a holiday or small gathering, tie a simple tag with the date and a note to refrigerate after opening.
Make a jar at the start of the week and you’ll have a versatile, flavor-boosting condiment ready to lift everything from weekday lunches to weekend feasts.
Pickled Radishes
Equipment
- non-reactive saucepan
- pint-sized jar
Ingredients
Ingredients
- 1 bunch or 4 longradishes (about 1 pound, 400 g of radishes)
- 1 cupwater
- 1 cupwhite vinegar
- 2 teaspoonssea salt
- 2 teaspoonssugar or honey
- 1/2 teaspooncrushed peppercorns
- 1 to 2 clovesgarlic peeled
- optional: 1 chile pepper split lengthwise
Instructions
Instructions
- Wash the radishes, trim the tops and root ends, and slice the radishes into rounds.
- In a non-reactive saucepan combine 1 cup water, 1 cup white vinegar, 2 teaspoons sea salt, and 2 teaspoons sugar or honey. Bring to a boil over medium-high heat, stirring until the salt and sugar are dissolved.
- Remove the saucepan from the heat and stir in 1/2 teaspoon crushed peppercorns.
- Pack the sliced radishes into a clean pint-sized jar. Add 1 to 2 cloves garlic (peeled) and the optional 1 chile pepper split lengthwise, tucking them among the radishes. Pack tightly without crushing.
- Pour the hot liquid from the saucepan over the radishes, making sure they are fully submerged and leaving about 1/2 inch headspace at the top of the jar.
- Seal the jar, let it cool to room temperature, then refrigerate.
Notes
Storage:
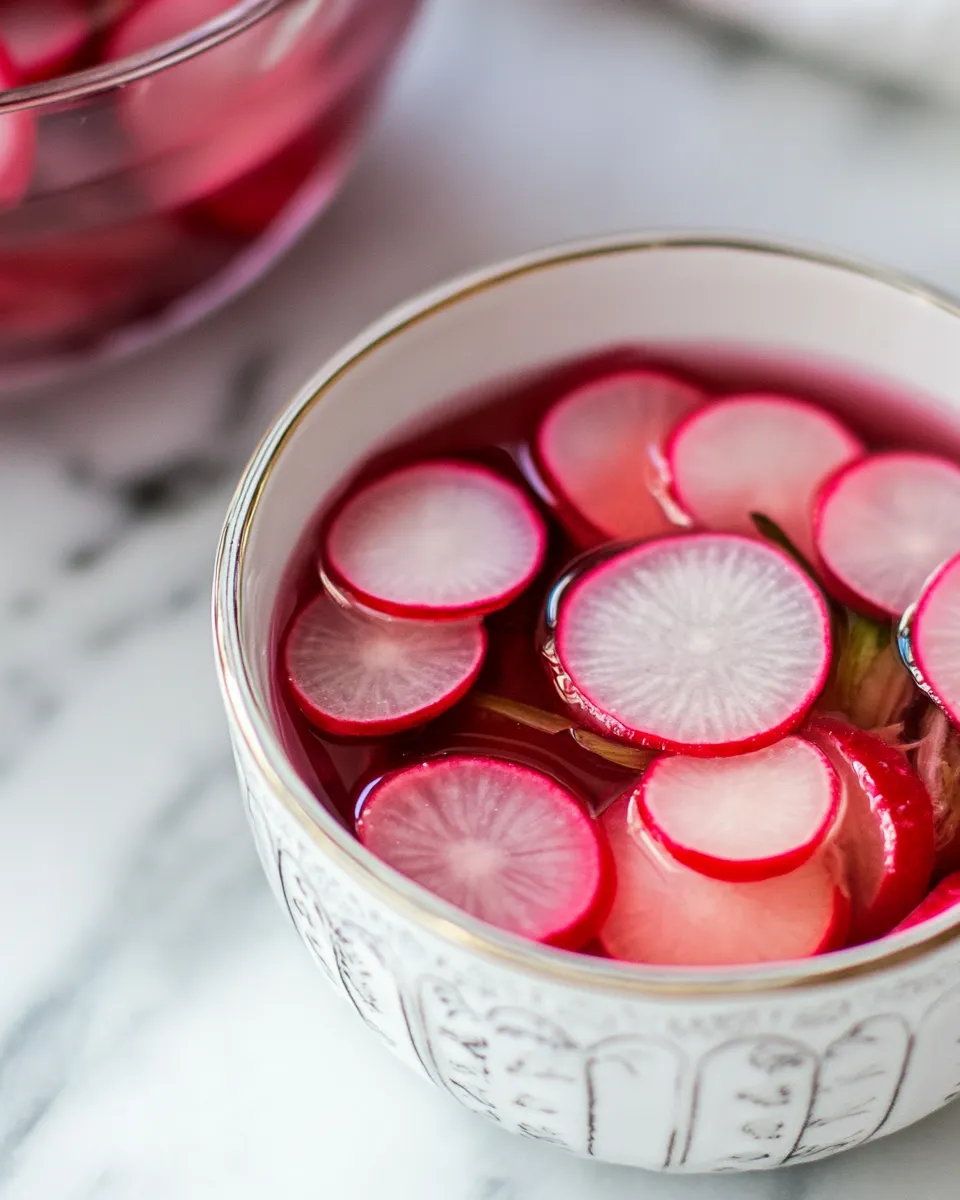
The radishes will be ready to eat after 24 hours. During storage, the liquid will turn a nice rosy color and any added flavors – such as garlic and hot peppers – will get stronger. The radishes can be kept in the refrigerator for up to one month.