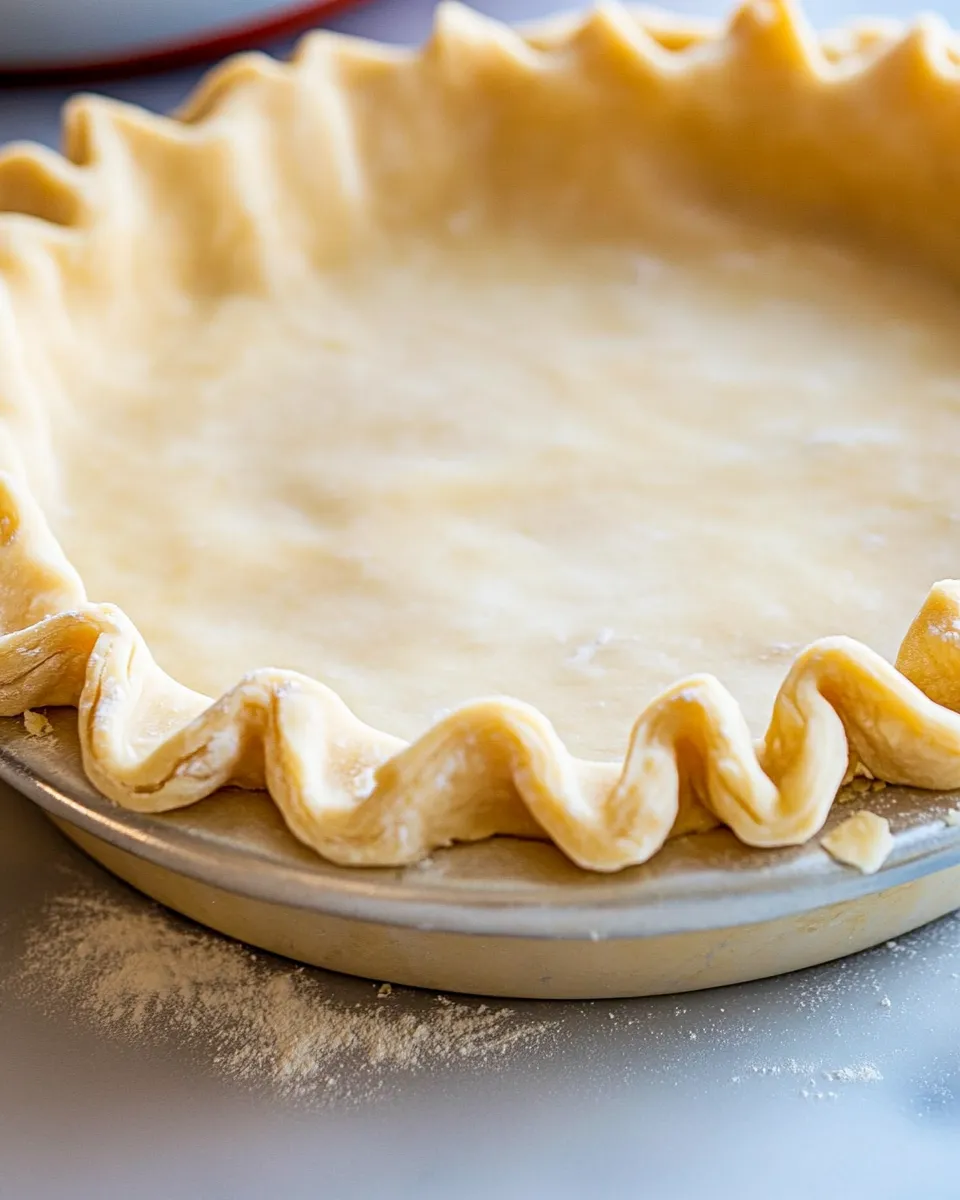
I love a good pie crust because it’s equal parts technique and temperament: a little attention up front gives you a reliably flaky base that makes any filling sing. This recipe is a workhorse — straightforward, forgiving, and focused on one priority: pockets of butter that become layers of crisp, buttery flake as the pie bakes.
There’s no fancy equipment required beyond a food processor and a rolling pin, and the steps are short and intentional. Keep the ingredients cold, pulse rather than purée, and don’t overwork the dough. Those three habits are what separate an OK crust from one you’ll want to make again and again.
The notes that follow are practical and result-driven. I’ll walk you through the ingredient logic, the exact step-by-step directions, common missteps, sensible substitutions, storage tips, and the reasons behind every choice so you can bake with confidence — not guesswork.
The Ingredient Lineup
- 2½ cups all-purpose flour — Structure. Use measured flour; too much dries the dough, too little weakens it.
- 1 tablespoons sugar — Flavor and slight browning. Keeps the crust tasting rounded without making it sweet.
- 1 teaspoons salt — Balances flavor. Don’t skip it; salt brightens the butter and the flour.
- 1 cup butter (unsalted and cold, (2 sticks)) — Fat and flake. Cold, solid butter creates those pea-sized pockets that steam into flaky layers.
- 6-8 tablespoon ice water — Binder. Add just enough to bring dough together; ice keeps the fat cold while you work.
Directions: Pie Crust Recipe
- Add the flour, sugar, and salt to a food processor and pulse 2–3 times to combine.
- Cut the cold butter into roughly 1/2‑inch pieces and add to the food processor. Pulse in short bursts until the butter pieces are about the size of peas.
- With the processor running in short pulses, add 6 tablespoons of ice water a little at a time. After pulsing, test the dough by pinching a small amount between your fingers — it should just hold together when pressed. If it does not, add additional ice water 1 tablespoon at a time (up to a total of 8 tablespoons), pulsing after each addition, until the dough just begins to clump.
- Turn the mixture out onto a clean, lightly floured work surface. Use your hands only as needed to gently bring the dough together into a loose ball — do not overwork or knead.
- Divide the ball into two equal pieces. Shape each piece into a flat disc (about 1 inch thick), keeping visible butter pieces intact. Wrap each disc tightly in plastic wrap.
- Refrigerate the wrapped discs for at least 30 minutes and up to 2 days.
- When ready to use, remove the discs from the refrigerator and let them sit at room temperature for up to 10 minutes to soften slightly so they are easier to roll.
- On a lightly floured surface, roll one disc with a rolling pin to about 1/8 inch thickness. Add a little flour to the surface or rolling pin as needed to prevent sticking.
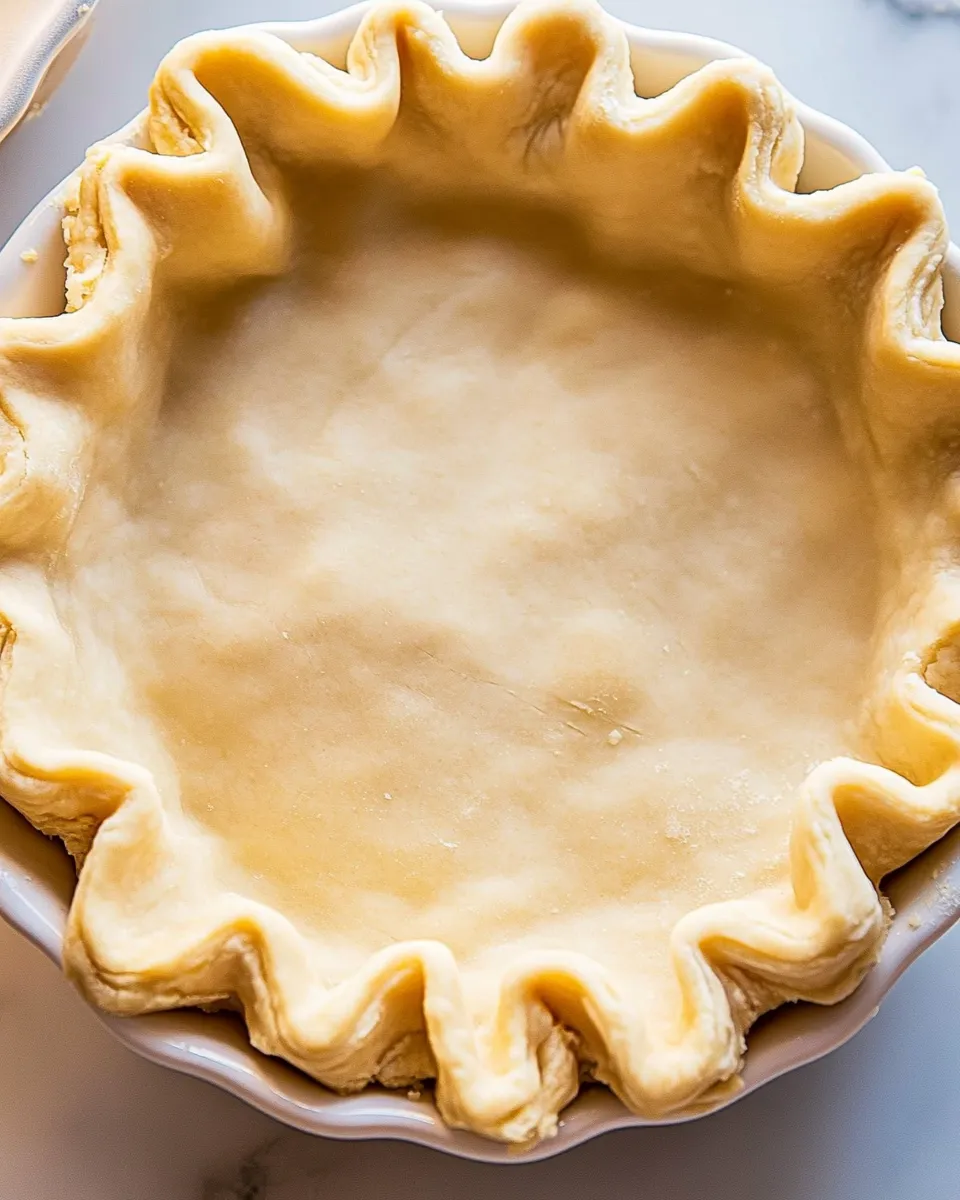
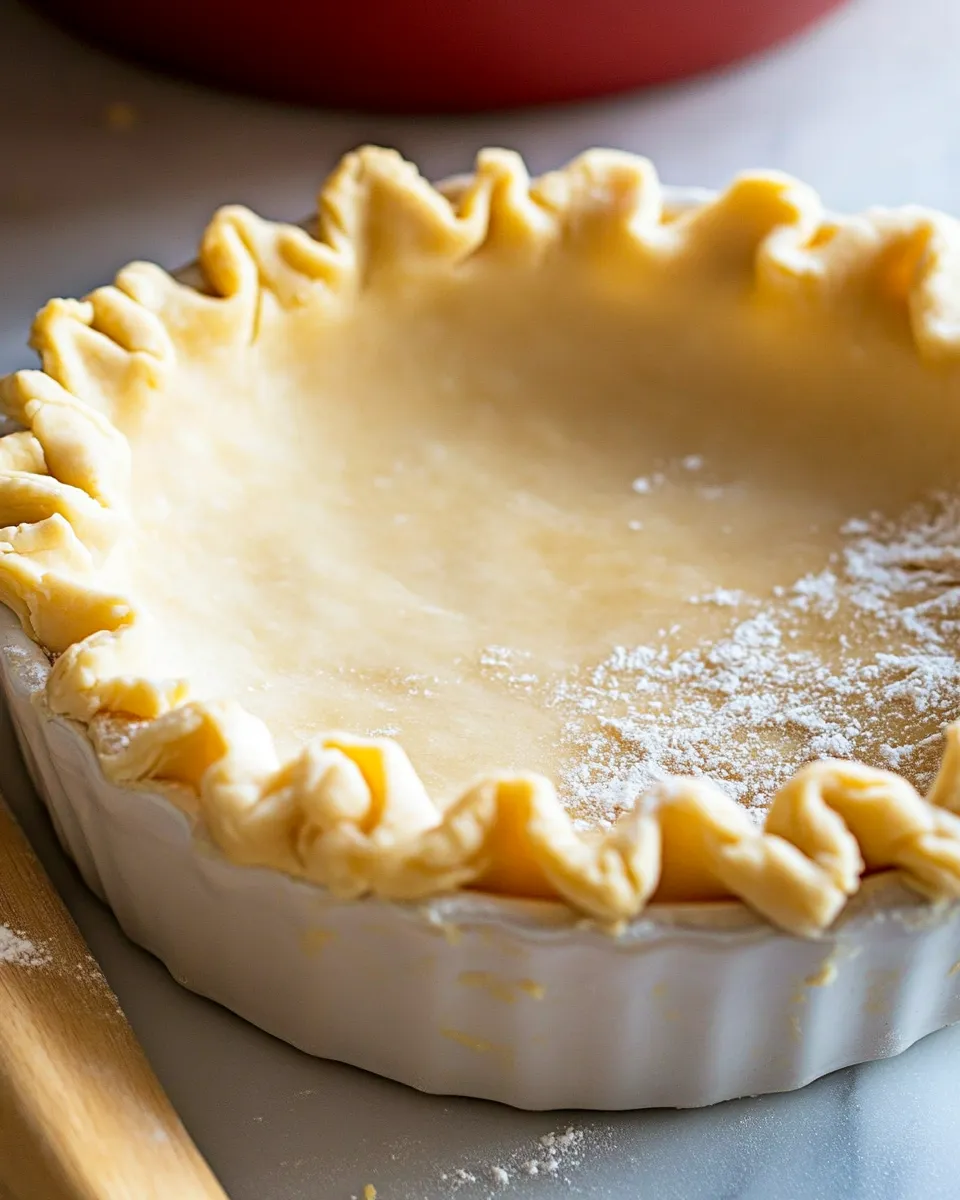
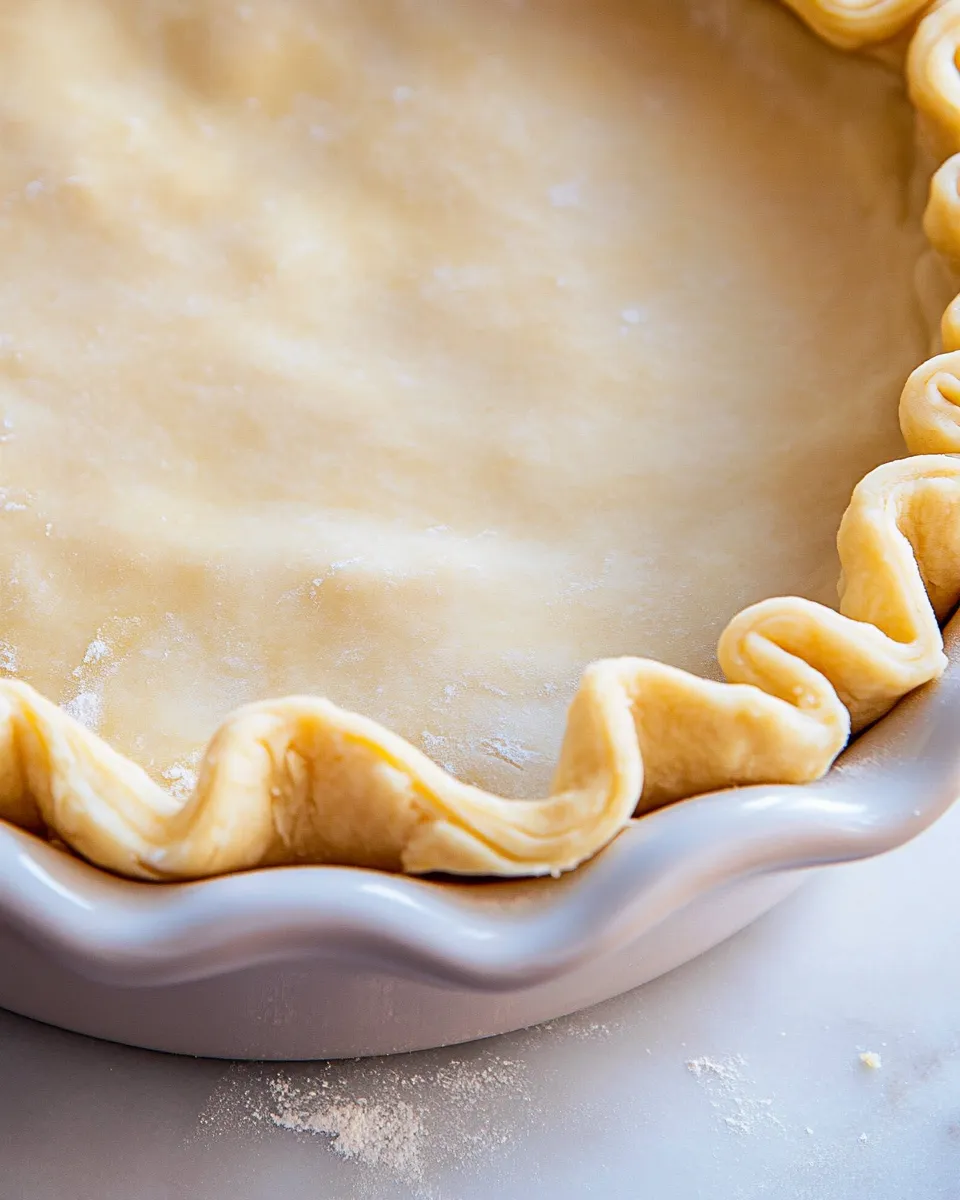
- Transfer the rolled dough to a pie plate (roll it around the rolling pin and unroll over the plate if helpful). Gently fit the dough into the plate, trim any excess, and crimp the edge as desired.
- Add your filling to the prepared bottom crust.
- Roll out the second disc to the same thickness. Place it whole over the filling or cut into strips to make a lattice. Trim any excess dough and seal the edges.
- If making a fully covered (double) crust, cut vents in the top crust with a sharp knife to allow steam to escape.
- Bake the pie at 375°F for about 1 hour, or until the crust is golden and beginning to brown.
Why Cooks Rave About It
This crust delivers predictable flake and flavor without fuss. The pulses in the food processor keep butter pieces intact, and the controlled addition of ice water prevents the gluten from developing too much, which keeps the crust tender. Bakers praise recipes like this because they reliably produce the geometry of a great crust: distinct layers that lift and separate as steam escapes the butter pockets.
It’s also flexible. The dough can be chilled for a short time or held in the fridge for a couple of days, which makes it practical for planning. And because the ingredient list is short, it’s easy to scale, adapt, or swap for dietary needs without losing the core technique.
What to Use Instead
If you need alternatives, choose fats and flours that mimic the original roles. Vegetable shortening or lard can replace some or all of the butter to give a different—but still flaky—texture. Lard generally lends extra flakiness and a neutral flavor; shortening will keep the crust tender and is often more workable at room temperature. If you swap, keep the fat cold and cut it into pea-sized pieces the same way.
For a slightly sturdier crust, you can use a mix of whole-wheat pastry flour and all-purpose flour. Use no more than 25–30% whole-wheat substitution to avoid a dense, heavy result. And if you must reduce butter for dietary reasons, replace it with a comparable volume of a stiffer fat and accept that the flavor profile will shift.
What’s in the Gear List
You don’t need a lot: a food processor speeds this method and gives the best, most consistent pea-sized butter pieces. If you don’t have one, a pastry cutter (or two knives) will do the job; cut the butter into the flour until you see small pieces. Other essentials:
- Rolling pin — for even thickness.
- Pie plate — ceramic or metal depending on the bake you want.
- Plastic wrap — to chill and protect the dough.
- Bench scraper — helpful for lifting the dough gently and dividing it cleanly.
- Sharp knife or pastry wheel — for vents or lattice tops.
- Oven thermometer (optional) — to ensure your oven is at the real temperature.
Learn from These Mistakes
Common failures are easy to fix once you know the root cause. Overworking the dough develops gluten, which gives you a tough crust. If you see a dry, tight texture after baking, you likely handled the dough too much. Let it rest, and be sure to press it together gently rather than kneading.
If your crust is greasy or sticks badly to the rolling surface, the butter was either too warm or unevenly mixed. Chill the discs thoroughly, flour the surface lightly, and use short, light rolls. If the bottom is soggy after baking, prebake (blind-bake) the crust for wet fillings or brush the bottom lightly with an egg wash before adding very wet fillings.
Seasonal Ingredient Swaps
Pie crust is a neutral canvas. In autumn and winter, a tablespoon or two of finely ground nutmeg or cinnamon in the dry mix can complement apple and pumpkin fillings. In spring, add a teaspoon of lemon zest to brighten berry fillings; keep the salt and sugar as written so the balance remains steady.
For savory pies, omit the sugar and add a tablespoon of finely chopped fresh herbs (like thyme or rosemary) or a pinch of black pepper to the dry ingredients. The technique stays the same; only the aromatics change to match the filling.
Chef’s Rationale
Every step has purpose. The pulses combine ingredients without creating frictional heat. Cutting butter into 1/2‑inch pieces gives you visible chunks that stay cold through processing; they’re the steam pockets that create flake. The ice water brings the dough together, but adding it in measured amounts and testing by pinch prevents overhydration. Chilling the discs firms the butter again and relaxes the gluten so rolling is clean and predictable.
Rolling to 1/8 inch gives a sturdy but tender bottom and a pleasantly delicate top. Baking at 375°F is a middle ground: hot enough to brown the crust without burning the edges while allowing the filling to cook through in an hour.
Keep-It-Fresh Plan
Unbaked dough discs are excellent to keep in the fridge for up to 2 days, wrapped tightly in plastic. For longer storage, freeze them flat in airtight bags for up to 2 months; thaw overnight in the fridge before using. Once baked, a whole pie keeps at room temperature for up to 2 days (cover loosely), or in the fridge for up to 4 days depending on the filling.
If you freeze a baked pie, wrap it well and freeze for up to 2 months. Reheat in a 350°F oven until warmed through; this helps refresh the crust crispness better than microwaving.
Common Qs About Pie Crust Recipe
Q: Can I make this by hand instead of a food processor?
A: Yes. Use a pastry cutter, two knives, or your fingertips to cut the butter into the flour until you have pea-sized bits. Keep your hands cool and work quickly.
Q: How do I stop the bottom from getting soggy with wet fillings?
A: Blind-bake the bottom crust for 10–15 minutes, or brush a thin layer of beaten egg over the bottom and bake a few minutes to seal it. Baking the pie on a preheated baking sheet can also help the bottom brown and firm up.
Q: Is it okay to overwork the dough a little?
A: A little is usually fine, but the goal is minimal handling. Press the dough together gently. If it feels elastic or springs back when you roll, let it rest in the fridge for 15–30 minutes to relax the gluten.
Q: Can I freeze raw rolled dough with a filling inside?
A: You can, but it’s often easier to assemble and freeze a fully assembled pie. Freeze it unbaked, then bake from frozen — add 10–20 minutes to the baking time and tent the crust with foil if the edges brown too quickly.
In Closing
This Pie Crust Recipe is a dependable technique more than a strict ritual. Keep the butter cold, add water sparingly, and resist the urge to overwork. Follow the steps and you’ll end up with a crust that’s flaky, flavorful, and adaptable to whatever filling you choose. Make it once, then keep it in your routine — pies are one of those foods where repetition pays off in comfort and confidence.
Pie Crust Recipe
Equipment
- KitchenAid 7-cup Food Processor
- Classic Wooden Rolling Pin
- Parchment Paper
Ingredients
Ingredients
- 2 1/2 cupsall-purpose flour
- 1 tablespoonsugar
- 1 teaspoonsalt
- 1 cupbutter unsalted and cold, (2 sticks)
- 6-8 tablespoonice water
Instructions
Instructions
- Add the flour, sugar, and salt to a food processor and pulse 2–3 times to combine.
- Cut the cold butter into roughly 1/2‑inch pieces and add to the food processor. Pulse in short bursts until the butter pieces are about the size of peas.
- With the processor running in short pulses, add 6 tablespoons of ice water a little at a time. After pulsing, test the dough by pinching a small amount between your fingers — it should just hold together when pressed. If it does not, add additional ice water 1 tablespoon at a time (up to a total of 8 tablespoons), pulsing after each addition, until the dough just begins to clump.
- Turn the mixture out onto a clean, lightly floured work surface. Use your hands only as needed to gently bring the dough together into a loose ball — do not overwork or knead.
- Divide the ball into two equal pieces. Shape each piece into a flat disc (about 1 inch thick), keeping visible butter pieces intact. Wrap each disc tightly in plastic wrap.
- Refrigerate the wrapped discs for at least 30 minutes and up to 2 days.
- When ready to use, remove the discs from the refrigerator and let them sit at room temperature for up to 10 minutes to soften slightly so they are easier to roll.
- On a lightly floured surface, roll one disc with a rolling pin to about 1/8 inch thickness. Add a little flour to the surface or rolling pin as needed to prevent sticking.
- Transfer the rolled dough to a pie plate (roll it around the rolling pin and unroll over the plate if helpful). Gently fit the dough into the plate, trim any excess, and crimp the edge as desired.
- Add your filling to the prepared bottom crust.
- Roll out the second disc to the same thickness. Place it whole over the filling or cut into strips to make a lattice. Trim any excess dough and seal the edges.
- If making a fully covered (double) crust, cut vents in the top crust with a sharp knife to allow steam to escape.
- Bake the pie at 375°F for about 1 hour, or until the crust is golden and beginning to brown.
Notes
No food processor? No problem:If you don’t have afood processor, you can use apastry cutterto cut the butter into the flour.
Freezing the pie crust:Place the pie dough in a freezer bag and freeze up to 3 months. When ready to use it, thaw the pastry overnight in the refrigerator. You can also freeze a baked pastry shell. (see the blind baking notes in the post) Cool the pie shell completely before transferring it to a freezer container or bag and freeze up to a month. Thaw overnight before using.