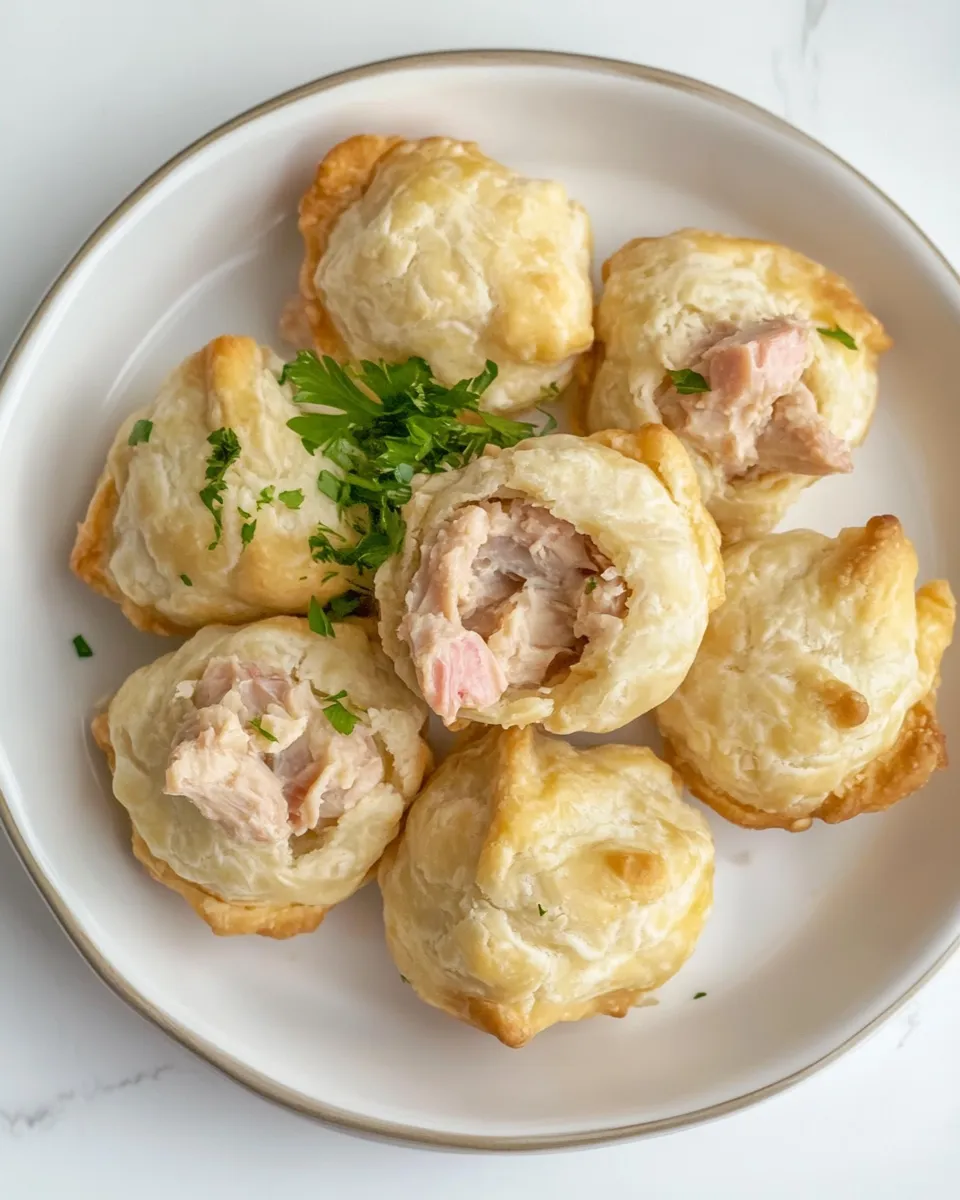
Every once in a while a simple idea becomes a kitchen favorite. These Tuna Puffs are one of those recipes: airy, savory choux pastry shells filled with a creamy, tangy tuna mixture. They make a lovely appetizer, an easy party bite, or a comforting snack when you want something special without a long ingredient list. The texture contrast — light, golden puffs on the outside and a rich, tuna-studded filling inside — is what keeps people coming back for more.
This recipe uses pantry-staple ingredients and follows a straightforward technique that yields consistent results. The pastry dough is a classic water-butter-flour and egg choux base, adapted to hold a savory filling. The tuna filling is mixed with mayonnaise, pickle relish, and onion for bright, familiar flavors. Because the dough is cooked on the stovetop before eggs are added, you get a glossy, pipeable paste that bakes into crisp, hollow shells ready to cradle the filling.
Before we get into the how-to, here are a few quick tips: measure the flour accurately, drain the canned tuna well so the filling isn’t watery, and don’t open the oven while the puffs are rising. The process is forgiving if you follow the steps, and the result is better than store-bought appetizers in both flavor and texture.
Ingredients
- 3/4 cup water
- 1/3 cup butter
- 1/2 tsp salt
- 3/4 cup flour
- 3 eggs
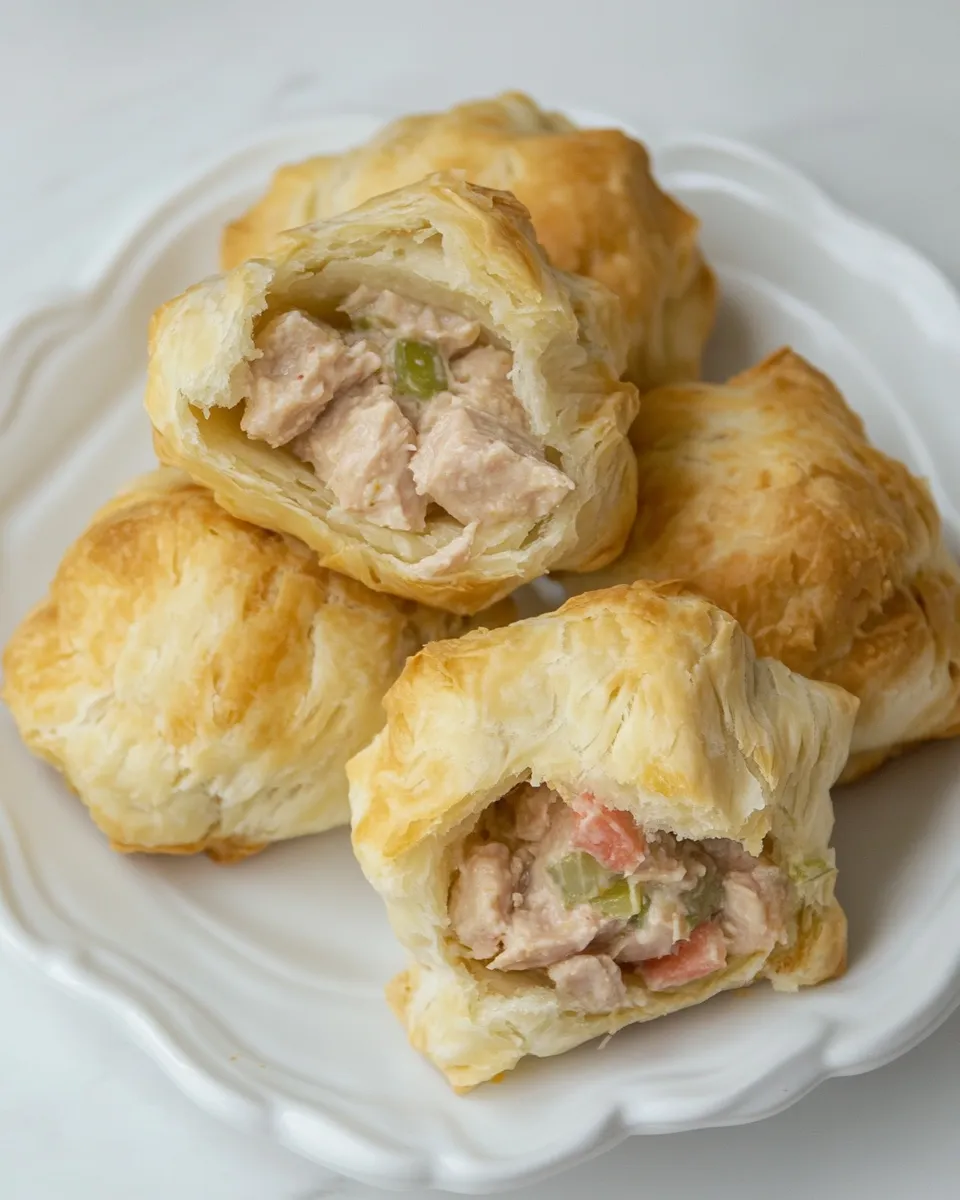
- 5 ounces canned tuna (drained or two 2.5 ounce packets)
- 1/3 cup mayo
- 1.5 tbsp pickle relish (drained)
- 1 tbsp minced onion
Equipment
- Medium saucepan
- Wooden spoon or spatula
- Bowl for mixing eggs
- Piping bag with plain round tip or two spoons
- Baking sheet lined with parchment paper
- Mixing bowl for filling
- Wire rack
Why these ingredients work
The pastry relies on a simple chemistry: water and butter create steam in the oven, which puffs the dough; flour provides structure; eggs bind and add richness. The tuna filling uses mayo for creaminess, relish for brightness and texture, and minced onion for a mild bite that balances the flavors. Draining the tuna and relish prevents a soggy filling and helps the puffs keep their crisp shells.
Step-by-step Instructions
Follow these steps in order. The rewritten directions below keep the original method but present it in clearer, numbered actions so nothing gets missed.
- Preheat your oven to 425°F (220°C). Line a baking sheet with parchment paper and set it aside.
- In a medium saucepan, combine 3/4 cup water, 1/3 cup butter, and 1/2 tsp salt. Place the saucepan over medium-high heat and bring the mixture to a rolling boil, stirring occasionally so the butter melts evenly.
- Once the liquid reaches a full boil, remove the pan from the heat. Immediately add 3/4 cup flour all at once. Using a wooden spoon or heatproof spatula, stir vigorously until the mixture forms a smooth ball of dough and pulls away from the sides of the pan. The dough should be glossy and free of lumps.
- Return the pan to low heat and cook the dough for about 1 minute while stirring constantly. This step helps dry the dough slightly and ensures the flour is fully cooked.
- Transfer the hot dough to a mixing bowl or leave it in the saucepan off the heat. Let it cool for 2 to 3 minutes so it’s warm but not hot enough to scramble the eggs.
- Crack the 3 eggs into a small bowl and beat lightly. Add the eggs to the dough one at a time, mixing thoroughly after each addition. You can use a wooden spoon, a hand mixer on low, or a stand mixer with a paddle. The dough will look strange between additions but will come together into a smooth, pipeable batter. Stop once the dough is glossy and drops slowly from the spoon in ribbons.
- Transfer the choux dough to a piping bag fitted with a plain round tip. If you don’t have a piping bag, use two spoons to drop rounded tablespoons of dough onto the prepared baking sheet.
- Pipe or spoon small mounds about 1 to 1 1/2 inches in diameter, spacing them about 2 inches apart to allow for expansion.
- Bake at 425°F (220°C) for 10 minutes, then without opening the oven, reduce the temperature to 350°F (175°C) and continue baking for another 15 to 20 minutes, or until the puffs are golden brown and sound hollow when tapped. Avoid opening the oven during baking so the puffs don’t collapse.
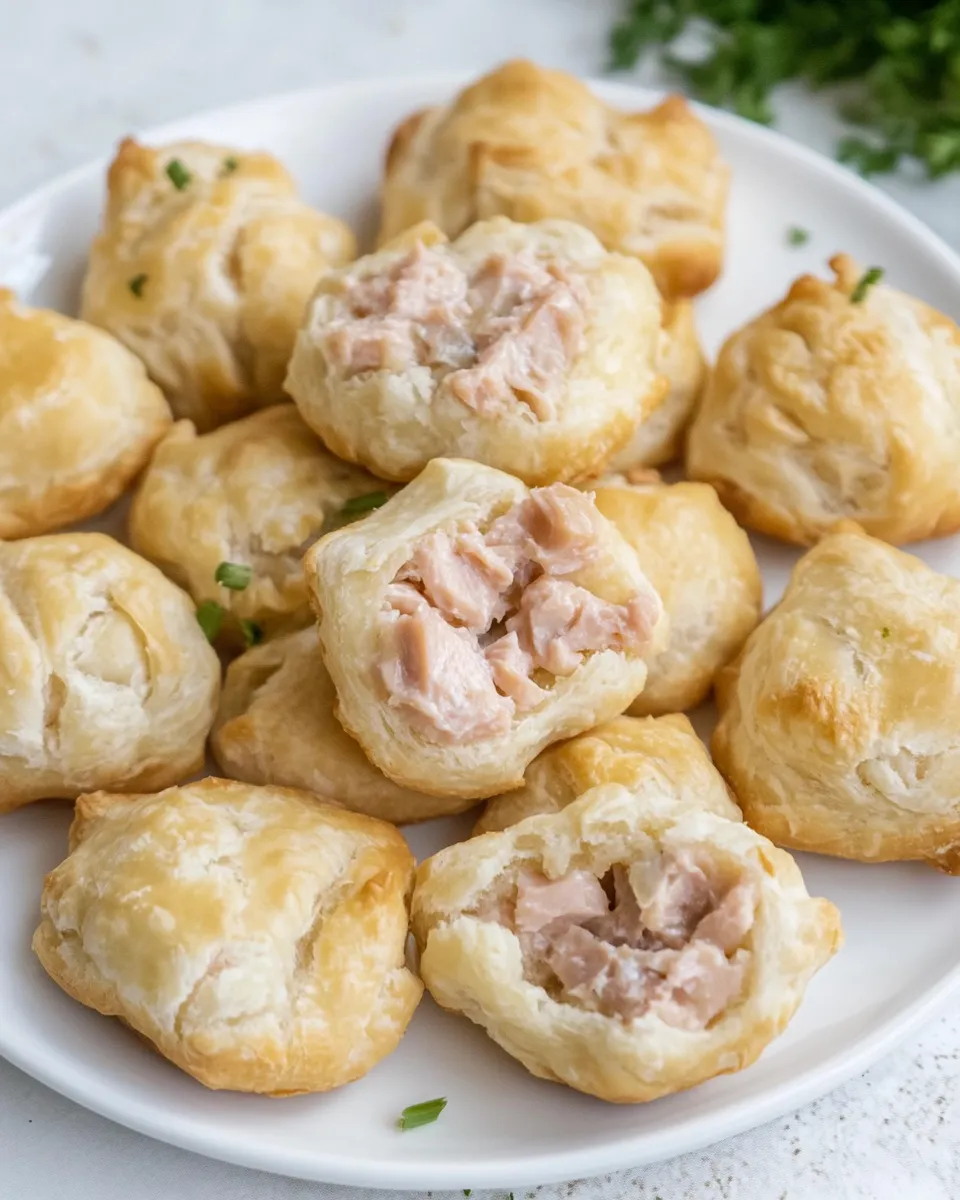
- When the puffs are done, remove them from the oven and transfer to a wire rack to cool slightly. To help moisture escape and keep the shells crisp, you can poke a small hole in the side of each puff with a paring knife or cut them in half once they are cool enough to handle.
- While the puffs bake, prepare the tuna filling. Place 5 ounces canned tuna (drained or two 2.5 ounce packets) in a mixing bowl. Flake the tuna with a fork.
- Add 1/3 cup mayo, 1.5 tbsp pickle relish (drained), and 1 tbsp minced onion to the flaked tuna. Stir until the mixture is evenly combined. Taste and adjust seasoning with a pinch of salt or pepper if desired, but remember the pastry already contains salt.
- Once the puffs have cooled enough to handle, either cut them in half or use a piping bag to fill them. Spoon or pipe the tuna mixture into each shell, using enough to fill without overflowing.
- Arrange the filled Tuna Puffs on a platter and serve at room temperature. They’re best eaten the same day to enjoy the crisp shell texture, though the filling can be made ahead and refrigerated for a few hours.
Serving Suggestions and Variations
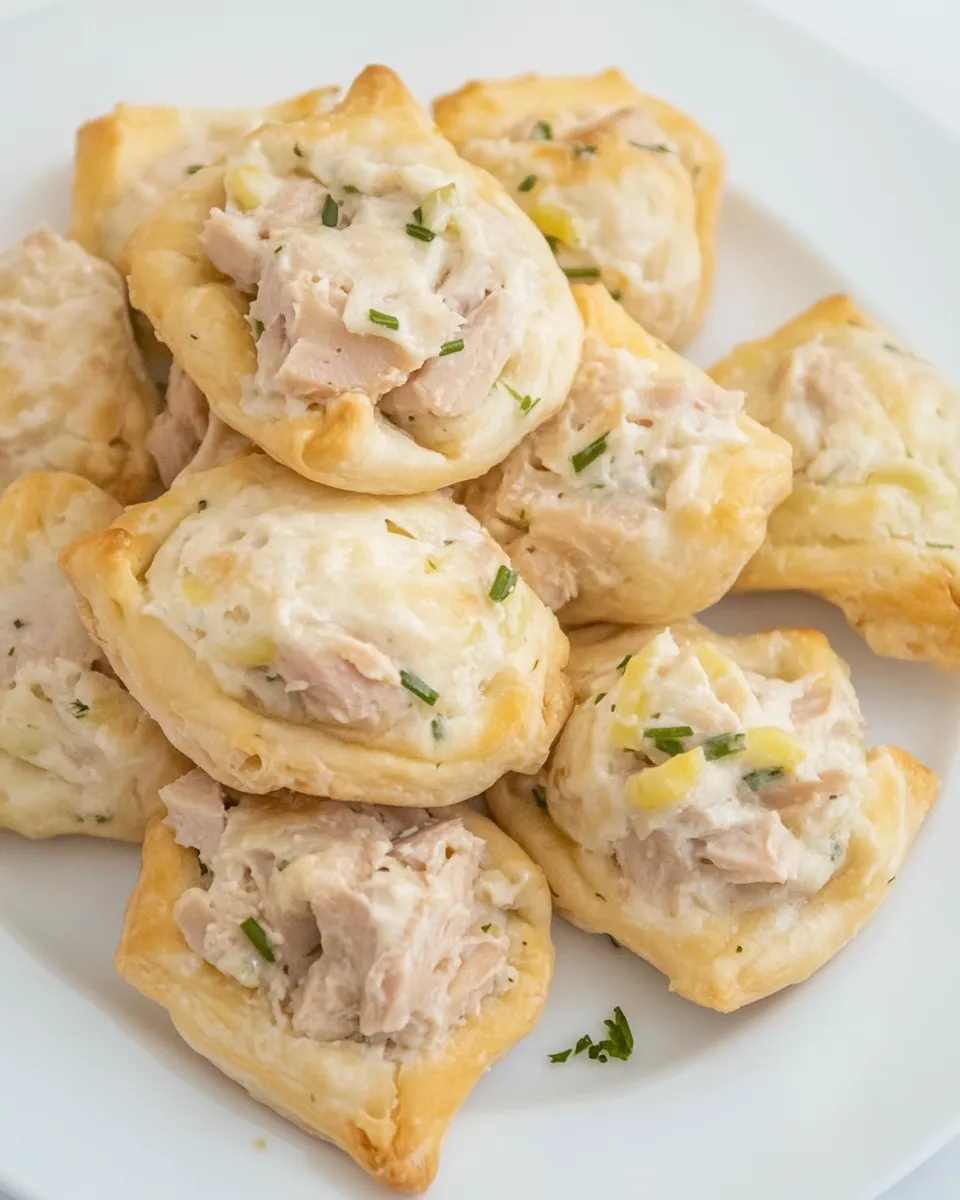
These Tuna Puffs are versatile. Serve them plain or garnish with a sprig of fresh dill, a sprinkle of paprika, or a small slice of cornichon on top for visual appeal. For added creaminess, fold a little extra mayo into the filling, or add a squeeze of lemon juice to brighten the flavor.
If you want a little heat, stir in a teaspoon of sriracha or finely chopped pickled jalapeño into the tuna mix. For herb-forward bites, add a tablespoon of chopped fresh parsley or chives. You can also substitute the pickle relish with finely chopped capers for a brinier note.
Make-Ahead Tips and Storage
You can prepare the filling up to a day in advance and store it in an airtight container in the fridge. Keep the shells in a sealed container at room temperature for a few hours; if they soften, refresh them in a 350°F (175°C) oven for 5 minutes to crisp them again, then cool and fill. Filled puffs are best eaten the same day; refrigeration of already-filled puffs will soften the shells within a few hours.
Troubleshooting
- If the dough spreads instead of puffing, the dough may have been too soft from over-addition of eggs or undercooking the starch. Make sure the dough pulls away cleanly from the pan before adding eggs.
- If the puffs collapse after baking, it’s usually because the internal steam escaped too soon — avoid opening the oven during the initial high-heat phase and ensure the shells bake until golden and dry.
- If the filling is watery, check that the tuna and relish are thoroughly drained before mixing. You can also gently press the tuna between paper towels to remove excess moisture.
Why these Tuna Puffs are a winner
The charm of these Tuna Puffs lies in their balance: crisp, light pastry juxtaposed with a creamy, tangy filling. They’re approachable enough for weekday snacking yet pretty enough for gatherings. The recipe relies on a handful of ingredients and simple techniques, making it a great one to master for repeated success.
Nutritional note
These puffs are protein-rich because of the tuna and eggs. Using a moderate amount of mayonnaise keeps the filling creamy without overpowering the delicate pastry. Portion size and garnish choices will affect calorie counts; enjoy them as an appetizer or snack alongside a fresh salad for a balanced bite.
Final thoughts
If you enjoy making things from scratch but want minimal fuss, these Tuna Puffs are worth adding to your repertoire. The method teaches a great basic choux technique that you can adapt to other fillings — think creamy egg salad, smoked salmon mousse, or a roasted vegetable and cheese mix. Once you nail the dough, the possibilities are endless.
Try them for your next get-together or as a special weekday treat. They’re proof that simple pantry ingredients, handled with a small bit of technique, can transform into something truly delightful.