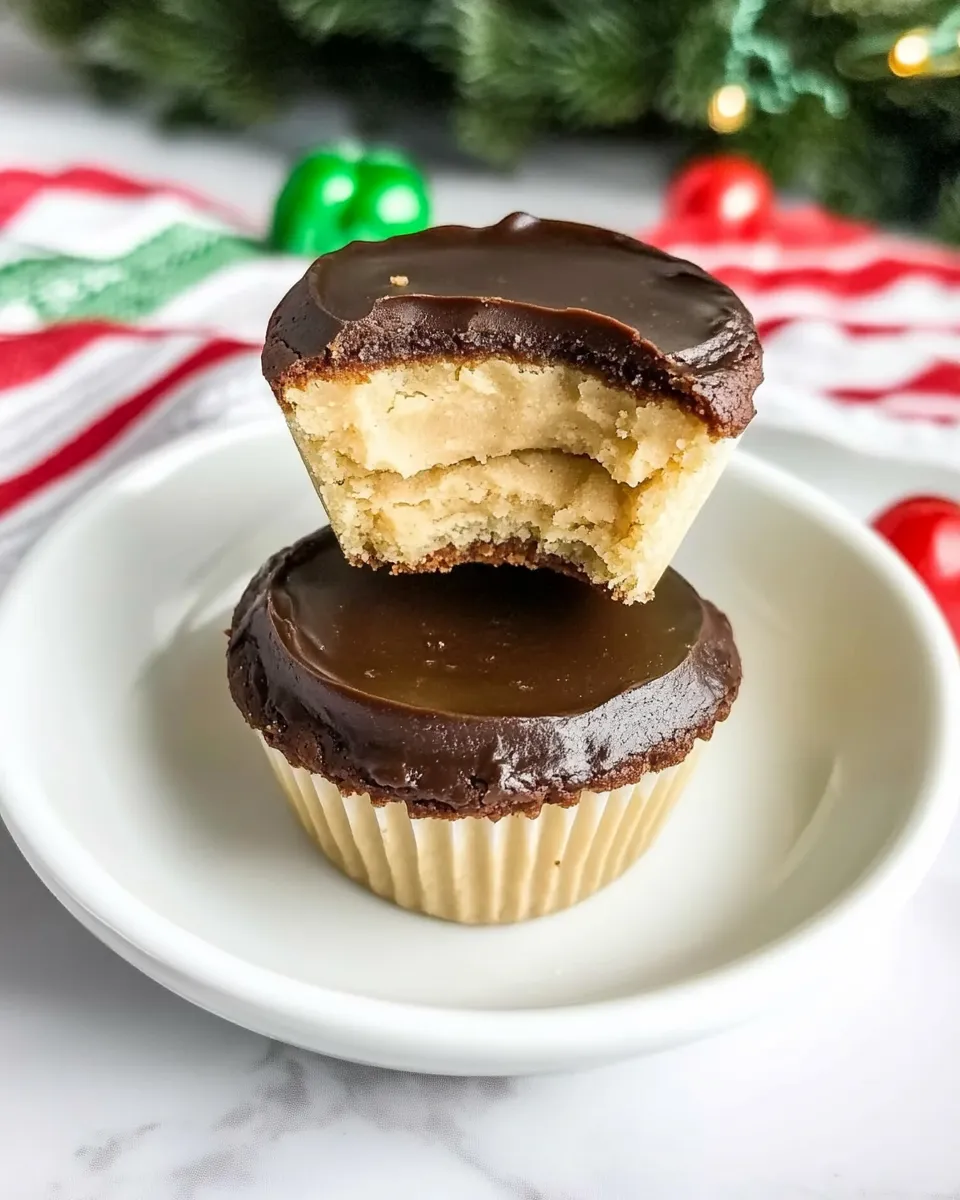
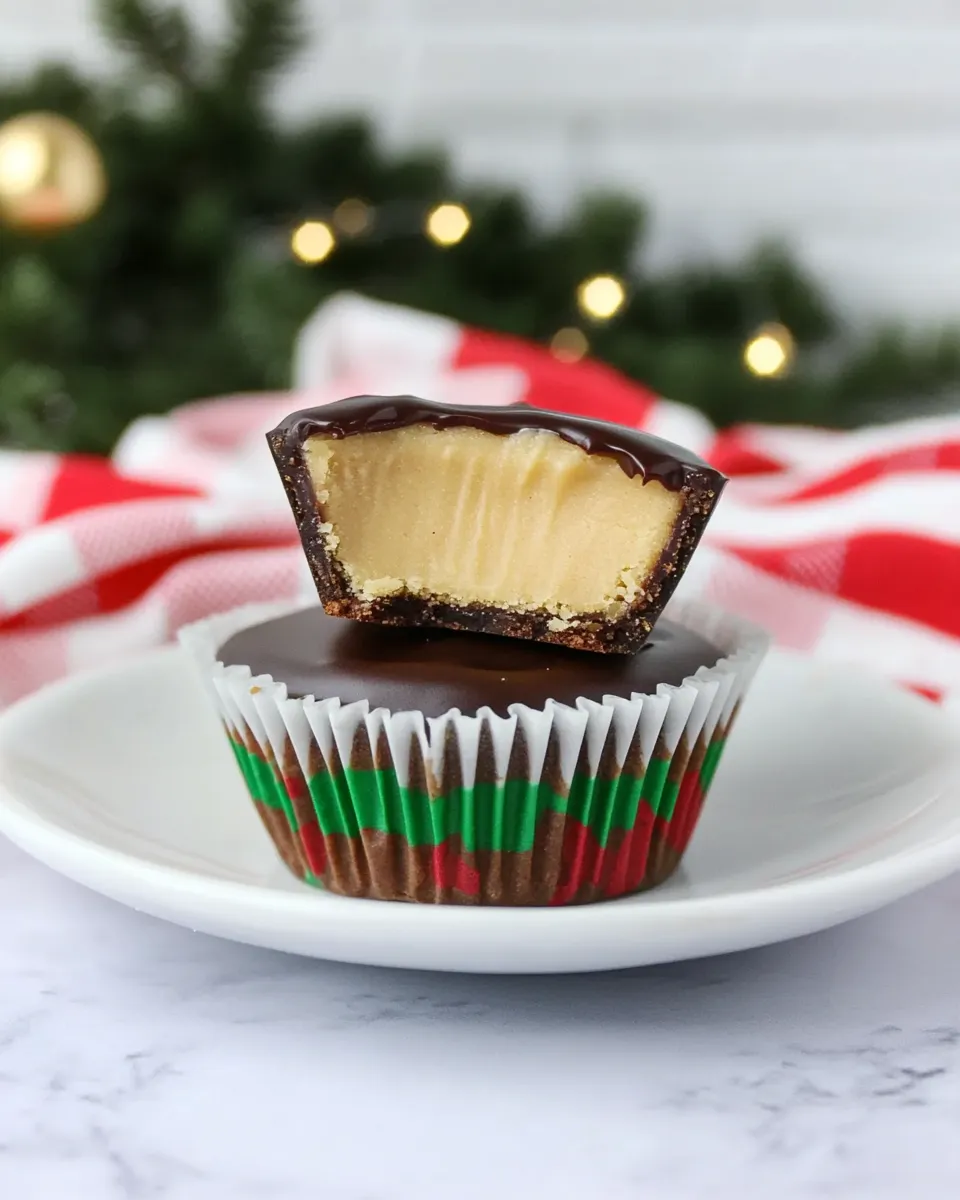
If you’re a fan of cookies and have a little soft spot for peanut butter, then you’re in for a delightful treat with these Peanut Butter Cookie Cups. Imagine a warm, soft cookie cradling a gooey chocolate surprise right in the center. These cookie cups are not only easy to make, but they also bring a smile to anyone who takes a bite. With a rich peanut butter flavor and an irresistible chocolate center, these treats are perfect for any occasion—from casual get-togethers to holiday gatherings.
Top Reasons to Make Peanut Butter Cookie Cups
- Quick and Easy: This recipe comes together in no time, making it perfect for last-minute cravings or unexpected guests.
- Customization: You can easily switch up the chocolate centers or toppings to suit your preferences or the season.
- Kid-Friendly: Kids love to help out in the kitchen, and these cookie cups are simple enough for them to join in on the fun.
- Deliciously Indulgent: The combination of peanut butter and chocolate creates a flavor explosion that’s hard to resist.
Ingredient Notes
- Butter: Use ½ cup of butter at room temperature for a soft and chewy texture.
- Sugar: ½ cup of granulated sugar adds sweetness and a lovely crisp to the cookie edges.
- Brown Sugar: ½ cup of packed brown sugar contributes moisture and a deeper flavor.
- Creamy Peanut Butter: ½ cup of your favorite creamy peanut butter is essential for that rich taste.
- Egg: 1 large egg binds the ingredients together for a tender cookie.
- Vanilla Extract: 1 teaspoon of vanilla extract enhances the overall flavor profile.
- Flour: 1 ½ cups of all-purpose flour gives structure to your cookie cups.
- Baking Soda: 1 teaspoon of baking soda helps the cookies rise perfectly.
- Salt: ½ teaspoon of salt balances the sweetness and enhances the flavors.
- Chocolate Centers: Use 48 miniature Reese’s or Rolo candies (or a combination) for a sweet surprise.
- Festive M&M Candies: Optional for garnish, these add a pop of color and fun!
Tools of the Trade
- Mixing Bowls: A large bowl for mixing and a smaller one for dry ingredients.
- Measuring Cups and Spoons: Essential for accurate ingredient measurements.
- Muffin Tin: A standard muffin tin is necessary for forming the cookie cups.
- Cookie Scoop: Helpful for evenly portioning the cookie dough into the muffin tins.
- Cooling Rack: Allows your cookie cups to cool evenly after baking.
Make Peanut Butter Cookie Cups: A Simple Method
Step 1: Preheat and Prepare
Preheat your oven to 350°F (175°C). Grease your muffin tin lightly or line it with paper liners for easy removal.
Step 2: Mix the Wet Ingredients
In a large mixing bowl, cream together the softened butter, granulated sugar, brown sugar, and peanut butter until smooth and fluffy. This usually takes about 2-3 minutes. Then, add in the egg and vanilla extract, mixing until fully combined.
Step 3: Combine Dry Ingredients
In a separate bowl, whisk together the flour, baking soda, and salt. Gradually add the dry mixture into the wet mixture, stirring just until combined. Be careful not to overmix!
Step 4: Shape the Cookie Cups
Using a cookie scoop, portion out the dough and fill each muffin tin cup about halfway. Gently press the dough down to create a well in the center for your candy.
Step 5: Add the Chocolate Centers
Place one miniature Reese’s or Rolo candy into the center of each cookie cup, pressing it down slightly into the dough.
Step 6: Bake
Bake in the preheated oven for 10-12 minutes, or until the edges are golden brown. The centers may look slightly underbaked, but they will continue to set as they cool.
Step 7: Cool and Garnish
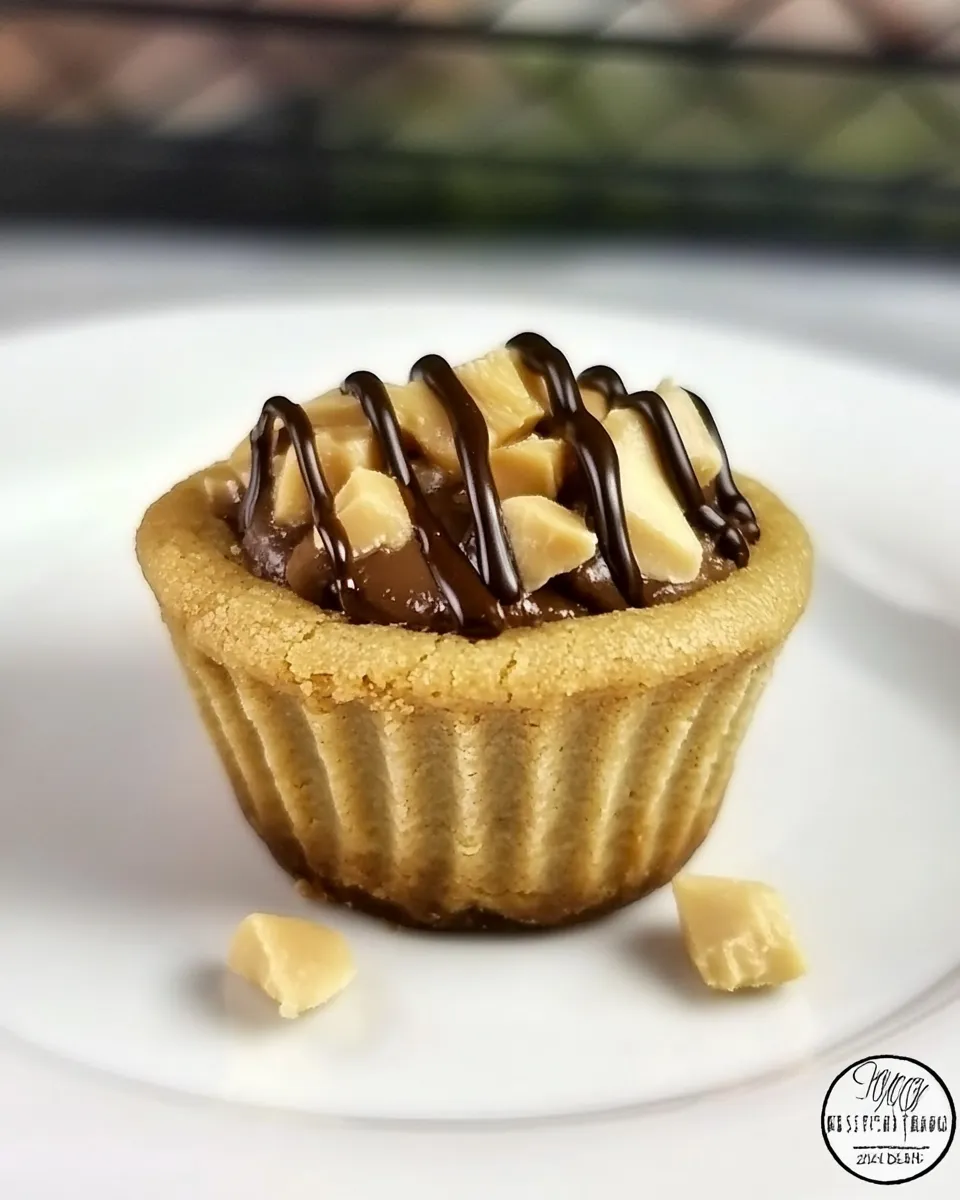
Allow the cookie cups to cool in the muffin tin for about 5 minutes before transferring them to a cooling rack. If desired, sprinkle some festive M&M candies on top before they fully cool for an extra touch of color.
Seasonal Twists
- For a fall twist, add some chopped up Snickers bars instead of Reese’s for a caramel surprise.
- During the holidays, consider using peppermint candies for a refreshing flavor contrast.
- Drizzle with white chocolate or caramel sauce for an extra decadent treat.
- Use seasonal M&M’s for themes like Halloween or Christmas to make them festive.
Things That Go Wrong
- Cookies Sticking: Ensure your muffin tin is well-greased or lined to prevent sticking.
- Overbaking: Keep an eye on your cookies; they should be golden on the edges and soft in the center.
- Uneven Baking: Make sure your oven is calibrated correctly and rotate the muffin tin midway through baking for even heat distribution.
- Too Dry or Crumbly: Overmixing the dough can lead to dry cookies; mix just until combined.
Save It for Later
If you find yourself with leftover cookie cups (which is rare), store them in an airtight container at room temperature for up to a week. You can also freeze them for up to three months. Just make sure to layer them with parchment paper to avoid sticking.
Reader Questions
Can I use crunchy peanut butter instead of creamy?
Absolutely! Crunchy peanut butter will add a delightful texture to your cookie cups, but the overall consistency may be slightly different.
What can I substitute for the egg in this recipe?
You can use a flax egg (1 tablespoon of ground flaxseed mixed with 2.5 tablespoons of water) or a ¼ cup of unsweetened applesauce as a substitute for the egg if you prefer a vegan option.
Can I make these gluten-free?
Yes! Simply substitute the all-purpose flour with a gluten-free flour blend, and be sure to check that your peanut butter and candies are gluten-free as well.
How can I make these ahead of time?
You can prepare the dough a day in advance and store it in the fridge. When ready to bake, scoop the dough into the muffin tin and follow the baking instructions as usual.
Bring It to the Table
These Peanut Butter Cookie Cups are a show-stopping dessert that can be enjoyed warm or at room temperature. Serve them at your next gathering, and watch as they disappear faster than you can say “cookie cup.” They not only bring joy to those who eat them but also create memories of time spent baking in the kitchen. When you combine the love of baking with simple ingredients, the result is nothing short of magical. Whether you’re making them for a crowd or just for yourself, these cookie cups are sure to become a new favorite. Enjoy the comforting flavors of peanut butter and chocolate wrapped in a delightful cookie cup, and don’t forget to share the joy with friends and family!
Peanut Butter Cookie Cups
Equipment
- Mixing Bowls
- Measuring cups and spoons
- Muffin Tin
- Cookie Scoop
- Cooling rack
Ingredients
- 0.5 cup Butter room temperature
- 0.5 cup Granulated Sugar
- 0.5 cup Brown Sugar packed
- 0.5 cup Creamy Peanut Butter
- 1 large Egg
- 1 teaspoon Vanilla Extract
- 1.5 cups All-Purpose Flour
- 1 teaspoon Baking Soda
- 0.5 teaspoon Salt
- 48 pieces Miniature Reese’s or Rolo Candies for chocolate centers
- Festive M&M Candies optional, for garnish
Instructions
- Preheat your oven to 350°F (175°C). Grease your muffin tin lightly or line it with paper liners for easy removal.
- In a large mixing bowl, cream together the softened butter, granulated sugar, brown sugar, and peanut butter until smooth and fluffy, about 2-3 minutes. Then, add in the egg and vanilla extract, mixing until fully combined.
- In a separate bowl, whisk together the flour, baking soda, and salt. Gradually add the dry mixture into the wet mixture, stirring just until combined. Be careful not to overmix!
- Using a cookie scoop, portion out the dough and fill each muffin tin cup about halfway. Gently press the dough down to create a well in the center for your candy.
- Place one miniature Reese’s or Rolo candy into the center of each cookie cup, pressing it down slightly into the dough.
- Bake in the preheated oven for 10-12 minutes, or until the edges are golden brown. The centers may look slightly underbaked, but they will continue to set as they cool.
- Allow the cookie cups to cool in the muffin tin for about 5 minutes before transferring them to a cooling rack. If desired, sprinkle some festive M&M candies on top before they fully cool for an extra touch of color.
Notes
- Make sure to grease or line your muffin tin well to prevent sticking.
- Do not overmix the dough to avoid dry or crumbly cookies.
- Store leftover cookie cups in an airtight container at room temperature for up to a week or freeze for up to three months.