Greasing and flouring a pan is one of those small, practical steps that quietly decides whether your cake, bread, or loaf will come out clean and intact — or fight you for every slice. It’s not glamorous, but it’s essential. Done right, it protects your bake, gives even color to the edges, and saves time at the table when you’re turning desserts out for guests.
I’ll walk you through exactly what to do, why each move matters, and how to avoid the tiny mistakes that ruin a perfect bake. No fluff, just clear instructions, helpful tips, and a few options so you can adapt whatever you have in the pantry.
This post is practical and hands-on: a concise method, the exact ingredients you need, tools that make the job easier, common missteps, and a short Q&A at the end. If you bake regularly, this will be your go-to reminder. If you’re new to baking, read slowly and follow the steps — the pan will thank you.
The Essentials

Greasing and flouring a pan creates a thin barrier between batter and metal or glass. That barrier prevents sticking, encourages even browning, and helps fragile cakes hold their shape when you invert them out of the pan. For many recipes, it’s the difference between a clean release and a fight with a spatula.
Keep in mind a few fundamentals: work with a clean, dry pan; coat evenly; use the right flour for the job (regular all-purpose is standard); and remove excess flour so it doesn’t leave a thick dusting on your finished bake. These basics will cover almost every round, square, or loaf pan in your kitchen.
Ingredients
- cooking spray — provides a quick, even coating that helps batter release; convenient when you’re short on time.
- 1/4cupflour — the measured flour that creates the dry barrier; dust lightly so the coating is thin and even.
Cook Grease and Flour a Pan Like This
- Ensure the pan is clean and completely dry.
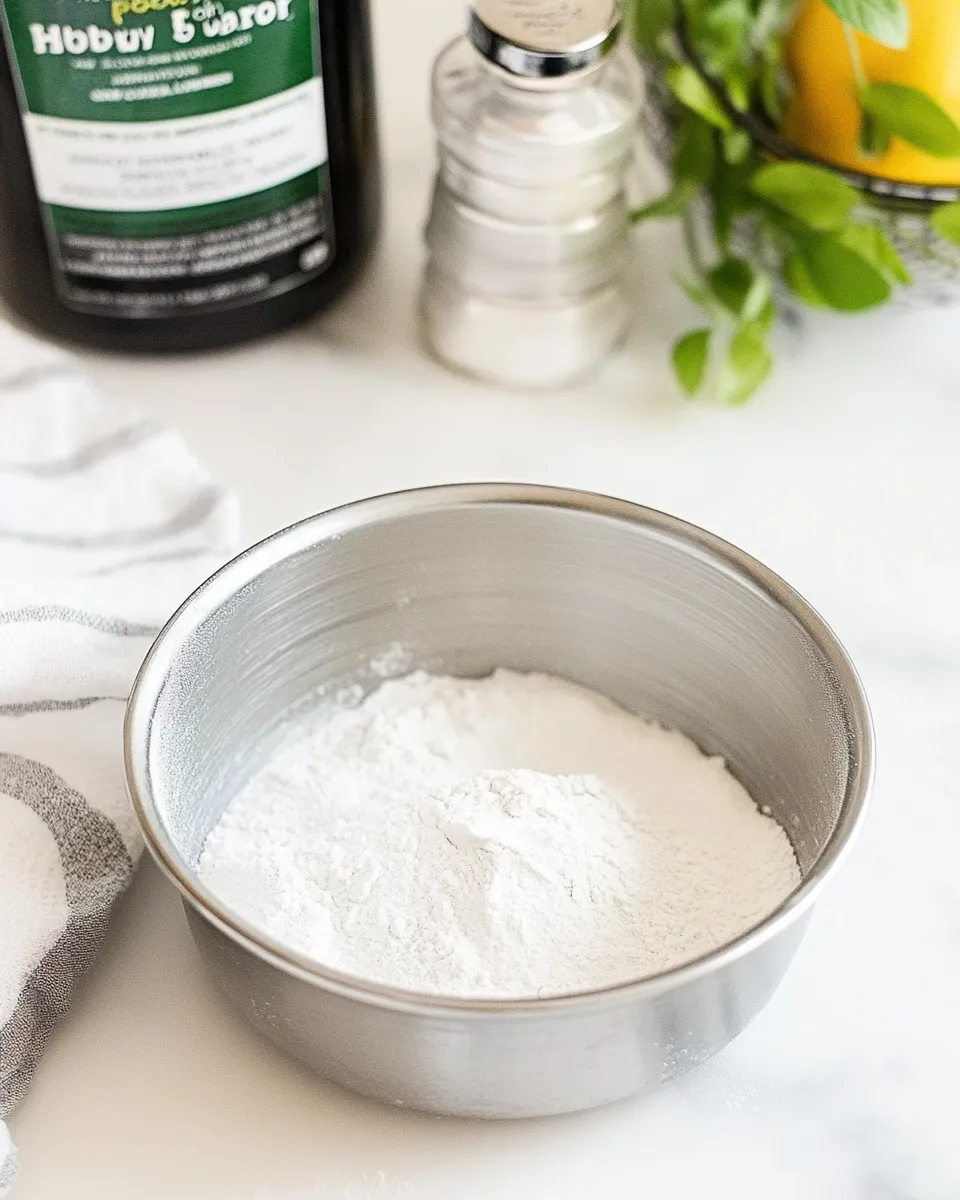
- Lightly coat the bottom and sides of the pan with cooking spray.
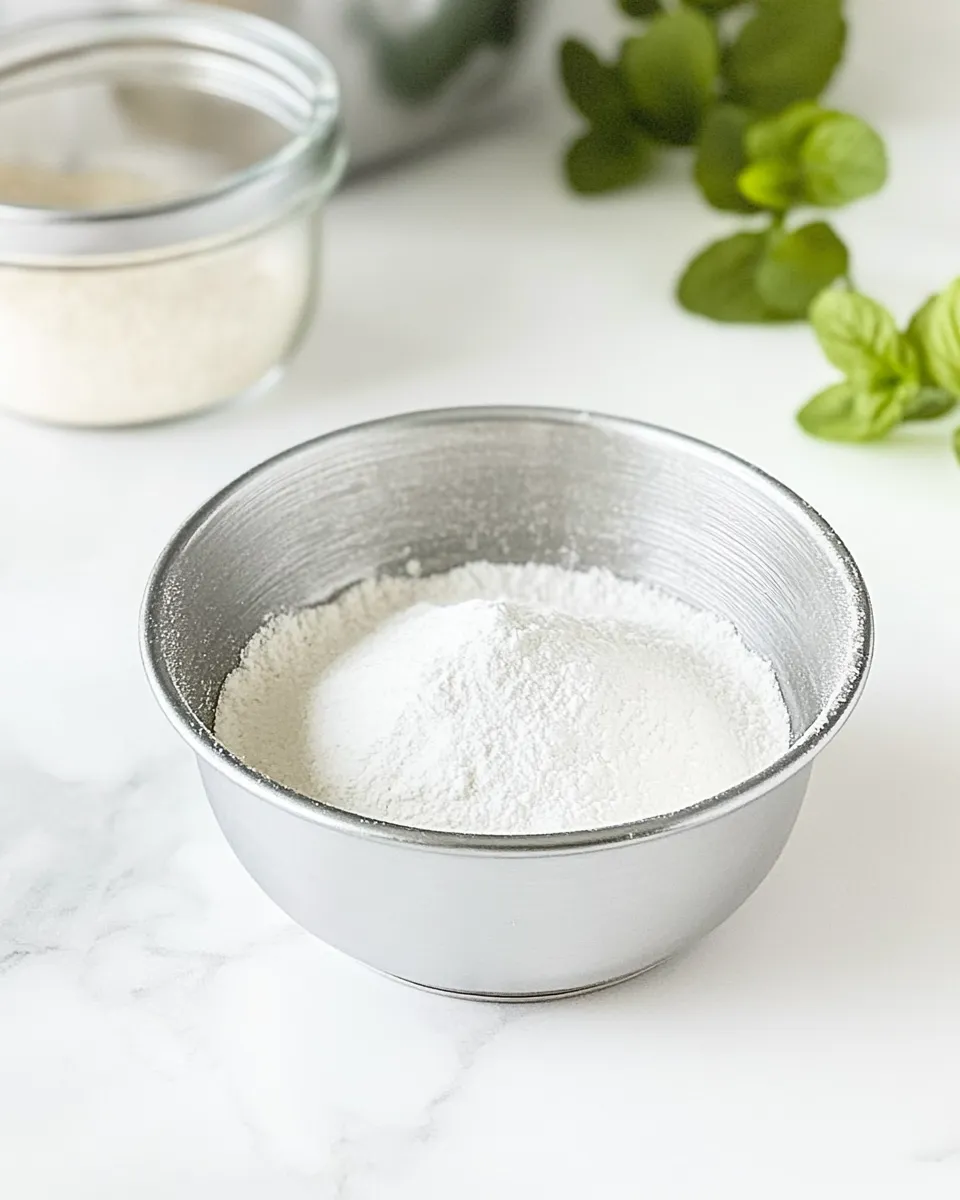
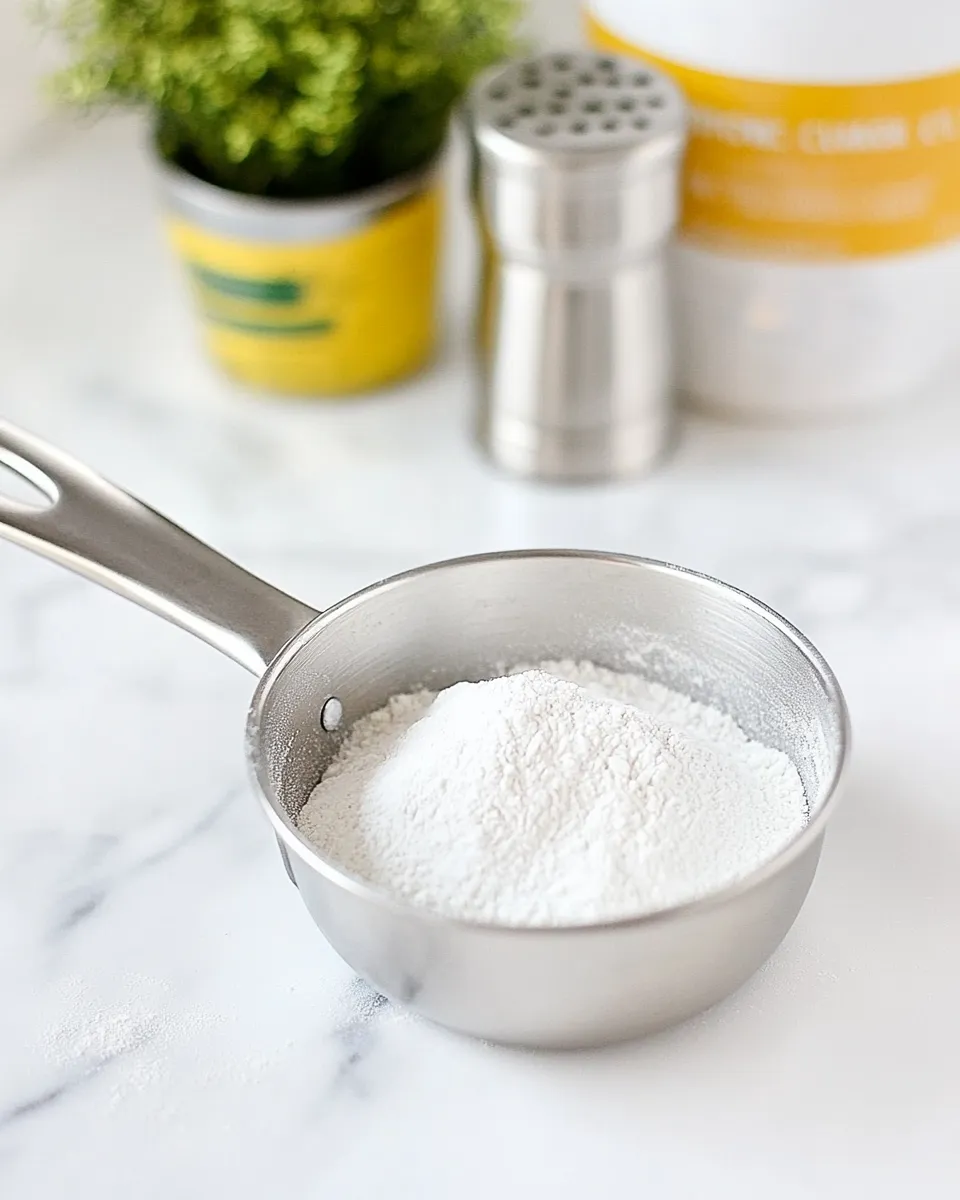
- Measure 1/4 cup flour and sprinkle it into the center of the greased pan.
- Tilt, rotate, and gently tap the pan so the flour spreads and lightly coats the bottom and sides.
- Invert the pan and gently tap out any excess flour; discard or return excess flour to its container.
Why This Grease and Flour a Pan Stands Out
This straightforward technique stands out because it is reliable across most ordinary batters — cakes, quick breads, loaf cakes, and many layered bakes. The combination of fat (from the spray) and dry flour fills microscopic imperfections in the pan surface, creating a smooth layer that keeps batters from locking onto the metal.
Lightly greasing first ensures the flour adheres. Adding flour after the fat helps anchor the dry layer so it won’t clump or come off with the batter. That small sequence — fat first, flour second — is why pro bakers use this method repeatedly for consistent results.
Finally, tapping out the excess flour matters. Too much flour becomes a visible, floury film on your cake’s crust. Too little and you risk sticking. The modest 1/4 cup measure and the gentle tap give you the right balance for most standard-size pans.
Smart Substitutions
If you don’t have cooking spray or want a different finish, use one of these options. None require exact quantities beyond what your recipe asks for — these are flexible swaps to suit what’s in your kitchen.
- Butter: Rub softened or melted butter over the pan with a piece of parchment or a pastry brush for a richer flavor and slightly deeper browning.
- Shortening: Works well for stickier batters and gives a neutral flavor with good release.
- Neutral oil: A light smear with a paper towel works if you prefer oil to dairy.
- For chocolate cakes: Use cocoa powder instead of flour to avoid white dusting — dust the greased pan with cocoa, tap off excess.
- Parchment paper: When in doubt, line the bottom with parchment. Leave a paper overhang for easy lift-out; grease and flour the sides only if the recipe calls for it.
Tools of the Trade
You don’t need fancy equipment, but the right tools make the task faster and neater.
- Paper towel or pastry brush — to spread butter, oil, or softened shortening evenly.
- Cooking spray — quick and even; reach for this when speed matters.
- Measuring cup with 1/4 cup marking — use for the flour so you don’t over- or under-measure.
- Small sieve or shaker — useful if you want to dust the flour more evenly (or to use cocoa powder for chocolate bakes).
- Bench scraper or offset spatula — handy to loosen any stubborn edges after baking.
- Parchment paper — makes removal foolproof for delicate cakes and tarts.
Frequent Missteps to Avoid
Common mistakes and how to fix them
- Not drying the pan first — even a bit of water breaks the bond between grease and pan, causing uneven coverage. Always start with a dry pan.
- Using too much flour — a thick coating turns into a white film on the bake. Tap out excess after coating.
- Spraying excessively — a heavy wet layer can cause batter to slide during baking and create uneven texture. A light, even spray is enough.
- Applying flour to an ungreased pan — the flour won’t stick properly and will clump. Grease first, then flour.
- Forgetting the sides — many people only coat the bottom. For bundt pans, tube pans, or those with high sides, coat both bottom and sides thoroughly.
Holiday & Seasonal Touches
When you want a little seasonal flair, the basic method still applies but with flour variations or flavored fats. For example, use cocoa powder for chocolate bakes during winter holiday gatherings to avoid a pale dusting. For spring or summer cakes, a light smear of butter provides a pleasant, savory edge that complements fruity fillings.
If you’re making a sticky, syrup-soaked cake for the holidays, line the bottom with parchment and lightly grease the sides to protect the cake while still allowing for an easy release. For richly spiced breads, consider using a neutral oil instead of butter to prevent additional browning before the center is done.
Flavor Logic
The grease itself can add a subtle flavor note. Butter imparts richness; shortening and neutral oils do not. For most delicate pastries, butter’s flavor is welcome, but for a clean, neutral crust — like a chiffon or angel food cake — stick with neutral choices or use parchment.
Flouring doesn’t add flavor but it affects texture. A thin, even flour coat encourages a slightly crisper exterior. If you replace flour with cocoa powder for chocolate bakes, you’ll preserve the deep color and avoid any unwanted pale patches on the crust.
Leftovers & Meal Prep
Prepping pans in advance saves time when you’re ready to bake. Grease and flour pans up to one day ahead; cover with plastic wrap and store at room temperature. If you prepare pans further in advance, line them with parchment and keep them wrapped so the oil doesn’t go rancid or pick up odors.
When storing leftovers from a bake, the greased/floured surface won’t affect refrigeration — once the cake is out, wrap or containerize as usual. If you anticipate multiple bakes in a session, re-grease between batches to maintain performance; residual crumbs and old flour will interfere with a clean release.
Quick Q&A
Do I always need to flour after greasing?
Not always. For non-sticky batters or when using parchment, greasing alone can suffice. For standard cakes, quick breads, and anything that tends to cling, add the flour step for safety.
Can I substitute almond flour or gluten-free flour?
Yes, but results vary. Almond flour won’t behave the same as wheat flour because it’s oilier; it may clump or not provide the same barrier. A light dusting of a gluten-free 1:1 blend usually works better. Test it with a small loaf first.
Why does my cake still stick sometimes?
Check the pan for residue, ensure it was dry before starting, confirm you tapped out excess flour, and verify your bake is fully done before inverting (a slightly underbaked center will cling). For particularly stubborn recipes, use parchment on the bottom and grease the sides.
Is there an environmental or health reason to avoid cooking spray?
Certain aerosol sprays contain propellants and additives. If you prefer to avoid them, use a small dish of oil and a paper towel or brush to apply a light, even layer. It’s nearly as quick and cleaner in terms of ingredients.
See You at the Table
Greasing and flouring a pan is a small ritual with a big payoff: neater slices, cleaner pans, and fewer ruined presentations. Keep the process simple — clean, dry pan; light coat of fat; measured dusting of flour; and tap away the excess. With those steps you’ll get consistent releases and better-looking bakes.
If you try this method and want to tweak it for a particular recipe, leave a note for yourself about what you used (butter vs. spray, flour vs. cocoa), and you’ll build a short, useful library of preferences. Happy baking — and may your cakes always slide out smoothly.
How to Grease and Flour a Pan
Ingredients
Ingredients
- cooking spray
- 1/4 cupflour
Instructions
Instructions
- Ensure the pan is clean and completely dry.
- Lightly coat the bottom and sides of the pan with cooking spray.
- Measure 1/4 cup flour and sprinkle it into the center of the greased pan.
- Tilt, rotate, and gently tap the pan so the flour spreads and lightly coats the bottom and sides.
- Invert the pan and gently tap out any excess flour; discard or return excess flour to its container.